오늘은 이전에 수행했던 글에 이어서, 인스턴스에 nginx를 적용할 예정이다.
목차
- 인스턴스 접속
- Nginx 설치
- Nginx 설정
인스턴스 접속
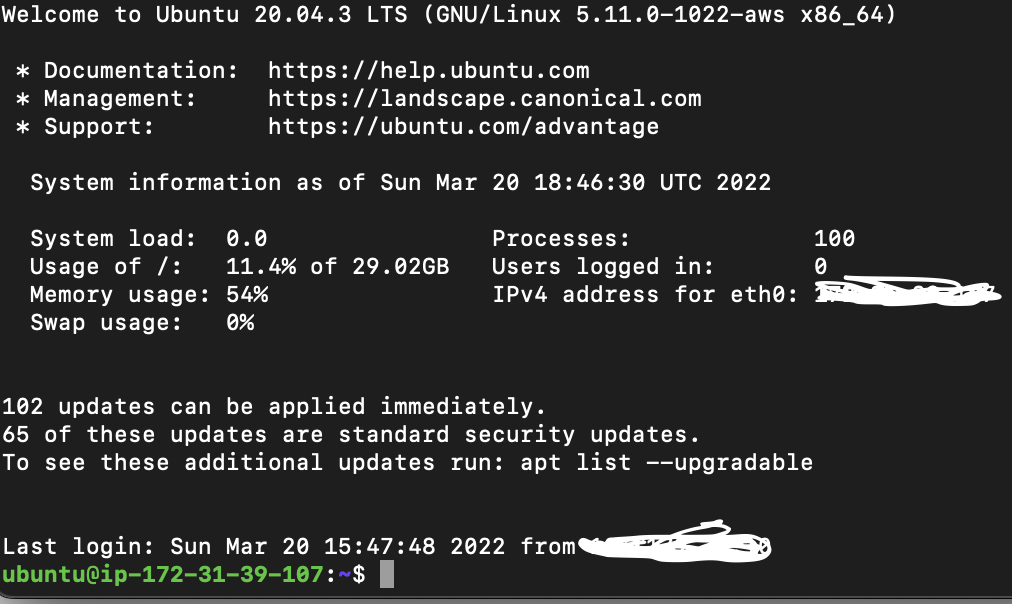
- 아래의 명령어를 통해서 인스턴스에 접속하자.
ssh -i <pem파일 명> username@<공개 ip>- 접속이 되면 아래와 같은 화면을 볼 수 있다.
Nginx 설치
- 나는 우분투로 진행중이니까 우분투 명령어로 한다.
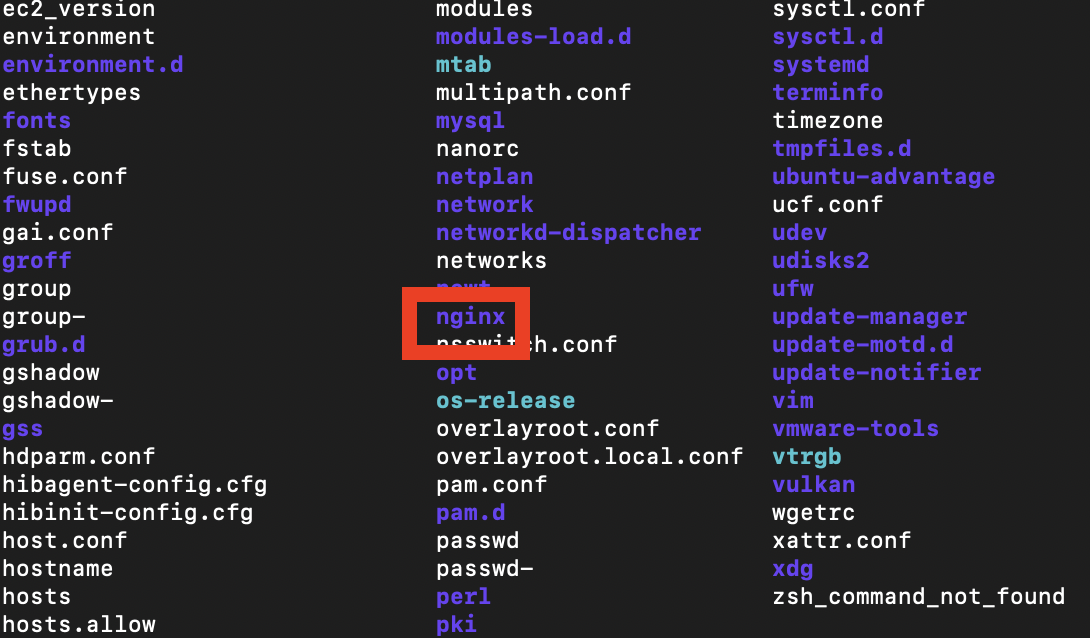
sudo apt install nginx무언가 물으면 y를 해주자.
- 설치가 완료되었으면 아래와 같이 /etc에 "nginx" 디렉터리가 생긴걸 볼 수 있다.
Nginx
Nginx는 정적 컨텐츠를 제공해주는 프록시 서버이다. apache의 강력한 라이벌? 이며, 현재는 점유율이 앞서고 있다고 한다.
이제 Nginx를 관리할 파일들을 생성해보자. 편하게 관리하기 위해서 아래의 파일들을 생성하고 링크를 걸어준다.
- /etc/nginx/site_available을 생성하자.
sudo mkdir /etc/nginx/site-available- /etc/nginx/site-enabled를 생성하자
sudo mkdir /etc/nginx/site-enabled- 이제 기본 conf 파일을 설정하자.
conf 파일은 "/etc/nginx/nginx.conf"파일이다.
cat를 통해 파일을 살펴보자.
sudo vi /etc/nginx/nginx.conf- conf 파일을 살펴보면 다음과 같이 작성되어있다.
include /etc/nginx/conf.d/*.conf
include /etc/nginx/sites-enabled/*.conf
"sites-enabled" 경로의 파일들을 포함하라고 설정되어있다.
- default config 내용을 구경하로 가자.
sudo cat /etc/nginx/site-enabled/default.conf접근하면 아래와 같이 설정되어있다.
# Default server configuration
#
server {
	listen 80 default_server;
	listen [::]:80 default_server;

	# SSL configuration
	#
	# listen 443 ssl default_server;
	# listen [::]:443 ssl default_server;
	#
	# Note: You should disable gzip for SSL traffic.
	# See: https://bugs.debian.org/773332
	#
	# Read up on ssl_ciphers to ensure a secure configuration.
	# See: https://bugs.debian.org/765782
	#
	# Self signed certs generated by the ssl-cert package
	# Don't use them in a production server!
	#
	# include snippets/snakeoil.conf;

	root /var/www/html;

	# Add index.php to the list if you are using PHP
	index index.html index.htm index.nginx-debian.html;

	server_name _;

	location / {
		# First attempt to serve request as file, then
		# as directory, then fall back to displaying a 404.
		try_files $uri $uri/ =404;
	}

	# pass PHP scripts to FastCGI server
	#
	#location ~ \.php$ {
	#	include snippets/fastcgi-php.conf;
	#
	#	# With php-fpm (or other unix sockets):
	#	fastcgi_pass unix:/var/run/php/php7.4-fpm.sock;
	#	# With php-cgi (or other tcp sockets):
	#	fastcgi_pass 127.0.0.1:9000;
	#}

	# deny access to .htaccess files, if Apache's document root
	# concurs with nginx's one
	#
	#location ~ /\.ht {
	#	deny all;
	#}
}
- nginx를 처음 설치하면 실행되지 않고 있다. 실행해보자.
sudo service start nginx실행하고 status를 살펴보자!
sudo service status nginx정상적인 실행이라면 다음과 같이 나온다.
● nginx.service - A high performance web server and a reverse proxy server
     Loaded: loaded (/lib/systemd/system/nginx.service; enabled; vendor preset:>
     Active: active (running) since Sun 2022-03-20 18:51:45 UTC; 43min ago
       Docs: man:nginx(8)
   Main PID: 1686 (nginx)
      Tasks: 2 (limit: 1147)
     Memory: 4.6M
     CGroup: /system.slice/nginx.service
             ├─1686 nginx: master process /usr/sbin/nginx -g daemon on; master_>
             └─1687 nginx: worker process

Mar 20 18:51:45 ip-172-31-39-107 systemd[1]: Starting A high performance web se>
Mar 20 18:51:45 ip-172-31-39-107 systemd[1]: Started A high performance web ser
Active부분에 "active(running)"이라고 나온 것을 볼 수 있다.
- 위의 파일들에 대한 설명
-
sites-available : 해당 파일은 가상 서버에 관련된 서버의 설정들이 위치하는 디렉터리이다. 해당 디렉터리에 존재하는 설정파일들은 사용하지 않더라도 존재한다.
-
sites-enabled : "sites-available"에 존재하는 설정 파일들 중, 사용하는 설정파일만 link하여 사용할 수 있도록 하는 디렉터리이다.
-
nginx.conf : nginx 관련 설정을 블록단위로 설정하는 곳이다. 여기서 "sites-enabled"에 존재하는 파일들을 불러온다.
한마디로 "available"에 설정 파일을 쓴다.
"enabled"에 available 설정 파일을 링크한다.
"nginx.conf"파일에서 "enabled"의 "default"파일을 불러온다.\
우리는 enabled의 "default" 파일만 수정해주면 링크가되어 자동 적용이 된다.
리버스 프록시 설정하기.
이전에 보았던 default 파일에 리버스 프록시를 설정해야한다.
현재 "listen"을 살펴보면 80포트로 요청을 받는 것을 알 수 있다.
이제 80포트 요청에 대한 서버를 향한 요청을 적어주자.
# Default server configuration
#
server {
	listen 80 default_server;
	listen [::]:80 default_server;

	# SSL configuration
	#
	# listen 443 ssl default_server;
	# listen [::]:443 ssl default_server;
	#
	# Note: You should disable gzip for SSL traffic.
	# See: https://bugs.debian.org/773332
	#
	# Read up on ssl_ciphers to ensure a secure configuration.
	# See: https://bugs.debian.org/765782
	#
	# Self signed certs generated by the ssl-cert package
	# Don't use them in a production server!
	#
	# include snippets/snakeoil.conf;

	root /var/www/html;

	# Add index.php to the list if you are using PHP
	index index.html index.htm index.nginx-debian.html;

	server_name _;

	location / {

   		proxy_pass_header Server;

        proxy_set_header Host $http_host;

        proxy_set_header X-Real-IP $remote_addr;

        proxy_set_header X-Scheme $scheme;

        proxy_pass http://전달할 주소:abcde;
		# First attempt to serve request as file, then
		# as directory, then fall back to displaying a 404.
		try_files $uri $uri/ =404;
	}

	# pass PHP scripts to FastCGI server
	#
	#location ~ \.php$ {
	#	include snippets/fastcgi-php.conf;
	#
	#	# With php-fpm (or other unix sockets):
	#	fastcgi_pass unix:/var/run/php/php7.4-fpm.sock;
	#	# With php-cgi (or other tcp sockets):
	#	fastcgi_pass 127.0.0.1:9000;
	#}

	# deny access to .htaccess files, if Apache's document root
	# concurs with nginx's one
	#
	#location ~ /\.ht {
	#	deny all;
	#}
}
"location /"을 살펴보면 80포트로 들어온 값을 다시 abcd포트로 요청하는 내용이다.
이제 nginx를 재가동 해보자.
sudo service nginx restartstatus 확인
sudo service nginx status완료!! 확인해보자. 공개ip로 접근
참고로 인스턴스에서 포트 80을 열어주여야 한다.
일단 오픈하로 가자.
인스턴스 Nginx 포트 개방
- 인스턴스에 접근하여 "네트워크 및 보안"에 "보안 그룹"으로 접속한다.
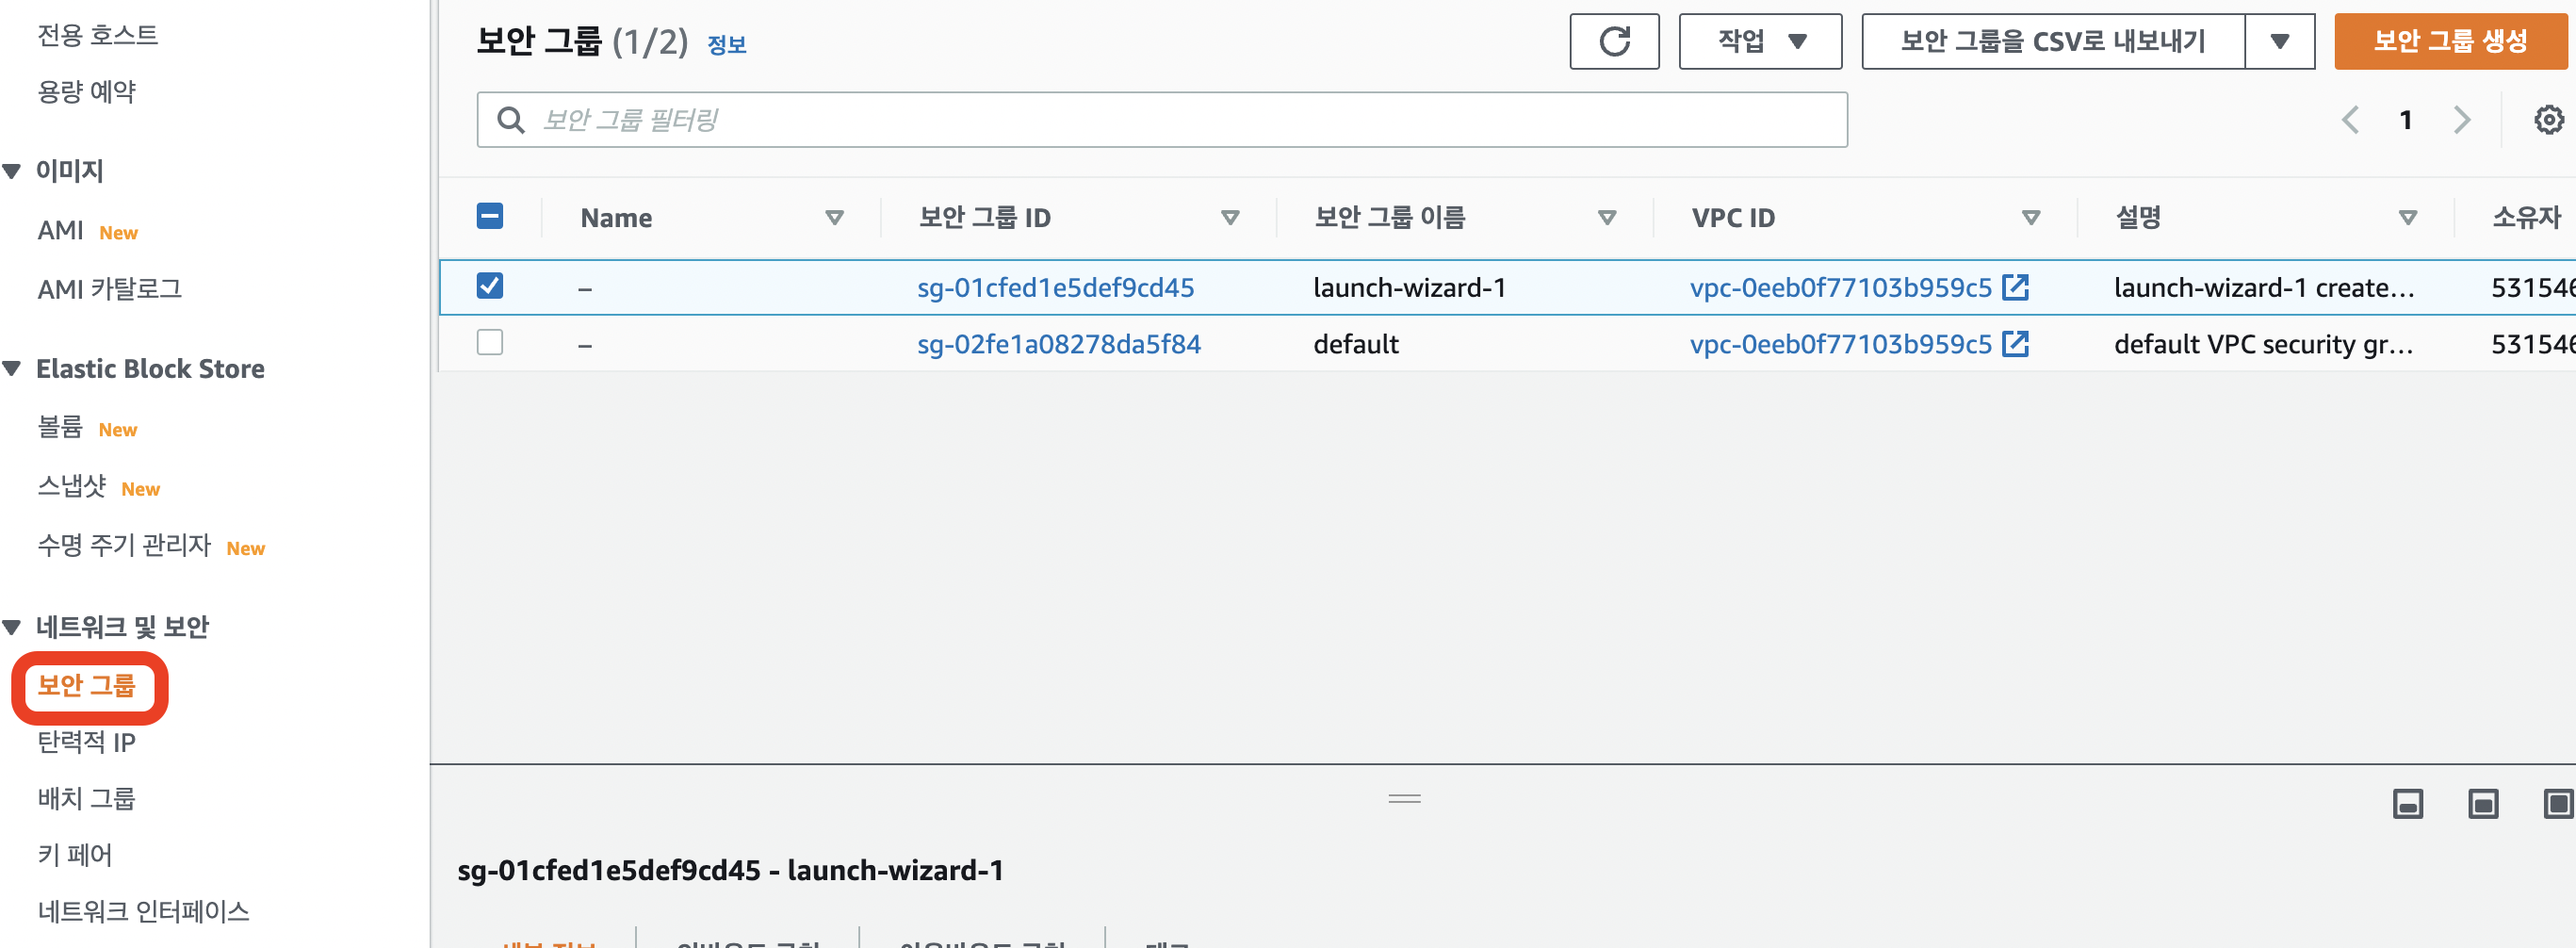
-
내가 다루고있는 보안 그룹을 선택한다.
-
보안그룹을 살펴보고 필요한게 있다면 "인바운드 규칙 편집"을 선택하여 추가해준다.
-
나는 80 포트를 개방해야하니 80 포트를 개방하려한다.
-
80포트를 추가해주자.
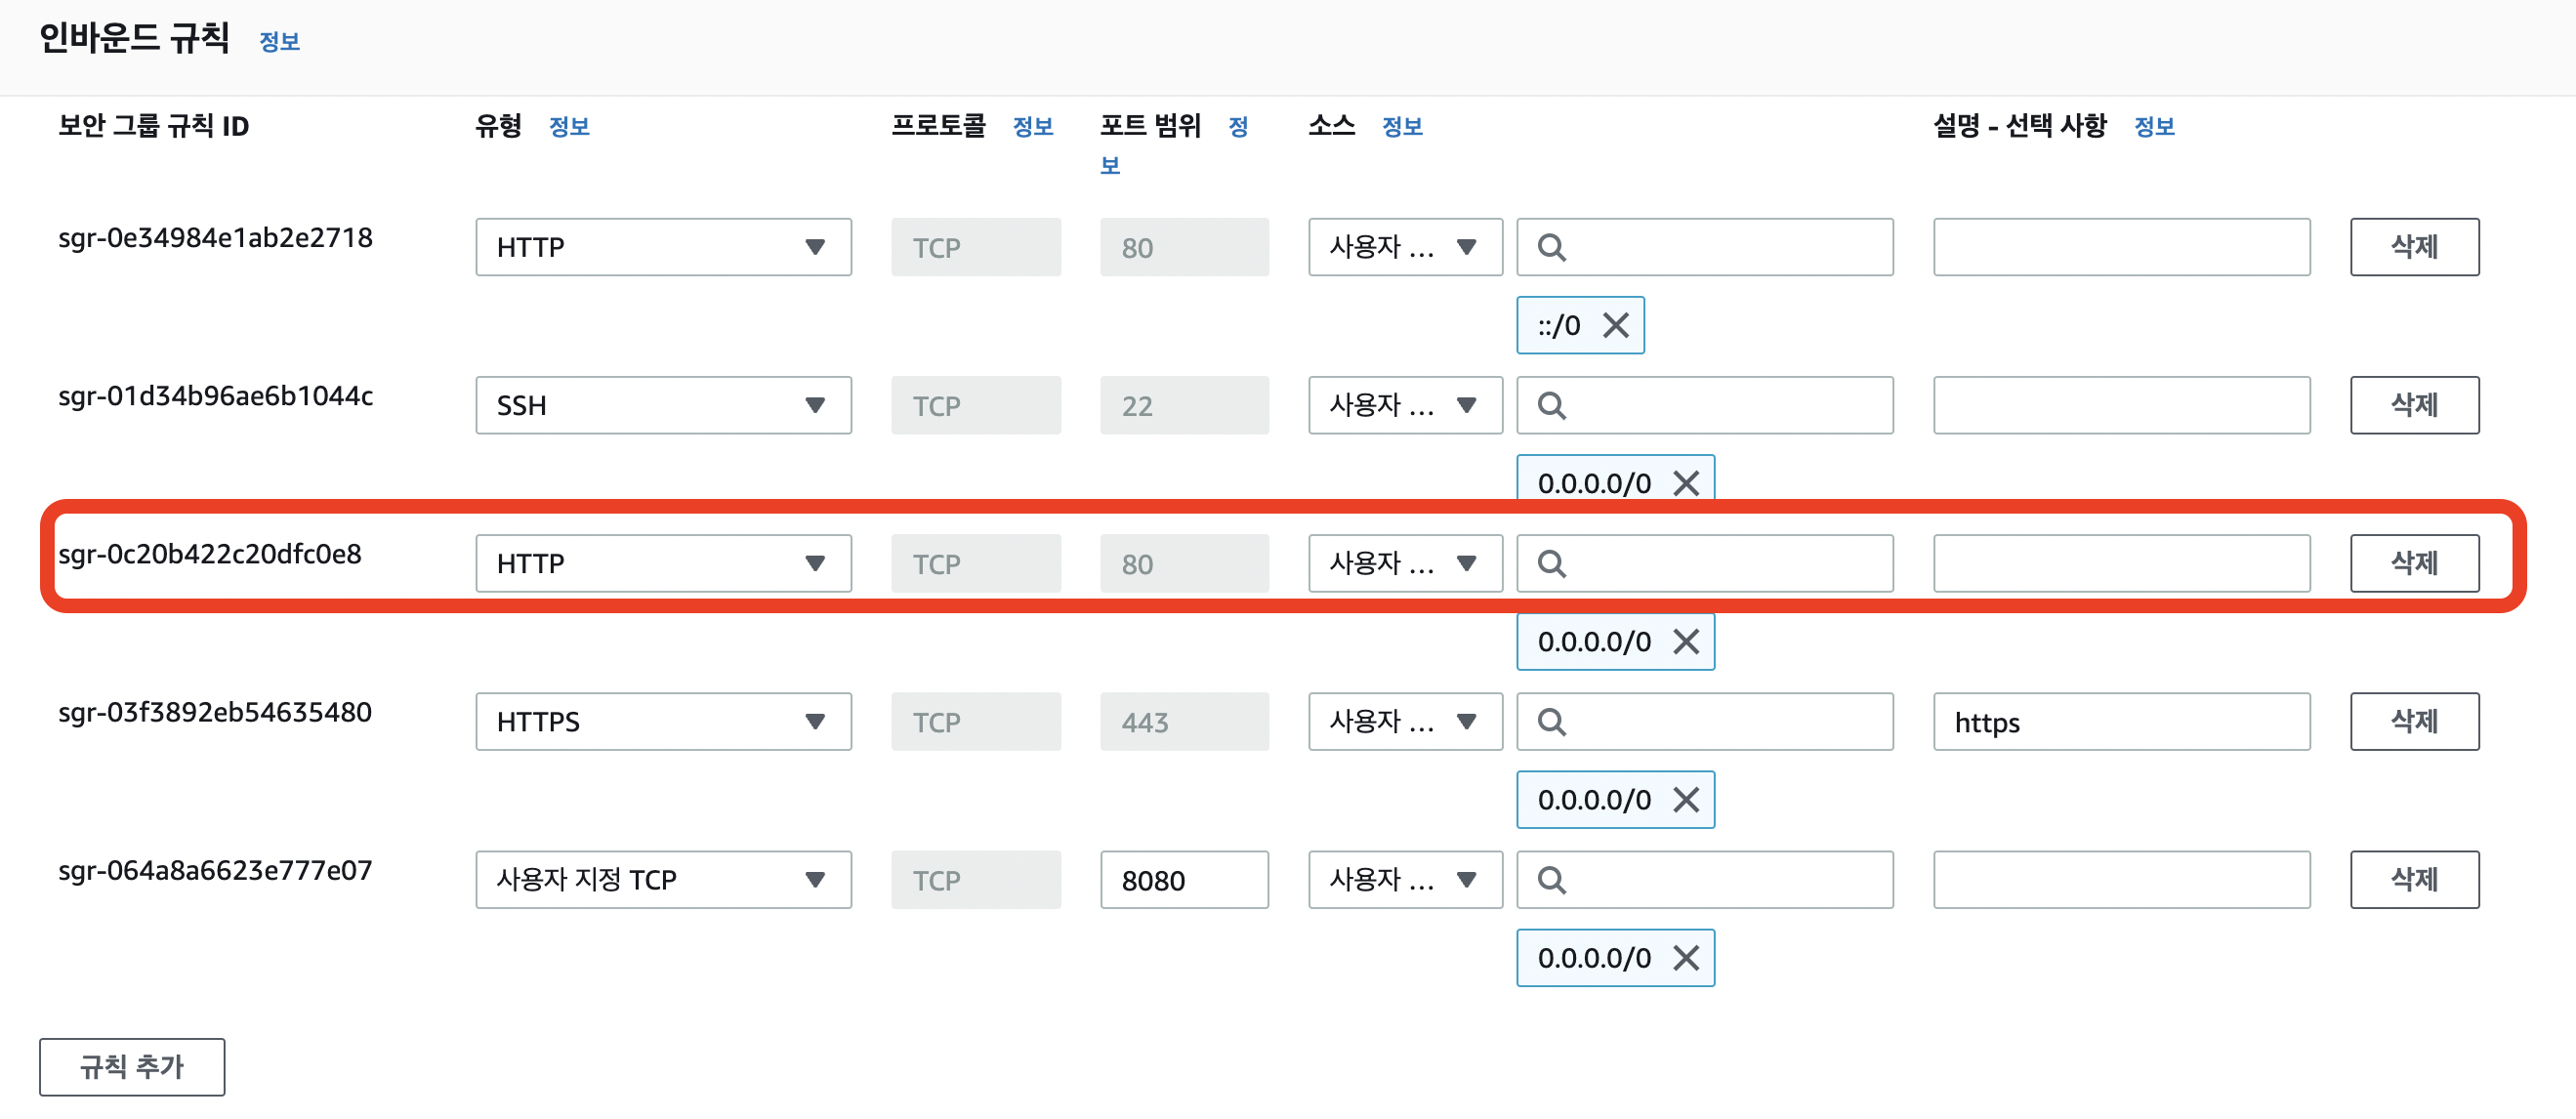
위쪽에 80포트가 열려있는데 0.0.0.0/0은 IPv4용이고, ::/0은 IPv6용이다. 그 외 443, 8080은 다른 의미로 추가했다.
-
저장!
-
공개 ip로 접속해보자.
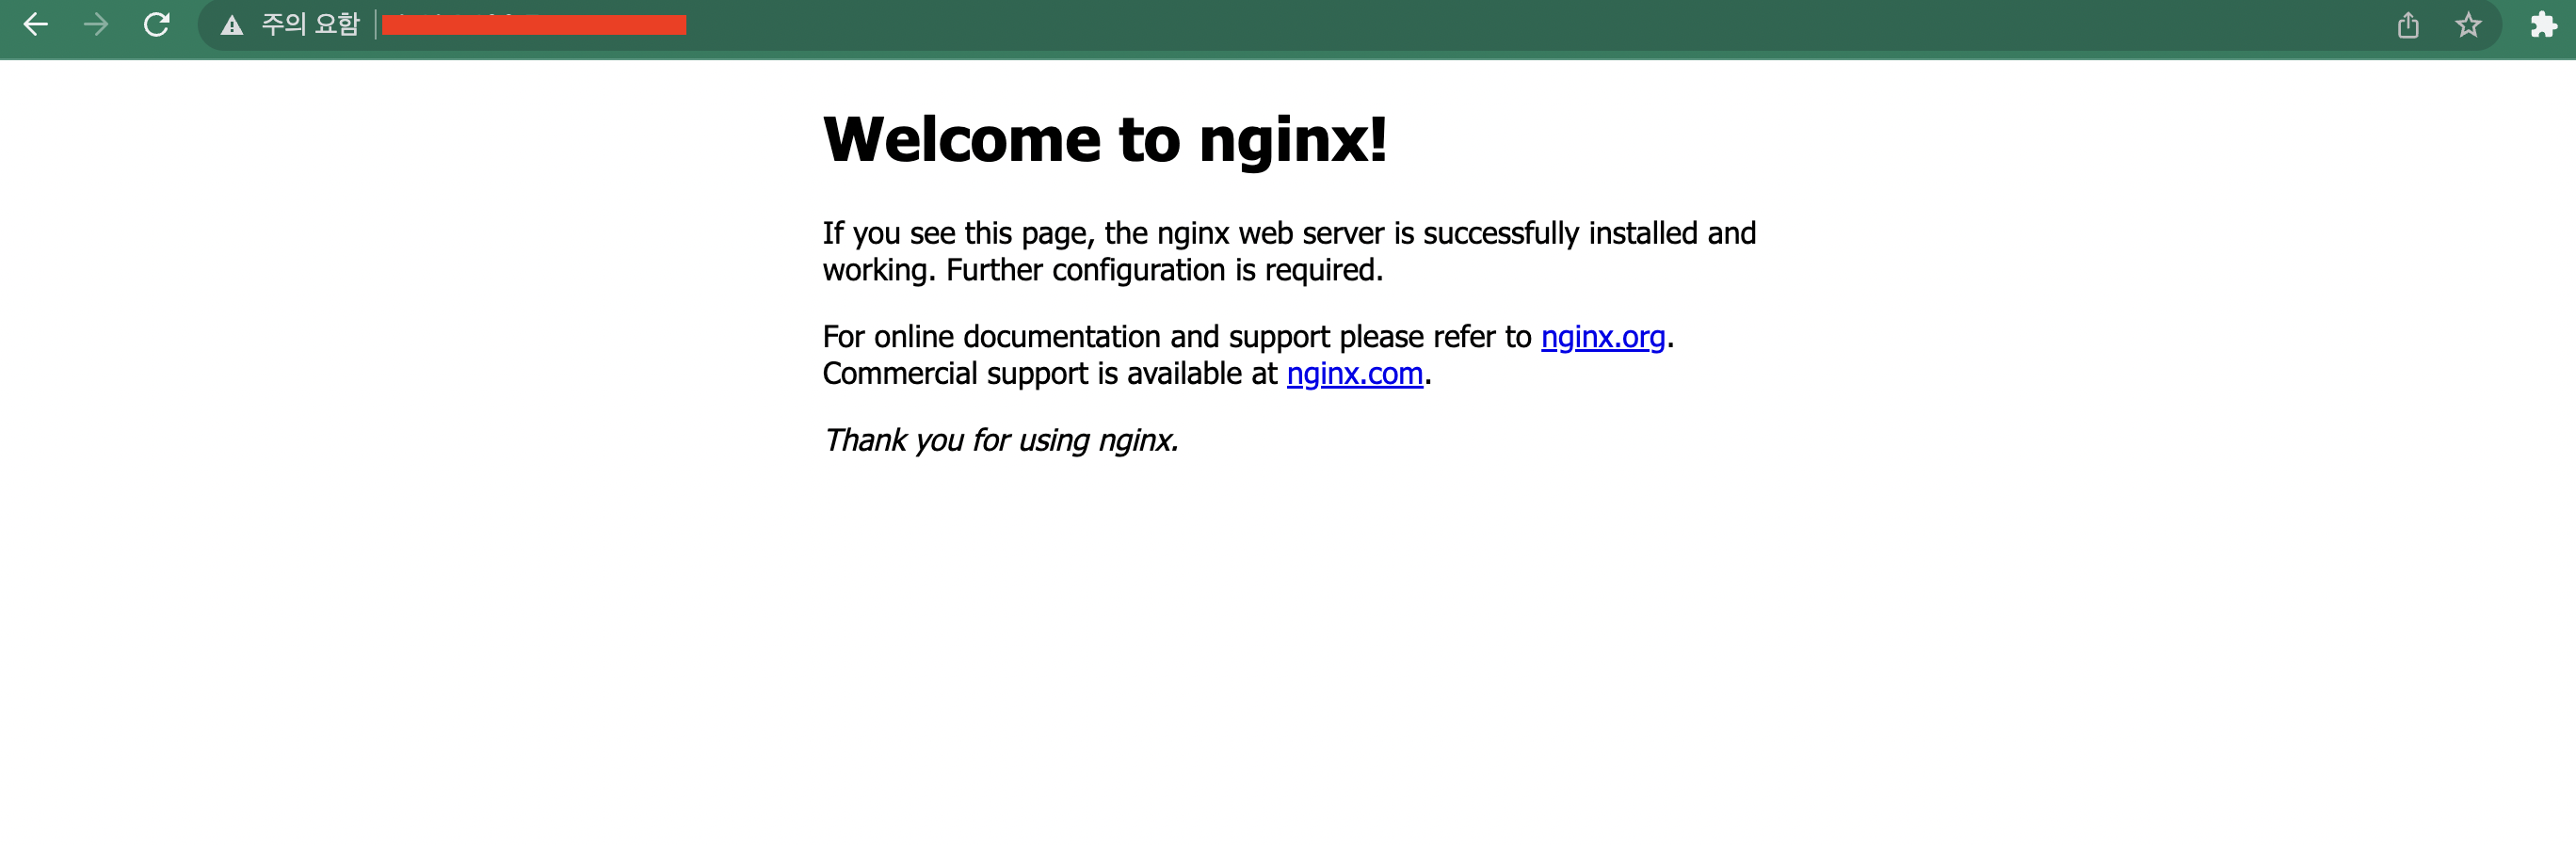
성공적으로 뜬 것을 볼 수 있다!!

2개의 댓글

nginx 설치 부분 디렉토리 생성에 site-available, site-enabled 생성하신 이유가 뭔가요?
sites-available과 sites-enabled 디렉토리가 이미 존재하네요
글 잘 읽었습니다. 감사합니다. 글을 읽으면서 질문이 생겼습니다.
스프링부트는 톰캣내장서버가 있지만 그래도 NGINX 를 설치해야 할까요?
정적 리소스들만 서빙하기 위한 용도로 NGINX 를 설치하신걸까요?