요소의 속성 변경하기
태그 내의 속성의 값을 변경할때 쓰는 문법을 알아보자.
<img 	src="" 	alt="">
<a 	href="">		</a>
태그명	속성
- 이미지 교체하기
속성
document.getElementById("id").src="이미지폴더/이미지.확장자명;
ex)
<!DOCTYPE html>
<html>
<head>
<meta charset="UTF-8">
<title>요소의 속성 변경하기</title>
<script type="text/javascript">
	function changeImg(){
		document.getElementById("image").src="image/다람쥐.jpg";
//changeImg()함수가 호출되면 id가 image인 img태그안의 src값을 "image/다람쥐.jpg" 교체
	}
</script>
</head>
<body>
	<img src="image/coffee.jpg" width="120" height="100" id = "image">
	<input type="button" value="눌러보세요." onclick="changeImg()">
</body>
</html>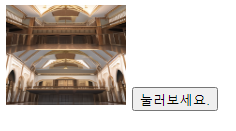
클릭 전
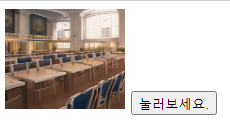
클릭 후
- 요소의 스타일 변경하기
DOM과 자바스크립트를 사용하면 HTML 요소의 스타일도 얼마든지 동적으로 변경할 수 있다.
속성
document.getElementById("p1").style.color = "red";
// style 속성이름 새로운속성값
js에서 변경할때는 font-family -> fontFamily 대문자로 바뀜
ex)
<!DOCTYPE html>
<html>
<head>
<meta charset="UTF-8">
<title>Insert title here</title>
<script>
	function changeStyle(){
		document.getElementById("p1").style.color = "red";
		document.getElementById("p1").style.fontFamily = "Century Schoolbook";
		document.getElementById("p1").style.fontStyle = "italic";
	}
</script>
</head>
<body>
	<p id="p1">This is a paragraph.</p>
	<input type="button" onclick="changeStyle()" value="눌러보세요" >
</body>
</html>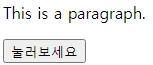
클릭 전
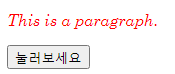
클릭 후
- 요소의 스타일 변경하기 2
function 함수선언 없이 태그안에 바로 요소를 변경할 수도 있다.
다만 코드가 길어지면 가독성이 떨어짐.
visibility = 'hidden' 숨김
visibility = 'visible' 표시
ex)
<!DOCTYPE html>
<html>
<head>
<meta charset="UTF-8">
<title>visibility</title>
</head>
<body>
	<h3 id="heading">이것은 헤딩입니다.</h3>	//여기가 변경되는 부분

	<input type="button" value="요소숨김" onclick="document.getElementById('heading').style.visibility = 'hidden'" />
	<input type="button" value="요소표시" onclick="document.getElementById('heading').style.visibility = 'visible'" />
</body>
</html>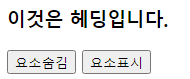
클릭 전
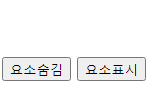
클릭 후
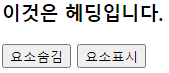
다시 요소 표시 클릭하면 나타남
DOM 노드 삭제와 추가
노드(node) 정리
노드(node) : 값을 저장하고 값들간의 관계를 나타날때 사용됨
문서 노드(document node) : HTML 문서 전체를 나타내는 노드
요소 노드(element node) : 모든 HTML 요소는 요소 노드이며, 속성 노드를 가질 수 있는 유일한 노드.
속성 노드(attribute node) : 요소 노드에 관한 정보를 가지고 있음. 하지만 해당 요소 노드의 자식 노드(child node)에는 포함되지 않음.
텍스트 노드(text node) : HTML 문서의 모든 텍스트는 텍스트 노드
주석 노드(comment node) : HTML 문서의 모든 주석은 주석 노드
텍스트 노드 예제
<!DOCTYPE html>
<html>
<head>
<meta charset="UTF-8">
<title>텍스트 노드에 대한 예제</title>
<script type="text/javascript">
	function newRegister(){
		var newItem = document.createElement("li");
		// li 생성
		var subject = document.getElementById("subject").value;
		//input type text의 값을 subject로 받아서 저장
		var nextText = document.createTextNode(subject);
						//subject의 값을 텍스트노드를 생성해서 nextText에 저장

		newItem.appendChild(nextText);
		//<li>javascript</li> : 입력란에 javascript라고 입력했다고 가정.

		var itemList = document.getElementById("itemList");
		// 변수 itemList에 ?

		itemList.appendChild(newItem);
		// itemList에 자식추가
	}
</script>
</head>
<body>
	<div>
		<h1>Web Programming</h1>
		<p>공부할 주제를 기록해 보세요</p>
		<input type="text" id="subject">
		<button onclick="newRegister()">추가</button>

		<ul id="itemList">
<!-- 			여기에 li가 추가되게 스크립트 부분에 함수선언함 -->
		</ul>
	</div>
</body>
</html>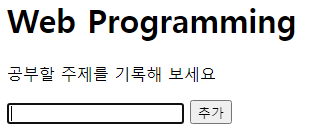
입력전
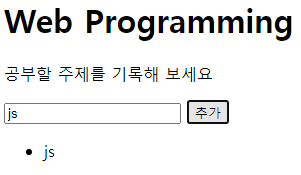
js 입력 후
새로운 HTML 요소 생성
자바스크립트를 사용하면 동적(원하는 조건)으로 웹페이지에 새로운 요소를 만들어서 추가할 수 도있다.
속성
노드 생성 document.createTextNode(노드명);
노드 추가 document.getElementById("id명").appendChild(node);
태그 추가 document.createElement("li");
ex)
<!DOCTYPE html>
<html>
<head>
<meta charset="UTF-8">
<title>Insert title here</title>
<script type="text/javascript">
	function addtext(t){
							//노드를 추가할 수 있는지 검사
		if(document.createTextNode){
			// 노드 생성
			var node = document.createTextNode(t);
			// 노드 추가 - appendChild(node);
			document.getElementById("target").appendChild(node);
		}
	}
</script>
</head>
<body>
	<div id="target" onclick="addtext('동적으로 텍스트가 추가됩니다.')"
	style="font: 20px bold;">여기를 클릭하세요.</div>
</body>
</html>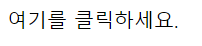
클릭 전

클릭한번 할때마다 문구가 추가됨
기존의 HTML 요소 삭제
HTML 요소를 삭제하려면 부모 노드를 알아야 삭제할수 있다.
부모노드도 ID를 알면 찾을수 있음.
속성
부모노드명.removeChild(자식노드명);
parent.removeChild(child);
ex)
<!DOCTYPE html>
<html>
<head>
<meta charset="UTF-8">
<title>Insert title here</title>
<script>
	function removeNode(){
		// 부모노드
		var parent = document.getElementById("target");
		// 삭제하고자 하는 자식 노드
		var child = document.getElementById("p1");
		parent.removeChild(child);	//부모 노드를 통해서 자식노드를 삭제한다.

	}
</script>
</head>
<body>
	<div id="target">
		<p id="p1">첫 번째 단락</p>
		<p id="p2">두 번째 단락</p>
	</div>
	<button onclick="removeNode()">누르세요!</button>
</body>
</html>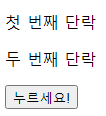
웹 실행시 첫 화면

버튼을 클릭하면 첫 번째 단락 삭제됨
브라우저 객체 모델
브라우저 객체 모델(BOM : Browser Object Model)
웹 브라우저가 가지고 있는 모든 객체의 집합
최상위 객체는 window (평소 사용하던 alert는 원래 window.alert임 -> window는 생략가능하다는 뜻)
그 아래로 navigator, location, history, screen, document, frames 객체가 있다.
Window 객체
open()과 close()
속성
Window.open(URL, name, specs, replace);
자세한 속성 설명은 아래 블로그 참고!
https://offbyone.tistory.com/312
ex)
<!DOCTYPE html>
<html>
<head>
<meta charset="UTF-8">
<title></title>
</head>
<body>
	<form>
		<input type="button" value="구글창 열기" onclick="window.open('https://www.google.com/','_blank',
        	   'width=500,height=500,left=600px,top=600px',true)">

	</form>
</body>
</html>
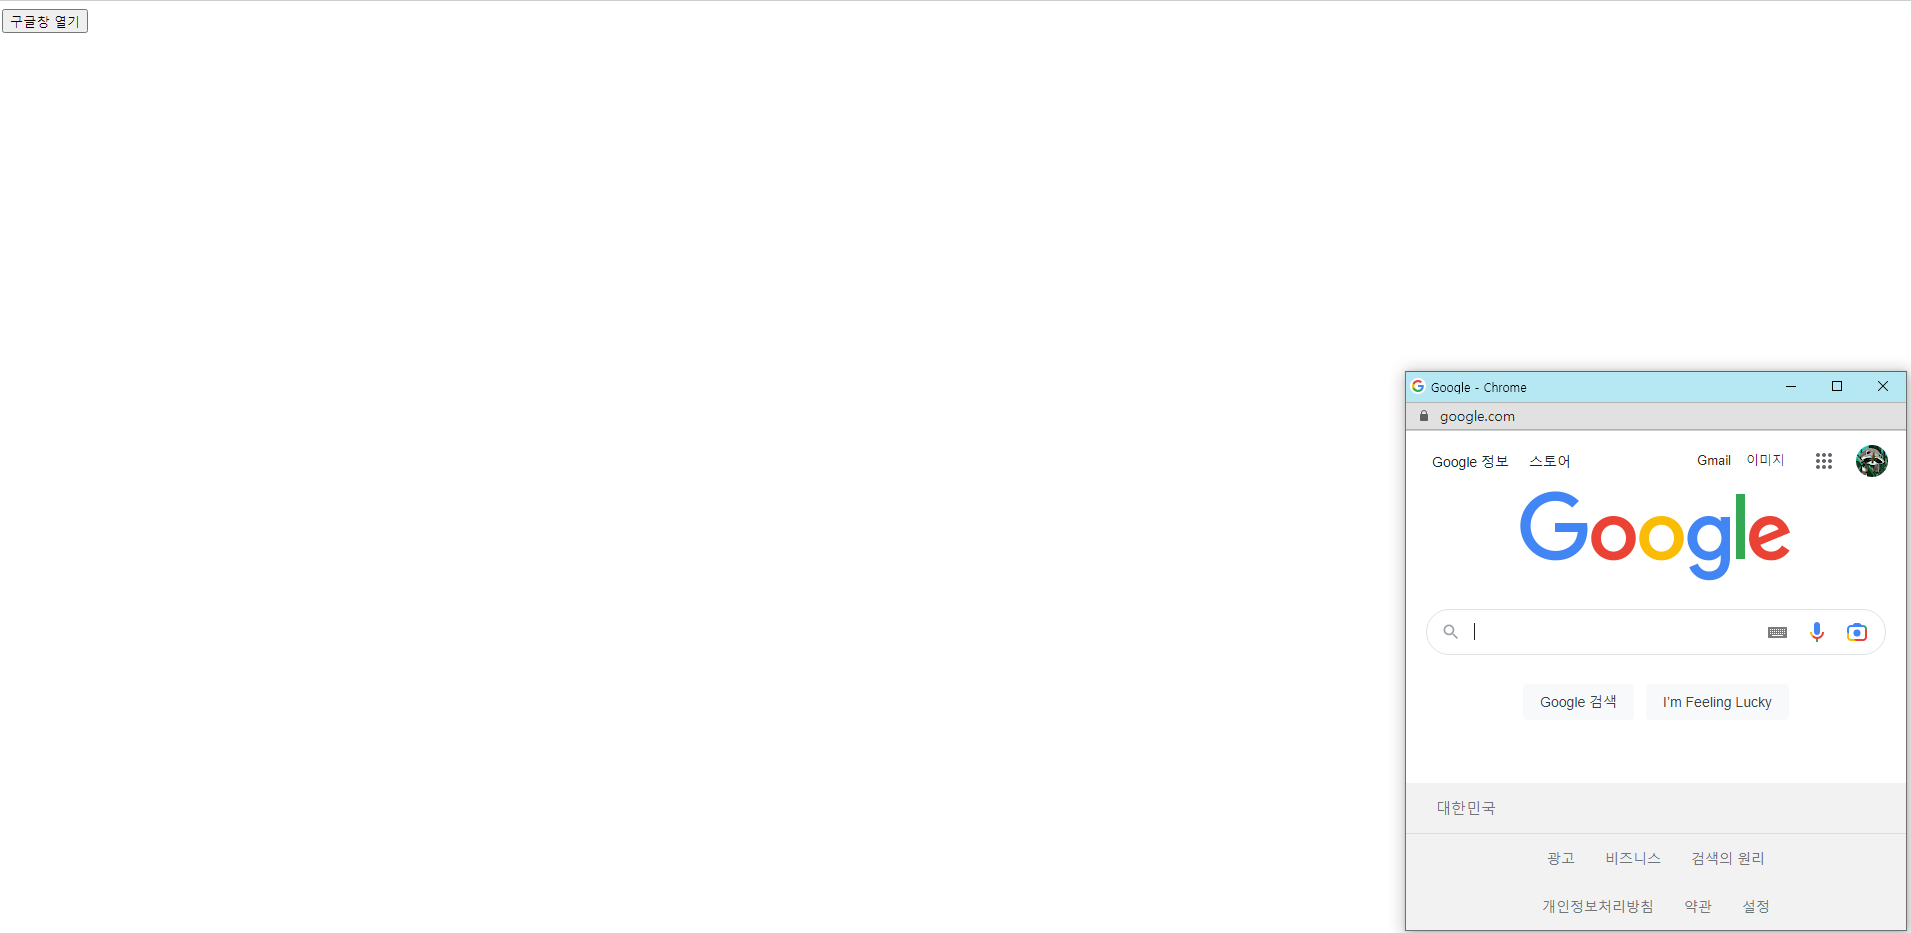
클릭시 width=500,height=500 크기의, 좌표 left=600px,top=600px에 구글창이 열린다.
setTimeout()
초 뒤에 실행하고 종료.
setTimeout(code, millisec) // 대문자 주의
code : 호출되는 함수의 이름, 호출되는 함수를 여기서 직접 정의할 수도 있다.
millisec : 함수를 호출하기 전에 흘러야 하는 시간 (천분의 1초) 3000millisec -> 3sec
ex)
<!DOCTYPE html>
<html>
<head>
<meta charset="UTF-8">
<title>Insert title here</title>
<script>
	function showAlert(){
		setTimeout(function() {
			alert("setTimeout()을 사용하여 표시됩니다.")}, 3000);
				// function 생성은 했지만 이름이 없다 -> 익명함수
	}
</script>
</head>
<body>
	<p>버튼을 누르면 3초 후에 경고박스가 화면에 표시됩니다.</p>
	<button onclick="showAlert()">눌러보세요.</button>
</body>
</html>
웹 첫 화면
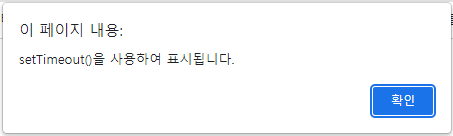
버튼을 누르면 3초뒤 실행되는 경고창
setInterval()
초 뒤에 지정한 초마다 반복해서 실행함.
setTimeout(code, millisec)
code : 호출되는 함수의 이름, 호출되는 함수를 여기서 직접 정의할 수도 있다.
millisec : 함수를 호출하기 전에 흘러야 하는 시간 (천분의 1초) 3000millisec -> 3sec
ex)
<!DOCTYPE html>
<html>
<head>
<meta charset="UTF-8">
<title>Insert title here</title>
<script>
	var id;
	function changeColor(){
		id=setInterval(flashText, 500);	//500 = 0.5초
	}
	function flashText(){
		var elem = document.getElementById("target");
		elem.style.color = (elem.style.color == "red") ? "blue" : "red";
		//elem.style.color가 레드면(참이면) 파란색으로 바꾸고 아니면(거짓) 레드로 바꿔라
		elem.style.backgroundColor = (elem.style.color=="green") ? "yellow" : "green";
	}
	function stopTextColor(){
		clearInterval(id);
		// 중지시켜주는 명령어
	}
</script>
</head>
<body onload="changeColor()">
<!-- onload 이벤트 : 웹브라우저를 불러왔을때 changeColor()함수 호출-->
	<div id="target">
		<p>This is a Text.</p>
	</div>
	<button onclick="stopTextColor();">중지!</button>
</body>
</html>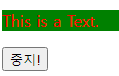
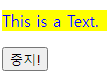
텍스트 색상과 백그라운드 색상이 0.5초마다 바뀌는걸 반복함
moveTo(), moveBy()
자바스크립트를 이용해서 윈도우를 이동하기
절대적인 위치이동은 moveTo(),
상대적으로 이동하려면 moveBy()를 사용한다.
ex)
<!DOCTYPE html>
<html>
<head>
<meta charset="EUC-KR">
<title>Insert title here</title>
<script type="text/javascript">
 var w;
	 function openWindow(){
		 w = window.open(" "," ","width=200, height=100");
		 w.document.write("<p>오늘 다음과 같은 상품을 싸게 팝니다.</p>");
		 w.moveTo(0,0)
	 }
	function moveWindow(){
		 w.moveBy(10,10);	//한번 누를때 마다 화면에서(10,10 씩 이동한다.)
		 w.focus();
	 }
</script>
</head>
<body>
 	<input type="button" value="윈도우 생성" onclick="openWindow()"><br>
	<input type="button" value="윈도우 이동" onclick="moveWindow()">
</body>
</html>
클릭 전
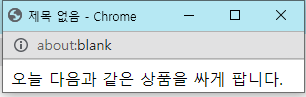
윈도우 생성 클릭하면 다음과 같이 창이 생성됨.

윈도우 이동 버튼을 누르면 10,10(x,y)씩 이동
screen 객체
속성 설명
availHieght 화면의 높이를 반환(윈도우에서 태스크 바를 제외한 영역)
availWidth 화면의 너비를 반환(윈도우에서 태스크 바를 제외한 영역)
colorDepth 컬러 팔레트의 비트 깊이를 반환
height 화면의 전체 높이를 반환
pixelDepth 화면의 컬러 해상도(bits per pixel)를 반환
width 화면의 전체 너비를 반환
ex)
<!DOCTYPE html>
<html>
<head>
<meta charset="UTF-8">
<title></title>
	<script>
		function maxopen(url,winattributes){
			var maxwindow = window.open(url,"",winattributes);
			maxwindow.moveTo(0,0);
			maxwindow.resizeTo(screen.availWidth, screen.availHeight);
		}
	</script>
</head>
<body>
	<a href="#" onclick="maxopen('https://www.google.com','resize=1,scrollbars=1,status=1')">전체화면</a>
</body>
</html>
location 객체
location 객체 현재 url에 대한 정보를 가지고있고, window 객체의 일부로서 window.location을 통하여 접근된다.
속성
location.assign() : 새로운 문서를 로드한다.
.reload() : 현재 문서를 다시 로드한다.
.replace() : 현재 문서를 새로운 문서로 대체한다.
ex)
<script>
// 	document.write(location.href)
function replace(){
	location.replace("https://www.naver.com");	//네이버로 이동함
}
</script>
<a href="#" onclick="replace()">이동하기</a>
</body>
</html>
이동하기를 누르면 네이버로 이동된다.

네이버로 이동한 모습
navigation
navigation : 웹 브라우저에 대한 정보를 가지고 있는 객체
(과거 인터넷 익스플로러와 크롬의 호환성 때문에 사용하였지만 현재는 거의 사용하지 않는 추세.)
p.399 책 참고
이벤트 처리
웹 페이지에서 상호작용이 발생하면 이벤트가 일어난다.
- 마우스 클릭
- 웹 페이지 로딩
- 호버링(hovering)으로 마우스를 어떤 요소 위에서 움직이는 것
- HTML 입력 양식에서 입력 박스를 선택하는 것
- 키보드의 키를 누르는 것
마우스 클릭(onclick 이벤트)
사용자가 버튼을 클릭하는 이벤트가 발생하면 미리 정해놓은 코드가 실행된다.
1. 사용자가 버튼을 클릭
2. 이벤트가 발생한다.
3 등록된 함수가 실행된다.
4. 페이지에 실행된 함수가 적용됨
ex)
<!DOCTYPE html>
<html>
<head>
<meta charset="UTF-8">
<title>Insert title here</title>
<script>
	function changeColor(c){
		document.getElementById("target").style.backgroundColor = c;
	}
</script>
</head>
<body id = "target">
<!-- 바디 태그의 백그라운드컬러를 바꾸기위해서 id 값을 부여해줌 -->
	<form method="POST">
		<input type="radio" name="c1" value="v1" onclick="changeColor('lightblue')">파란색
		<input type="radio" name="c1" value="v2" onclick="changeColor('lightgreen')">녹색
	</form>
</body>
</html>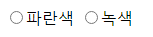
첫 화면
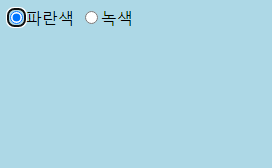
파란색 라디오 박스 체크한 상태
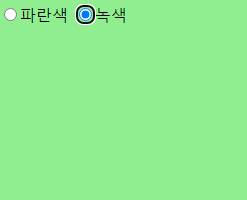
녹색 라디오 박스 체크한 상태
onload와 onunload 이벤트
onload : 웹페이지가 실행되자마자 실행되는 이벤트
ex)
<!DOCTYPE html>
<html>
<head>
<meta charset="UTF-8">
<title>Insert title here</title>
<script>
	function onLoadDoc(){	//웹 브라우저가 실행되자마자 함수를 실행
		alert("문서가 로드되었습니다.");	// 경고창 띄움
		document.body.style.backgroundColor = "red";
		//배경색을 red로 변경
	}
</script>
</head>
<body onload="onLoadDoc()">

</body>
</html>
onchange이벤트
onchange : onchange 이벤트는 입력 필드를 검증할 때 종종 사용된다.
사용자가 입력 필드의 내용을 변경하면 upperCase() 함수가 호출됨.
ex)
<!DOCTYPE html>
<html>
<head>
<meta charset="UTF-8">
<title>Insert title here</title>
<script>
	function sub(){
		var x = document.getElementById("name");
		x.value = x.value.toLowerCase();
	}
</script>
</head>
<body>
영어단어 : <input type="text" id="name" onchange="sub()">
<p>입력필드를 벗어나면 소문자로 변경됩니다.</p>
</body>
</html>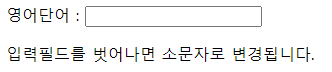
입력전
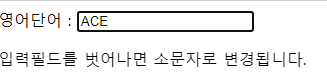
ACE입력
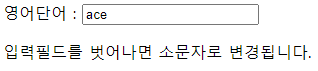
텍스트 필드 밖을 클릭했더니 소문자로 바뀌는 모습을 볼수있음.
onmouseover 이벤트
onmouseover : 마우스를 올렸을때 이벤트가 발생
ex)
<!DOCTYPE html>
<html>
<head>
<meta charset="UTF-8">
<title>Insert title here</title>
<style type="text/css">
	div{background-color:yellow;width:200px;}
</style>
<script type="text/javascript">
	function OnMouseIn(elem){
		elem.style.border ="2px solid red";
	}
	function OnMouseOut(elem){
		elem.style.border ="";
	}
</script>
</head>
<body>
	<div onmouseover="OnMouseIn(this)" onmouseout="OnMouseOut(this)">
		마우스를 이 요소 위에 이동 하세요.
	</div>
</body>
</html>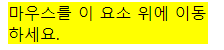
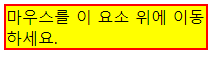
마우스를 올리자 border(테두리)가 생긴걸 확인 할 수 있습니다.
계산기 예제
<!DOCTYPE html>
<html>
<head>
<meta charset="UTF-8">
<title>계산기 예제</title>
	<script>
		var expression="";
		function add(character){
			expression = expression + character;
			document.getElementById("display").value = expression;
		}
		function compute(){
			document.getElementById("display").value = eval(expression);
		}
		function clearDisplay(){
			expression="";
			document.getElementById("display").value = "0";
		}
	</script>
</head>
<body>
	<form>
		display <input id="display" value="0" size="30">
		<br>
		<input type="button" value ="  7  " onclick="add('7')">
		<input type="button" value ="  8  " onclick="add('8')">
		<input type="button" value ="  9  " onclick="add('9')">
		<input type="button" value ="  /  " onclick="add('/')">
		<br>
		<input type="button" value ="  4  " onclick="add('4')">
		<input type="button" value ="  5  " onclick="add('5')">
		<input type="button" value ="  6  " onclick="add('6')">
		<input type="button" value ="  *  " onclick="add('*')">
		<br>
		<input type="button" value ="  1  " onclick="add('1')">
		<input type="button" value ="  2  " onclick="add('2')">
		<input type="button" value ="  3  " onclick="add('3')">
		<input type="button" value ="  -  " onclick="add('-')">
		<br>
		<input type="button" value ="  0  " onclick="add('0')">
		<input type="button" value ="  +  " onclick="add('+')">
		<br>
		<input type="button" value ="  Clear  " onclick="clearDisplay()">
		<input type="button" value ="  Enter  " onclick="compute()">
	</form>
</body>
</html>
코드중 eval이 들어간걸 볼 수있는데 보안상의 문제로 사용하지 않는것을 권장한다네요.
'문자열로부터 eval()을 실행하는 것은 엄청나게 위험합니다. eval()을 사용하면 해커가 위험한 코드를 사용할 수 있습니다. 아래에 eval을 절대 사용하지 말 것!을 확인하세요.'
참고한곳 : https://developer.mozilla.org/ko/docs/Web/JavaScript/Reference/Global_Objects/eval
끝