📌 XML (eXtensible Markup Language) : 단순화된 데이터 기술 형식
- XML에 저장되는 데이터 형식은 Key : Value 형식(Map)이다.
- Key, Value 모두 String(문자열) 형식
- Map<String, String>
- XML 파일을 읽고, 쓰기 위한 IO 관련 클래스 필요
✔️ Properties 컬렉션 객체
- Map의 후손 클래스
- Key, Value 모두 String(문자열)형식
- XML 파일을 읽고, 쓰는데 특화된 메서드를 제공
✔️ XML 파일을 이용해서 DB 연결 정보를 읽어오는 이유
1. 코드 중복 제거
2. 별도 관리 용도 ( 별도 파일을 이용해서 수정이 용이 )
3. 재 컴파일 진행하지 않기 위해서..
→ 코드가 길수록 컴파일에 소요되는 시간이 크다.
→ 코드 수정으로 인한 컴파일 소요시간 없앰.
(파일의 내용을 읽어오는 코드만 작성해두면 Java코드 수정 없이,
파일 내용만 수정하면 재 컴파일 수행되지 않는다.)
4. XML 파일 작성된 문자열 형태를 그대로 읽어오기 때문에
SQL 작성 시 좀 더 편리해진다.
🏷️ 클래스 통해 xml파일 생성하는법
예시
public class CreateXMLFile {
public static void main(String [] args) {
try {
Scanner sc = new Scanner(System.in);
// 1. Properties 객체 생성
Properties prop = new Properties();
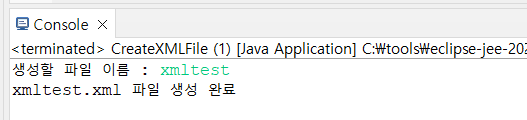
System.out.print("생성할 파일 이름 : ");
String fileName = sc.nextLine();
// 2.FileOutputStream 생성 (입력한 명칭으로 파일을 내보내겠다....)
// 파일명.xml
FileOutputStream fos = new FileOutputStream( fileName + ".xml" );
// 오류확인 후 SURROUND with try-catch 해주기
// 3. Properties 객체를 이용해서 XML 파일 생성
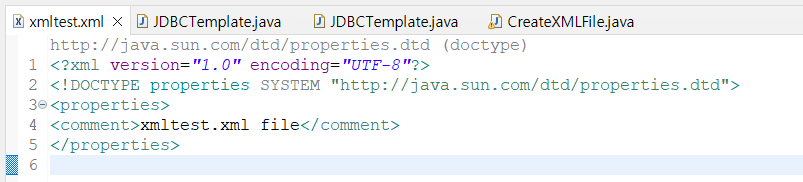
prop.storeToXML(fos, fileName + ".xml file");
// 4. 파일 잘 만들어졌는지 확인
System.out.println(fileName + ".xml 파일 생성 완료");
} catch (IOException e) {
// 그냥 Exception 해도 되고 조상인 IOException해도 상관없음
e.printStackTrace();
}
}
}결과
🏷️ 클래스 통해 xml파일 생성하는법
예시 java파일
public class LoadXMLFile {
public static void main(String[] args) {
// XML 파일 읽어오기(Properties, FileInputStream)
//1. 일단 properties 쓰면 예외오류 생겨서 try-catch문으로 먼저쓰기
try {
Properties prop = new Properties(); // Map <String, String>
// 2. drilver.xml 파일을 읽어오기 위한 InputStream 객체 생성
FileInputStream fis = new FileInputStream("driver.xml");
// 3. 연결된 driver.xml 파일에 있는 내용을 모두 읽어와
// Properties 객체에 K:V 형식으로 저장
prop.loadFromXML(fis);
// 4. 중간확인해보기
System.out.println(prop);
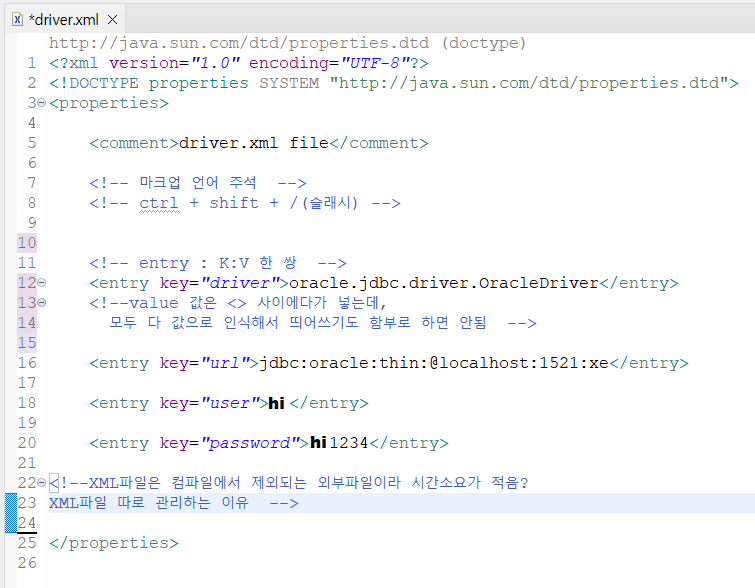
// {password=hi1234, driver=oracle.jdbc.driver.OracleDriver,
// user=hi, url=jdbc:oracle:thin:@localhost:1521:xe}
// map의 형태라 순서 뒤죽박죽임. <k.v> 형식으로는 나옴
// Property : 속성(데이터)
// prop.getProperty("key") : key가 일치하는 속성(데이터)를 얻어옴
String driver = prop.getProperty("driver");
String url = prop.getProperty("url");
String user = prop.getProperty("user");
String password = prop.getProperty("password");
System.out.println();
// 해당행 더블클릭. 위 메뉴 중 벌레그림 클릭.
// switch클릭하면 위에 제대로 되었는지 확인하는 디버깅 하는법??
// 이상하다면 에러가 뜰거임 대각선 제일 상단에 커피콩 그림 누르면 원래대로 돌아감~_~
// driver.xml 파일에서 읽어온 값들을 이용해 Connection 생성
Class.forName(driver); // "oracle.jdbc.driver.OracleDriver"
Connection conn = DriverManager.getConnection(url, user, password);
System.out.println(conn);
} catch(Exception e) {
e.printStackTrace();
}
}
} 예시 driver.xml 파일
결과


👩💼👩💼➡️➡️➡️👩💻👩💻 생산자의 삶을 살기 위해 개발공부중