1. 데이터셋 만들기
1.1. cv를 통해 얼굴 인식해보기
현재 사용하고 있는 tf2 내에 opencv를 설치
conda install opencv
pip install cvlib
얼굴 인식 프로그램을 만들기 전, cv라이브러리 내 딥러닝을 통해 얼굴을 인식하게 만들어놓은 라이브러리를 그대로 사용해볼 예정이다!
import cv2
import cvlib as cv

image = cv2.imread('sample.png')
faces, confidences = cv.detect_face(image)

for (x,y,x2,y2), conf in zip(faces, confidences):
#확률 나타내기
    cv2.putText(image, str(conf), (x,y-10), cv2.FONT_HERSHEY_PLAIN, 1, (0,255,0),1)
    cv2.rectangle(image, (x,y), (x2,y2), (0,255,0), 2)

cv2.imshow('image',image)
key = cv2.waitKey(0)
cv2.destroyAllWindows()
cv2 이미지다루기
imread(filename): 이미지 다루기
- filename : 절대, 상대경로 가능
- return : np.ndarray(3차원 BGR 타입)
imshow(title, image): 이미지를 사이즈에 맞게 보여줌
- title : 윈도우 창에 나올 제목
- image : 보여줄 이미지
cv2.waitKey(0): 키보드 입력을 대기함
- 0 : 키보드 입력 무한정 대기
- imshow와 짝꿍으로 같이 써줘야함
cv2.destroyAllWindows(): 화면에 나타난 윈도우 종료
- imshow와 짝꿍으로 같이 써줘야함
cv2를 통해 문자 그리기
cv2.putText(img, text, org, fontFace, fontScale, color, thickness, linetype)
- img : 이미지 파일
- text : 출력문자
- conf : 얼굴 인식 확률
- org : 출력 문자 시작 좌표
- fontFace : 폰트 스타일
- fontScale : 폰트 사이즈
- color : RGB 형태로 나타낼 것
- thickness : 폰트 두께
cv2를 통해 사각형 그리기
cv2.rectangle(img, pt1, pt2, color, thickness)
- img : 이미지 파일
- pt1 : 시작점 좌표
- pt2 : 종료점 좌표
- color : RGB 색상
- thickness : 선의 두께
1.2. 웹캠 연결하기
cv2.VideoCapture() : OpenCV에서 카메라와 비디오로부터 프레임(Frame)을 받아오는 작업 처리하는 클래스
webcam = cv2.VideoCapture(0)#기본카메라 0번 사용
if not webcam.isOpened():
    raise Exception("카메라 읎음")
cv2.VideoCapture(index, apiPreference=None)
- index : 기본카메라를 열기 위해서는 인덱스 0
- apiPreference : 선호하는 카메라 처리 방법 지정
- return 값 : retval(cv2.VideoCapture 객체 반환)
- 성공 : True
- 실패 : False
webcam.isOpened(): 비디오 캡쳐가 준비되었는지 확인
- return 값 : retval(cv2.VideoCapture 객체 반환)
- 성공 : True
- 실패 : False
#프레임 받아오기
ret, frame = webcam.read() #2개의 리턴값을 튜플로 반환함.
if not ret:
    raise Exception("캡쳐가 없음")
cv2.VideoCapture().read(): 성공적으로 웹캠을 열었다면 웹캠으로 사진을 받아옴
- return : 값 2개 반환
- retval(cv2.VideoCapture 객체 반환) : 성공 true, 실패 false
- image : 현재 프레임(numpy.ndarray) ➡️ 캡쳐된 이미지를 받아옴
1.3. 얼굴 탐지하기
faces, confidences = cv.detect_face(frame) #이미지에서 얼굴 위치, 얼굴일 확률 받아오기
print(faces)
print(confidences)
cv.detect_face(image): OpenCV의 DNN 모듈에서 미리 구현되어있음.
- face : detect한 얼굴 위치 좌표
- confidences : 얼굴일 확률
1.4. 이미지 저장
cv.imwrite('1.jpg', frame)
webcam.release()
cv.imwrite(filename, image): 이미지나 동영상 프레임을 다른 이름으로 저장- filename : 파일명
- image : 저장된 이미지
webcam.release(): 카메라 종료
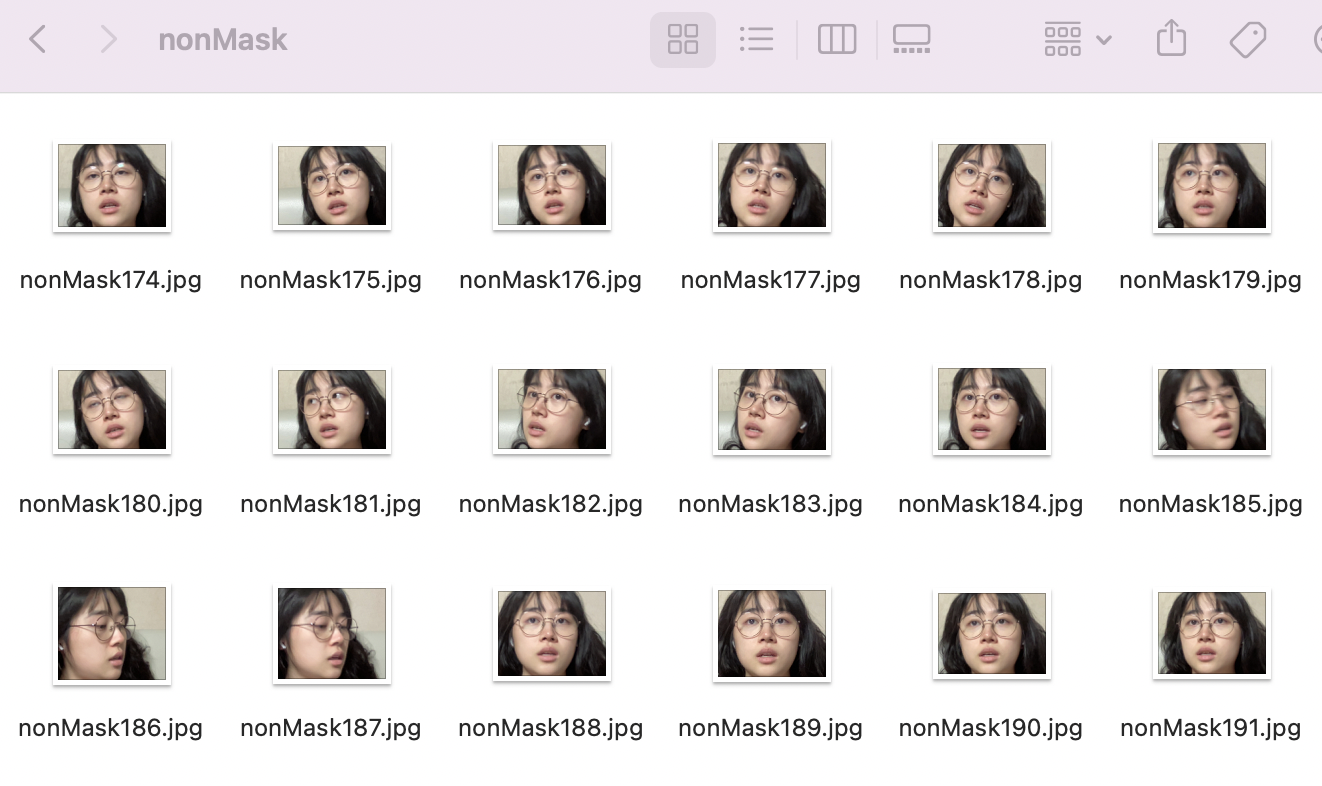
1.5. capture 함수를 통해 데이터셋 직접 생성
import time

def capture(path, m=1):
    count = 0

    webcam = cv2.VideoCapture(0)
    if not webcam.isOpened():
        raise Exception("카메라 읎음")

    while count < m:
    	time.sleep(0.3) # 캡쳐간 시간 0.3로 지연
        ret, frame = webcam.read() #2개의 리턴값을 튜플로 반환함.
        if not ret:
            raise Exception("캡쳐가 없음")

        faces, confidences = cv.detect_face(frame)

        for face, conf in zip(faces, confidences):
            if conf < 0.8:
                continue
            start_x, start_y, end_x, end_y = faces[0]
            cv2.imwrite(path+str(count)+'.jpg', frame[start_y:end_y, start_x:end_x, :])
            count += 1
    print(count, end='') #캡쳐 완료 시
    webcam.release()
capture('/Users/jangsujeong/Downloads/mask_project/nonMask', 300)
2. 데이터 전처리
- 이미지 전처리 : CNN 모델에서 이미지를 인식할 때 각 이미지를 동일한 크기의 픽셀로 나누기 때문에 현재 캡쳐된 모든 이미지를 동일한 크기로 포맷할 것임. 그러기 위해서는 가장 보편적으로 캡쳐된 이미지의 크기를 찾아보기로 하자.
2.1. 이미지 목록 불러오기
import os

non_list = os.listdir('/Users/jangsujeong/Downloads/mask_project/nonMask')
print(non_list)

yes_list = os.listdir('/Users/jangsujeong/Downloads/mask_project/Mask')
print(yes_list)
os.listdir: 해당 디렉터리에 있는 모든 파일의 목록을 리스트로 받아옴.
2.2. 이미지 크기 받아오기
image = cv2.imread('/Users/jangsujeong/Downloads/mask_project/nonMask/nonMask85.jpg')
image.shape
#(354, 458, 3)
- image.shape = height, width, channel
- channel : 색상
- 1 : 흑백
- 3 : 컬러
- ‼️Error : AttributeError: 'NoneType' object has no attribute 'shape'
➡️ 보통 imread()에서 경로를 못 읽어와서 나는 에러이므로 경로를 절대경로로 정확히 바꿔줘야 함

w = []
h = []

for i in non_list:
    img =  cv2.imread('/Users/jangsujeong/Downloads/mask_project/nonMask/' + i)
    h.append(img.shape[0])
    w.append(img.shape[1])

for i in yes_list:
    img = cv2.imread('/Users/jangsujeong/Downloads/mask_project/Mask/' + i)
    h.append(img.shape[0])
    w.append(img.shape[1])
2.3. 이미지 크기 분포 시각화하기
- 이미지 크기가 어디에 평균적으로 위치하는지 시각화해 직접 확인
- pass!!
2.4. 이미지 크기 통일하기
img_w, img_h = 140, 180
images = [] #실제 데이터
labels = [] #정답 데이터(1,0으로 분류)

for i in non_list:
    image = load_img('/Users/jangsujeong/Downloads/mask_project/nonMask/' + i, target_size=(img_w, img_h))
    image = img_to_array(image)
    images.append(image)
    labels.append(0)#마스크 쓰지 않았으므로 0

for i in yes_list:
    image = load_img('/Users/jangsujeong/Downloads/mask_project/Mask/' + i, target_size=(img_w, img_h))
    image = img_to_array(image)
    images.append(image)
    labels.append(1)#마스크 썼기 때문에 1

images[0].shape
#(140, 180, 3)- images에 크기를 변경한 데이터 값들을 차례대로 삽입
2.5. 데이터 분리
- 훈련용, 검증용, 테스트용 = 7:2:1 비율로 나누겠음
- 마스크 쓴 사진과 마스크를 쓰지 않은 사진이 서로 잘 섞여 있어야 함
from sklearn.model_selection import train_test_split
import numpy as np

x_train, x_test, y_train, y_test = train_test_split(np.array(images), np.array(labels), test_size=0.2)
x_train, x_val, y_train, y_val = train_test_split(x_train, y_train, test_size=0.1)
- 이전에 데이터를 분류할 때 마스크 유무와 상관없이 이미지와 레이블 값을 같은 리스트에 넣었기 때문에 사진이 잘 섞여있음.
3. 딥러닝 모델 구축하기
3.1. CNN 모델 설정
model = Sequential()
model.add(Conv2D(32, kernel_size=(3, 3), input_shape=(img_w, img_h, 3), activation='relu'))
model.add(Conv2D(64, (3, 3), activation='relu'))
model.add(MaxPool2D(pool_size=2))
model.add(Dropout(0.25))
model.add(Flatten())
model.add(Dense(128, activation='relu'))
model.add(Dropout(0.5))
model.add(Dense(10, activation='softmax'))- Sequential()을 통해 기본 모델 프레임 설정(시퀀셜)
3.2. 모델 컴파일
model.compile(loss='categorical_crossentropy', optimizer='adam', metrics=['accuracy'])3.3. 모델 학습
history = model.fit(X_train, Y_train, validation_data=(X_test, Y_test), epochs=10, batch_size=5)
 # 학습이 너무 오래걸려서 에포크 사이즈를 줄였음
3.4. 학습 간 정확도 및 오차의 변화도 시각화
accuracy = history.history['accuracy']
val_accuracy = history.history['val_accuracy']

loss = history.history['loss']
val_loss = history.history['val_loss']

epoch_range = range(20)

plt.figure(figsize=(16,8))
plt.subplot(1,2,1)
plt.plot(epoch_range, accuracy, label='Training Accuaracy')
plt.plot(epoch_range, val_accuracy, label='Validation Accuaracy')
plt.legend(loc='lower right')
plt.title('Training and Validation Accuracy')

plt.subplot(1,2,2)
plt.plot(epoch_range, loss, label='Training Loss')
plt.plot(epoch_range, val_loss, label='Validation Loss')
plt.legend(loc='upper right')
plt.title('Training and Validation Loss')
plt.show()
test_loss, test_accuracy = model.evaluate(x_test, y_test, verbose=0)
test_prediction = np.argmax(model.predict(x_test), axis=-1)
plt.figure(figsize=(13,13))

s = 0
for i in range(25):
    plt.subplot(5,5,i+1)
    plt.grid(False)
    plt.xticks([])
    plt.yticks([])
    prediction = test_prediction[s+i]
    actual = y_test[s+i]
    col = 'g'
    if prediction!=actual:
        col='r'
    plt.xlabel('Actual={} || Pred={}'.format(actual, prediction), color=col)
    plt.imshow(array_to_img(x_test[s+i]))

plt.show()
- 남은 test 이미지들에 대해서도 분류를 잘 해냄
4. 웹캠으로 감지되는 얼굴을 인식하여 마스크 유무 확인

hello world!
안녕하세요, 잘 읽고 공부하고 있는 병아리 입니다!
따라하다가, 모르는 것이 생겨 질문드리려고 댓글 답니다.
모델학습을 하려고 하면, ValueError: Shapes (None, 1) and (None, 10) are incompatible
라는 오류가 나오는데, 거슬러 올라가니 y_train.shape의 값이 누락되었고, "y_val:", y_val.shape의 값에 문제가 생깁니다. 이런 것을 어떻게 해결하셨는지, 혹시 코드 중 누락된 것이 있는지 궁금해서 여쭤봅니다!