GPU : NVIDIA GeForce RTX 3060
환경 : Window + conda
0. 복붙용 명령어
- 주목적: pytorch 사용
conda create -n yolo python=3.8.3 -y &&
conda activate yolo &&
conda install pytorch==1.11.0 torchvision==0.12.0 torchaudio==0.11.0 cudatoolkit=11.3 -c pytorch -y &&
conda install -c anaconda cudnn=8.2.1
conda install -c anaconda numpy=1.22.3 -y &&
conda install -c anaconda pillow pandas seaborn openpyxl ipython ipykernel protobuf -y &&
conda install -c conda-forge opencv debugpy matplotlib terminaltables tensorboard tqdm imgaug profilehooks pprintpp easydict filterpy -y &&
pip install torchsummary PyYAML onnxruntime-gpu
※ pip를 사용해야할 경우 Pytorch 공식 문서 확인
pip install torch==1.9.0+cu111 torchvision==0.10.0+cu111 torchaudio===0.9.0 -f https://download.pytorch.org/whl/torch_stable.html
- 주목적: opencv 사용
conda create -n opencv python=3.8.3 -y &&
conda activate opencv &&
conda install pytorch==1.11.0 torchvision==0.12.0 torchaudio==0.11.0 cudatoolkit=11.3 -c pytorch -y &&
conda install -c anaconda cudnn=8.2.1
conda install -c anaconda numpy=1.22.3 -y &&
conda install -c anaconda pillow pandas seaborn openpyxl ipython ipykernel protobuf -y &&
conda install -c conda-forge debugpy matplotlib terminaltables tensorboard tqdm imgaug profilehooks pprintpp easydict filterpy -y &&
pip install torchsummary PyYAML onnxruntime-gpu opencv-python
- 주목적: pyqt5 + pytorch 사용
pip install torch==1.9.0+cu111 torchvision==0.10.0+cu111 torchaudio===0.9.0 -f https://download.pytorch.org/whl/torch_stable.html
pip install PyQt5
pip install pyqt5-tools
pip install opencv-python
pip install pyrsistent
pip install sympy
pip install pysftp
pip install PyYAML
pip install pandas
pip install onnxruntime-gpu
pip install filterpy
1. conda 설치
Anaconda 공식 홈페이지에서 다운받을 수 있다.
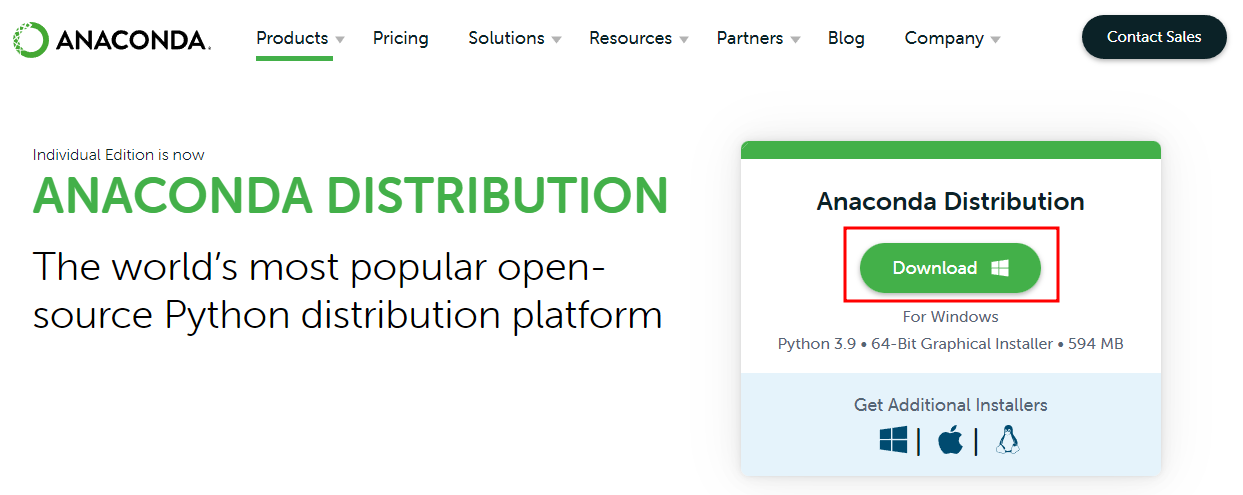
설치 후 cmd에 conda를 입력해보자.
conda실행할 수 없다는 메세지가 뜬다면 시스템 환경 변수 'Path'에 다음 경로를 추가하면 된다.
%HOMEPATH%\anaconda3\Scriptsanaconda3 대신 맨 앞이 대문자인 Anaconda3일 수도 있다.
2. 가상환경 생성
나는 yolo 라는 이름으로 가상환경을 생성했다.
conda create -n <사용할_가상환경_이름> python=<사용할_python_버전>
conda create -n yolo python=3.8.3
참고로 가상환경 삭제 방법은 다음과 같다.
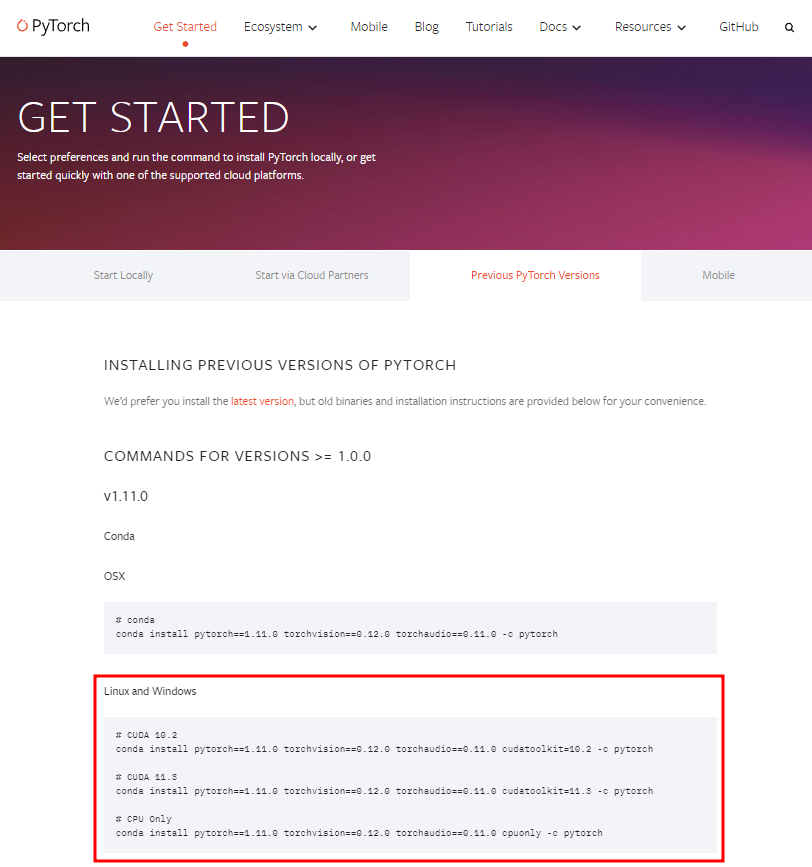
conda remove -n <삭제할_가상환경_이름> --all3. 가상환경 내에 Pytorch와 cudatoolkit 설치
GPU 환경 세팅 방법
Pytorch 공식문서에서 추천하는 버전에 맞춰 설치한다.
1) 내 GPU에 맞는 cudatoolkit버전을 확인한 뒤,
2) 그 버전에 맞춰 conda install 명령어 복붙해서 실행conda install pytorch==1.11.0 torchvision==0.12.0 torchaudio==0.11.0 cudatoolkit=11.3 -c pytorch
4. 패키지 설치
웬만하면 conda install로 설치하고 pip install은 최소화하는 게 좋다.
pip install vs conda install
출처
아나콘다에서는 pip 보다 conda 로 패키지를 관리하는 편이 좋다. conda 가 pip보다 패키지 의존성을 더 잘 관리해 주고, pip 에서는 미리 빌드된 패키지가 아닌 소스 패키지가 내려와서 cpp 빌드를 시도하다가 에러가 발생하는 경우도 가끔 있는데, 아나콘다의 conda 패키지는 운영체제 플랫폼에 맞추어 미리 빌드된 패키지들이 깔리기 때문에, cpp 빌드 환경설정이 필요 없기 때문이다. (그렇다, pip와 conda 로 인스톨하는 패키지들은 서로 다른 서버에서 가져온, 다른 것이다.) 또한 conda 패키지는 어떤 한 패키지를 업그레이드 또는 다운그레이드 하면, 해당 버전에 따라 의존되는 패키지까지 같이 업그레이드 다운그레이드를 해 준다. conda update --all 같은 명령을 내리면, 해당 가상환경에 깔린 모든 패키지를 한꺼번에 최신으로 올려주기까지 한다.
그러나 여전히 아나콘다 환경에서 pip 로 패키지 설치를 하라는 튜토리얼이나 강좌가 많이 있다. 한가지 이유는 conda 패키지는 미리 빌드된 패키지를 만들고 패키지 의존성까지 맞추기 때문에, pip의 pypi 서버만큼 빨리 최신버전이 올라오지 않는다. 그래서 tensorflow 의 아주 최신 버전이 pip 로는 설치가 되는데, conda 로는 설치가 안되는 상황이 발생하기도 하고, 이런 때에는 부득이 pip 로 설치해야 할 것이다. 하지만, 부득이 pip 로 어떤 패키지를 설치하게 되면, 이후에 conda update나 conda install, uninstall 등으로 패키지를 변경할 경우에 pip 로 설치되었던 패키지는 업데이트에서 누락이 되거나, 다른 버전이 두가지가 깔려있는 것처럼 보이거나 하는 경우가 발생할 수 있다.
conda install 사용법
conda install의 -c 옵션은 channel을 의미하는데, 이 때 channel이란 conda용으로 예쁘게 빌드된 패키지들이 저장되어 있는 공간이다. 설치하고 싶은 패키지에 따라 channel이 다를 수 있으니 구글에 'conda <패키지 이름>'을 검색하여 conda 공식문서에서 추천하는 설치 명령어를 복붙하자.
웬만한 기초적 패키지들은 conda-forge로 다 되니 일단 conda-forge <패키지명>으로 시도해보고 안되면 그 때 구글 검색하는게 편하다.
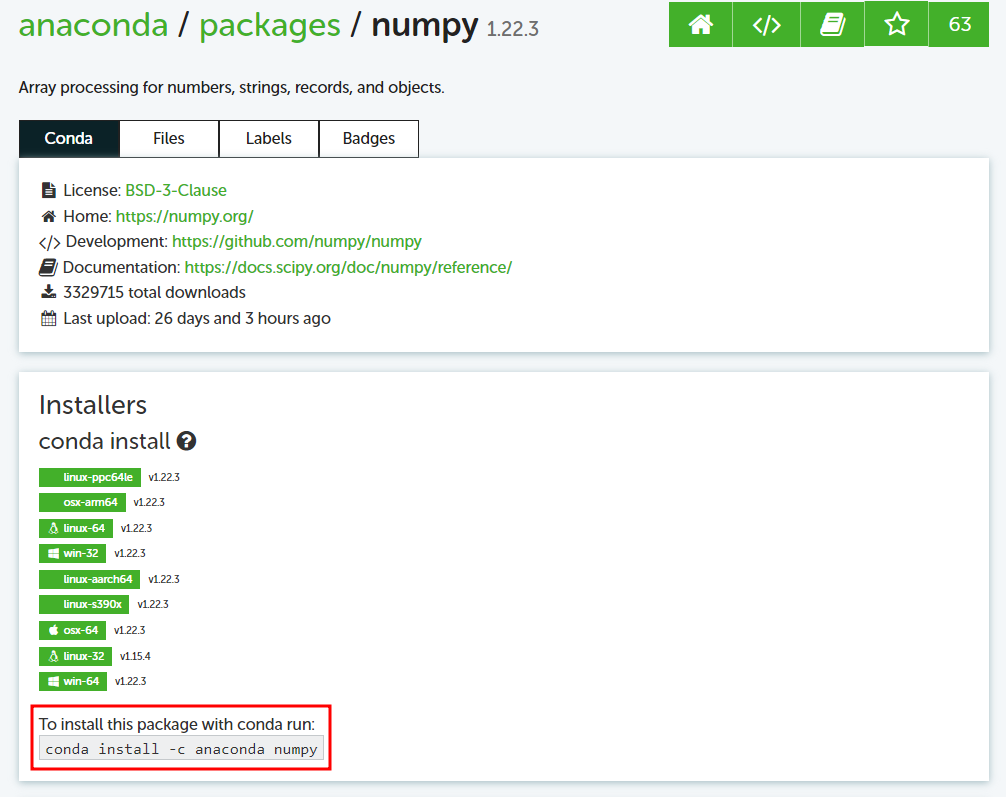
예를들어 numpy는 검색창에 'conda numpy' 쳐서 conda 공식문서에서 추천하는 아래와 같은 명령어를 복붙해서 실행하면 된다.conda install -c anaconda numpy

내가 사용할 Pytorch-YOLOv3 프로젝트에는 다음과 같은 패키지가 필요하다.
conda install -c anaconda numpy
conda install -c conda-forge matplotlib
conda install -c conda-forge terminaltables
conda install -c conda-forge tensorboard
conda install -c conda-forge tqdm
conda install -c conda-forge imgaug
conda install -c conda-forge profilehooks
conda install -c conda-forge easydict
pip install torchsummary
5. Jupyter notebook에서 가상환경 커널 사용하기
우선 커널을 검색해보자. (conda를 설치했다면 jupyter는 자동으로 설치되어 있음)
jupyter kernelspec list결과에 base 커널인 python3 커널만 나온다면 추가적인 세팅이 필요한 것이다.

1) conda kernel package 설치
conda install nb_conda_kernels2) ipykernel이 설치되어 있는지 확인 후 없으면 설치
conda list ipykernel
pip install ipykernel
3) 커널에 가상환경 연결 (--display-name 옵션을 생략하면 가상환경 이름이 곧 커널 이름이 됨)
python -m ipykernel install --user --name <연결할_가상환경_이름> --display-name "<커널_이름_지정>"
python -m ipykernel install --user --name yolo --display-name "yolo"
4) 잘 됐는지 확인
jupyter kernelspec list참고로 커널 삭제 방법은 다음과 같다.
jupyter kernelspec uninstall <삭제할_커널_이름>
6. Error 해결
Error1
내용
conda 설치 후 conda 명령어 실행 시 다음과 같은 오류 발생
SSLError("Can't connect to HTTPS URL because the SSL module is not available.")해결
경로1 : C:\Users\ZZY\anaconda3\Library\bin
경로2 : C:\Users\ZZY\anaconda3\DLLs
경로1에는 다음과 같은 4개의 파일이 있는데
libcrypto-1_1-x64.dll
libcrypto-1_1-x64.pdb
libssl-1_1-x64.dll
libssl-1_1-x64.pdb
이 파일들을 복사하여 경로2에 붙혀넣어 준다.
Error2
내용
conda 가상환경 커널에서 Jupyter notebook 사용 시 다음과 같은 오류 발생
TqdmWarning: IProgress not found. Please update jupyter and ipywidgets.해결
conda install -c conda-forge ipywidgets
jupyter nbextension enable --py widgetsnbextension
Error3
내용
conda를 처음 설치하면 Window, Linux 상관 없이 일어날 수 있는 에러.
예를들어 WSL(Ubuntu20.04) 환경에서 conda activate 실행 시 다음과 같은 오류 발생.
(conda는 되는데 conda activate가 안됨. 정확히는 conda의 현재 환경을 나타내는 "(base)"가 보이지 않는 상황.)CommandNotFoundError: Your shell has not been properly configured to use 'conda activate'. To initialize your shell, run $ conda init <SHELL_NAME> Currently supported shells are: - bash - fish - tcsh - xonsh - zsh - powershell See 'conda init --help' for more information and options. IMPORTANT: You may need to close and restart your shell after running 'conda init'.해결
- 환경 : Window Powershell
이하의 명령어 순차적으로 실행 후 Powershell 재시작 [ ※ 참고자료 ]conda init powershell Set-ExecutionPolicy -ExecutionPolicy RemoteSigned -Scope CurrentUser
- 환경 : Window cmd
이하의 명령어 실행 후 cmd 재시작conda init cmd.exe
- 환경 : WSL(Ubuntu20.04)
이하의 명령어 순차적으로 실행 후 Bashshell 재시작conda init bash source ~/anaconda3/etc/profile.d/conda.sh
기타