시작하기 전
Navigation은 Android Jetpack의 AAC(Android Architecture Component) 라이브러리 중 하나로 화면 구성 및 UI 전환 을 쉽게 구현할 수 있도록 도와준다.
1. 환경 설정
앱의 build.gradle 에 navigation 라이브러리 의존성을 추가해준다.
def nav_version = "2.5.3"

// Java language implementation
implementation "androidx.navigation:navigation-fragment:$nav_version"
implementation "androidx.navigation:navigation-ui:$nav_version"

// Kotlin
implementation "androidx.navigation:navigation-fragment-ktx:$nav_version"
implementation "androidx.navigation:navigation-ui-ktx:$nav_version"
2. Navigation Menu 만들기
res 폴더에 Resource Type을 Menu로 선택한 후 bottom_nav_menu와 같은 이름으로 menu를 생성해준다.

생성한 파일에 item을 추가하여 각 하단 메뉴에 어떤 아이템을 나타낼 것인지 지정해준다.
res > menu > bottom_nav_menu.xml<?xml version="1.0" encoding="utf-8"?> <menu xmlns:android="http://schemas.android.com/apk/res/android"> <item android:id="@+id/a" android:icon="@drawable/a" android:title="a" /> <item android:id="@+id/b" android:icon="@drawable/b" android:title="b" /> <item android:id="@+id/c" android:icon="@drawable/c" android:title="c" /> <item android:id="@+id/d" android:icon="@drawable/d" android:title="d" /> </menu>
3. Navigation graph 만들기
Navigation graph는 모든 Navigation 관련 정보가 하나의 중심 위치에 모여 있는 XML 리소스이다. 여기에는 destination이라고 부르는 앱 내의 모든 개별적 콘텐츠 영역과 사용자가 앱에서 갈 수 있는 모든 이용 가능한 경로가 포함된다.
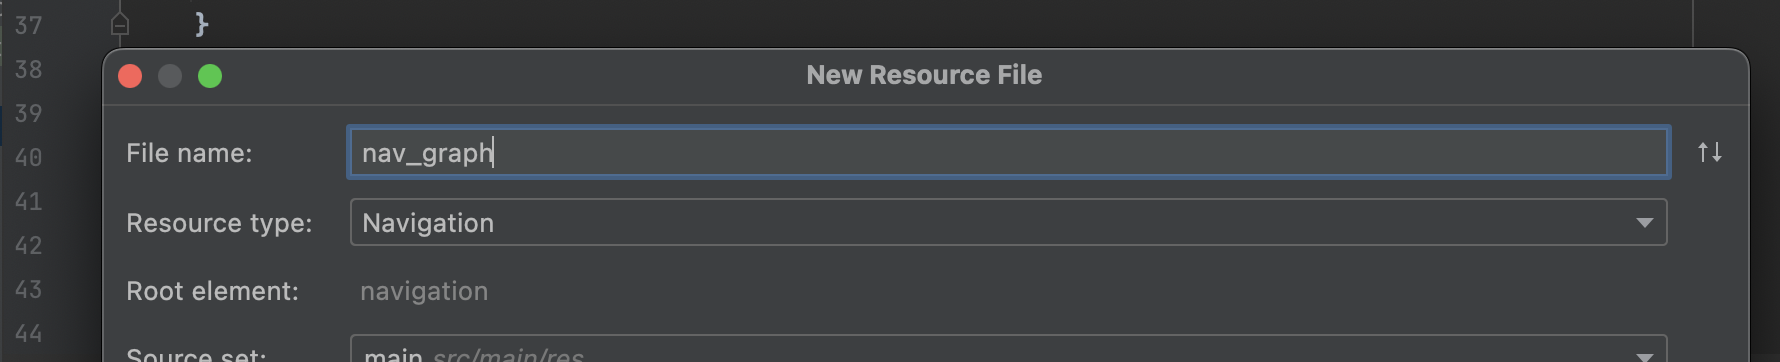
navigation 리소스 폴더 생성
res 폴더에 Resource Type을 Navigation으로 선택한 후 nav_graph (bottom_navigation으로 변경함) 와 같은 이름으로 navigation을 생성해준다.
res > Navigation > bottom_navigation.xml
// bottom_nav_menu에 설정한 id와 동일하게 설정해준다.<?xml version="1.0" encoding="utf-8"?> <navigation xmlns:android="http://schemas.android.com/apk/res/android" xmlns:app="http://schemas.android.com/apk/res-auto" xmlns:tools="http://schemas.android.com/tools" android:id="@+id/mobile_navigation" app:startDestination="@+id/a"> <fragment android:id="@+id/a" android:name="com.example.AFragment" tools:layout="@layout/fragment_a" /> <fragment android:id="@+id/b" android:name="com.example.BFragment" tools:layout="@layout/fragment_b" /> <fragment android:id="@+id/c" android:name="com.example.CFragment" tools:layout="@layout/fragment_c" /> <fragment android:id="@+id/d" android:name="com.example.DFragment" tools:layout="@layout/fragment_d" /> </navigation>
💡참고💡
android:id는 이 XML 및 코드의 다른 위치에서 대상을 참조하는 데 사용할 수 있는 프래그먼트의 ID를 정의합니다.
android:name은 대상으로 이동할 때 인스턴스화할 프래그먼트의 정규화된 클래스 이름을 선언합니다.
tools:layout은 그래픽 편집기에서 표시해야 하는 레이아웃을 지정합니다.
4. Bottom navigation을 보여줄 acitivty 설정
해당 fragment 뷰가 있는 activity에서 설정해주면 된다. MainActivity에 fragment 뷰가 있다고 가정하여 작성해보자
activity_main.xml<com.google.android.material.bottomnavigation.BottomNavigationView android:id="@+id/bottom_nav_view" ... app:labelVisibilityMode="labeled" ... app:menu="@menu/bottom_nav_menu" /> <androidx.fragment.app.FragmentContainerView android:id="@+id/nav_host_fragment_container" android:name="androidx.navigation.fragment.NavHostFragment" ... app:defaultNavHost="true" ... app:navGraph="@navigation/bottom_navigation" />
위 코드를 살펴보자
먼저 BottomNavigation에 만들어 놓은 bottom_nav_menu를 연결해준다. 이때 app:labelVisibilityMode="labeled" 는 선택되지 않더라도 메뉴의 라벨(텍스트)을 보이도록 해준다.
다음으로 FragmentContainerView 는 Fragment를 위해 특별히 설계된 레이아웃이다. FrameLayout을 확장하여 프래그먼트 트랜잭션을 안정적으로 처리 할 수 있고, 프래그먼트 동작을 조정할 수있는 추가 기능도 있다.
app:defaultNavHost 속성에는 host를 지정해주는 역할을 한다.
app:navGraph 속성은 만들어놓은 bottom_navigation을 넣어주면 된다.
5. Acitivty 설정
여기까지 하면 화면 구성은 끝났다.
FragmentContainerView를 사용하여NavHostFragment를 만들 때 또는FragmentTransaction을 통해NavHostFragment를 활동에 수동으로 추가할 경우Navigation.findNavController(Activity, @IdRes int)를 통해 활동의 onCreate()에서 NavController를 검색하려고 하면 실패한다.
이제 네비게이션을 클릭했을 때 Fragment 화면이 전환되어야 하는데 NavController를 사용할 것이다.
❗️NavHostFragment에서 직접 NavController를 검색해야 한다.❗️
NavHostFragment navHostFragment =
        (NavHostFragment) getSupportFragmentManager().findFragmentById(R.id.nav_host_fragment_container);
NavController navController = navHostFragment.getNavController();
BottomNavigationView bottomNav = findViewById(R.id.bottom_nav_view);
    NavigationUI.setupWithNavController(bottomNav, navController);
화면

