emotion
현재로썬 CSS-in-JS를 이용하여 내가 느낀 장점은 기존 CSS로만 작성한 것에 비해 mixin도 가능하고 클래스명을 고민할 필요가 없었다.
그리고 컴포넌트로 분리하여 재사용도 가능하며 CSS 내에서 state값을 이용하여 조건에 따른 css 설정도 가능했다.
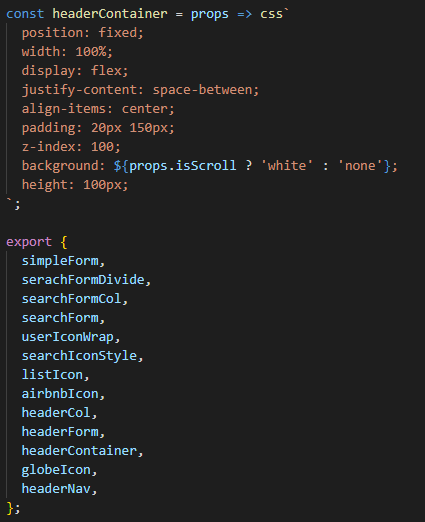
올바른 방법인지는 모르겠지만 현재는 아래와 같이 css관련 파일은 따로 분리하여 import하는 방식을 이용하고 있다.
import { headerContainer } from '../../assets/css/common/headerStyle';

function Header({ isScroll, isHeaderClick, headerClick }) {
  return (
    <>
      <header css={headerContainer({ isScroll })}>
        <Logo isScroll={isScroll} />
        <HeaderNav isScroll={isScroll} />
      </header>
    </>
  );
}
스크롤 값에 따른 변화
state를 관리하는 HeaderContainer에서 window.scrollY 값에 따라 isScroll값을 변화시켜 다른 컴포넌트들에게 넘기는 방식을 이용하여 색상 변화를 시킬 수 있었다.


const [isScroll, setIsScroll] = useState(window.scrollY > 50);

function debounce(callback, wait = 100) {
  let timer;

  return function () {
    if (timer) clearTimeout(timer);
    timer = setTimeout(callback, wait);
  };
}

const onScroll = e => {
  const value = window.scrollY;
  setIsScroll(value > 50);
};

useEffect(() => {
  window.addEventListener('scroll', debounce(onScroll));
  return () => {
    window.removeEventListener('scroll', onScroll);
  };
}, []);
/** @jsxImportSource @emotion/react */
import { css } from '@emotion/react';
const globeIcon = props => css`
fill: ${props.isScroll ? 'black' : 'white'};
width: 16px;
height: 16px;
`;
const airbnbIcon = props => css`
fill: ${props.isScroll ? 'red' : 'white'};
width: 102px;
height: 32px;
`;
const headerCol = props => css`
flex: 1 1 33%;
display: flex;
align-items: center;
background: orange;
`;
const headerContainer = props => css`
position: fixed;
width: 100%;
display: flex;
justify-content: space-between;
align-items: center;
padding: 20px 150px;
z-index: 100;
background: ${props.isScroll ? 'white' : 'none'};
height: 100px;
`;
export { airbnbIcon, headerCol, headerContainer, globeIcon };