Sunnyside agency page 2. 전역 스타일링

중요한 것을 하나 빼먹고 있었는데,
전역 스타일을 추가하고 원래 있던 것을 제거해 줄 필요가 있다.
예전에 Godomall 템플릿 사이트를 수정하면서 머리 빠개지도록 꺠달은 내용이다.(근데 그때는 고도몰 스타일 제거가 안되는 상황이어서 모든 CSS 구문에 !important로 처리했었다...) 지금이라도 하도록 하자.
NextJS는 일반적으로 globals.css의 내용을 가져와서 _app.tsx에서 임포트해서 모든 페이지에 해당 클래스가 조회되도록 하는 것으로 알고 있다.
https://github.com/vercel/next.js/blob/canary/examples/with-styled-components/components/globalstyles.tsx
다행히 NextJS docs에서 styled-components의 전역 스타일시트 템플릿을 제공한다!
1. 먼저, _document.tsx를 추가한다.
styled component의 prop들이 렌더링 이후에 먹을 수 있도록 한다.
하나하나 확인해보기로 한다.
먼저 _document.tsx가 무엇인지? 부터 알아봐야겠다.
너무 자세하게 알아보지는 않도록 할 것이다. 차후 NextJS docs를 읽으면서 정리하는 시간을 가질 것이다.
- 서버가 해당 uri로 요청을 받았을 때 가장 먼저 실행되는 것은 App.tsx이다.
- _document.tsx는 _app.tsx(클라이언트에서) 이후에 실행된다.(서버에서!)
이곳에서는 next/document에서 head를 불러와서 meta tag를 설정하거나, 서버에서 props를 내려주거나 등등등을 할 수 있다. - 그러니까 결국 document 객체 그 자체를 서버에서 설정해서 내려주는 역할을 하는 것으로 보인다.
./pages/_documents.tsx

import Document, { DocumentContext } from 'next/document'
import { ServerStyleSheet } from 'styled-components'

export default class MyDocument extends Document {
// getInitialProps는 요즘은(next 9.0) getInitialProps 대신 // getStaticProps, getStaticPaths, getServerSideProps을 // 사용한다고 한다. server-side의 데이터를 페칭하기 위한 일종의 lifecycle로 getInitialProps가 끝난 뒤, 서버에서 html을 클라로 페칭하는 것이다.

  static async getInitialProps(ctx: DocumentContext) {
    const sheet = new ServerStyleSheet()
    const originalRenderPage = ctx.renderPage

    try {
      ctx.renderPage = () =>
        originalRenderPage({
          enhanceApp: (App) => (props) =>
            sheet.collectStyles(<App {...props} />),
        })
        // 이곳에서 styled-components의 문법을 추가해 준다.

      const initialProps = await Document.getInitialProps(ctx)
      return {
        ...initialProps,
        styles: [initialProps.styles, sheet.getStyleElement()],
      }
    } finally {
      sheet.seal()
    }
  }
}
nextJS docs의 코드를 그대로 사용하였다.
2. globalStyles를 만든다.
// ./styles/globalStyles.css
//

import { createGlobalStyle } from 'styled-components'
// body에 마진과 패딩은 꼭 제거하자!
const GlobalStyle = createGlobalStyle`
  html,
  body {
    padding: 0;
    margin: 0;
    font-family: -apple-system, BlinkMacSystemFont, Segoe UI, Roboto, Oxygen,
      Ubuntu, Cantarell, Fira Sans, Droid Sans, Helvetica Neue, sans-serif;
  }
  a {
    color: inherit;
    text-decoration: none;
  }
  * {
    box-sizing: border-box;
  }
`

export default GlobalStyle
이것 역시 위 next DOCS에서 그대로 사용하였고, 테마만 제거했다.
해당 globalStyles는 모듈 형식으로 임포트하여 _App.tsx에서 사용한다.
// ./pages/_app.tsx

import '../styles/globals.css'
import type { AppProps } from 'next/app'
import GlobalStyle from '../styles/globalStyles'

function MyApp({ Component, pageProps }: AppProps) {
  return (
    <>
        <GlobalStyle />
        <Component {...pageProps} />
    </>
  )
}

export default MyApp

// import 밑 HOC의 형태로 사용한다.
// 여기서 document를 커스텀으로 생성했다면, 그 정의한 액션을 수행해서 아래 component에 덮어씌우게 된다.
여기까지 되었다면, 문제없이 _documents.tsx에서 추가된 전역 스타일이 먹히는 것을 확인할 수 있었다.
3. 드디어, Header부터 해보자.
저번 글에서 참고한 header는 다음과 같았다.

- pc버전
- display: flex 형태이다.
- 왼쪽에는 회사 로고, 오른쪽에는 interactable 4개 존재한다.
- 맨 마지막 버튼은 다른 버튼과 다르게 추가 스타일이 있다.

- mobile 버전
- display: flex 형태이다.
- 왼쪽에는 회사 로고, 오른쪽에는 pc 와 다르게 햄버거 버튼이 하나 있다.
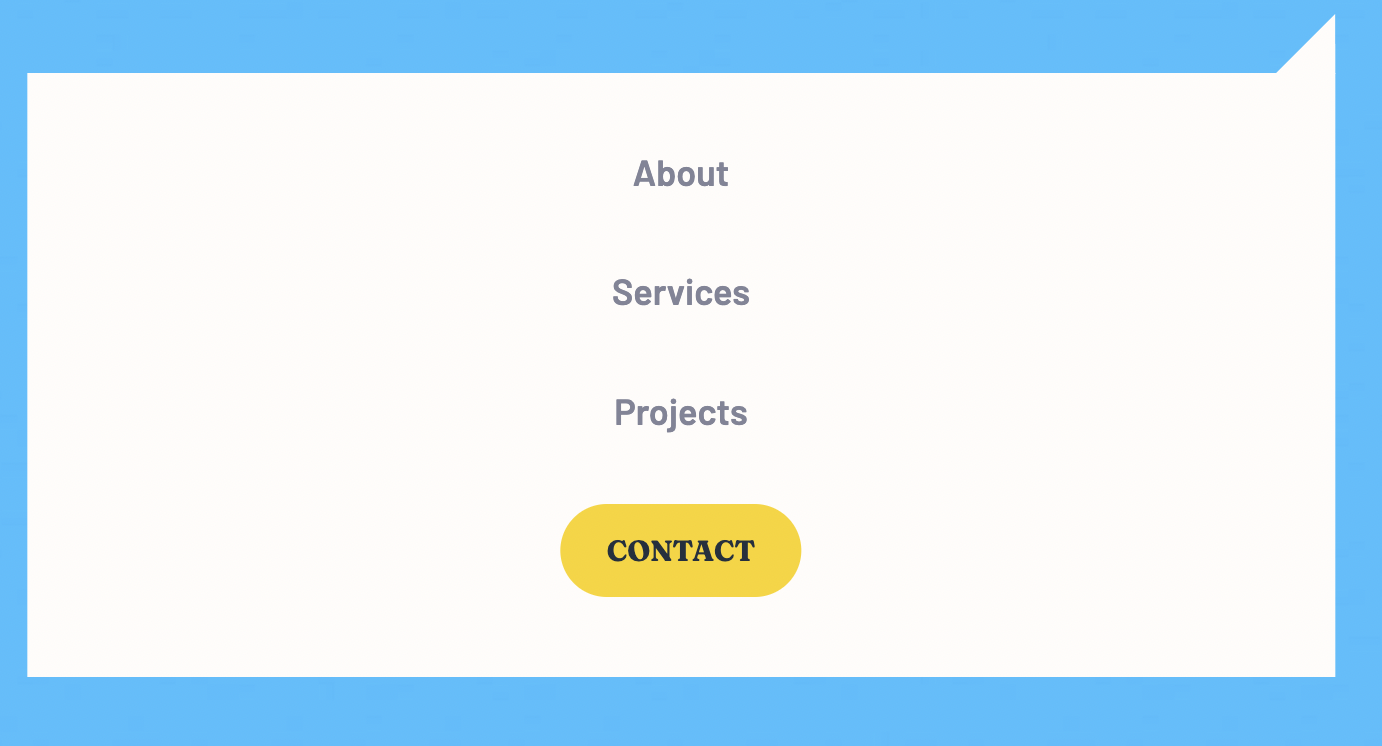
누를 경우, modal이 나와서 위 생략된 버튼을 보여준다.
굉장히 자주 보던 구성이다. 일단 Header 컴포넌트부터 만들면 될 것 같다.
참고한 url
https://github.com/vercel/next.js/blob/canary/examples/with-styled-components/components/globalstyles.tsx

https://ssangq.netlify.app/posts/nextjs-getinitialprops