Kubernetes - Amazon EKS , ArgoCD
settings
- ec2만들기 ( small로 만들었어야햇다 .. )
- 안그러면 클러스터 생성할때 터져버려요..
- 젠킨스 스크립트로 설치
#!/bin/bash
apt-get update -y
apt-get install -y openjdk-11-jdk
wget -q -O - https://pkg.jenkins.io/debian/jenkins-ci.org.key | sudo apt-key add -
echo deb http://pkg.jenkins.io/debian-stable binary/ | sudo tee /etc/apt/sources.list.d/jenkins.list
sudo apt-key adv --keyserver keyserver.ubuntu.com --recv-keys FCEF32E745F2C3D5
sudo apt-get -y update
sudo apt-get -y install jenkins
sed -i s/HTTP_PORT=8080/HTTP_PORT=7777/g /etc/default/jenkins
sed -i s/JENKINS_PORT=8080/JENKINS_PORT=7777/g /usr/lib/systemd/system/jenkins.service
systemctl daemon-reload
systemctl restart jenkins
systemctl enable jenkins # 잿작
sudo cat /var/lib/jenkins/secrets/initialAdminPassword

//docker install

curl -fsSL https://get.docker.com -o get-docker.sh
sudo sh get-docker.sh

// password
기입-
필요한 플러그인
- docker pipline
- maven Integration
- Publish over ssh
- maven Invoker
- slack Notification
-
시스템설정에서
- slack
- workspace 가 슬랙 채널아이디 나온부분 설정
- globaltool에서 maven설정
- slack
-
크리덴셜 에서 계정등록
- 도커
- git
-
새로운 item 등록
-
설정에들어가서 git 등록
-
permision
sudo usermod -aG docker jenkins
systemctl restart jenkins
이후 AWS를 컨트롤하기위해 aws cli 를 구성한다 .
AWS Cli
AWS Cli 구성하는법
curl "https://awscli.amazonaws.com/awscli-exe-linux-x86_64.zip" -o "awscliv2.zip"
# cli 환경 설치를 위한 압축파일 다운
apt-get -y install unzip
# 압축풀기위한 패키지 설치
unzip awscliv2.zip
# 다운 받은 압축파일을 풀고
sudo ./aws/install
# 설치 - aws cli 에 로그인하기위해서 IAM 사용자 추가하기
- 사용자 탭
- 사용자 추가
- AWS Management Console에 대한 사용자 액세스 권한 제공 – 선택 사항
- 클릭하면 웹접속이가능
- IAM 생성하고싶음 클릭
- 사용자 지정암호 클릭 (계정에대한암호 )
- 계정명 : eks 비밀번호: ""
- 사용자는 다음 로그인 시 새 암호를 생성해야 합니다(권장). ← 체크해제
- AWS Management Console에 대한 사용자 액세스 권한 제공 – 선택 사항
- 직접 연결정책
- AdministratorAccess 선택 (관리자권한)
- 다음
- 다음
- https://"IAM ID".signin.aws.amazon.com/console 콘솔 로그인 URL
- 예를 들어 회사계정을 만들어주는거 (root계정 이라고보면됨 AWS)
- https://"IAM ID".signin.aws.amazon.com/console 콘솔 로그인 URL
- 그 후 생성된 계정을 클릭
- 보안 자격증명 탭 클릭 (accesskey라는 걸만들어서 개발환경에서도 사용할수있게도 할수있음 )
- 액세스키 만들기
- 만드는 이유 ? cli를 사용하기위해서
- 그 후 발급된 엑세스 키 보관
- 그 후
aws configure
# 액세스키 설정 다 넣은 후 리전 등록 후 엔터 - eks 환경구성하기 (클러스터환경을위한 eksctl)
curl --silent --location \
"https://github.com/weaveworks/eksctl/releases/latest/download/eksctl_$(uname -s)_amd64.tar.gz" | tar xz -C /tmp

# 설치 파일 다운로드
sudo mv /tmp/eksctl /usr/local/bin
# 명령어를 내 서버로 이동

eksctl version

# 버전 뜨면 정상완료 - kubectl 명령어 설치
curl -LO "https://dl.k8s.io/release/$(curl -L -s https://dl.k8s.io/release/stable.txt)/bin/linux/amd64/kubectl"
# 명령어 다운
sudo install -o root -g root -m 0755 kubectl /usr/local/bin/kubectl
 # 설치
kubectl version --client- eksctl 을 통한 eks 클러스터 구성
eksctl create cluster --vpc-public-subnets <퍼블릭서브넷ID 1>,<퍼블릭서브넷ID 2> --name <eks 클러스터 이름> --region ap-northeast-2 --version 1.24 --nodegroup-name <eks 노드그룹 이름> --node-type t2.small --nodes 2 --nodes-min 2 --nodes-max 5

# 꼭 서브넷 넣기  ec2 vpc랑 연결된 서브넷마스크 들을 넣어준다.

# eks 클러스터이름 = 내가 지정한이름

# 쿠버네티스 버전 1.24

# type = t2.small -nodes 2 두개 띄울꺼다

# eks 클러스터 구성하는데 시간당 0.1달러 + ec2 인스턴스의 사용요금은 별도 + 기타 등등 (lb)

eksctl create cluster --vpc-public-subnets subnet-0dfdd5d9c742ad916,subnet-0ce35010d7edbe5ac --name eks-cluster --region ap-northeast-2 --version 1.24 --nodegroup-name eks-nodegroup --node-type t2.small --nodes 2 --nodes-min 2 --nodes-max 5

# 최대 노드 5개를 갖겠다 .

# cloud formation 인프라 프로비저닝 서비스, 만약에 클러스터를 다시 설치할때 안되는경우 cloud formation에 가서 찌꺼기를 삭제해준다.- 도커 허브 계정에서 이미지 가져와서 내 도커허브저장소로 푸쉬해놓기
root@ip-10-10-1-191:~# docker image pull ""
root@ip-10-10-1-191:~# docker image pull ""
#실습을위해 이미지를 pull 해온다
root@ip-10-10-1-191:~# docker tag ""
root@ip-10-10-1-191:~# docker tag "" 허브계정/이미지
#받은 이미지를 새로 태깅
docker push 허브계정/이미지
docker push 허브계정/이미지
—------
eks 클러스터 구성이 잘 됐다면 아래 명령어로 확인
root@ip-10-10-1-191:~# k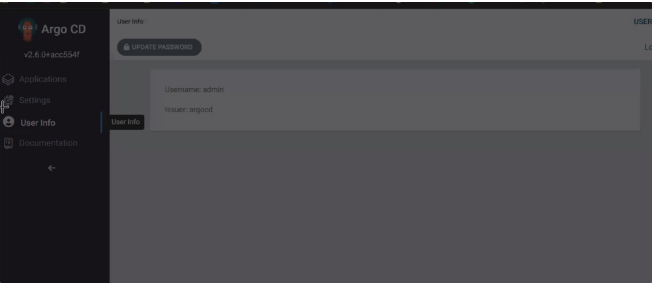
get pod -n kube-system- 간단한 deployment 배포
apiVersion: apps/v1
kind: Deployment
metadata:
  name: h-deploy
spec:
  replicas: 2
  selector:
    matchLabels:
      app: labels
  template:
    metadata:
      labels:
        app: labels
    spec:
      containers:
        - name: 이미지이름
          image: 도커로 푸쉬한 이미지
k apply -f h-deploy.yml
k get pod -o wide
# 확인해보기 - 외부로 서비스 하기위한 service 매니페스트 파일 만들기
apiVersion: v1
kind: Service
metadata:
  name: np-rep-svc
spec:
  selector:
    app: labels
  ports:
    - name: http
      protocol: TCP
      nodePort: 80
      port: 80
targetPort: 80- 서비스타입을 변경하는 방법
- svc매니페스트 파일을 직접 변경 후 apply를 다시 해주는 방법
- kubectl patch 명령을 쓰는방법
k patch svc np-rep-svc -p '{"spec": {"type": "LoadBalancer"}}'- EKS에서는 자동으로 로드밸런스를 잡아준다

서비스 삭제해보기
k delete -f h.svc.yml -f h-deploy.yml argoCD : k8s의 배포툴
깃허브 레포지토리에 있는 매니페스트파일을 불러와서 자동으로 배포. 시각화 및 롤백 같은 기능을 제공한다.
- argoCD install
kubectl create namespace argocd # argoCD를 설치하기 위한 네임스페이스 생성

kubectl apply -n argocd -f https://raw.githubusercontent.com/argoproj/argo-cd/stable/manifests/install.yaml
# argoCD 설치

kubectl patch svc argocd-server -n argocd -p '{"spec": {"type": "LoadBalancer"}}'
# argocd의 서비스 타입을 로드밸런서로 구성

kubectl -n argocd get secret argocd-initial-admin-secret -o jsonpath="{.data.password}" | base64 -d; echo
# 이렇게 치면 랜덤한 비밀번호가 나옴
k get svc -n argocd 
- DNS이름 을 접속하면 된다
- 접속을해서 들어가게되면 argocd 페이지가나온다.
- username은 admin
- password는 초기비밀번호
- 접속 화면 부분
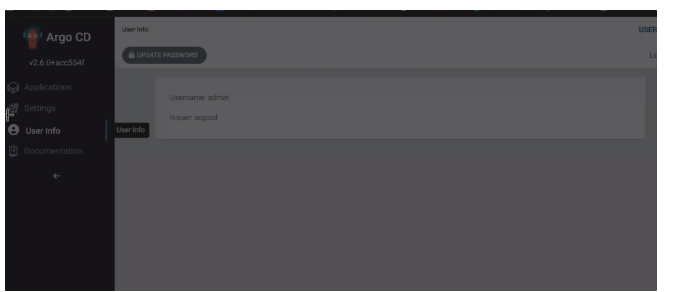
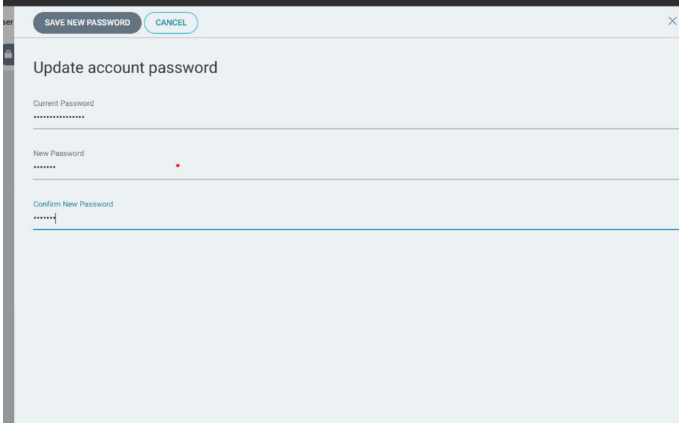
- userInfo → UPDATE PASSWORD 클릭
- 이페이지에서 아까 초기비밀번호를 치고 그 다음 칸부터 내가 앞으로 사용할 비밀번호를 작성하면된다
- 이후 배포를 하기위해선
repository->connect Repo
이후 VIA HTTPS 클릭
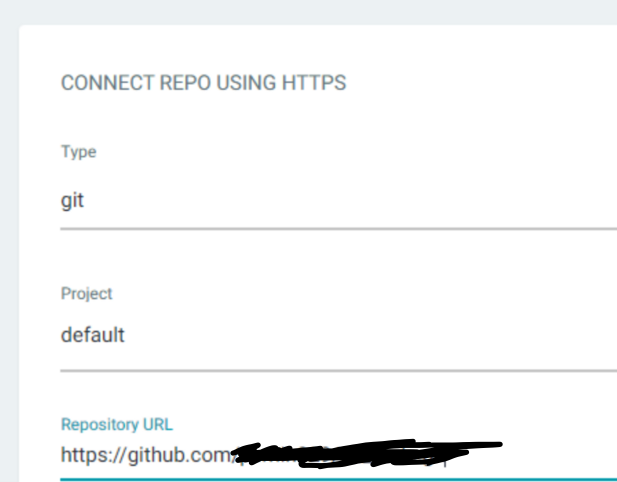
- 이렇게 친후 connect 버튼을 클릭하여 status를 확인해서 ㅇ정상적으로 작동되고있는지 확인하자
- 그 후 어플리케이션 탭 클릭 후 new APP 클릭
Destination 에서는 Namespace를 꼭 default로 그 후 create
이후 파드가 띄워진걸 볼 수있다.
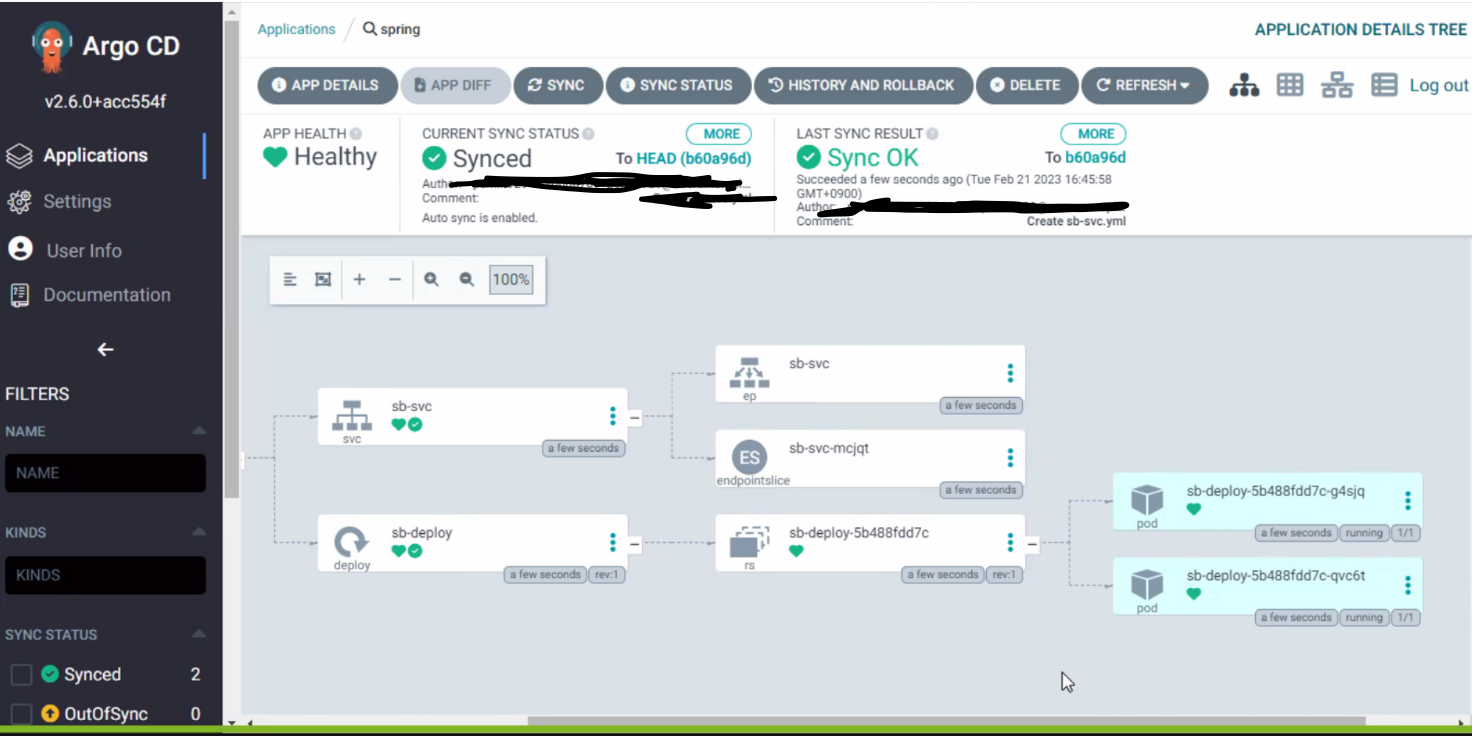
이후 깃헙이랑 argoCD가 연결되어있다하면 매니페스트 파일을 수정하고 commit을 하고 난후 sync를 알아서 감지를 하지만, 3~4분 후 얘네가 알아서 감지함.
