저번에 이어서 이번에는 자물쇠 기능을 만들어본다!
NumberPicker, Button 선언하기
class MainActivity : AppCompatActivity() {

    private val numberPicker1 :NumberPicker by lazy {
        findViewById<NumberPicker>(R.id.numberPicker1)
            .apply{
                minValue = 0
                maxValue =9
            }
    }
    private val numberPicker2 :NumberPicker by lazy {
        findViewById<NumberPicker>(R.id.numberPicker2)
            .apply{
                minValue = 0
                maxValue =9
            }
    }
    private val numberPicker3 :NumberPicker by lazy {
        findViewById<NumberPicker>(R.id.numberPicker3)
            .apply{
                minValue = 0
                maxValue =9
            }
    }
    private  val openButton : AppCompatButton by lazy {
        findViewById<AppCompatButton>(R.id.btn_open)
    }
    private val changePasswordButton: AppCompatButton by lazy {
        findViewById<AppCompatButton>(R.id.btn_change)
    }

    override fun onCreate(savedInstanceState: Bundle?) {
        super.onCreate(savedInstanceState)
        setContentView(R.layout.activity_main)

        numberPicker1
        numberPicker2
        numberPicker3

        openButton.setOnClickListener{

        }
    }
이런식으로 layout에서 만들었던 요소들을 액티비티에서 선언해준다.
numberpicker나 버튼들을 lazy로 선언하는 이유는 액티비티가 처음 시작될때는 View가 만들어지지 않았기 때문이다. View가 만들어진 시점은 onCreate 이후이기때문에 onCreate이후에 호출해준다.
나중에 호출해주지 않으면 apply가 실행되지 않는다.
SharedPreferences로 비밀번호 확인기능 만들기
getSharedPreferences() 를 통해서 접근가능
인자로 name, mode를 받는다.
name은 파일의 이름이고 mode는 이파일을 어떤식으로 공유될지 이런걸 설정할수 있다.
val passwordFromUser = "{numberPicker2.value}${numberPicker3.value}를 이어쓰면 간단하게 numberPicker의 값을 String으로 해서 사용할 수 있다. 유용한 방법인듯!
passwordPreferences.getString("password","000")
Preferences는 key-value형태로 이루어져있으며 password라는 key로 string을 받아오고 default값으로 '000'을 준다.
AlertDialog
AlertDialog 알람을 알려주는 팝업창이다. postive button과 negative버튼을 붙일수 있다.
AlertDialog.Builder(context) 로 사용할수있다.
setTItle로 제목을 setMessage로 내용을 만들수있다.
positive/negative 버튼들은
setPositiveButton("text"){ 람다식 } 으로 선언가능
람다식에는 그 버튼이 눌리면 행할 것들을 정의해준다.
람다식에는 dialog와 which를 정의해줘야하지만 이번경우에는 그냥 꺼지면 되기때문에 언더바로 생략해도된다.
비밀번호 바꾸기 함수
        openButton.setOnClickListener{
            if(changePasswordMode){
                Toast.makeText(this,"비밀번호 변경중입니다",Toast.LENGTH_SHORT).show()
                return@setOnClickListener
            }

            val passwordPreferences= getSharedPreferences("password", Context.MODE_PRIVATE)

            val passwordFromUser = "${numberPicker1.value}${numberPicker2.value}${numberPicker3.value}"
            if (passwordPreferences.getString("password","000").equals(passwordFromUser)){
                //패스워드 성공
                //TODO 다이어리 페이지 작성후에 넘겨주어야함
//                startActivity()
            }else{
                //실패패
            showErrorAlertDialog()
        }
            changePasswordButton.setOnClickListener{
                val passwordPreferences = getSharedPreferences("password",Context.MODE_PRIVATE)
                val passwordFromUser = "${numberPicker1.value}${numberPicker2.value}${numberPicker3.value}"
                if (changePasswordMode){

                    passwordPreferences.edit(true) {
                        putString("password",passwordFromUser)

                    }
                    changePasswordMode = false
                    changePasswordButton.setBackgroundColor(Color.BLACK)
                    //번호를 저장하는 기능
                }else{
                    //changePasswordMode를 활성화 비밀번호가 맞는지를 체크크

                    if (passwordPreferences.getString("password","000").equals(passwordFromUser)){
                        changePasswordMode = true
                        Toast.makeText(this,"변경할 패스워드를 입력해주세요",Toast.LENGTH_SHORT).show()
                        changePasswordButton.setBackgroundColor(Color.RED)
//                startActivity()
                    }else{
                        //실패패
                        showErrorAlertDialog()
                    }
                }
            }

       }
    }
    private fun showErrorAlertDialog() {
        AlertDialog.Builder(this)
            .setTitle("실패!!")
            .setMessage("비밀번호가 잘못되었습니다.")
            .setPositiveButton("확인"){_,_-> }
            .create()
            .show()
    }
검정 버튼을 눌러서 changePasswordMode True로 바꾸고 원하는 비밀번호를 바꾸고 빨간 버튼을 눌러서 비밀번호를 바꾼다.
비밀번호를 바꿀땐 다른버튼이 눌리면 원치않은 결과를 얻을수 있기때문에 그것을 사전에 방지해줘야된다.
따라서 changePasswordMode = false로 선언해줘서 나중에 버튼을 눌렀는지 안눌렀는지 확인해준다.
openButton이 눌렸을때 changePasswordMode 값이 True라면 return@onClickLisnenter로 이함수를 끝내게 한다.
changePasswordButton.setBackgrounColor(Coler.RED)
비밀번호 바꾸기 버튼을 누르면 버튼의 색깔을 빨간색으로 바꿔준다.
passwordPreferences.edit { } - 바로 preferences를 수정할수있게 만들어 준다. 인자로는 람다식을 이용할수 있다.
passwordPrefereences.edit(true) { } 를 사용하면 commit값을 true로 주는거다. edit의 default commit값는 false로 true가 되면 값을 저장하게 된다. 위방식을 사용하면 commit이나 apply를 따로하는걸 까먹지 않고 잘 저장할수 있게 된다.!
preferences의 변경점을 저장하는 방법은 commit 과 apply함수가 있다.
commit - 이 파일이 다 자정될때까지 UI를 멈춘다.
apply - 바로 저장하라고 넘긴다. 비동기적으로 저장
비밀번호를 저장하는것은 간단하기 때문에 commit 사용
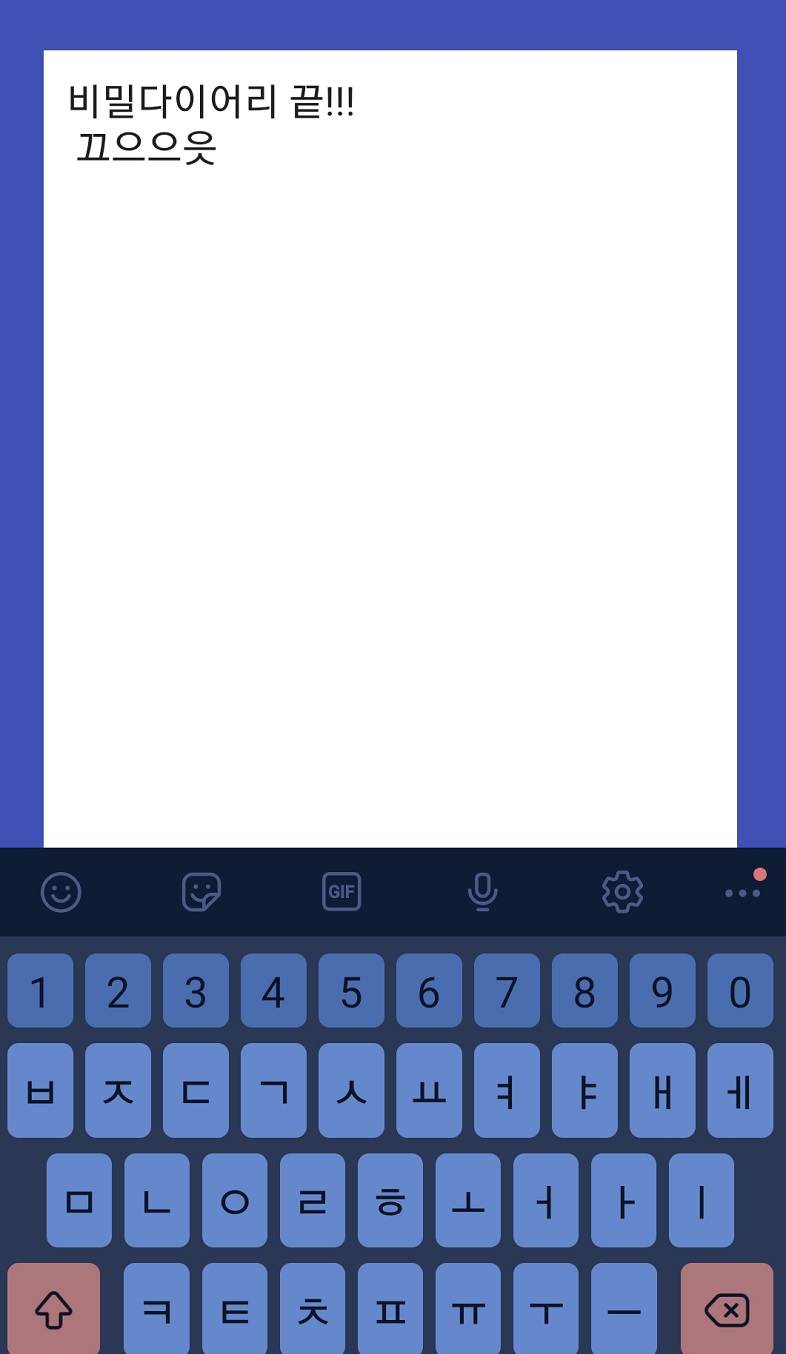
다이어리 페이지 만들기
우선 다이어리 액티비티에 연결할 layout을 만들어 준다.
res 폴더에있는 layout 폴더에 xml 파일을 생성해준다.
activity_diary.xml
<?xml version="1.0" encoding="utf-8"?>
<androidx.constraintlayout.widget.ConstraintLayout xmlns:android="http://schemas.android.com/apk/res/android"
    android:layout_width="match_parent"
    xmlns:app="http://schemas.android.com/apk/res-auto"
    android:background="#3F51B5"
    android:padding="24dp"
    android:layout_height="match_parent">

    <EditText
        android:id="@+id/txt_diary"
        android:layout_width="0dp"
        android:layout_height="0dp"
        android:background="@color/white"
        android:gravity="start|top"
        android:padding="10dp"
        app:layout_constraintTop_toTopOf="parent"
        app:layout_constraintEnd_toEndOf="parent"
        app:layout_constraintStart_toStartOf="parent"
        app:layout_constraintBottom_toBottomOf="parent "
        android:importantForAutofill="no" />
</androidx.constraintlayout.widget.ConstraintLayout>
다이어리를 작성할 EditText 하나를 선언한다.
Edittext에 글자가 입력될때 왼쪽 상단에 입력되야 하기 때문에 gravity값을 부여한다.
android:gravity="start|top"
or 값으로 지정해준다.
DiaryActivity.kt
class DiaryActivity:AppCompatActivity() {
    private val handler = Handler(Looper.getMainLooper())

    override fun onCreate(savedInstanceState: Bundle?) {
        super.onCreate(savedInstanceState)
        setContentView(R.layout.activity_diary)
        val diaryEditText = findViewById<EditText>(R.id.txt_diary)
        val detailPreferences = getSharedPreferences("diary", Context.MODE_PRIVATE)

        diaryEditText.setText(detailPreferences.getString("detail",""))

        val runnable = Runnable {
            getSharedPreferences("diary",Context.MODE_PRIVATE).edit {
                putString("detail",diaryEditText.text.toString())
            }
        }

        diaryEditText.addTextChangedListener {
            handler.removeCallbacks(runnable)
            handler.postDelayed(runnable,500) //0.5초
        }
    }

}
다이어리 페이지를 보여줄다 이어리 activity를 만든다.
activity를 만들어도 manifest에 적용해주지 않으면 액티비티를 실행시킬 수 없기 때문에 manifest에 추가해주자 !!
<activity android:name=".DiaryActivity"
            android:theme="@style/Theme.Secretdiary.NoActionBar"/>
DiaryActivity도 NoActionBar를 적용해주자
다이어리의 내용을 저장해줄 Preference를 detail이라는 key로 만든다.
다이어리에 내용이 작성이되면 자동으로 저장이되는 기능을 만든다.
diaryEditText.addTextChangedListener
addTextChangedListener를 사용하는데 바뀔때 마다 저장하면 너무 빈번하게 일어나기 때문에 입력하닥 잠시 멈추어 지면 저장하는식으로 만든다.
이때 쓰레드를 이용한다.
Thread
다이어리 부분에서는 앞에서 했던것처럼 commit을 true로 주는게 아니라 비동기 방식으로 내용이 변한걸 바꾸는 apply를 이용한다.
private val handler = Handler(Looper.getMainLooper())
handler를 선언하고 getMainLooper을 looper로 사용하면 이 핸들러는 main thread와 연결된 handler가 된다.
postDelay
밀리세컨 단위로 행해지는 action에 delay를 부여한다.
startActivity
새로운 activity를 시작할때 사용한다.
MainActivity에서 비밀번호가 맞으면
startAcitivity(Intent(this, DiaryActivity::class.java))
Intent를 통해서 두 activity사이의 정보전달을 한다.
this와 다음에 넘어갈 DiarayActivity를 인자로 넣어준다.
배운것
sharedPreferece
데이터를 저장하거나 불러올때 사용
val sharedpreferece = getSharedPreferences("key",Context.MODE_PRIVATE)
로 선언.
data를 불러 올때는
sharedpreferece.getString 다른 type도 가능
data를 저장할때는
sharedpreferece.edit{
putString("key", 저장할것) }
저장방법에는 apply , commit 2가지가 있다.
상당히 중요한 기능 commit은 UI 쓰레드를 block한다. 화면이 잠깐 멈춘다. 따라서 무거운 작업을 실행하면 안된다.
theme - NoActionbar
theme.xml 파일에서 style 만들어서 manifest에서 지정
alertDialog
AlertDialog.Builder(this).setTitle("제목")
.setMessage("메세지")
.setPostiveButton("text"){ }
.create()
.show()
식으로 만들수있다.
handler
Handler는 안드로이드의 기본적인 이벤트를 처리하는 시스템
사용하는 이유는 비동기적으로 어떠한 이벤트들을 처리하기 위해서!
Activity의 Main thread는 UI thread라고 불린다.
UI를 처리할때 시간이 오래걸리는 작업을 수행하면 화면이 버벅이거나 ANR(android Not responding)과 같은 문제가 발생하기 때문에 handler를 사용한다.
위에서는 그래서 시간이 지나는걸 측정해서 0.5초마다 UI를 변경하라고 명령을 내리는것이다.
val handler = Handler(Looper.getMainLooper())
이걸 쓰면 MainThread가 사용하는 MainLooer 반환
호출하는 스레드가 메인스레드 or 메인스레드가 아니여도 언제나 MainLooper를 반환한다.
참조 블로그
getMainLooper() - 사용하는 경우
1.Handelr를 생성할 때 MainLooper를 생성자의 인자로 전달할 때
작업자 스레드에서 UI thread에게 작업 or 메세지를 보내고싶을때 사용한다.
-
현재 스레드 루퍼가 MainLooper인지 아닌지 검사하고싶을 경우
-
현재 스레드가 Main thread(UI thread)인지 아닌지 검사하고싶을경우
아무튼 굉장히 복잡하다...이거는 나중에 더 공부해서 정리르 또 해야겠다. 강의에서의 설명이 뭔가 충분하지는 않았던거같다.ㅠㅠ
끝