
Navigation
Navigation은 프래그먼트 간 이동을 좀 더 쉽고 안정적이게 도와주는 Jetpack 구성요소로, 하나의 액티비티 안에서 여러 프래그먼트 간의 전환에 중점을 두고 설계가 되었다. 액티비티는 모든 내비게이션이 명세된 Navigation Graph와 연결되고, 프래그먼트가 교체되는 NavHostFragment를 포함한다. NavHost Fragment내에서 연결된 Navigation graph를 바탕으로 NavController를 이용해 Navigation 간 이동을 관리한다.
Advantages
Navigation을 사용하면
- 프래그먼트 트랜잭션에 대해 추상화를 제공하여 Destination과 Action으로 내비게이션 흐름을 관리할 수 있다.
- 기존 중첩 프래그먼트에 있던 Animation 버그를 효과적으로 컨트롤해준다.
등등 여러개의 장점이 있지만 내가 써보면서 가장 크게 와닿았던 장점은 다음과 같다.
1. Simpler Code
A 프래그먼트와 B 프래그먼트가 있고, A 프래그먼트에서 버튼을 클릭해 B 프래그먼트로 이동해야 한다고 가정해보자. 프래그먼트에서 프래그먼트로 전환하는것은 이동할 프래그먼트가 자신의 하위레벨이 아니기 때문에 직접 제어가 불가능하고, 따라서 상위 레벨 액티비티에서 제어해줘야 한다.
메인 액티비티에 프래그먼트 제어용 함수(changeFragment)를 만들고, A 프래그먼트에서 버튼 클릭 시 액티비티의 changeFragment 함수를 호출하면 B 프래그먼트로 전환이 가능하다.
fun changeFragment(fragment: Fragment){
    supportFragmentManager
    	.beginTransaction()
        .replace(R.id.framelayout,fragment)
        .addToBackStack(null)
        .commit()
}

class AFragment : Fragment() {
	...
    override fun onViewCreated(view: View, savedInstanceState: Bundle?)
    binding.loginBtn.setOnClickListener {
    	(activity as MainActivity).changeFragment(BFragment())
    }
}
하지만 Navigation을 사용하면 우리는 한 줄의 코드만으로 프래그먼트간 전환을 구현할 수 있다.
binding.loginBtn.setOnClickListener {
	Navigation.findNavController(binding.root).navigate(R.id.fragment_a_to_fragment_b)
}
2. Navigation Editor
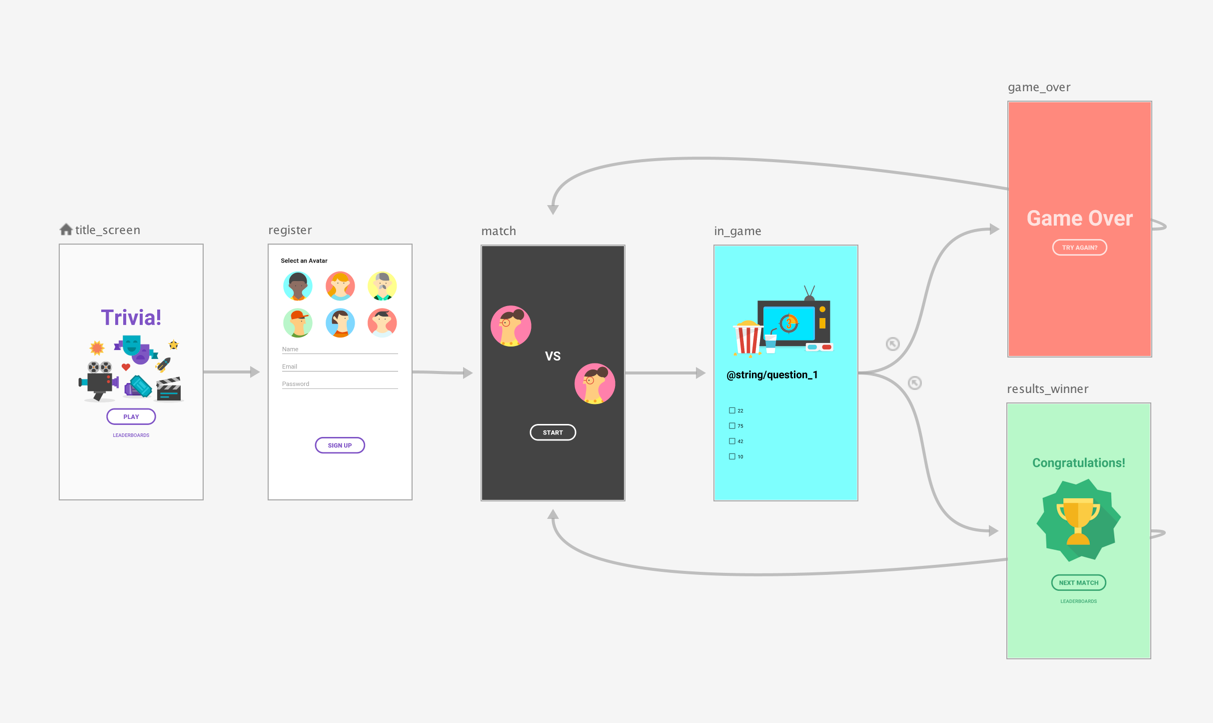
디자인 모드에서 Navigation graph 편집을 지원하므로 레이아웃 리소스 파일에 직접 소스코드를 작성하지 않아도 되며, 애플리케이션의 흐름을 한 눈에 파악할 수 있어서 개발자간 유연한 커뮤니케이션에도 도움이 될 수 있다.
Characteristics
✔ 무조건 시작지점이 있어야한다.
모든 안드로이드 앱은 Navigation 사용 시 시작점, 즉 사용자가 앱을 열때마다 보게되는 화면을 Navigation graph에 지정해야한다.
✔ 항상 백 스택(back stack)이 유지된다.
다른 액티비티나 프래그먼트로 이동할 때 늘 백 스택(후입선출 구조, LIFO)이 유지되는데, 이 백 스택으로 인해 사용자는 다른 화면에서 이전 화면으로 돌아올 수 있다.
3 Main parts of Navigation
Jetpack Navigation이 왜 쓸만한 라이브러리인지 알았으니 한 번 사용해보자. 일단 가장 중요한 개념인 Navigation의 3가지 구성요소 Navigation graph, NavHostFragment, NavController에 대해 설명하지 않았는데, 이 부분에 대한 설명은 실습을 하면서 진행할 예정이다.
먼저 build.gradle(module) dependency에 Navigation 종속 항목을 추가한다.
implementation("androidx.navigation:navigation-fragment-ktx:2.4.1")
implementation("androidx.navigation:navigation-ui-ktx:2.4.1")
다음으로 사용할 프래그먼트를 추가하자. 나는 여기서 2개의 프래그먼트를 추가시키고, 버튼을 누르면 서로의 프래그먼트로 이동하도록 만들 것이다( ex) FirstFragment의 버튼을 클릭하면 SecondFragment로 이동).
//first_page.xml
<?xml version="1.0" encoding="utf-8"?>
<androidx.constraintlayout.widget.ConstraintLayout xmlns:android="http://schemas.android.com/apk/res/android"
    xmlns:tools="http://schemas.android.com/tools"
    android:layout_width="match_parent"
    android:layout_height="match_parent"
    xmlns:app="http://schemas.android.com/apk/res-auto">

    <TextView
        android:id="@+id/firstText"
        android:layout_width="wrap_content"
        android:layout_height="wrap_content"
        android:text="첫번째 페이지"
        app:layout_constraintTop_toTopOf="parent"
        app:layout_constraintBottom_toBottomOf="parent"
        app:layout_constraintStart_toStartOf="parent"
        app:layout_constraintEnd_toEndOf="parent"
        android:textColor="@color/black"
        tools:ignore="MissingConstraints" />

    <Button
        android:layout_width="wrap_content"
        android:layout_height="wrap_content"
        app:layout_constraintTop_toBottomOf="@+id/firstText"
        app:layout_constraintStart_toStartOf="parent"
        app:layout_constraintEnd_toEndOf="parent"
        android:text="버튼1"
        tools:ignore="MissingConstraints" />

</androidx.constraintlayout.widget.ConstraintLayout>
class FirstPage : Fragment(){
private lateinit var binding: FirstPageBinding
override fun onCreateView(
inflater: LayoutInflater,
container: ViewGroup?,
savedInstanceState: Bundle?
): View? {
binding= FirstPageBinding.inflate(inflater)
return binding.root
}
override fun onViewCreated(view: View, savedInstanceState: Bundle?) {
super.onViewCreated(view, savedInstanceState)
}
}//second_page.xml
<?xml version="1.0" encoding="utf-8"?>
<androidx.constraintlayout.widget.ConstraintLayout
xmlns:android="http://schemas.android.com/apk/res/android"
android:layout_width="match_parent"
android:layout_height="match_parent"
xmlns:app="http://schemas.android.com/apk/res-auto"
xmlns:tools="http://schemas.android.com/tools">
<TextView
android:id="@+id/secondText"
android:layout_width="wrap_content"
android:layout_height="wrap_content"
android:text="두번째 페이지"
app:layout_constraintTop_toTopOf="parent"
app:layout_constraintBottom_toBottomOf="parent"
app:layout_constraintStart_toStartOf="parent"
app:layout_constraintEnd_toEndOf="parent"
android:textColor="@color/black"
tools:ignore="MissingConstraints" />
<Button
android:layout_width="wrap_content"
android:layout_height="wrap_content"
app:layout_constraintTop_toBottomOf="@+id/secondText"
app:layout_constraintStart_toStartOf="parent"
app:layout_constraintEnd_toEndOf="parent"
android:text="버튼2"
tools:ignore="MissingConstraints" />
</androidx.constraintlayout.widget.ConstraintLayout>class SecondPage : Fragment(){
private lateinit var binding: SecondPageBinding
override fun onCreateView(
inflater: LayoutInflater,
container: ViewGroup?,
savedInstanceState: Bundle?
): View? {
binding= SecondPageBinding.inflate(inflater)
return binding.root
}
override fun onViewCreated(view: View, savedInstanceState: Bundle?) {
super.onViewCreated(view, savedInstanceState)
}
}1. Navigation graph
Navigation graph는 모든 내비게이션을 명세한 XML 리소스로, 말 그대로 그래프라고 생각하면 편하다. 우리가 머릿속에서 생각한 화면의 경로를 그래프로 그리듯, 시작 화면에서 다음으로 이동할 화면(프래그먼트 또는 액티비티)를 Navigation graph 내에 지정하면 된다.
<?xml version="1.0" encoding="utf-8"?>
<navigation xmlns:android="http://schemas.android.com/apk/res/android"
    xmlns:app="http://schemas.android.com/apk/res-auto"
    xmlns:tools="http://schemas.android.com/tools"
    android:id="@+id/nav_graph"
    app:startDestination="@layout/first_page">

    <fragment
        android:id="@+id/firstFragment"
        android:name="com.example.practice1.FirstFragment"
        android:label="fragment_first"
        tools:layout="@layout/first_page">

        <action
            android:id="@+id/first_to_second_action"
            app:destination="@+id/secondFragment" />
    </fragment>

    <fragment
        android:id="@+id/secondFragment"
        android:name="com.example.practice1.SecondFragment"
        android:label="fragment_second"
        tools:layout="@layout/second_page">

        <action
            android:id="@+id/second_to_first_action"
            app:destination="@id/firstFragment"/>
    </fragment>

</navigation>
attributes
navigation
app:startDestination: 내비게이션 그래프의 root destination을 명시한다.
fragment
android:id: 내비게이션 그래프에서 destination을 식별하기 위한 id이다.android:name: 프래그먼트 클래스를 지정하는 속성이다.android:label: 값 지정시 해당하는 프래그먼트로 이동했을 때 app bar의 title을 자동으로 지정한 값으로 변경할 수 있다.
action
Destination 간 이동작업을 정의한다. 이 때 destination은 액티비티, 프래그먼트 등의 화면이 된다.
android:id: action을 식별하는 id이다.app:destination: action으로 이동할 destination을 지정한다.
pop
app:popUpTo: destination으로 이동하기 전에 지정된 destination까지 스택에서 pop한다.app:popUpToInclusive: true로 지정하면 popUpTo에 지정된 destination도 스택에서 pop한다.
2. NavHostFragment
앱에서 destination이 교체될 빈 컨테이너다. NavHostFragment는 NavHost에서 파생된 것으로, 프래그먼트를 대상으로 destination을 교체한다.
<?xml version="1.0" encoding="utf-8"?>
<androidx.constraintlayout.widget.ConstraintLayout
   	...

    <androidx.fragment.app.FragmentContainerView
        android:id="@+id/nav_host_fragment"
        android:name="androidx.navigation.fragment.NavHostFragment"
        android:layout_width="0dp"
        android:layout_height="0dp"
        app:layout_constraintLeft_toLeftOf="parent"
        app:layout_constraintRight_toRightOf="parent"
        app:layout_constraintTop_toTopOf="parent"
        app:layout_constraintBottom_toBottomOf="parent"
        app:defaultNavHost="true"
        app:navGraph="@navigation/nav_graph" />

</androidx.constraintlayout.widget.ConstraintLayout>
attributes
android:name: NavHost를 구현하는 클래스의 canonical name을 지정한다.app:defaultNavHost: 해당 속성을 true로 하면 뒤로가기 버튼 클릭시 NavHostFragment로 돌아온다. false로 지정 시 뒤로가기 버튼을 클릭하면 호스트화면으로 가지 않고 바로 앱이 종료된다.app:navGraph: NavHost와 연결할 내비게이션 그래프를 지정한다.
3. NavController
NavHost 내에서 Navigation graph를 바탕으로 Navigation 간 이동을 관리한다.
class FirstPage : Fragment(){
    private lateinit var binding: FirstPageBinding

    override fun onCreateView(
        inflater: LayoutInflater,
        container: ViewGroup?,
        savedInstanceState: Bundle?
    ): View? {
        binding= FirstPageBinding.inflate(inflater)
        return binding.root
    }

    override fun onViewCreated(view: View, savedInstanceState: Bundle?) {
        super.onViewCreated(view, savedInstanceState)
        binding.first_btn.setOnClickListener {
            Navigation.findNavController(binding.root).navigate(R.id.first_to_second_action)
        }
    }
}
🔵 Review
Navigation을 BottomNavigationView에 적용해서 사용할 수도 있다. 만약 BottomNavigationView를 사용해서 다른 프래그먼트로 이동하고 싶다면 다음의 코드를 참고하자.
<com.google.android.material.bottomnavigation.BottomNavigationView
        android:id="@+id/navigationView"
        android:layout_width="match_parent"
        android:layout_height="60dp"
        app:layout_constraintBottom_toTopOf="@id/bottomBar"
        app:layout_constraintStart_toStartOf="parent"
        app:layout_constraintEnd_toEndOf="parent"
        app:menu="@menu/bottom_menu"
        tools:ignore="MissingConstraints" />
private fun runBottomBar(){
val navController = findNavController(R.id.nav_host)
binding.navigationView.setupWithNavController(navController)
}다만 모든 라이브러리에 적용할 수 있는 건 아닌 것 같다. 나는 현재 AnimatedBottomBar라는 하단바 라이브러리를 사용하고 있는데, 이 라이브러리는 위 방법을 사용했을 시 에러가 발생해서(깃헙 issues에도 올라와있더라) 어쩔 수 없이 전통적인 방법을 사용해서 화면 전환을 해주고 있다.
	//BottomNavigationView
	<com.google.android.material.bottomnavigation.BottomNavigationView
        android:id="@+id/navigationView"
        android:layout_width="match_parent"
        android:layout_height="60dp"
        app:layout_constraintBottom_toTopOf="@id/bottomBar"
        app:layout_constraintStart_toStartOf="parent"
        app:layout_constraintEnd_toEndOf="parent"
        app:menu="@menu/bottom_menu"
        tools:ignore="MissingConstraints" />

	//AnimatedBottomBar
    <nl.joery.animatedbottombar.AnimatedBottomBar
        android:id="@+id/bottomBar"
        android:layout_width="0dp"
        android:layout_height="60dp"
        app:layout_constraintBottom_toBottomOf="parent"
        app:layout_constraintStart_toStartOf="parent"
        app:layout_constraintEnd_toEndOf="parent"
        android:background="#FFFFFF"
        app:abb_selectedTabType="icon"
        app:abb_indicatorAppearance="round"
        app:abb_indicatorColor="@color/mainColor"
        app:abb_indicatorMargin="16dp"
        app:abb_indicatorHeight="5dp"
        app:abb_tabAnimation="slide"
        app:abb_iconSize="25sp"
        app:abb_tabColorSelected="@color/mainColor"
        app:abb_tabs="@menu/bottom_menu"
tools:ignore="MissingConstraints" />R.id.bookmarkShowBtn->{
val navController = findNavController(R.id.secondContainer)
binding.navigationView.setupWithNavController(navController) // ok
binding.bottomBar.setupWithNavController(navController) // error
}References
https://blog.codemagic.io/android-navigation-introduction/
https://blog.mindorks.com/jetpack-navigation-component-in-android
https://developer.android.com/guide/navigation/navigation-getting-started?hl=ko
https://medium.com/accenture-ix-turkey/pros-and-cons-of-android-jetpack-navigation-component-d7a5e3bcfe50
https://youngest-programming.tistory.com/274
https://medium.com/@maryangmin/navigation-components-in-android-jetpack-1-introduction-e38442f70f