Canvas 알아보기
캔버스 동작원리

const canvas = docement.queryselector("canvas");

const ctx = canvas.getContext("2d");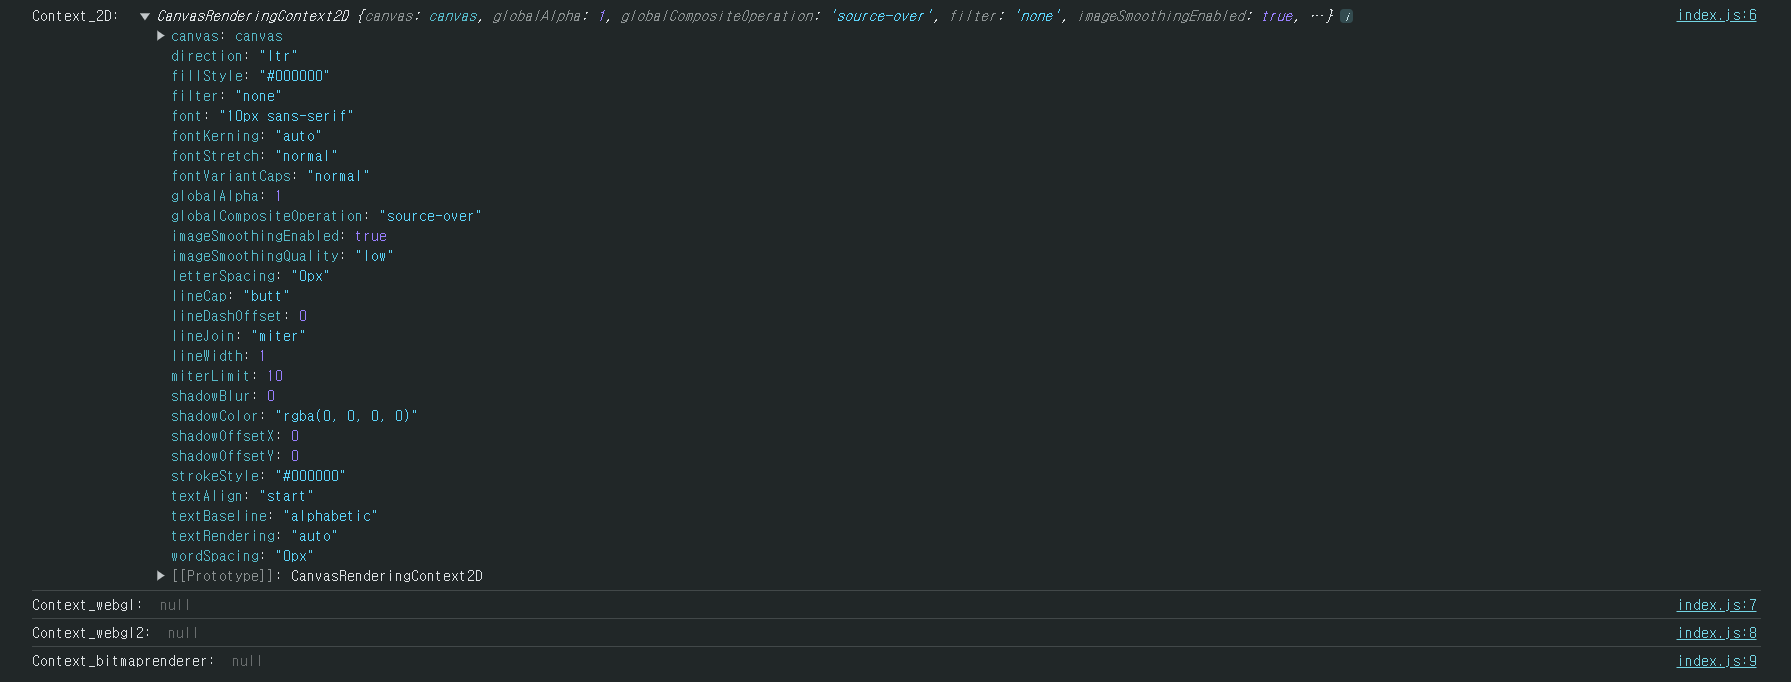
참고로 이제 webgl 등 다른 context 를 사용하려면 브라우저 설정에서 webgl이 활성화되어 있는지 확인해야한다고 한다.
그리고 또 사용자의 브라우저 설정이나 설치된 확장 프로그램(예: 광고 차단기)에 의해 webgl이 비활성화되었을 수 있다.
무근 그래서 위에 코드 중 ctx 가 바로 우리가 캔버스 위에 그림을 그릴 수 있도록 도와주는 "도구" 가 되겠다.

그리고 하단에 사용 사능한 메서드들이 보이는데 여기서 fillRect을 이용하여 네모를 그릴 수 있다.
ctx.fillRect(10, 20, 30, 40);가로 10px, 세로 20px, 띄워진 곳에 너비 30px, 높이 40px 인 네모 그리기.
참고로 Canvas 는 default 로 너비 300px, 높이 150px 로 그려진다.
따라서 Canvas 크기를 바꾸고 싶다면 css, js 로 바꾸면 된다.
자, 여기서 부터 중요한데
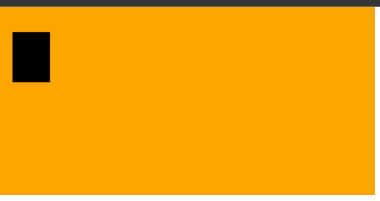
앞서 Canvas 의 기본 값은 너비 300, 높이 150 라 하였다. 이때, 높이를 300 으로 바꾸면 어떻게 될까?
const ctx = canvas.getContext("2d");

canvas.style.width = 300 + "px";
canvas.style.height = 300 + "px";

ctx.fillRect(10, 20, 30, 40);
검정색 직사각형도 함께 새로로 쭉 늘어났다. 이는 기본값이 300,150 인 canvas 의 새로를 쭉 늘려놔서 그 안에 그려진 직사각형도 함게 쭉 늘어났다.
그래서 비율도 함께 맞추고자 한다면 canvas 자체 사이즈도 css 에 맞춰 똑같이 설정해줘야한다.
const ctx = canvas.getContext("2d");

canvas.style.width = 300 + "px";
canvas.style.height = 300 + "px";
canvas.width = 300;
canvas.height = 300;

ctx.fillRect(10, 20, 30, 40);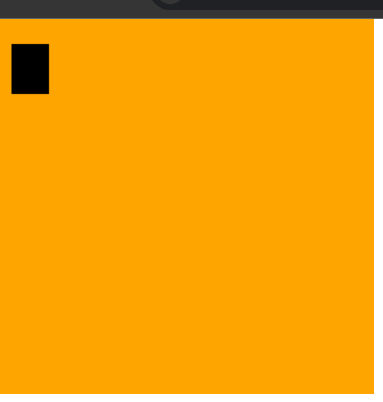
다시 원래 비율로 돌아왔다.
DPR
Device pixel ratio => 하나의 css 픽셀을 그릴 때 사용되는 "장치의 픽셀 수" 이다.
윈도우 전역 변수이다.
이를 통해 1 pixel 을 실제로 그리는데 몇 pixel 을 쓰는지 알 수 있다.
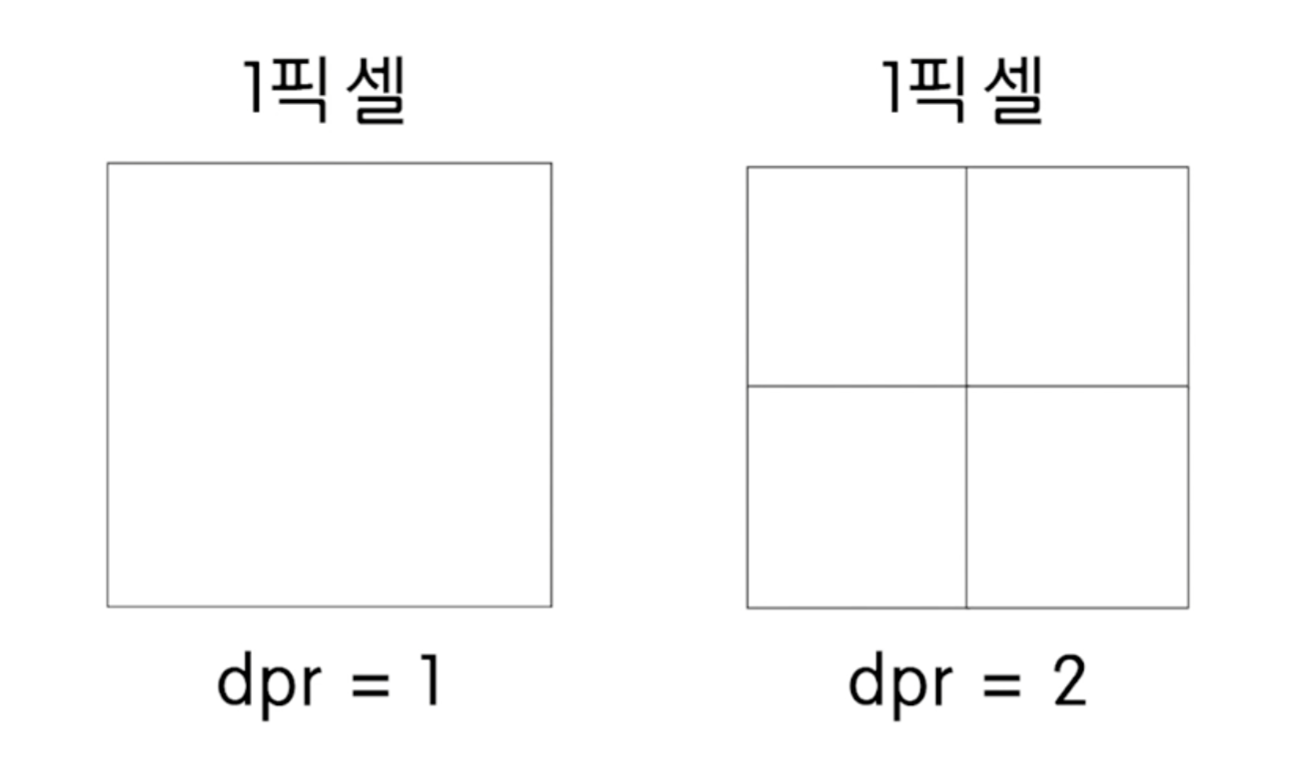
그니까 즉, dpr 이 높을 수록 더 고해상도의 값을 확인할 수 있다.
참고로 mac 유저는 레티나 디스플레이에서 dpr 값이 2 이므로 오른쪽에 해당한다. (난 1.25 소수점 무엇)
const canvas = document.querySelector("canvas");

const ctx = canvas.getContext("2d");

const canvasWidth = 500;
const canvasHeight = 500;
const dpr = window.devicePixelRatio;

canvas.style.width = canvasWidth + "px";
canvas.style.height = canvasHeight + "px";

canvas.width = canvasWidth*dpr;
canvas.height = canvasHeight*dpr;

ctx.scale(dpr, dpr);

ctx.fillRect(10, 20, 30, 40);

console.log(window.devicePixelRatio);
그래서 이렇게 canvas 의 너비, 높이 에 dpr 을 높하고 context 의 scale 메서드로 x, y 를 넣어주면 조금 더 선명하게 보인다.
그럼 왜 선명하게 보일까? =>
스케일링 원리
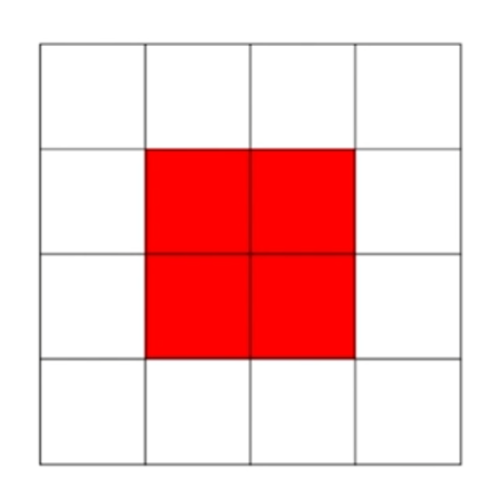
const dpr = 1;
canvas.width = 4;
canvas.height = 4;
context.scale(1, 1);
자, 만약 dpr 이 1일 경우에는 뭐 이해가 쉬울 것이다.
그런데 만약 dpr 이 2일 경우
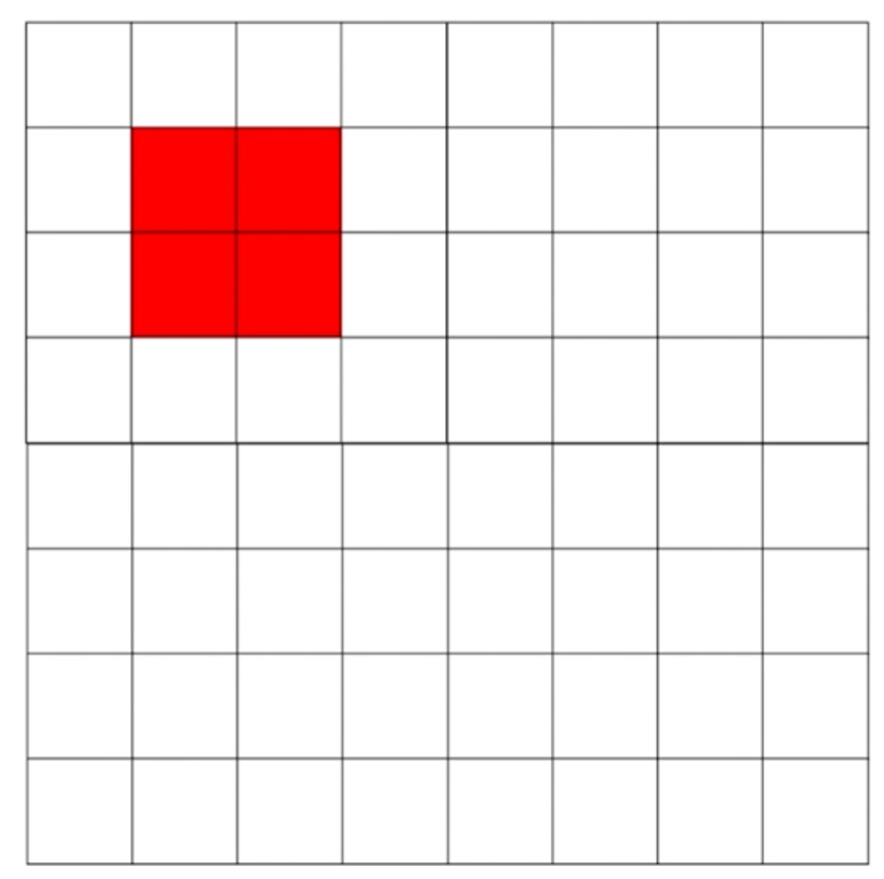
const dpr = 2;
canvas.width = 4 * 2;
canvas.height = 4 * 2;
canvas 크기를 강제로 2배로 늘렸으니 이렇게 넓어지고

const dpr = 2;
canvas.width = 4 * 2;
canvas.height = 4 * 2;
context.scale(2, 2);
이렇게 강제로 넓혀주면 비율만 높아진 첫번째 사진과 비율이 같은 녀셕이 탄생하는데 얘를 canvas 자체 크기가 아닌 canvas 의 css 크기만 그대로 다시 좁혀주면
const dpr = 2;
canvas.width = 4 * 2;
canvas.height = 4 * 2;
context.scale(2, 2);
canvas.style.width = 4;
canvas.style.height = 4;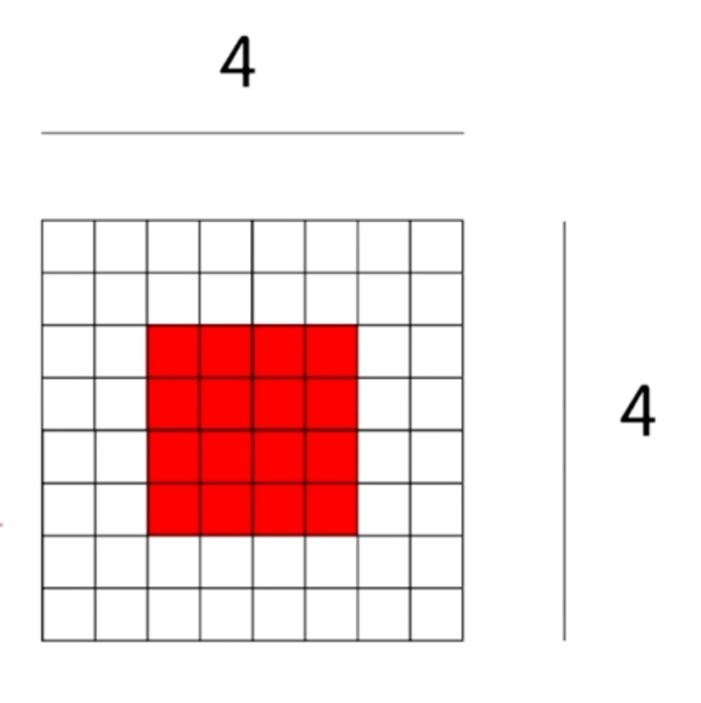
앞서 언급했듯 canvas 자체의 크기를 canvas 에 설정된 css 크기에 맞춰 강제로 줄이기 때문에 4 x 4 인 css 사이즈 안에 물리적인 8 x 8 canvas 가 작게 보이게되는 원리를 사용하여 스케일 업을 하는 것이다.
결국 dpr 이 높은 display 에서 강제로 픽셀을 쪼개서 scale-up 을 하는 것이라 생각하면 된다.
arc 메서드
arc 메서드는 반지름 만큼 원하는 각도를 그려주는 메서드이다.
context.beginPath();
context.arc(시작x점, 시작y점, 반지름, 시작라디안, 끝라디안, 시계방향)
context.fill();
context.closePath();
참고로 라디안은 각도 1° 180 으로 나눈 것과 같기 때문에 Math.PI/180*원하는도 를 넣어주면 된다.
ctx.beginPath();
ctx.arc(100, 100, 50, 0, Math.PI / 180 * 180, false);
ctx.fillStyle = "red"
ctx.fill();
ctx.strokeStyle = "blue"
ctx.stroke();
ctx.closePath();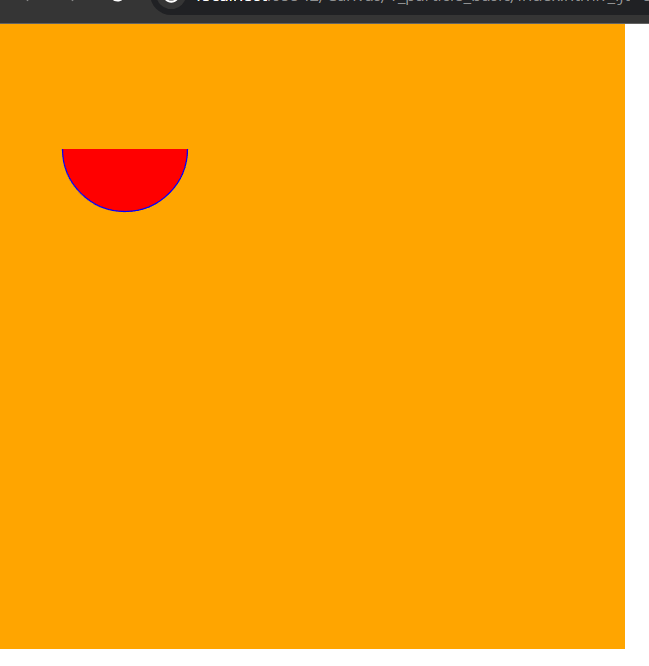
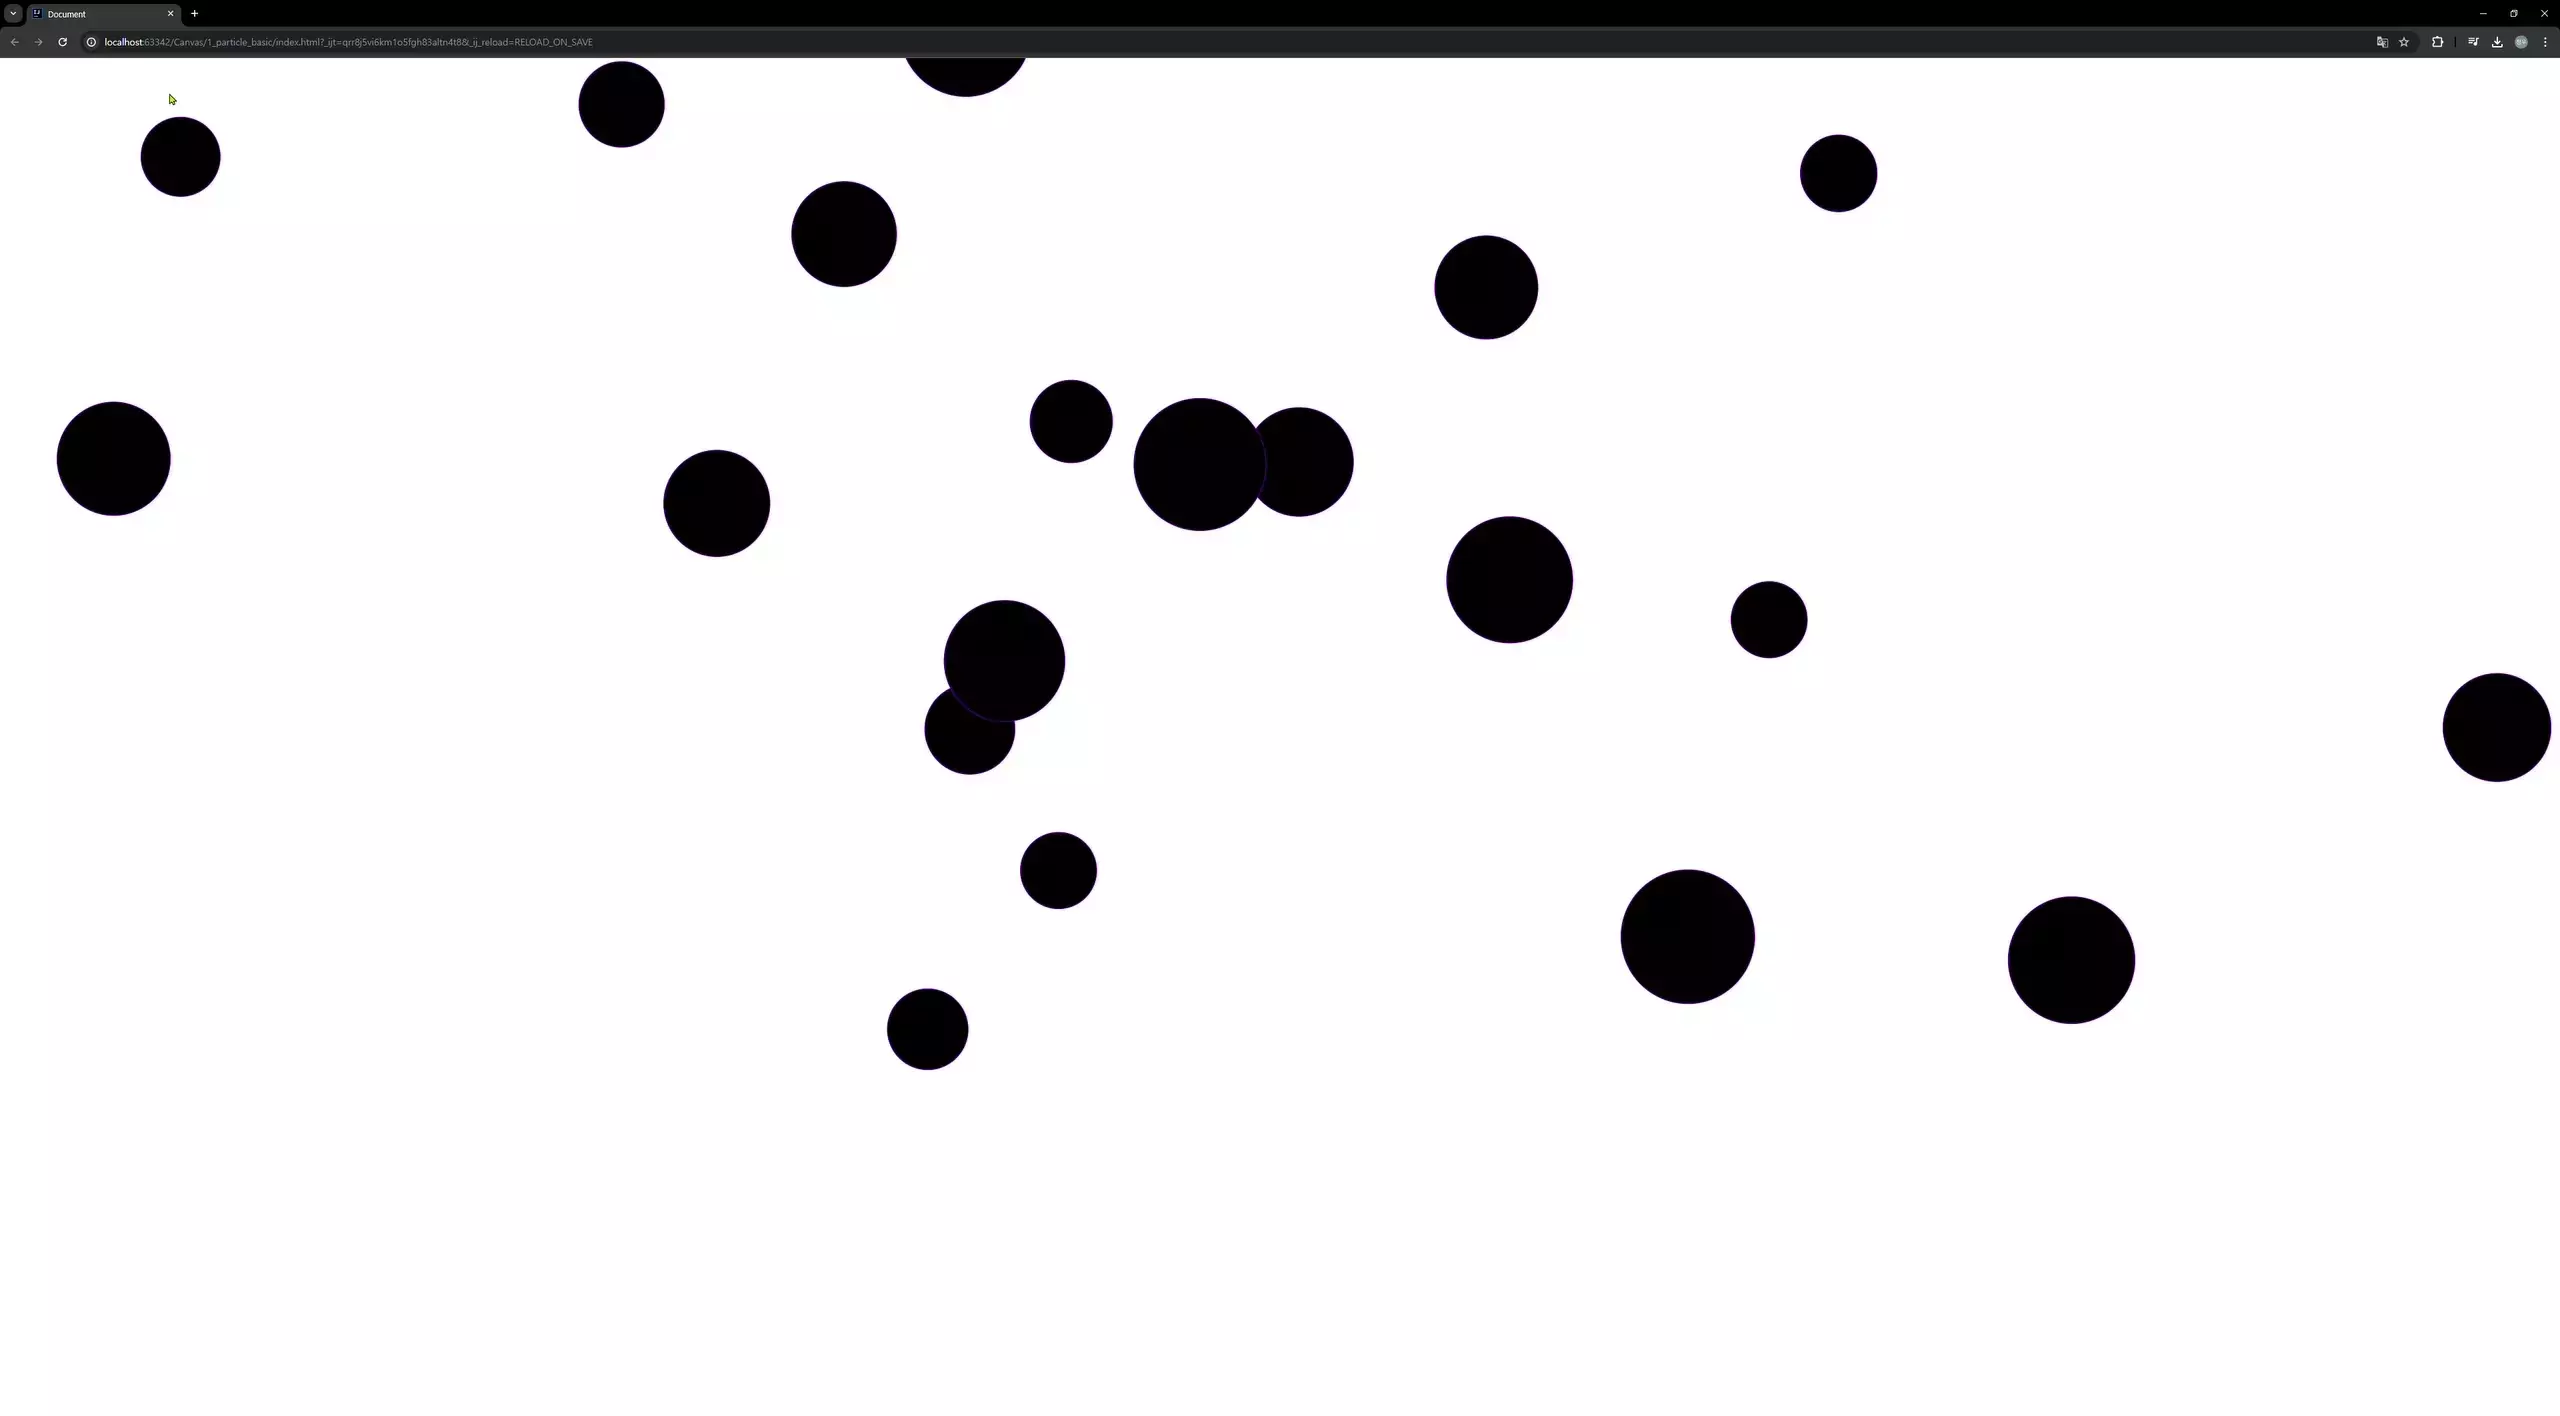
animate
애니메이션의 원리처럼 각 frame 마다 지우고 그리는 것을 엄청 빠르게 반복하여 욺직이는 것 처럼 보여준다.
const animation = () => {
  	// (0,0) ~ (캔버스 x축끝, 캔버스 y축끝) => 캔버스 전체 지우기
    ctx.clearRect(0, 0, canvasWidth, canvasHeight);
  	// 그리기
    particle.draw(ctx);
    // 재귀적으로 한무 반복하기
    window.requestAnimationFrame(animation);
}
그런데 만약 이렇게 무지성으로 갈겨버리면 이 animation 이라는 함수가 얼마나 실행이 될까? => 바로 모니터 주사율 만큼 동작할 것이다. 왜냐하면 .requestAnimationFrame() 함수가 그렇게 생겼기 때문.
그럼 이게 문제인게 뭐냐면 만약 animation 함수의 정의를 "1px 만큼 오른쪽으로 이동" 으로 만들어놨으면 주사율에 따라 각각 다른 결과를 표출한다는 것이다. (어떤건 144px, 어떤건 60px) 요런식
여기서 바로 FPS 개념이 나온다. First Person Shooter 말고 Frames Per Second
Frames Per Second 개념 사용하여 일괄적인 모션 보여주기
if. 내 모니터 주사율이 60Hz 라고 가정할 때
.requestAnimationFrame() 함수가 1 초에 60번 실행 => 16ms 마다 .requestAnimationFrame() 실행
만약 FPS 를 10으로 고정하여 모든 주사율에서 일정하게 보여주고 싶다면?
10 초에 1 번 .requestAnimationFrame() 를 실행 => 100ms 마다 .requestAnimationFrame() 실행
즉, 시간을 갖고 이를 조절할 수 있다. now를 .requestAnimationFrame() 실행할 때 마다 가져오고 최초에 시작한 now를 저장하고 있다가 이 둘의 차이가 100 이 날 때 .requestAnimationFrame() 를 한 번 실행하면 강제적으로 100ms 마다 .requestAnimationFrame() 를 실행하게 되는 것이다.
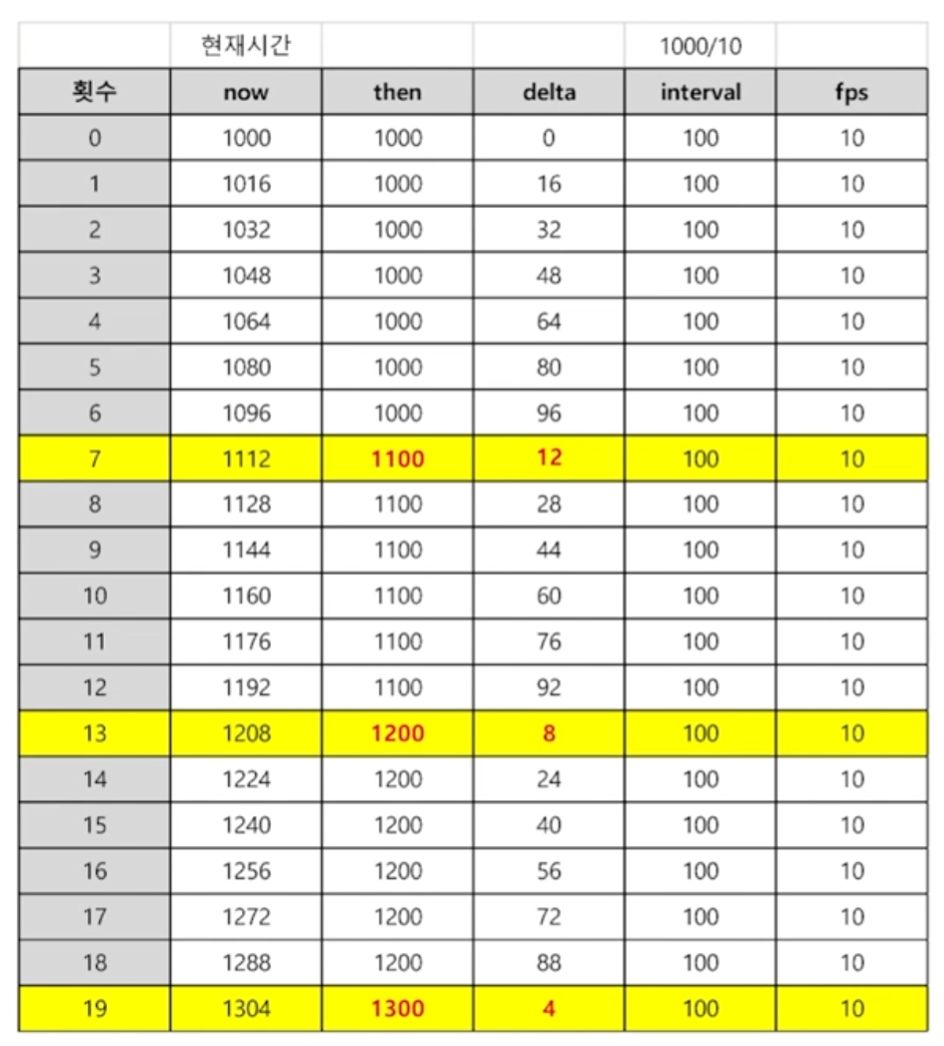
즉, 여기서 then 값을 구하는 공식은 대충 now-(delta%interval) 이 된다.
이를 이용하여 완성된 코드를 보면 대충 아래와 같다.
import Particle from "./Model/Particle";

const canvas = document.querySelector("canvas") as HTMLCanvasElement;
const ctx = canvas.getContext("2d")!;

const canvasWidth = innerWidth;
const canvasHeight = innerHeight;
const dpr = window.devicePixelRatio;

canvas.style.width = canvasWidth + "px";
canvas.style.height = canvasHeight + "px";

canvas.width = canvasWidth * dpr;
canvas.height = canvasHeight * dpr;

ctx.scale(dpr, dpr);

const TOTAL = 20;
const randomNumBetween = (min: number, max: number) => {
    return Math.random() * (max - min + 1) + min;
};

let particles: Array<Particle> = [];

for (let i = 0; i < TOTAL; i++) {
    const x = randomNumBetween(0, canvasWidth);
    const y = randomNumBetween(0, canvasHeight);
    const radius = randomNumBetween(50, 100);
    const vx = randomNumBetween(1, 2);
    const vy = randomNumBetween(1, 5);
    const particle = new Particle(x, y, radius, vx, vy);
    particles.push(particle);
}

let interval: number = 1000 / 60;
let now: number, delta: number;
let then: number = Date.now();

const animation = () => {
    window.requestAnimationFrame(animation);

    now = Date.now();
    delta = now - then;
    if(delta<interval) return;

    ctx.clearRect(0, 0, canvasWidth, canvasHeight);
    particles.forEach((particle:Particle) => {
        particle.update();
        particle.draw(ctx);
        if(particle.x - particle.radius > canvasWidth) {
            particle.y = -particle.radius
            particle.x = randomNumBetween(0, canvasWidth);
            particle.radius = randomNumBetween(50, 100);
            particle.vx = randomNumBetween(1, 2);
            particle.vy = randomNumBetween(1, 5);
        }

        if(particle.y - particle.radius > canvasHeight) {
            particle.y = -particle.radius
            particle.x = randomNumBetween(0, canvasWidth);
            particle.radius = randomNumBetween(50, 100);
            particle.vx = randomNumBetween(1, 2);
            particle.vy = randomNumBetween(1, 5);
        }
    })
    then = now - (delta % interval);
}

animation();
가속도, 마찰
사실 중력은 가속도가 붙는다. 그래서 단순히 velocity 에 값을 더하는 것이 아닌 3~4% 의 값만 곱해주면서 천천히 가속도를 곱해주면 자연스럽게 물체가 떨어지는 것을 구현할 수 있다.
또한 오히려 3~4% 를 뺀 값을 곱해주면 점점 0 으로 수렴하기 때문에 빠르게 가다가 멈추는 것을 구현할 수 있다.
export default class Particle {
    x: number;
    y: number;
    radius: number;
    vx: number;
    vy: number;
    acc: number = 1.003;
  	friction: number = 0.98;

    constructor(x: number, y: number, radius: number, vx: number, vy: number) {
        this.x = x;
        this.y = y;
        this.radius = radius;
        this.vx = vx;
        this.vy = vy;
    }

    draw(ctx: CanvasRenderingContext2D) {
        ctx.beginPath();
        ctx.arc(this.x, this.y, this.radius, 0, Math.PI / 180 * 360);
        ctx.fillStyle = "#000"
        ctx.fill();
        ctx.strokeStyle = "#8b00ff"
        ctx.stroke();
        ctx.closePath();
    }

    update() {
        this.x += this.vx;
        this.y += this.vy;
        this.vy *= this.acc;
    }
};
그리고 이를 acceleration, friction 등 직관적인 변수에 담아서 사용하면 더욱 좋다.