Next.js에서 NaverMap API 사용해보기
NaverMaps 기술문서를 보며 사용하면 더욱 좋음
Naver Maps 키 발급받기
네이버 클라우드 플랫폼
1. 위 링크로 이동한 뒤 이용 신청하기 클릭
2. Application 이름을 설정한 뒤 이용할 서비스로 Web Dynamic Map 선택
3. 나에게 맞게 서비스 환경을 설정한 뒤 등록 (필수)
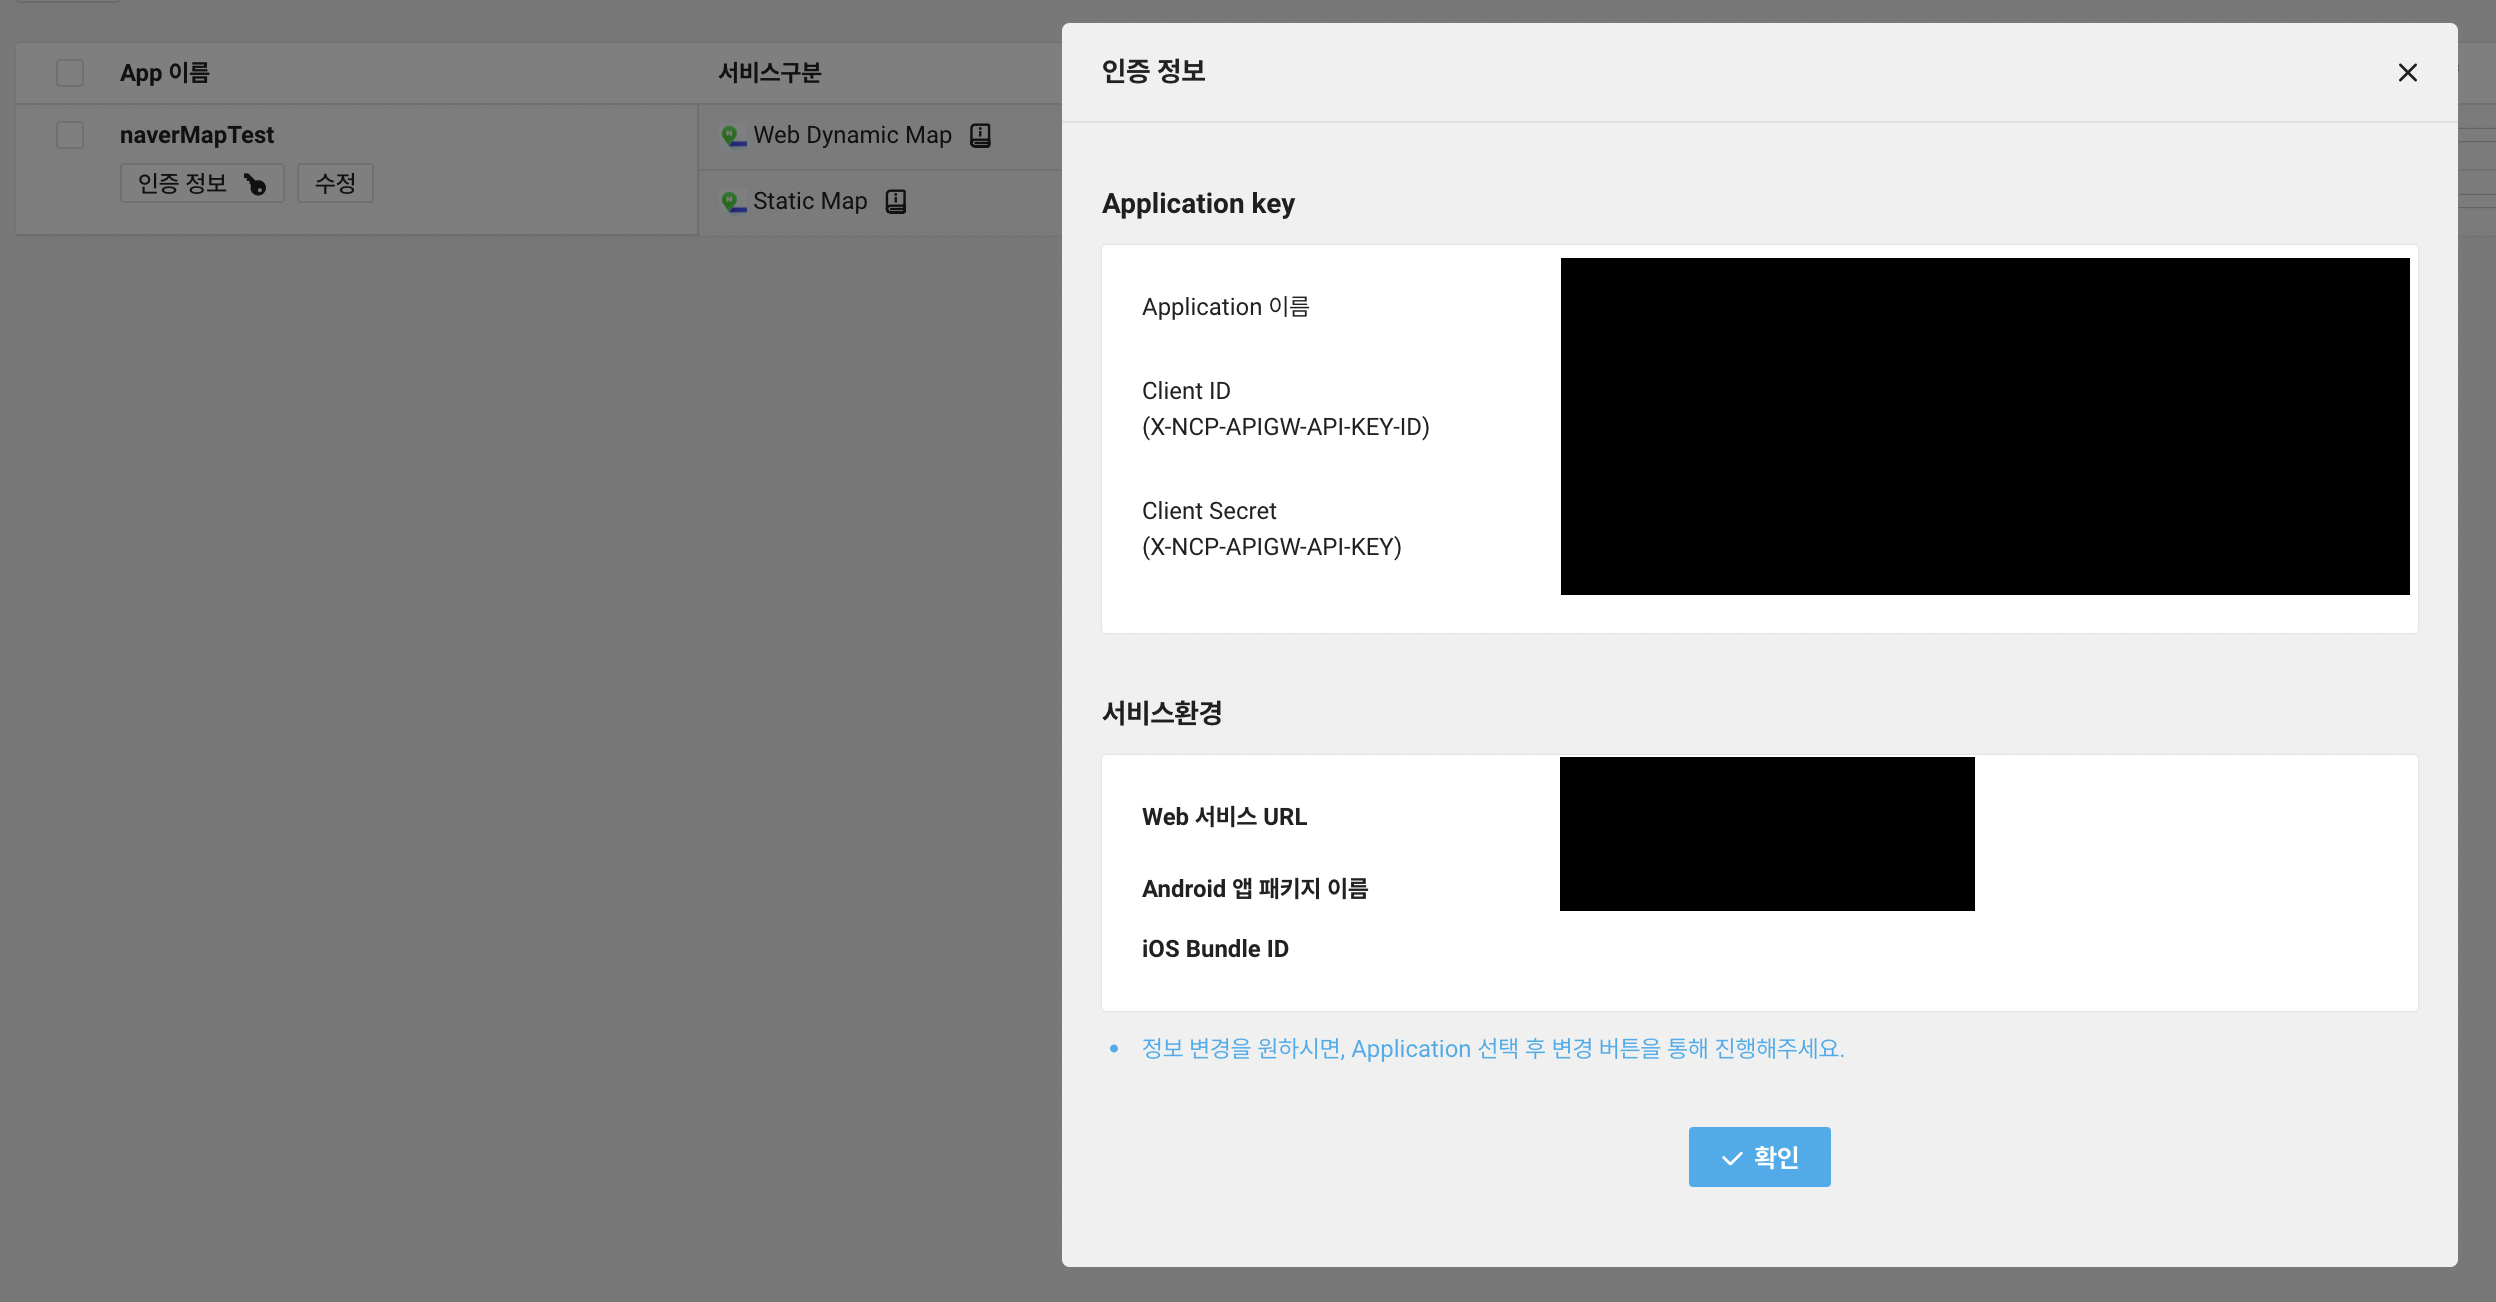
4. 내 application 목록에서 인증정보를 클릭하면 내 인증키 확인 가능
지도 띄워보기
지도 생성하기
useEffect(() => {
  const { naver } = window;

    if (!mapElement.current || !naver) return;
  // 지도의 중앙 좌표를 설정, LatLng에는 원하는 중앙좌표의 위도, 경도를 넣어준다
  const center = new naver.maps.LatLng(위도, 경도);
  // 지도를 생성할 옵션을 지정
  const mapOptions: naver.maps.MapOptions = {
    center: center, // 지도의 중앙이 될 좌표(LatLng)
    zoom: 16, // 지도가 생성될 당시의 줌 레벨
    zoomControl: true, // zoom 변경을 가능하게할지 false로 할시 변경 불가
    zoomControlOptions: { // zoom 변경 UI 위치를 우측상단으로 설정
      style: naver.maps.ZoomControlStyle.LARGE,
      position: naver.maps.Position.TOP_RIGHT,
    },
  };
  // map 객체를 위 옵션을 사용해 생성
  const map = new naver.maps.Map(mapElement.current, mapOptions);
  // 사라져야 할때 생성되었던 map을 destroy 해줌
  return () => {
    map.destroy();
  };
}, []);
스크립트 적용하기
naver에서 map을 불러올 src링크를 불러와야 하기때문에 해당 스크립트를 return문 내부에 넣어주기
이때 지도는 모든 상호작용 이전에 불러와야 하기 때문에 beforeInteractive를 strategy로 넣어줌<Script src={`https://openapi.map.naver.com/openapi/v3/maps.js?ncpClientId=네이버에서 발급받은 키`} strategy="beforeInteractive" />최종 코드
import Script from "next/script";
import { useEffect } from "react";

const MapNaverDefault = () => {

  useEffect(() => {
      const { naver } = window;

      if (!mapElement.current || !naver) return;
      const center = new naver.maps.LatLng(LatLng.lat, LatLng.lng);
      const mapOptions: naver.maps.MapOptions = {
        center: center,
        zoom: 16,
        zoomControl: true,
        zoomControlOptions: {
          style: naver.maps.ZoomControlStyle.LARGE,
          position: naver.maps.Position.TOP_RIGHT,
        },
      };
      const map = new naver.maps.Map(mapElement.current, mapOptions);
      return () => {
        map.destroy();
      };
  }, []);

  return(
    <Script
      src={`https://openapi.map.naver.com/openapi/v3/maps.js?ncpClientId=${네이버에서 발급받은 키}`}
      strategy="afterInteractive"
    />
    <div id="map" ref={mapElement} style={{ minHeight: "100vh" }}></div>
  );
};

export default MapNaverDefault;
출처

늅늅