Airflow 구성
Airflow 코드 구성은 기본적으로 DAG와 Operator로 구성된다.
DAG
- DAG는 operator들에 대한 실행을 관리하는 역할을 수행함
- 작업 흐름 정의, 의존성 관리, 스케줄링 및 실행 관리, 상태 및 로깅 관리를 수행
- DAG 설정 코드 구성은
dag_id,start_date,schedule_interval등을 설정
import airflow.utils.dates
from airflow import DAG

dag=DAG(
    dag_id = "test_dag", # Airflow UI에 출력되는 DAG 이름
    start_date= airflow.utils.dates.days_ago(14), # 시작 시점에서 14일 전 부터 task를 실행 14번 task를 실행하게됨
    schedule_interval=None,
)
Operator
- 공통 입력 변수
- task_id : task관리를 위해 모든 operator에는 task_id 변수 입력 필요
- dag : operator의 DAG 지정 - python operator
- python 함수를 실행
from airflow.operators.python import PythonOperator

def test_function(): # PythonOperator에서 호출되는 python 함수
	print("hello airflow python operator")

test_python_operator = PythonOperator(
	task_id = "test_python_operator",
    python_callable = test_function, # test_function 함수 사용
    dag = dag
)- bash operator
- bash 명령어 실행
from airflow.operators.bash import BashOperator

test_bash_operator = BashOperator(
    task_id="test_bash_operator",
    bash_command='echo "hello BashOperator"' # bash command 실행
    dag = dag
)
테스크 실행 순서
>>연산사를 통해서 operator를 순차적으로 실행
# python operator 실행 후 bash operator를 실행
test_python_operator >> test_bash_operator
실습
실습 목적
- DAG 설정과 operator를 설정
- 테스크들의 flow를 설정
실습 환경
- docker container (docker-compose)
- airflow의 공식 docker-compose를 사용한 이유는 환경 구축이 실습하기에 간단하기 때문에 사용
실습 목표
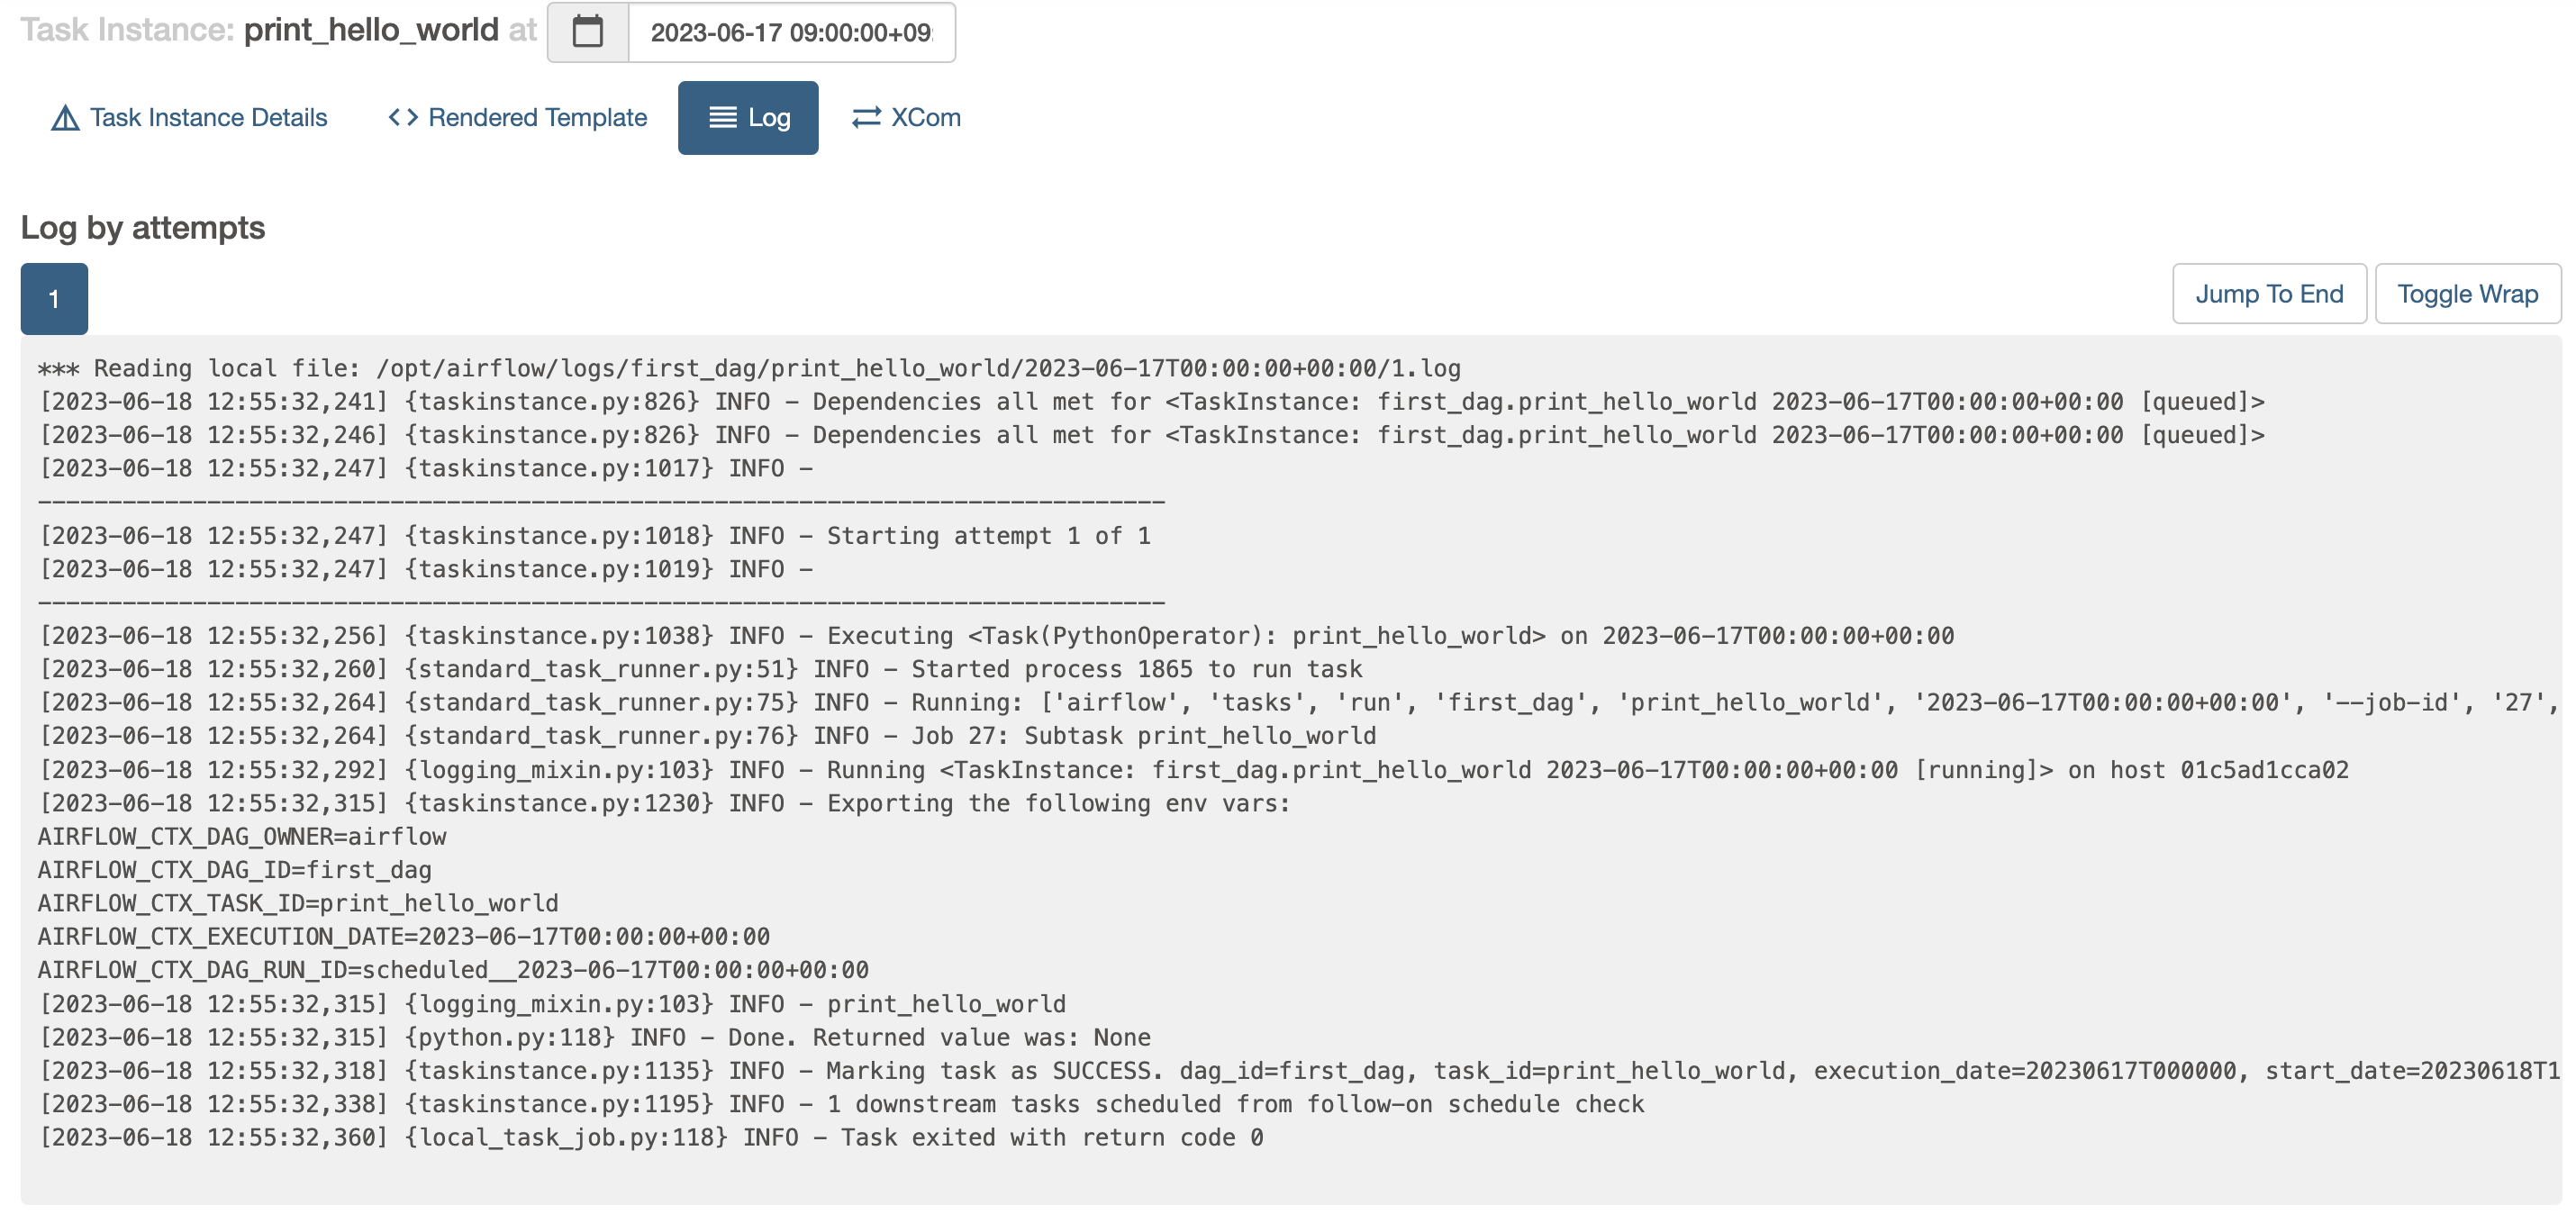
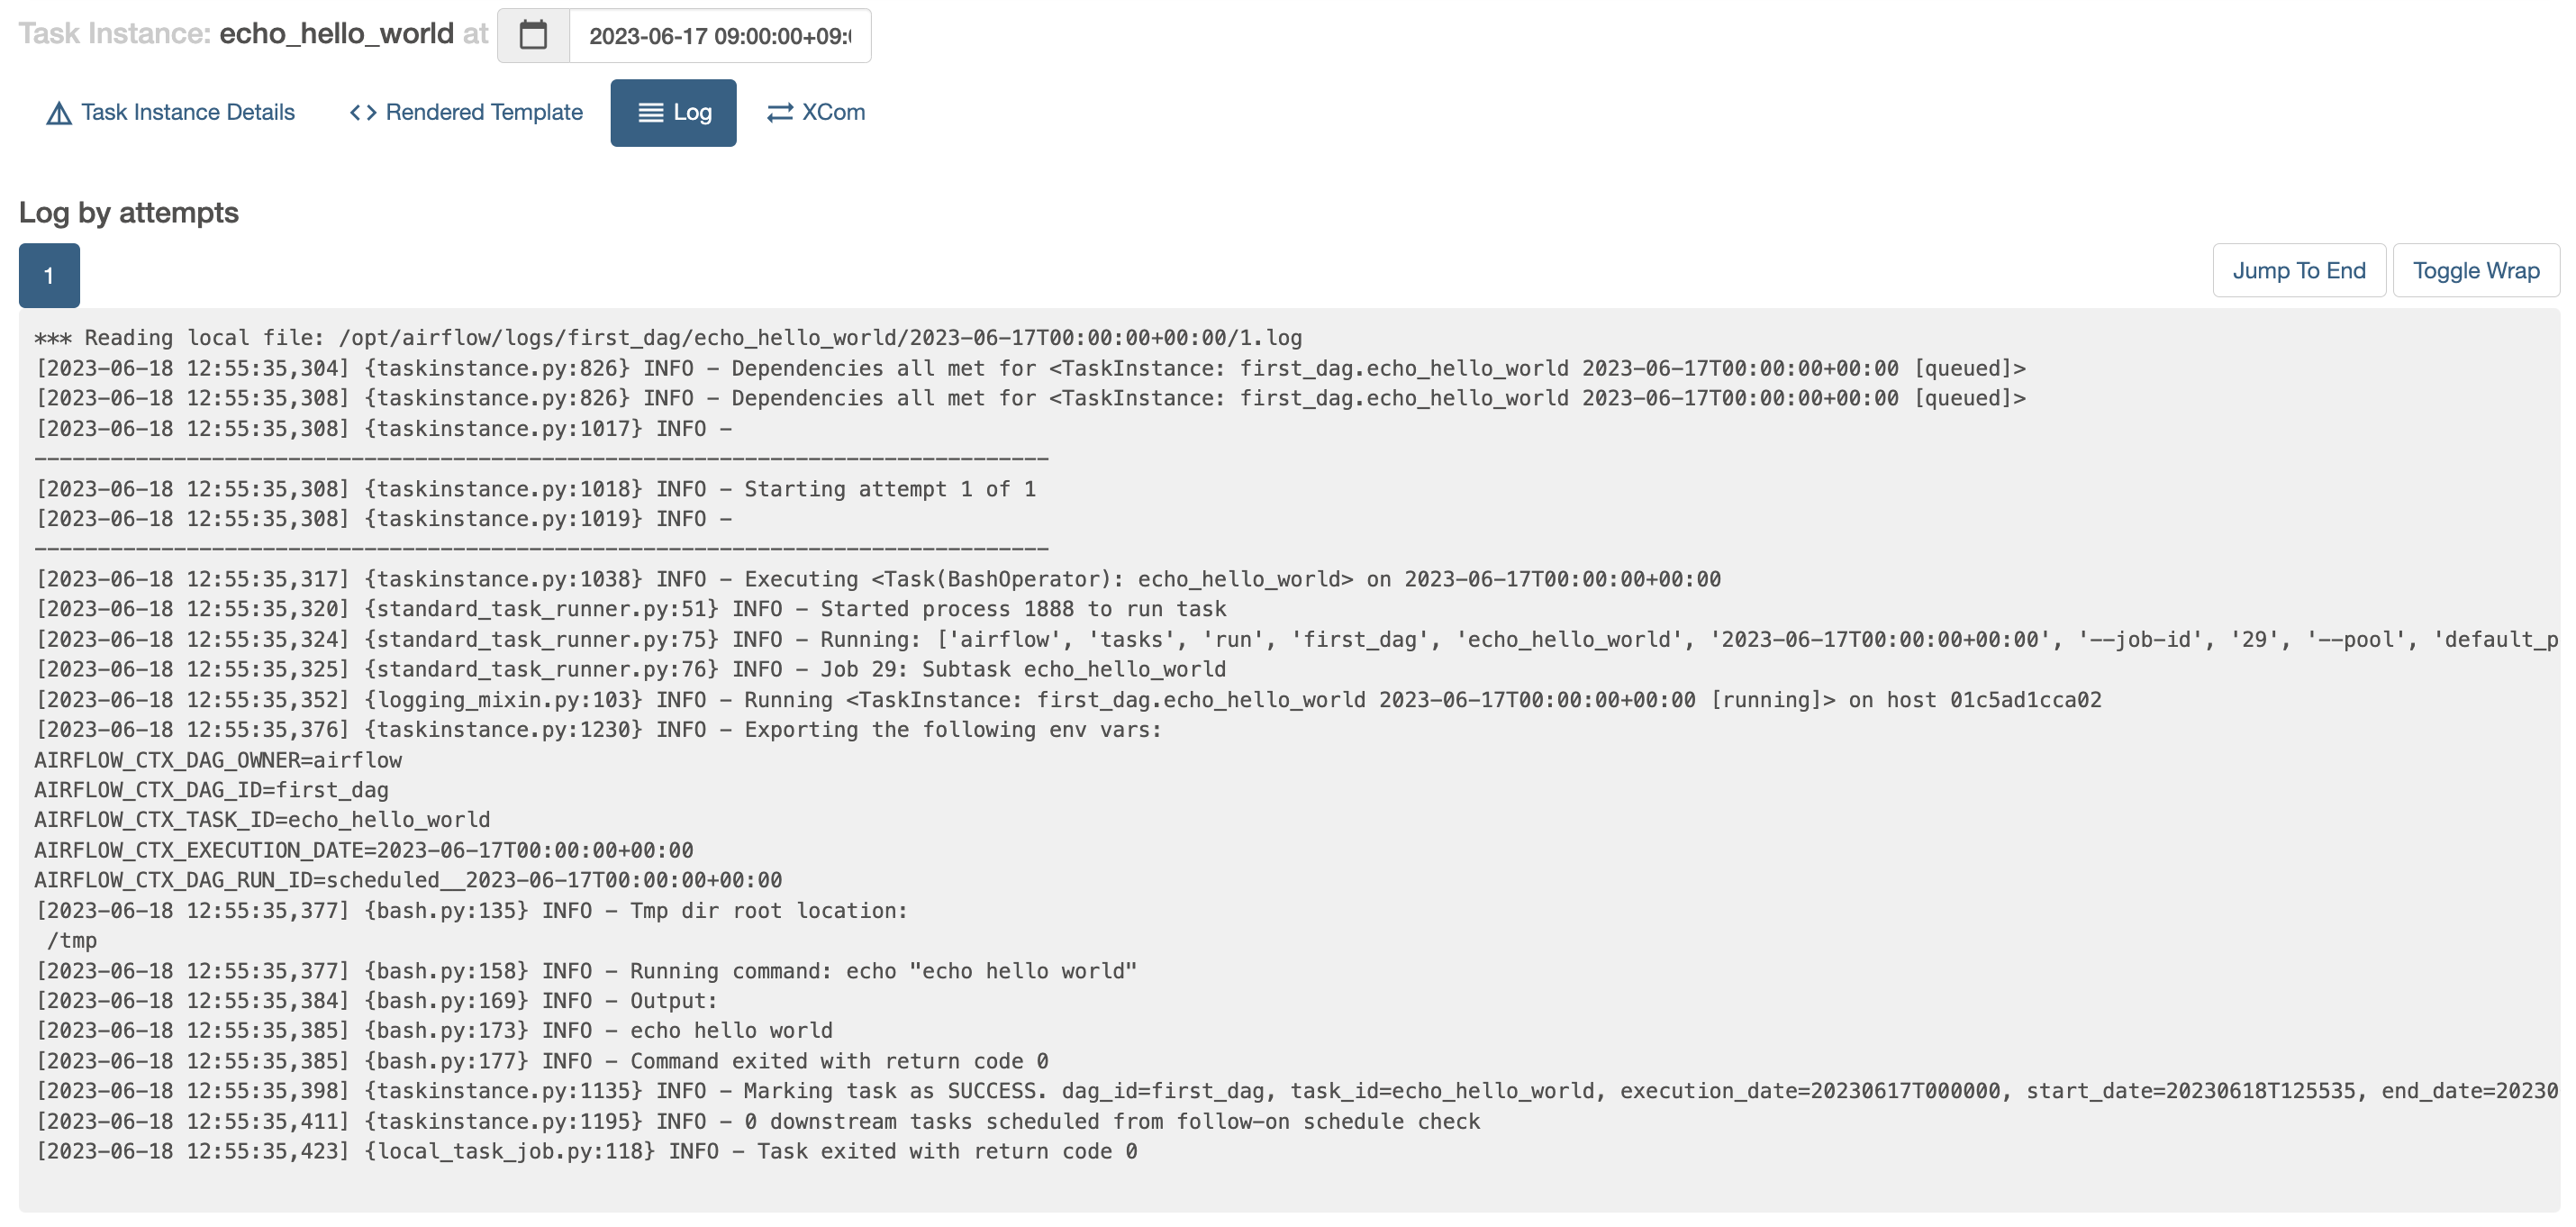
first_dag의print_hello_world,echo_hello_world의 task log에hello world출력
구현 코드
import airflow.utils.dates
from airflow import DAG
from airflow.operators.bash import BashOperator
from airflow.operators.python import PythonOperator
dag=DAG(
dag_id = "first_dag",
start_date= airflow.utils.dates.days_ago(14),
schedule_interval="@daily",
)
def _print_hello_world():
print("hello_world")
print_hello_world = PythonOperator(
task_id = "print_hello_world",
python_callable = _print_hello_world,
dag = dag
)
echo_hello_world = BashOperator(
task_id = "echo_hello_world",
bash_command = 'echo "echo hello world"',
dag = dag
)
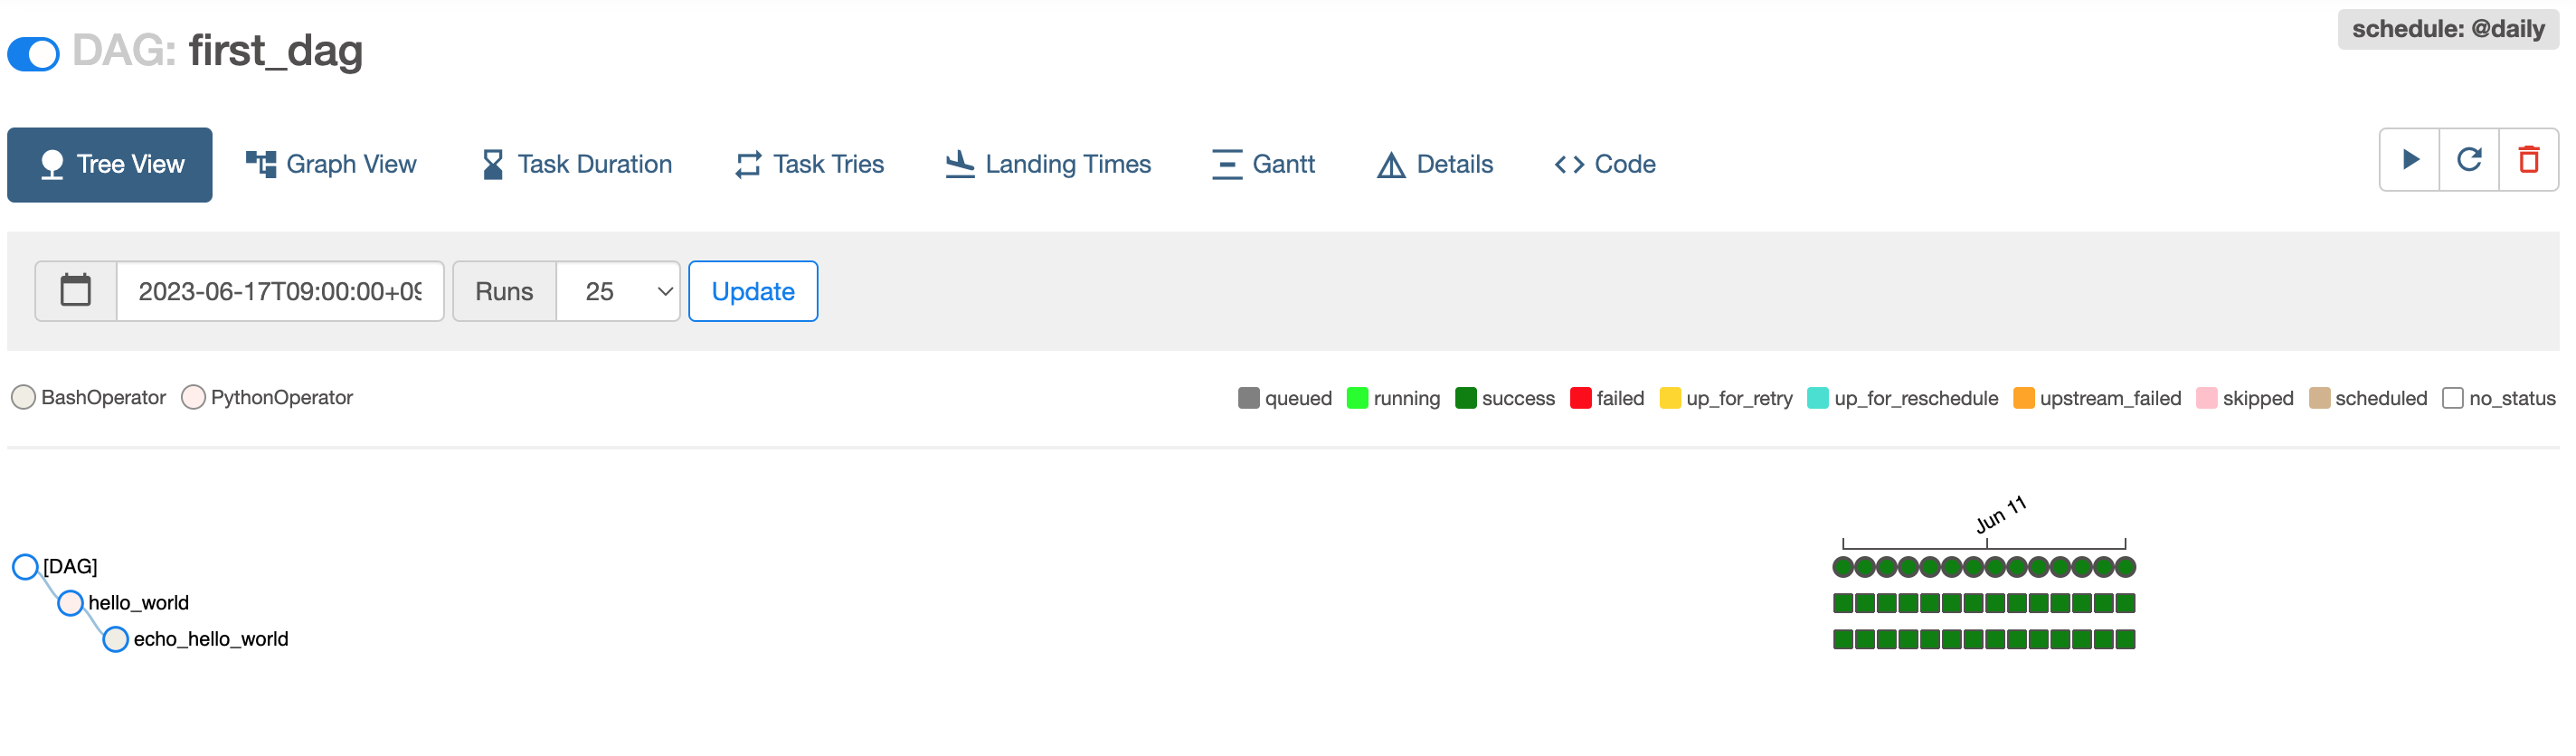
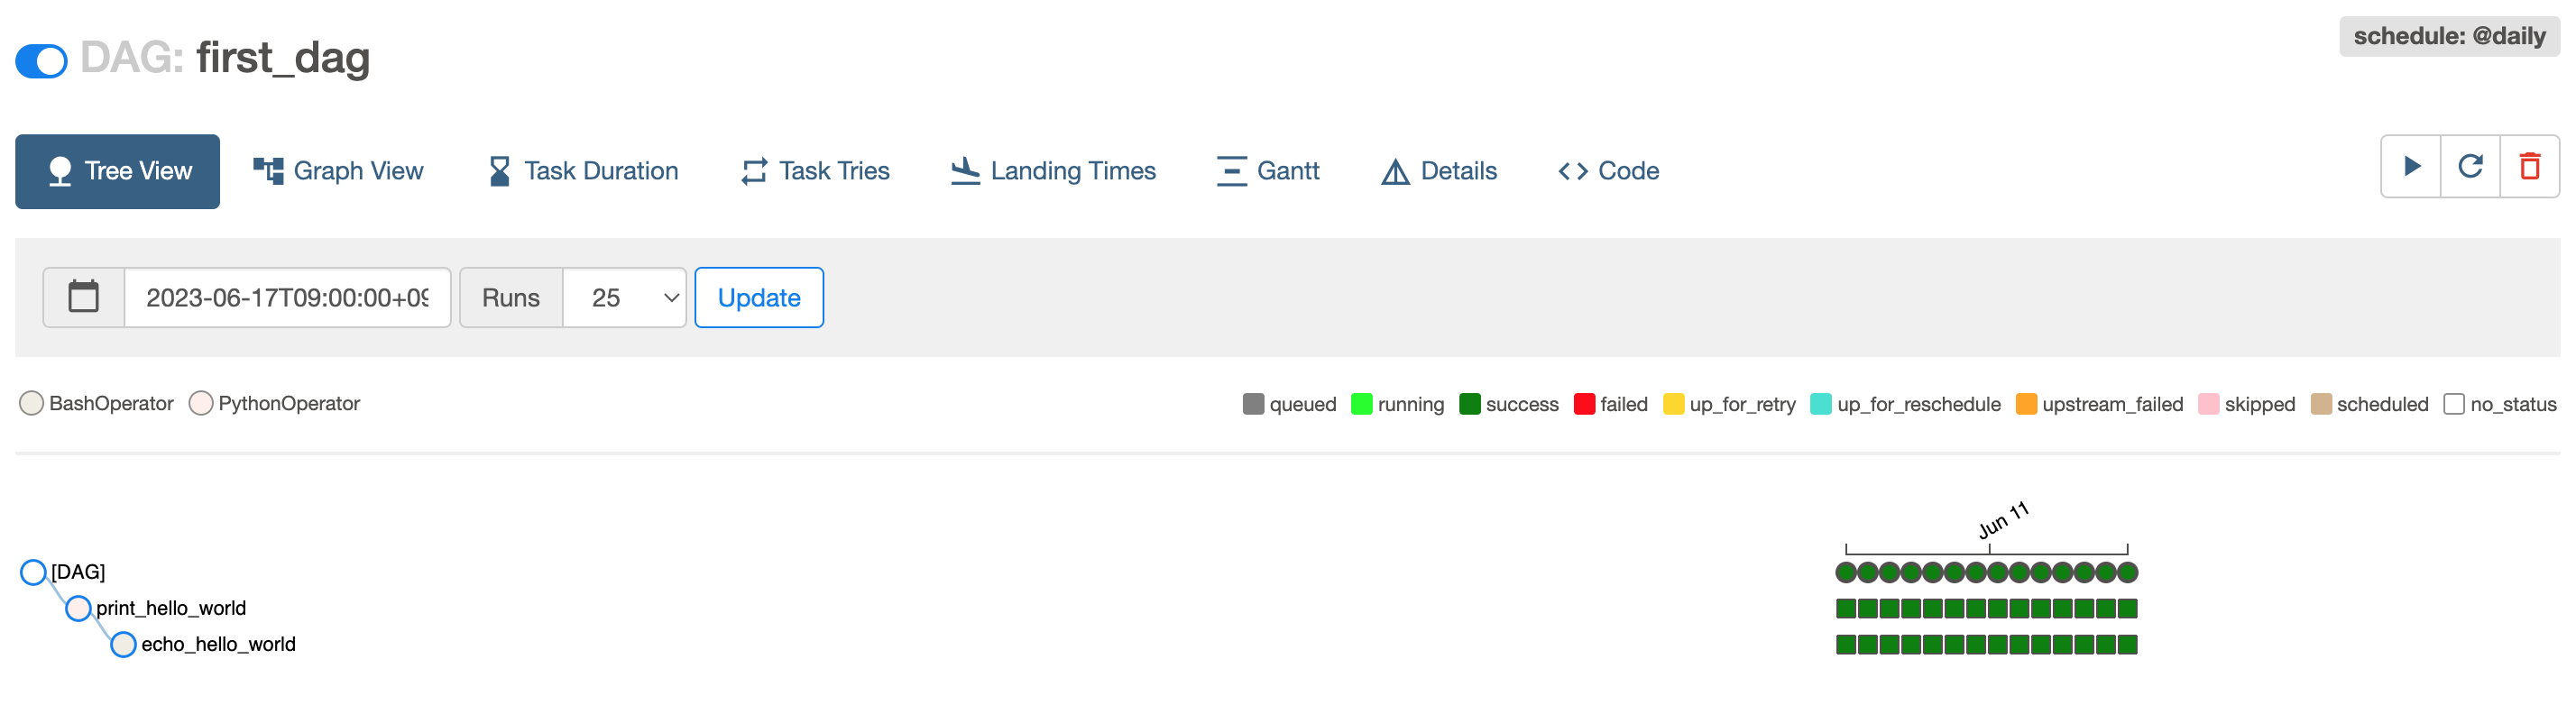
print_hello_world >> echo_hello_world결과
python print와 bash echo가 log에 잘 출력되었다!
- dag 생성 및 flow 실행 결과
- log 출력 결과

데이터 엔지니어링이 너무너무 좋아요