nestAPI Swager
nest에선 RESTful API를 설명하는 데 사용하는 모듈을 제공한다.
설치
$ npm install --save @nestjs/swaggerbootstrap()
설치를 하고, main.ts파일에서 클래스를 이용해 Swagger를 초기화 한다.
import { NestFactory } from '@nestjs/core';
import { SwaggerModule, DocumentBuilder } from '@nestjs/swagger';
import { AppModule } from './app.module';
async function bootstrap() {
const app = await NestFactory.create(AppModule);
// swagger 초기화
const config = new DocumentBuilder()
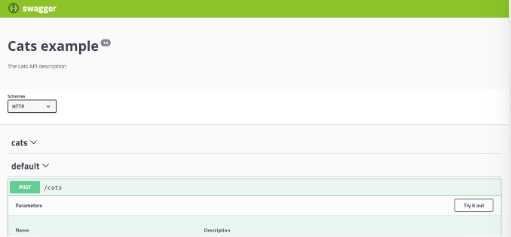
.setTitle('Cats example')
.setDescription('The cats API description')
.setVersion('1.0')
.addTag('cats')
.build();
const document = SwaggerModule.createDocument(app, config);
// /api에 요청하면 swaggerUI로 api문서를 보여준단 뜻임
SwaggerModule.setup('api', app, document);
await app.listen(3000);
}
bootstrap();DocumentBuilder: 문서를 구성할 때 사용하고, 제목, 설명, 버전 등을 설정하는 메서드를 제공한다.
createDocument(app, config): 전체 문서를 만들기 위한 메서드
SwaggerModule: 애플리케이션 인스턴스, swagger옵션 개체인 두가지 인수를 사용,
형식으로 세번째 인수를 넣을 수도 있다.
문서를 createDocument로 생성하면 setup메서드를 사용하면된다.
1. SwaggerUI 마운트 경로
2. 앱 인스턴스
3. 위 인스턴스화된 문서 객체
4. 선택적인 구성 매개변수(문서옵션)
위 방식대로 SwaggerModule.setup을 하고 /api 호출을하면 SwaggerUI로 표시된다.
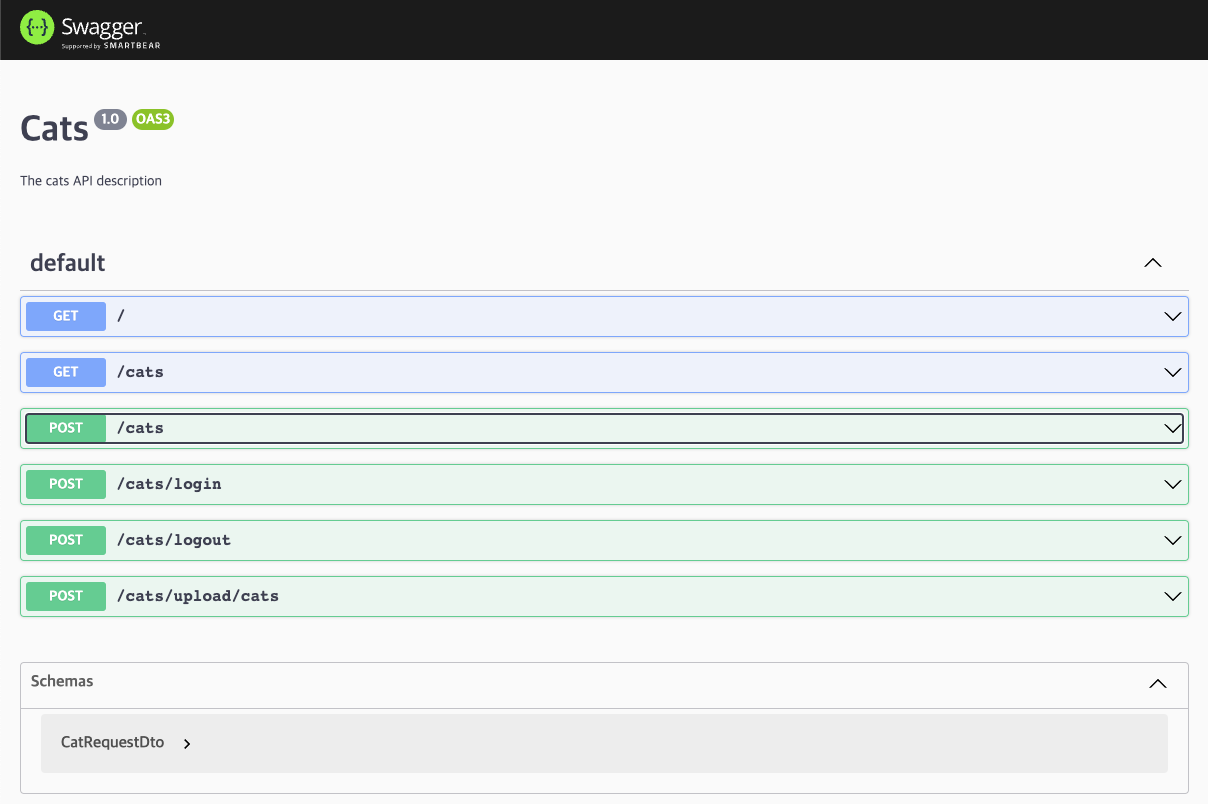
위를 보면 SwaggerModule은 모든 엔드포인트를 자동 반영한다.
/api-json경로로 들어가면 해당 문서를 다운로드한다.
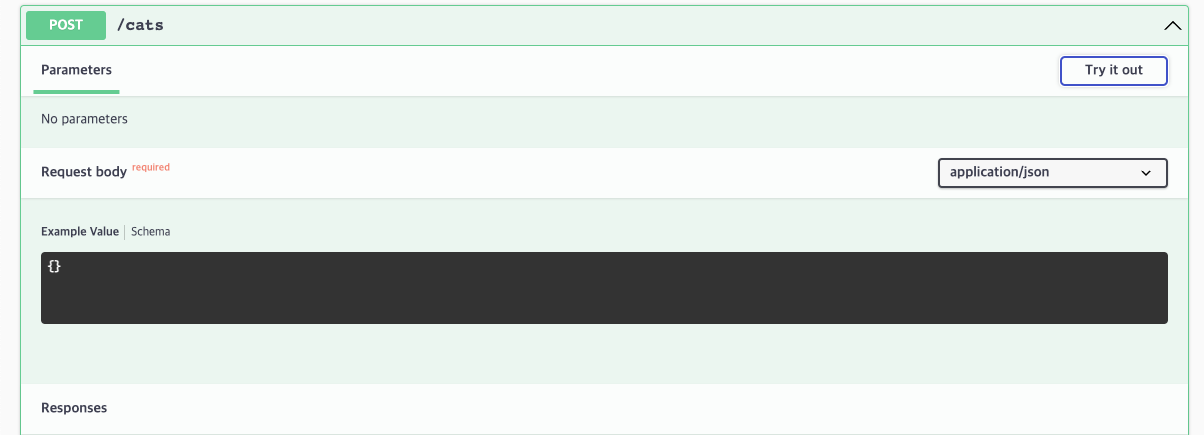
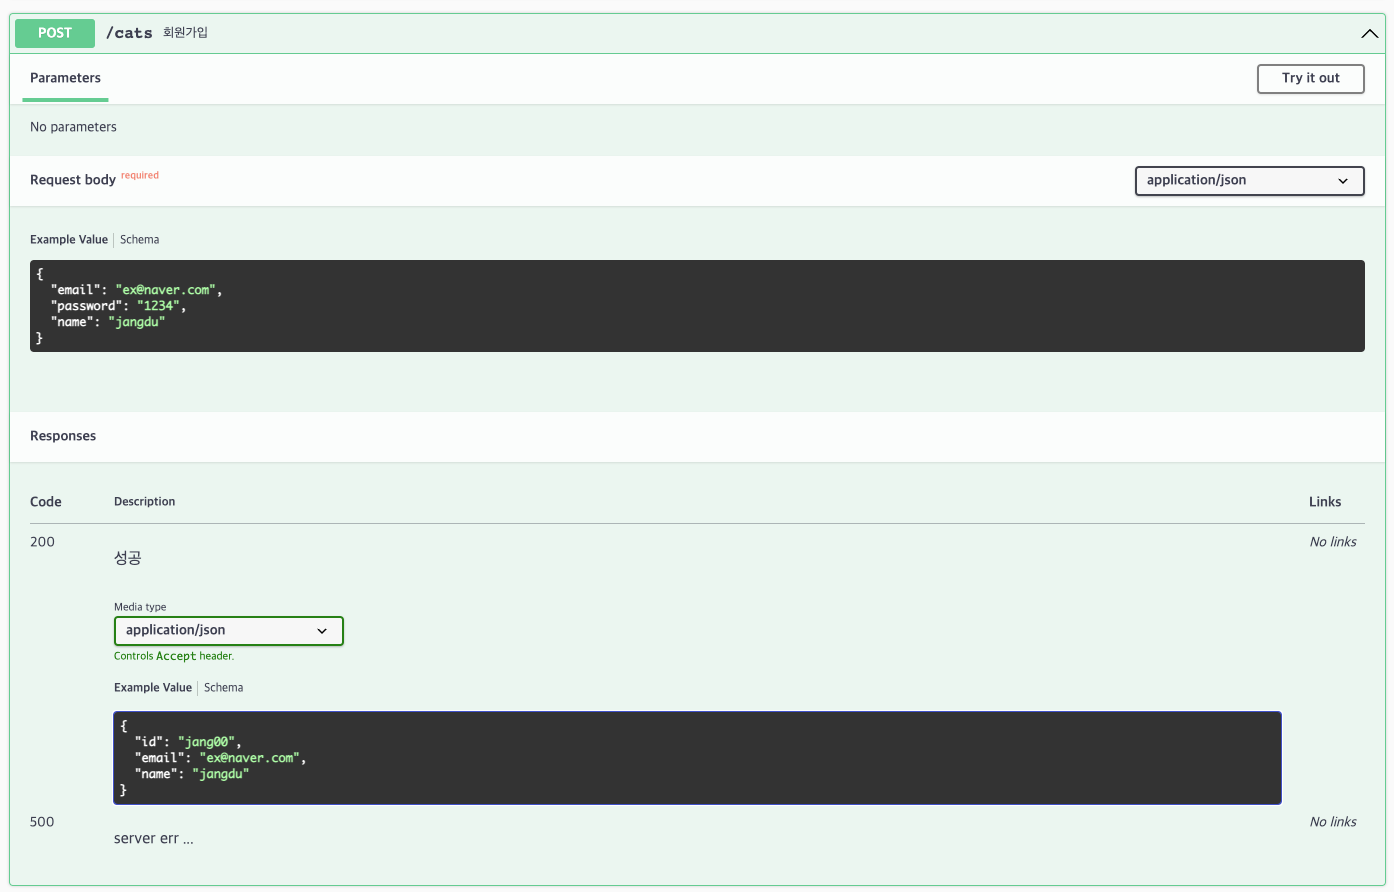
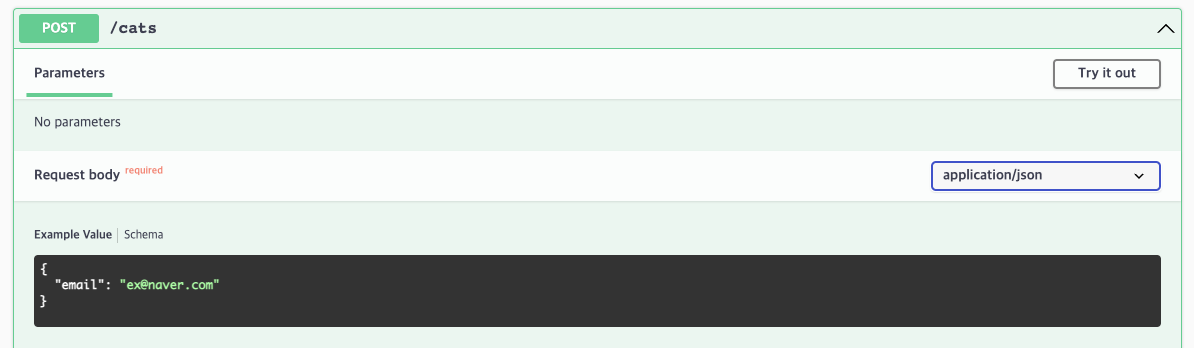
POST요청에서 Try it out을 클릭하면 요청을 테스트 할 수 있는데,
여기서 어떤 데이터를 전달해야하는지 명시할 수 있다.
@ApiProperty in request.dto.ts
dto의 Dto클래스에서 @ApiProperty 데코레이터를 해당 객체에 사용하면된다.
...
export class CatRequestDto {
  @ApiProperty({
    example: 'ex@naver.com',
    description: 'email',
    required: true,
  })
  @IsEmail()
  @IsNotEmpty()
  email: string;
...
위처럼 사용하면 문서에 예시 request가 들어간다.
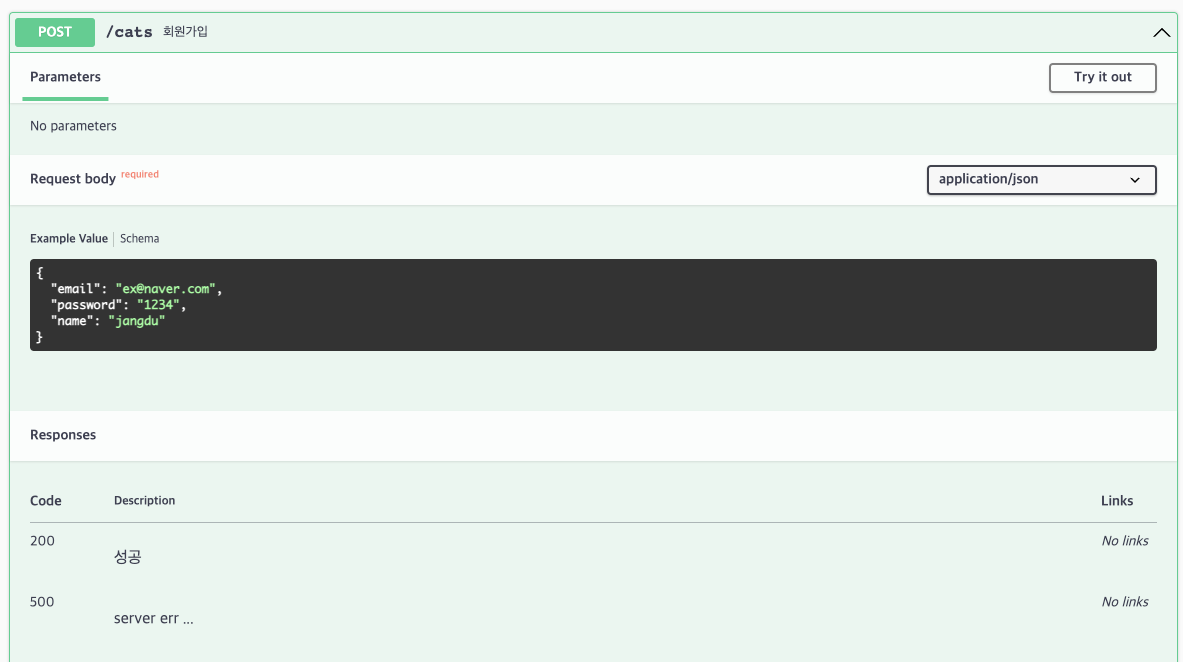
추가로 Respones의 예시도 표시해줄 수 있다.
Responses도 표시 가능
컨트롤러에서 해당 라우터 부분에 데커레이터를 사용하면 된다.
  @ApiResponse({
    status: 500,
    description: 'server err ...',
  })
  @ApiResponse({
    status: 200,
    description: '성공',
  })
  @ApiOperation({ summary: '회원가입' })
  @Post()
  async signUp(@Body() body: CatRequestDto) {
    console.log(body);
    return await this.catsService.signup(body);
  }
위 코드처럼 @ApiResponse를 이용해서 해당 부분의 Responses설명을 추가할 수 있다.
@ApiOperation는 이 api가 뭔지 설명하는 거임
이런식으로 문서를 만들 수 있다.
위에서 사용한 RequestDto처럼 ResponseDto도 만들어 주면 더욱 자세하게 문서작성이 가능하다.
ResponseDto
// cat.dto.ts
import { ApiProperty } from '@nestjs/swagger';

export class ReadOnlyCatDto {
  @ApiProperty({
    example: 'jang00',
    description: 'id',
    required: true,
  })
  id: string;

  @ApiProperty({
    example: 'ex@naver.com',
    description: 'email',
    required: true,
  })
  email: string;

  @ApiProperty({
    example: 'jangdu',
    description: 'name',
    required: true,
  })
  name: string;
}
위처럼 dto를 만들어주고 컨트롤러에서 type이라는 요소로 넣어주면 된다.
// cats.controller.ts
  @ApiResponse({
    status: 500,
    description: 'server err ...',
  })
  @ApiResponse({
    status: 200,
    description: '성공',
    type: ReadOnlyCatDto,	// type요소 추가
  })
  @ApiOperation({ summary: '회원가입' })
  @Post()
  async signUp(@Body() body: CatRequestDto) {
    console.log(body);
    return await this.catsService.signup(body);
  }
이렇게 작성해주면 reponse status가 200으로 성공일 때 받는 reponse예제를 문서로 작성이 된다.