1)학습한 내용
복습 : 리엑트(필요한 기능을 component를 사용해 구성한다.)
부분적 수정 중심
버튼클릭시 숫자 증가하기
일반적인 프로그래밍 언어처럼 변수 지정 후 값을 증가시키는 함수가 작동하지 않는다.
let counter = 0;
const incrsease =()=>{
	counter = counter + 1;
 // 작동 X
}
함수 usestate(state = 동적인 값)를 이용하여 작동
  const [counter,setCounter] = useState(0);
  const increase =()=>{
    setCounter(counter + 1);
    console.log("counter는 ",counter);
  };
에어비앤비 디자인 시스템 따라하기
스토리북(Storybook) : UI컴포넌트 개발 도구
데모용 코드를 작성하는 데 도움을 주고 공통적으로 사용될 컴포넌트를 팀원들과 편리하게 공유하는 도구로 활용
구성단위는 스토리(Story)
하나의 UI컴포넌트는 보통 하나 이상의 Story를 가짐
장점
복잡한 로직 없이 독립적인 환경에서 컴포넌트를 개발할 수 있다
재사용을 위한 컴포넌트들을 story에서 조합해 테스트할 수 있다
컴포넌트들을 문서화 할 수도 있고 디자인 시스템에 적용해 피그마의 컴포넌트들과 동기화할 수 있다.
스토리북 생성
1. npx create-react-app 프로젝트 디렉터리
2. cd 프로젝트 디렉터리
3. npx –p storybook sb init
4. npm run storybook
스토리 기본구조
Export default {
Title : 스토리북에 올릴 component 폴더 계층 구조,
Component : 스토리를 만들 컴포넌트 이름
}
Export const 스토리이름 = () => 해당스토리에서 테스트할 인자가 담긴 컴포넌트
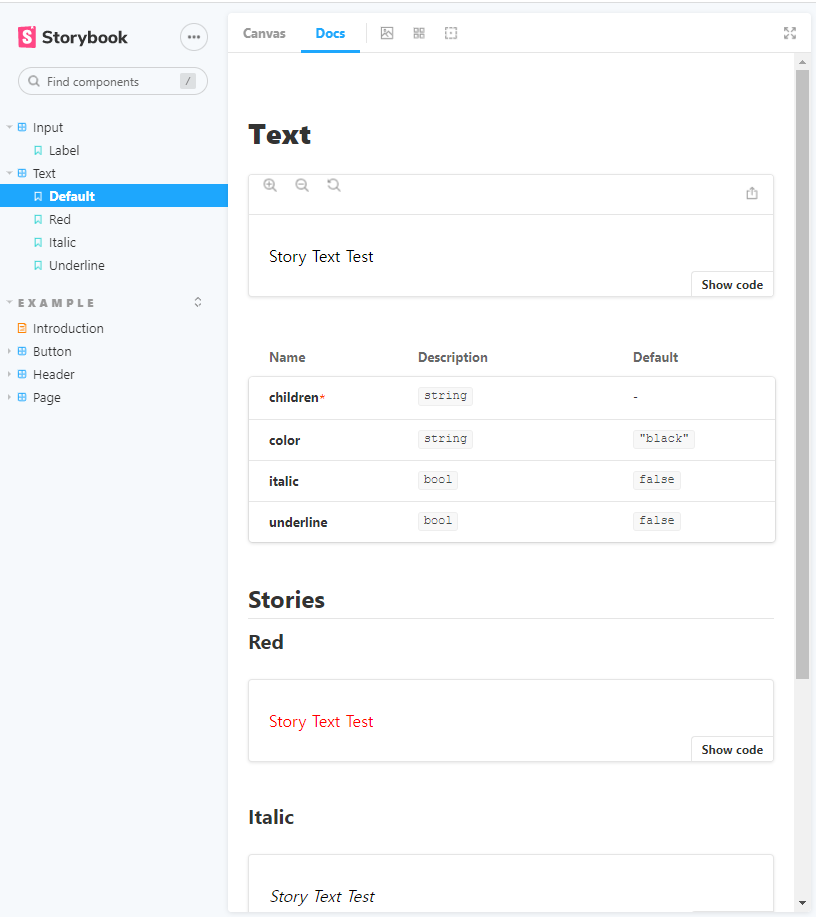
text 컴포넌트 작성 및 story 연결
import React, { Component } from "react";

import PropTypes from "prop-types";


export function Text({ children, color, italic, underline }) {

  const style = {

    color: color,

    fontStyle: italic ? "italic" : "normal",

    textDecoration: underline ? "underline" : "none",

  };

  return <span style={style}>{children}</span>;

}


Text.propTypes = {

  children: PropTypes.string.isRequired,

  color: PropTypes.string,

  italic: PropTypes.bool,

  underline: PropTypes.bool,

};


Text.defaultProps = {

  color: "black",

  italic: false,

  underline: false,

};
import React, { Component } from 'react';
import {Text} from "./Text"
export default{
title : "Text",
component : Text
};
const TEST_TEXT = "Story Text Test";
export const Default = ()=><Text>{TEST_TEXT}</Text>;
export const Red = ()=><Text color="red">{TEST_TEXT}</Text>;
export const Italic = ()=><Text italic>{TEST_TEXT}</Text>;
export const Underline = ()=><Text underline>{TEST_TEXT}</Text>;결과 :
Input 컴포넌트 작성 및 story 연결
import React, { Component } from "react";
import PropTypes from "prop-types";

class Input extends Component {
  constructor(props) {
    super(props);
    this.setRef = this.setRef.bind(this);
    this.handleChange = this.handleChange.bind(this);
  }

  handleChange(e) {
    const { name, onChange } = this.props;
    if (onChange) {
      onChange(name, e.target.value);
    }
  }

  componentDidMount() {
    if (this.props.autoFocus) {
      this.ref.focus();
    }
  }

  componentDidUpdate() {
    if (this.props.autoFocus) {
      this.ref.focus();
    }
  }

  setRef(ref) {
    this.ref = ref;
  }

  render() {
    const { errorMessage, label, name, value, type, onFocus } = this.props;
    return (
      <label>
        {label}
        <input
          id={"input_${name}"}
          ref={this.setRef}
          onChange={this.handleChange}
          onFocus={onFocus}
          value={value}
          type={type}
        />
        {errorMessage && <span className="error">{errorMessage}</span>}
      </label>
    );
  }
}

Input.propTypes = {
  type: PropTypes.oneOf(["text", "number", "price"]),
  name: PropTypes.string.isRequired,
  value: PropTypes.oneOfType([PropTypes.number, PropTypes.string]),
  errorMessage: PropTypes.string,
  label: PropTypes.string,
  onChange: PropTypes.func,
  autoFocus: PropTypes.bool,
};

Input.defaultProps = {
  onChange: () => {},
  onFocus: () => {},
  autoFocus: false,
  type: "text",
};

export default Input;
import React, { Component } from 'react';
import Input from "./Input";

export default{
    title : "Input",
    component : Input,
};

export const label = () => <Input name="name" label="이름 : "/>;
결과 : 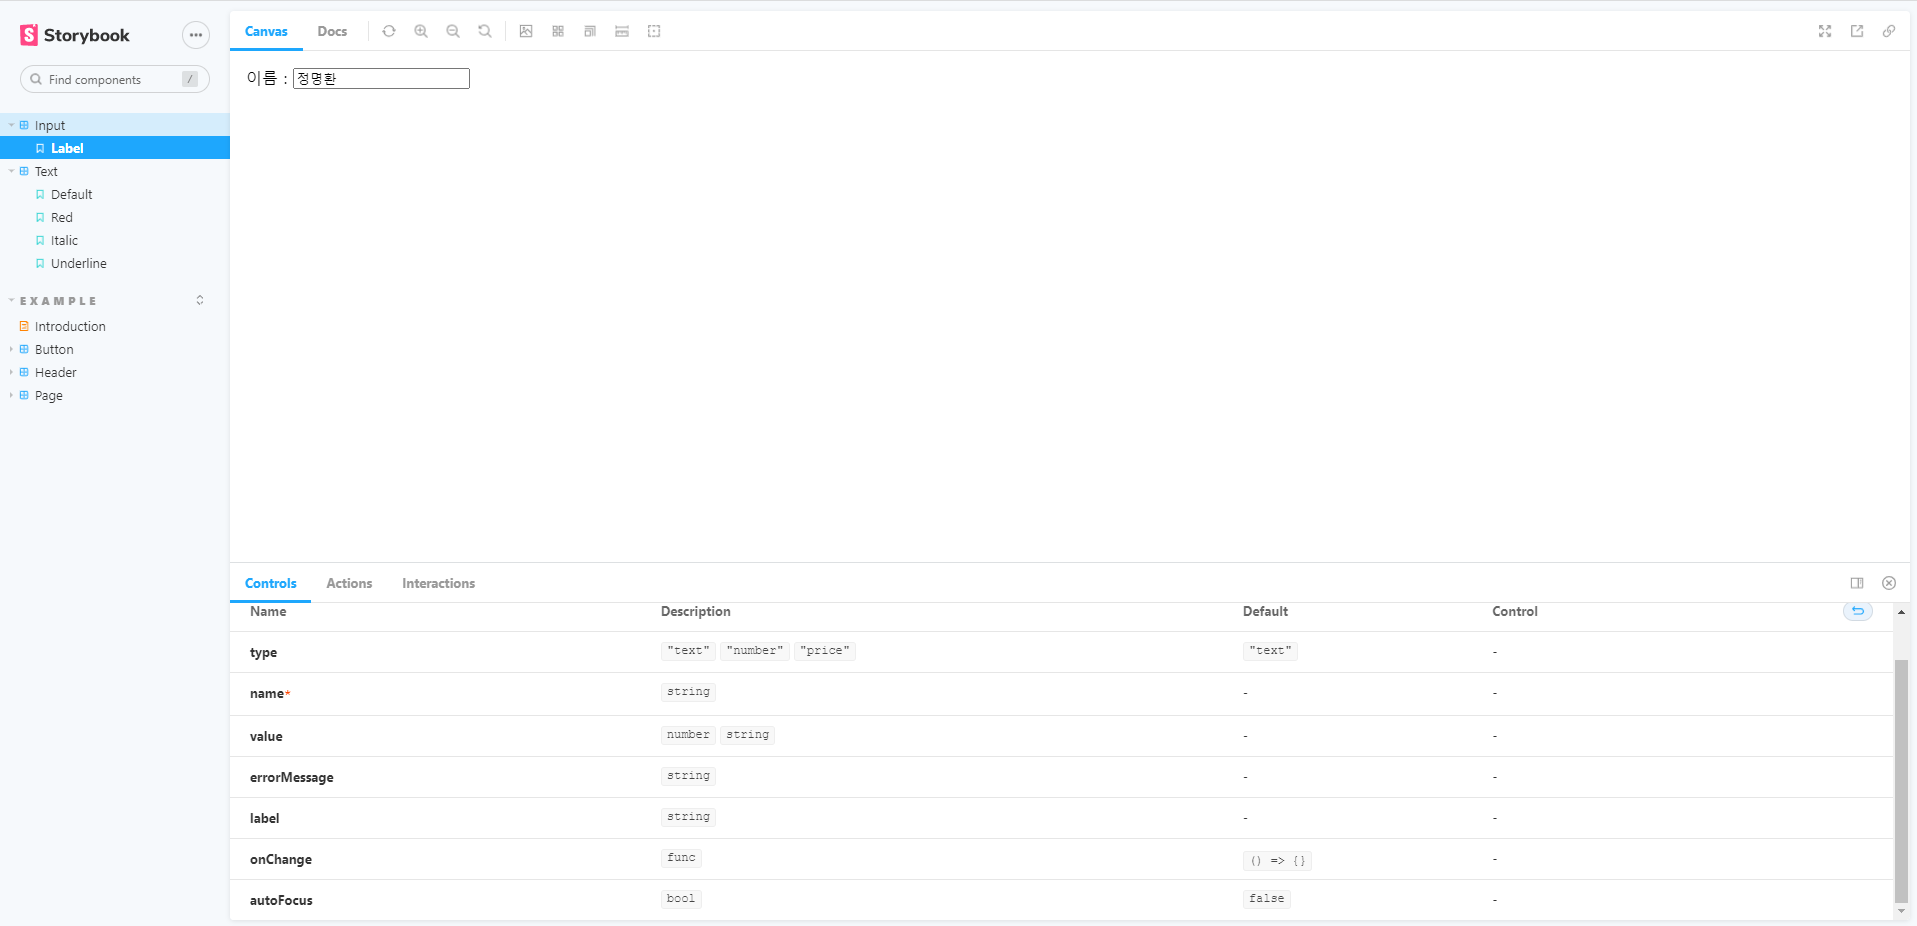
2) 학습내용 중 어려웠던 점
X
3) 해결방법
X
4) 학습소감
화살표 함수를 사용하는 것이 처음이라 낯설었지만 곧 적응하여 볼 수 있었습니다. 그리고 스토리북를 통한다면 쉽고 보기 좋게 코드들을 공유 할 수 있을 것 같습니다.