
1. input태그 작성하기
// pug코드
form(method="post")
   input(type="file", id = "avatar", name = "avatar", accept="image/*")
accecpt 로 image파일만 업로드 할 수 있게 한정한다.
2. multer 이용하기
2.1 entype 설정
파일을 백엔드로 보내기 위해 필요한 인코딩을 하기위해 entype을 설정해준다.
//pug코드
form(method="post", enctype="multipart/form-data")
    input(type="file", id = "avatar", name = "avatar", accept="image/*")
2.2 미들웨어 작성하기
미들웨어의 형식은 다은과 같다.
var upload = multer({options})uploads라는 폴더에 저장을 원하기 때문에 다음과 같이 작성했다.
export const uploadFiles = multer({
  dest: "uploads/",
});
옵션 정리
| Key | Description |
|---|---|
dest 또는 storage | 파일이 저장될 위치 |
| fileFilter | 허용가능한 파일 설정 |
limits | 업로드할 데이터 크기 설정 |
| preservePath | 기본 이름 대신 파일의 전체 경로 유지 |
2.3 라우터에 미들웨어 붙여주기
다음은 프로필을 수정하는 라우터이다.
userRouter
  .route("/profile")
  .all(protectorMiddleware)
  .get(getProfie)
  .post(postProfile);
post부분에 uploadFiles.single(input태그의 name) 형식으로 미들웨어를 추가해주면 된다.
userRouter
  .route("/profile")
  .all(protectorMiddleware)
  .get(getProfie)
  .post(uploadFiles.single("avatar"), postProfile);
3. 결과
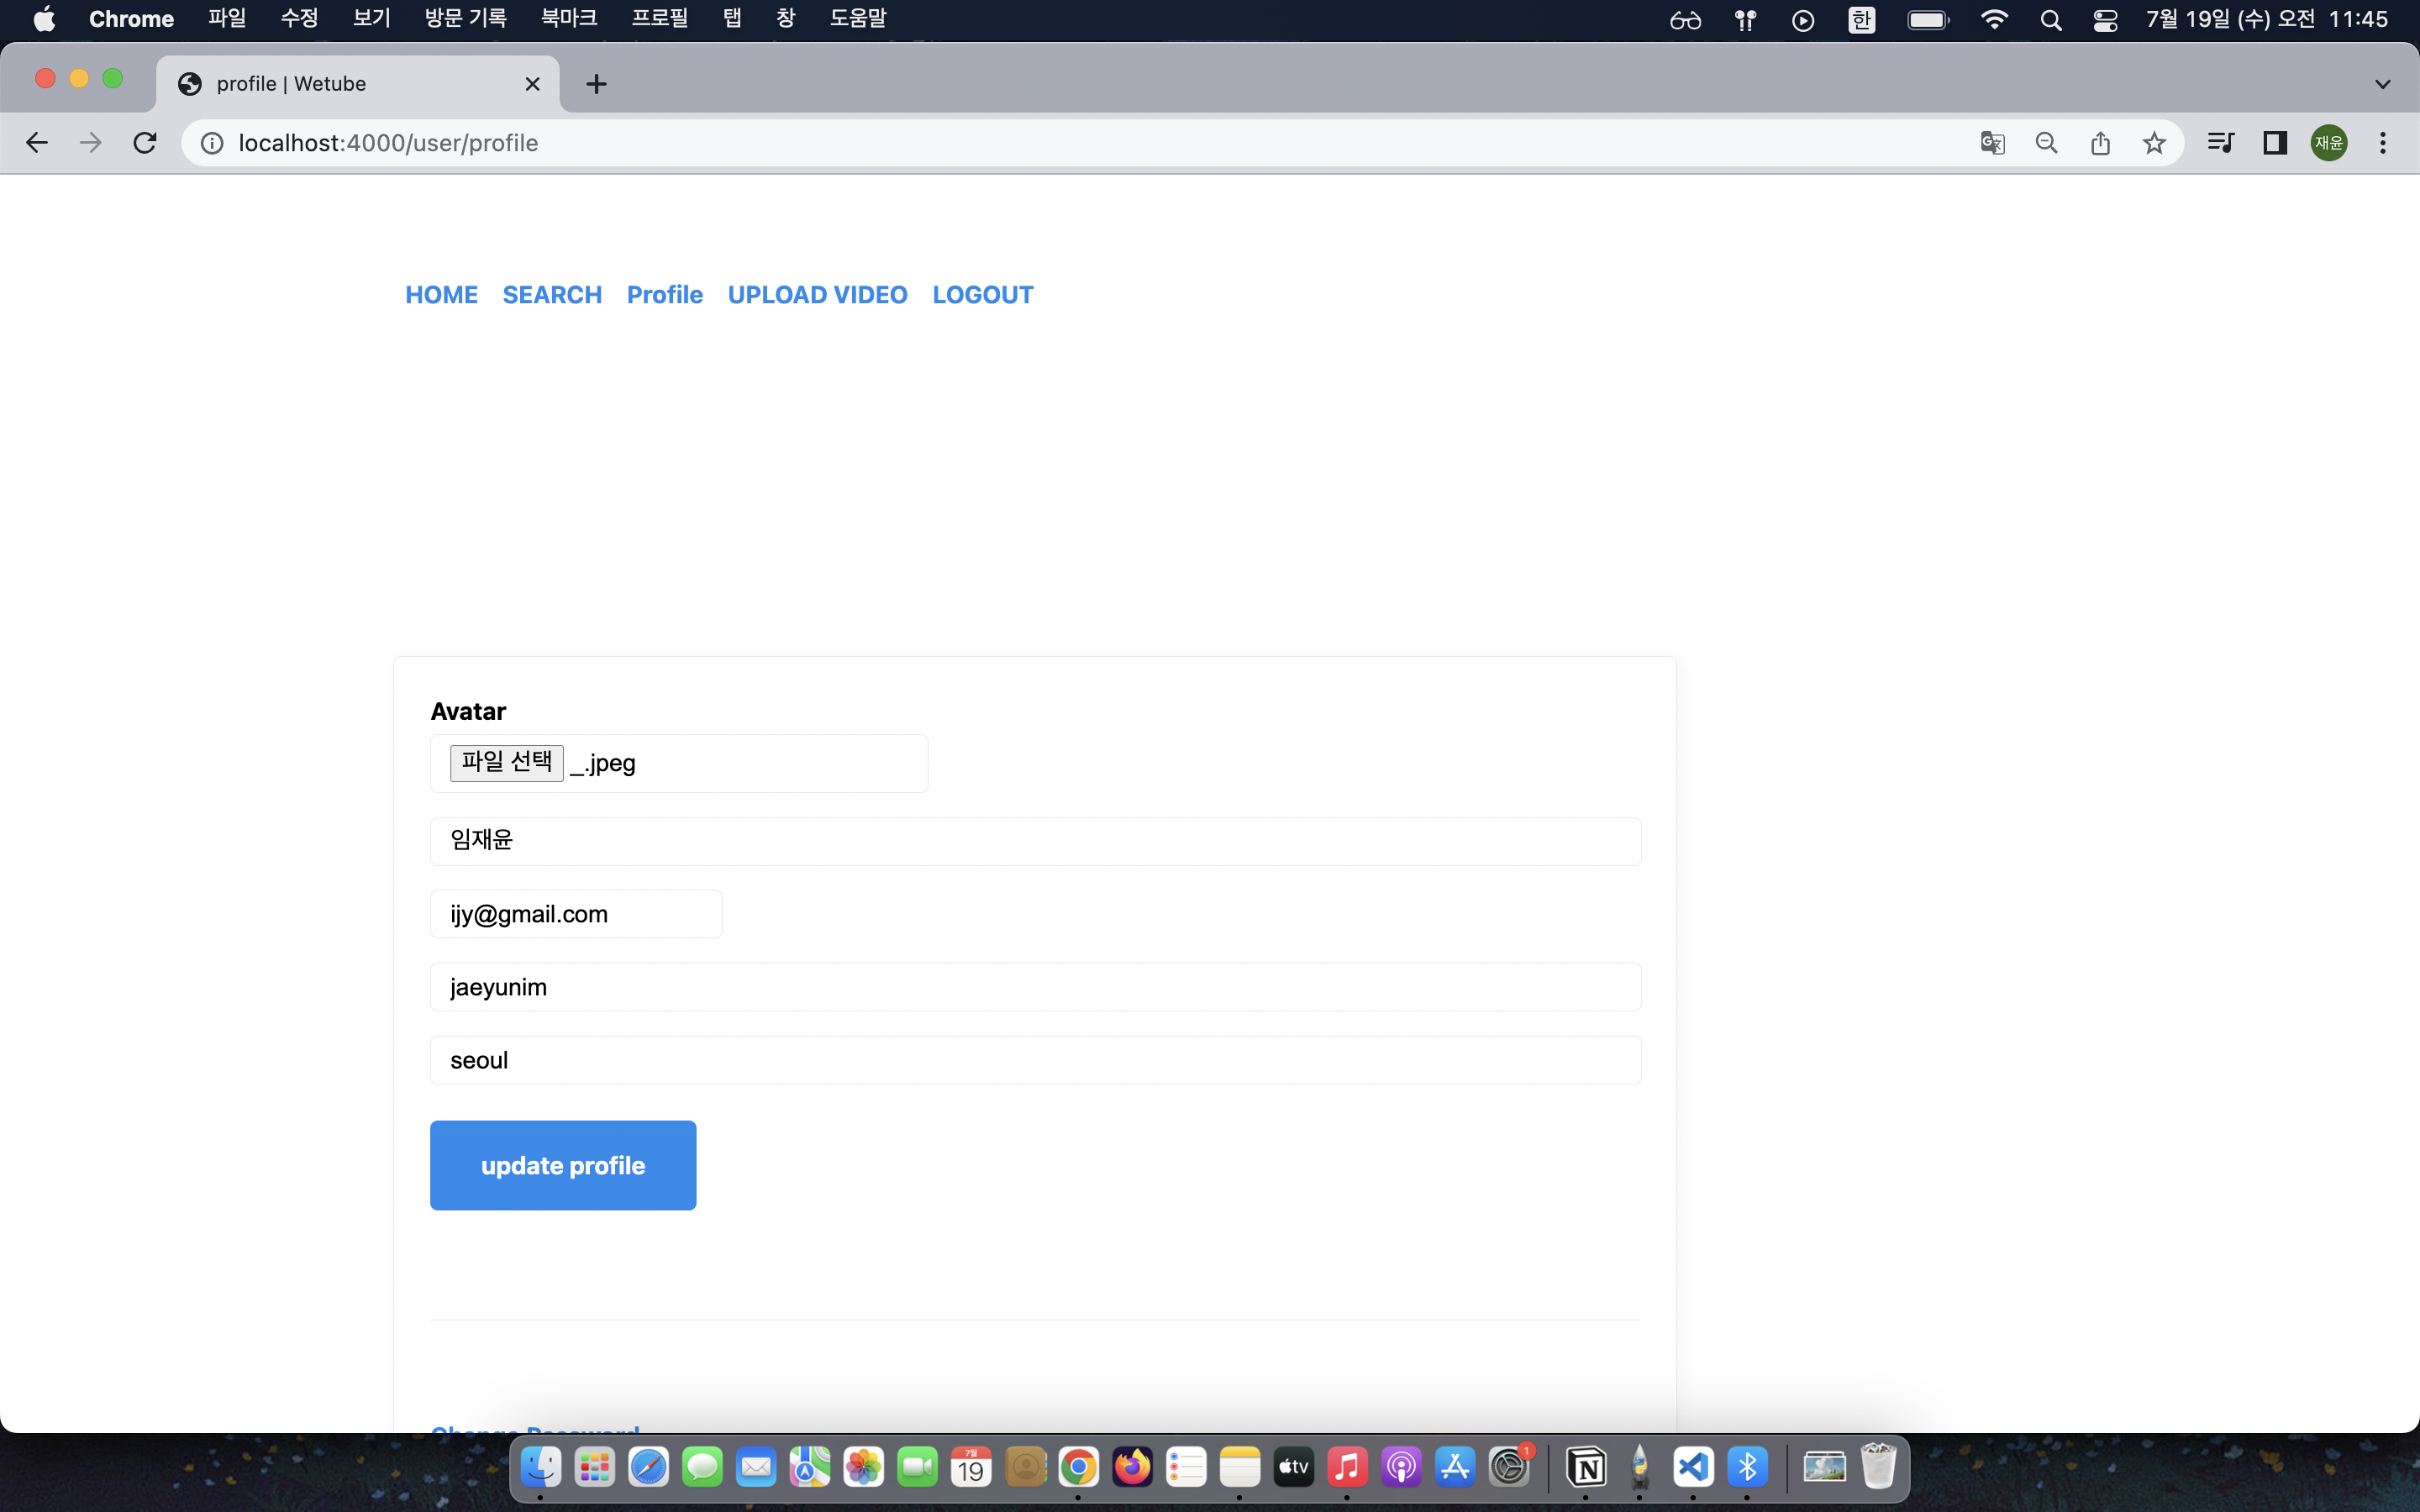
파일을 선택 후 업데이트 하면
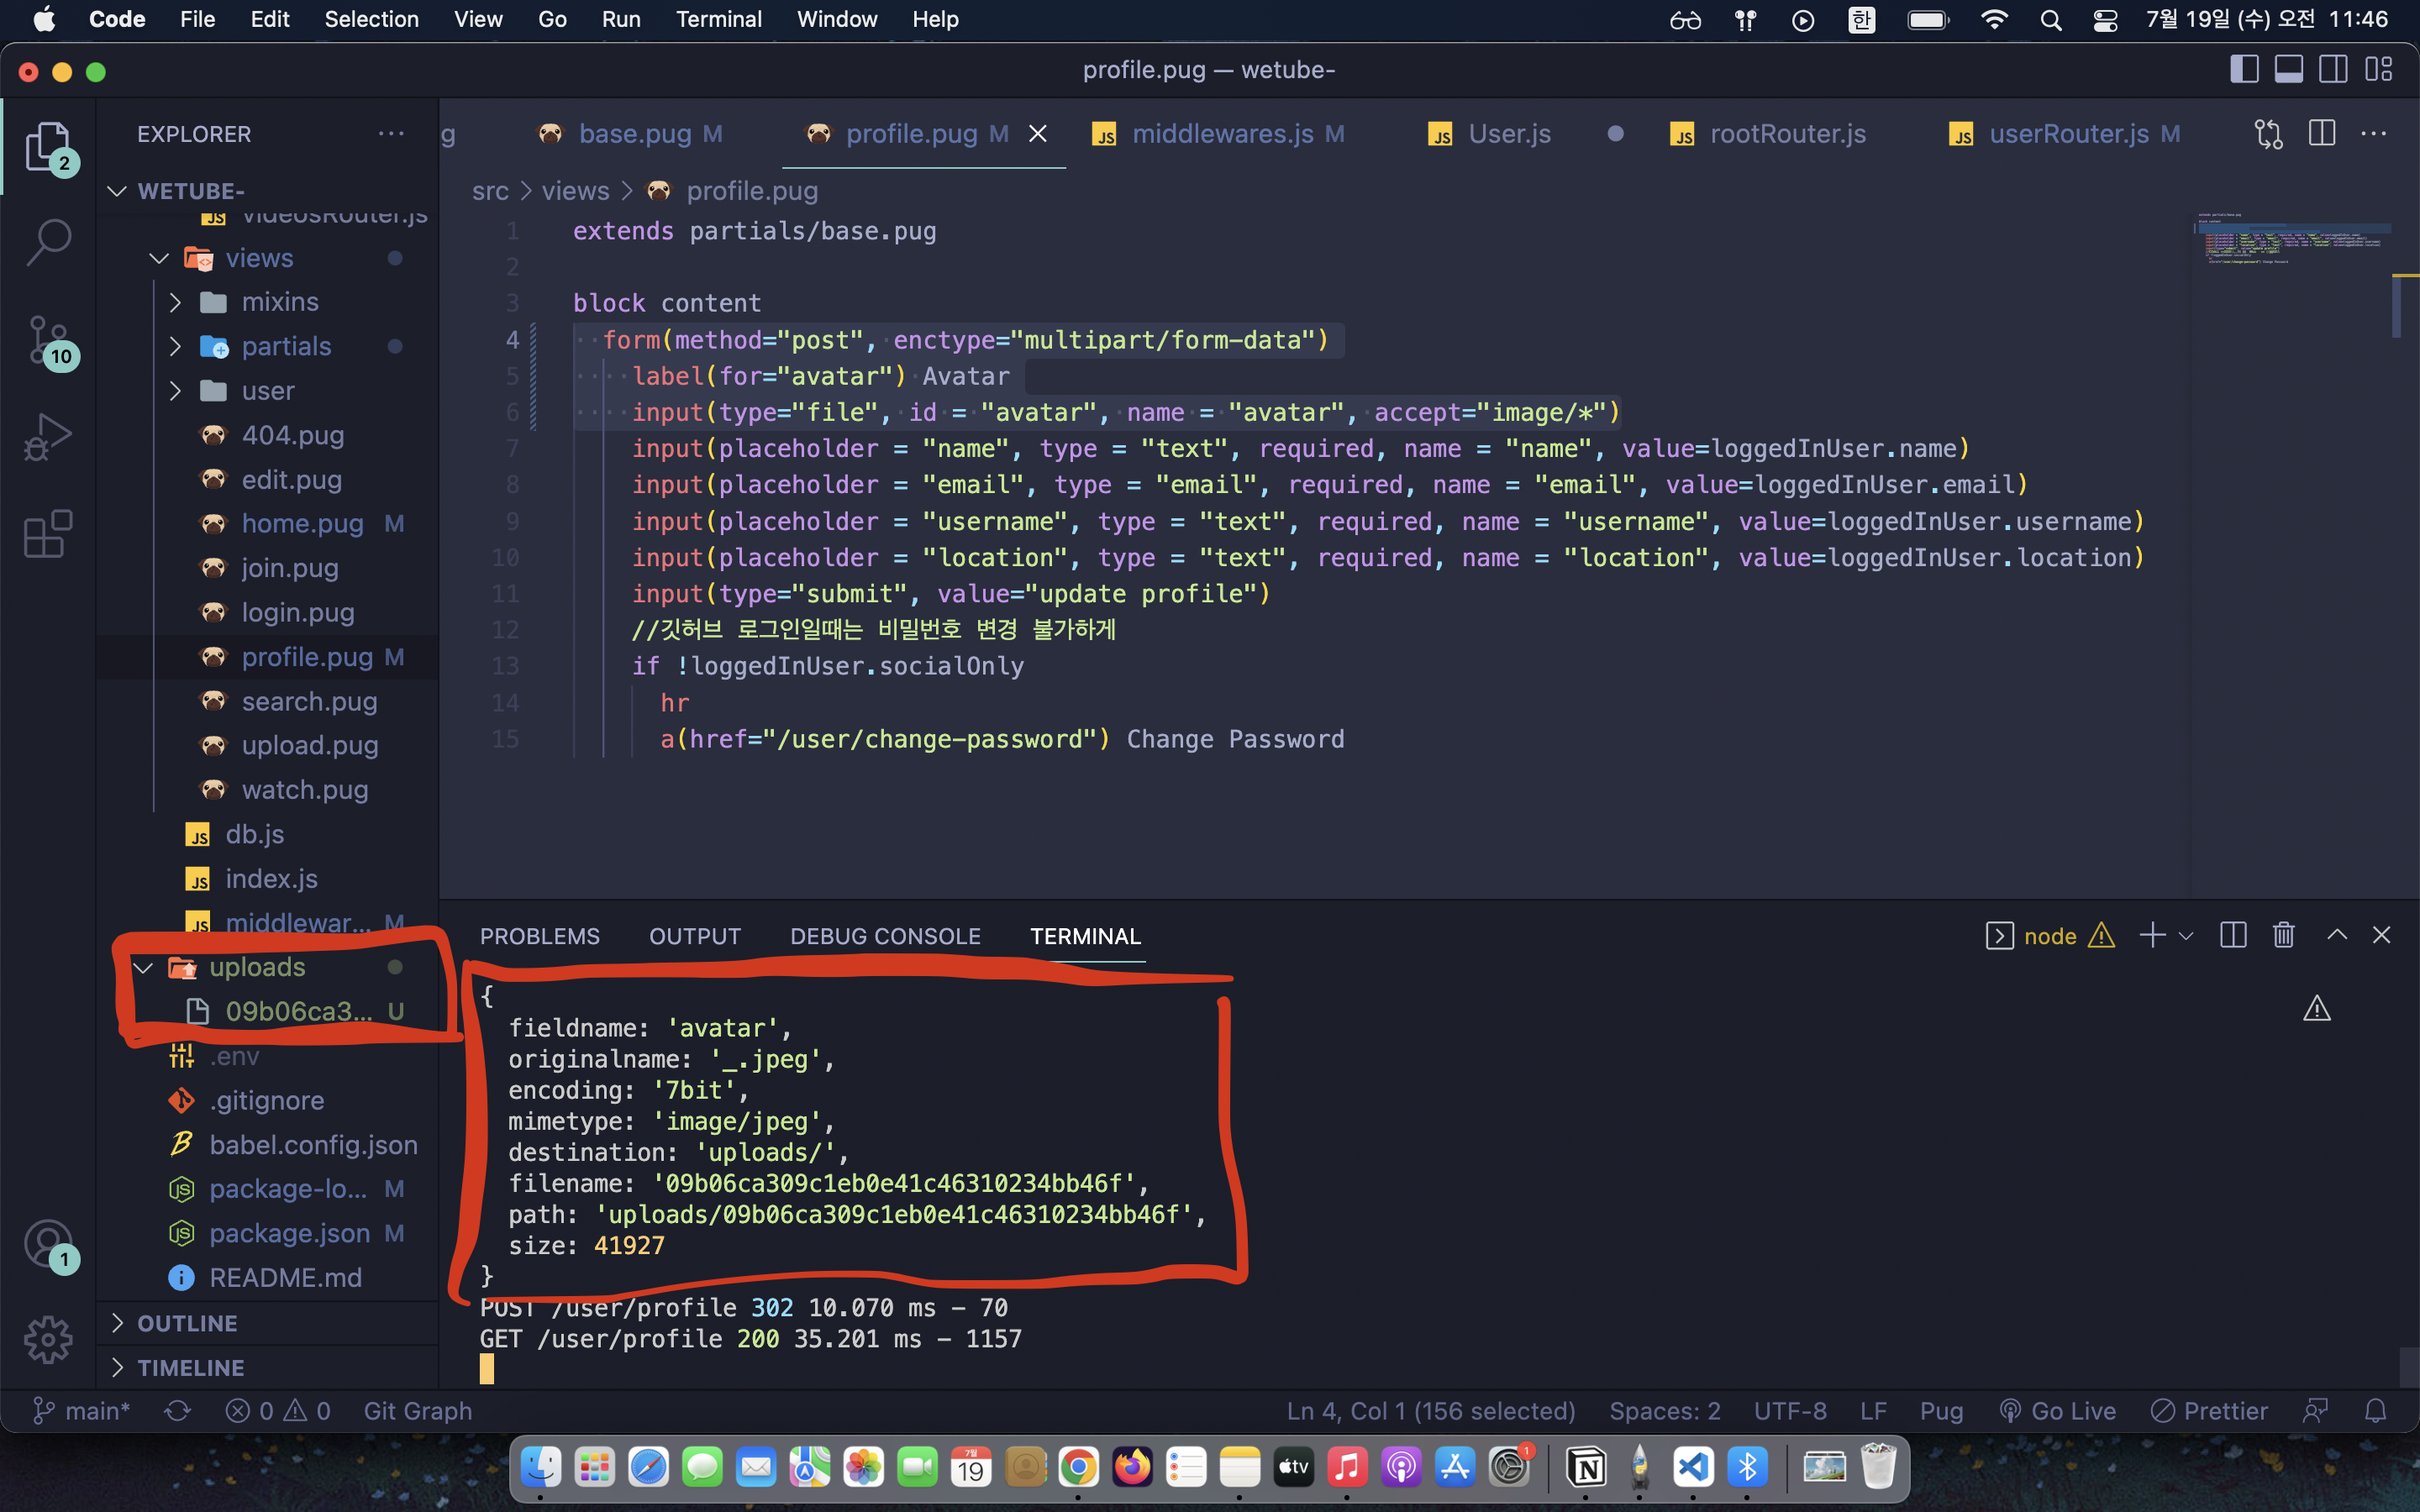
위와 같이 uploads폴더에 임의의 이름을 가진 채로 저장되는걸 확인할 수 있다.
multer 를 이용했기 때문에
controller에서post요청을 처리할 때req.file이라는 명령어를 이용해 확인할 수 있다. 위의 사진의 빨간색은req.file을console.log한 결과이다.

IT Note
아주 잘 작성된 글이었습니다.