깃허브링크
노션링크
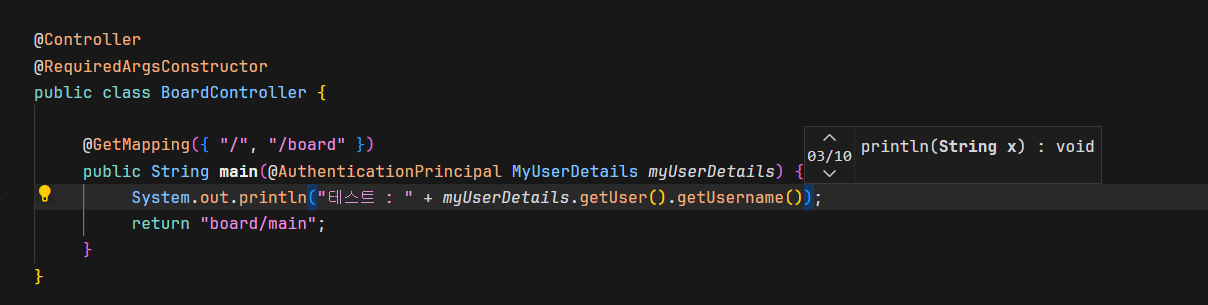
- MyUserDetails
package coffee.pastry.joshuablog.core.auth;

import java.util.ArrayList;
import java.util.Collection;

import org.springframework.security.core.GrantedAuthority;
import org.springframework.security.core.userdetails.UserDetails;

import coffee.pastry.joshuablog.model.user.User;
import lombok.Getter;
import lombok.Setter;

@Getter
@Setter
public class MyUserDetails implements UserDetails {

    private User user;

    public MyUserDetails(User user) {
        this.user = user;
    }

    @Override
    public Collection<? extends GrantedAuthority> getAuthorities() {
        Collection<GrantedAuthority> collector = new ArrayList<>();
        collector.add(() -> user.getRole());
        return collector;
    }

    @Override
    public String getPassword() {
        return user.getPassword();
    }

    @Override
    public String getUsername() {
        return user.getUsername();
    }

    @Override
    public boolean isAccountNonExpired() {
        return true;
    }

    @Override
    public boolean isAccountNonLocked() {
        return true;
    }

    @Override
    public boolean isCredentialsNonExpired() {
        return true;
    }

    @Override
    public boolean isEnabled() {
        return true;
    }
}
- MyUserDetailsService
로그인 할 때, loadByUsername때리고 로그인을 함. 따라서 커스터마이징이 필요
만약 커스터마이징을 하지 않으면 user는 항상 같은 user만 나오고 비밀번호는 이런식으로 나옴

package coffee.pastry.joshuablog.core.auth;

import org.springframework.security.core.userdetails.UserDetails;
import org.springframework.security.core.userdetails.UserDetailsService;
import org.springframework.security.core.userdetails.UsernameNotFoundException;
import org.springframework.stereotype.Service;

import coffee.pastry.joshuablog.model.user.User;
import coffee.pastry.joshuablog.model.user.UserRepository;
import lombok.RequiredArgsConstructor;

@RequiredArgsConstructor
@Service
public class MyUserDetailsService implements UserDetailsService {

     private final UserRepository userRepository;

     @Override
     public UserDetails loadUserByUsername(String username) throws UsernameNotFoundException {
          User userPS = userRepository.findByUsername(username).orElseThrow(
                    () -> new UsernameNotFoundException("Bad Credential")); // failureHandler
          return new MyUserDetails(userPS);
     }
}
/login을 하는 순간 SecurityConfig의 loginProcessingUrl("/login")에서 MyUserDetailsService가 호출!!!!!!
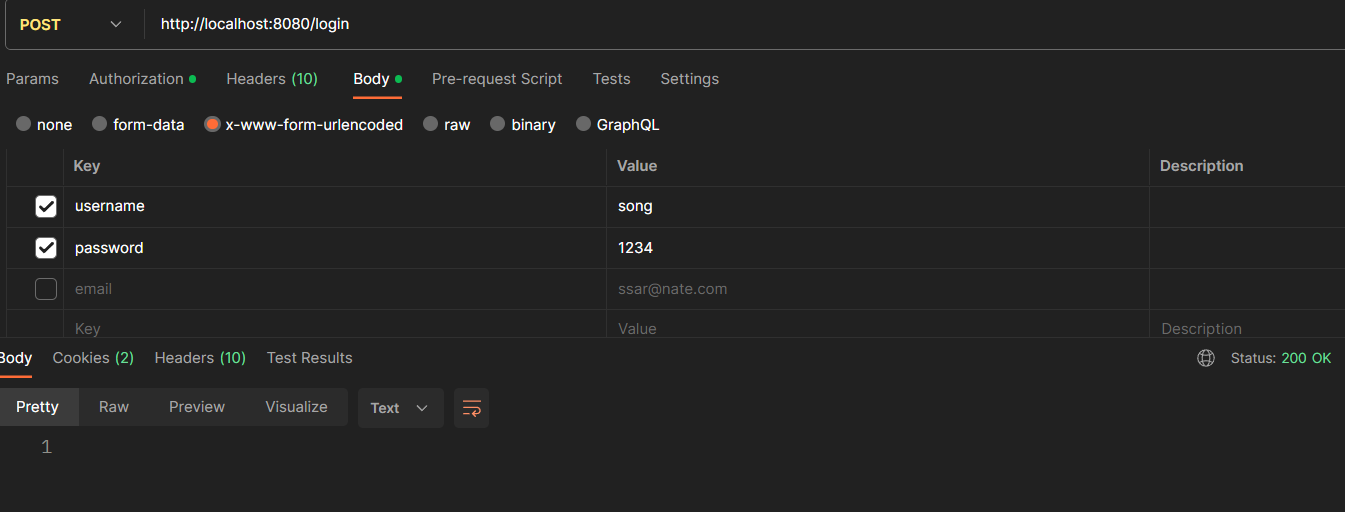
/login, POST, x-www-form-urlencoded (암기)
- 포스트맨 테스트
- SecurityConfig 추가
package coffee.pastry.joshuablog.config;

import org.springframework.context.annotation.Bean;
import org.springframework.context.annotation.Configuration;
import org.springframework.security.config.annotation.web.builders.HttpSecurity;
import org.springframework.security.crypto.bcrypt.BCryptPasswordEncoder;
import org.springframework.security.web.SecurityFilterChain;

import lombok.extern.slf4j.Slf4j;

@Slf4j
@Configuration
public class SecurityConfig {

     @Bean
     BCryptPasswordEncoder passwordEncoder() {
          return new BCryptPasswordEncoder();
     }

     @Bean // 권한 주소 설정
     SecurityFilterChain filterChain(HttpSecurity http) throws Exception {
          http.csrf().disable();
          http.headers().frameOptions().disable();
          http.formLogin()
                    .loginPage("/loginForm")
                    .loginProcessingUrl("/login")
                    .successHandler(((request, response, authentication) -> {
                         log.debug("디버그 : 로그인 성공");
                         response.sendRedirect("/"); // 추가
                    }))
                    .failureHandler(((request, response, exception) -> {
                         log.debug("디버그 : 로그인 실패 : " + exception.getMessage());
                         response.sendRedirect("/loginForm"); // 추가
                    }));

          http.authorizeRequests(
                    authorize -> authorize.antMatchers("/s/**").authenticated()
                              .anyRequest().permitAll());

          return http.build();
     }
}
- loginForm
<%@ page language="java" contentType="text/html; charset=UTF-8" pageEncoding="UTF-8" %>

<%@ include file="../layout/header.jsp" %>

<div class="container my-3">
    <div class="container">
        <form accept="/login" method="post">
            <div class="form-group mb-2">
                <input type="text" name="username" class="form-control" placeholder="Enter username">
            </div>

            <div class="form-group mb-2">
                <input type="password" name="password" class="form-control" placeholder="Enter password">
            </div>

            <button class="btn btn-primary">로그인</button>
        </form>

    </div>
</div>

<%@ include file="../layout/footer.jsp" %>
form 태그는 자동 submit

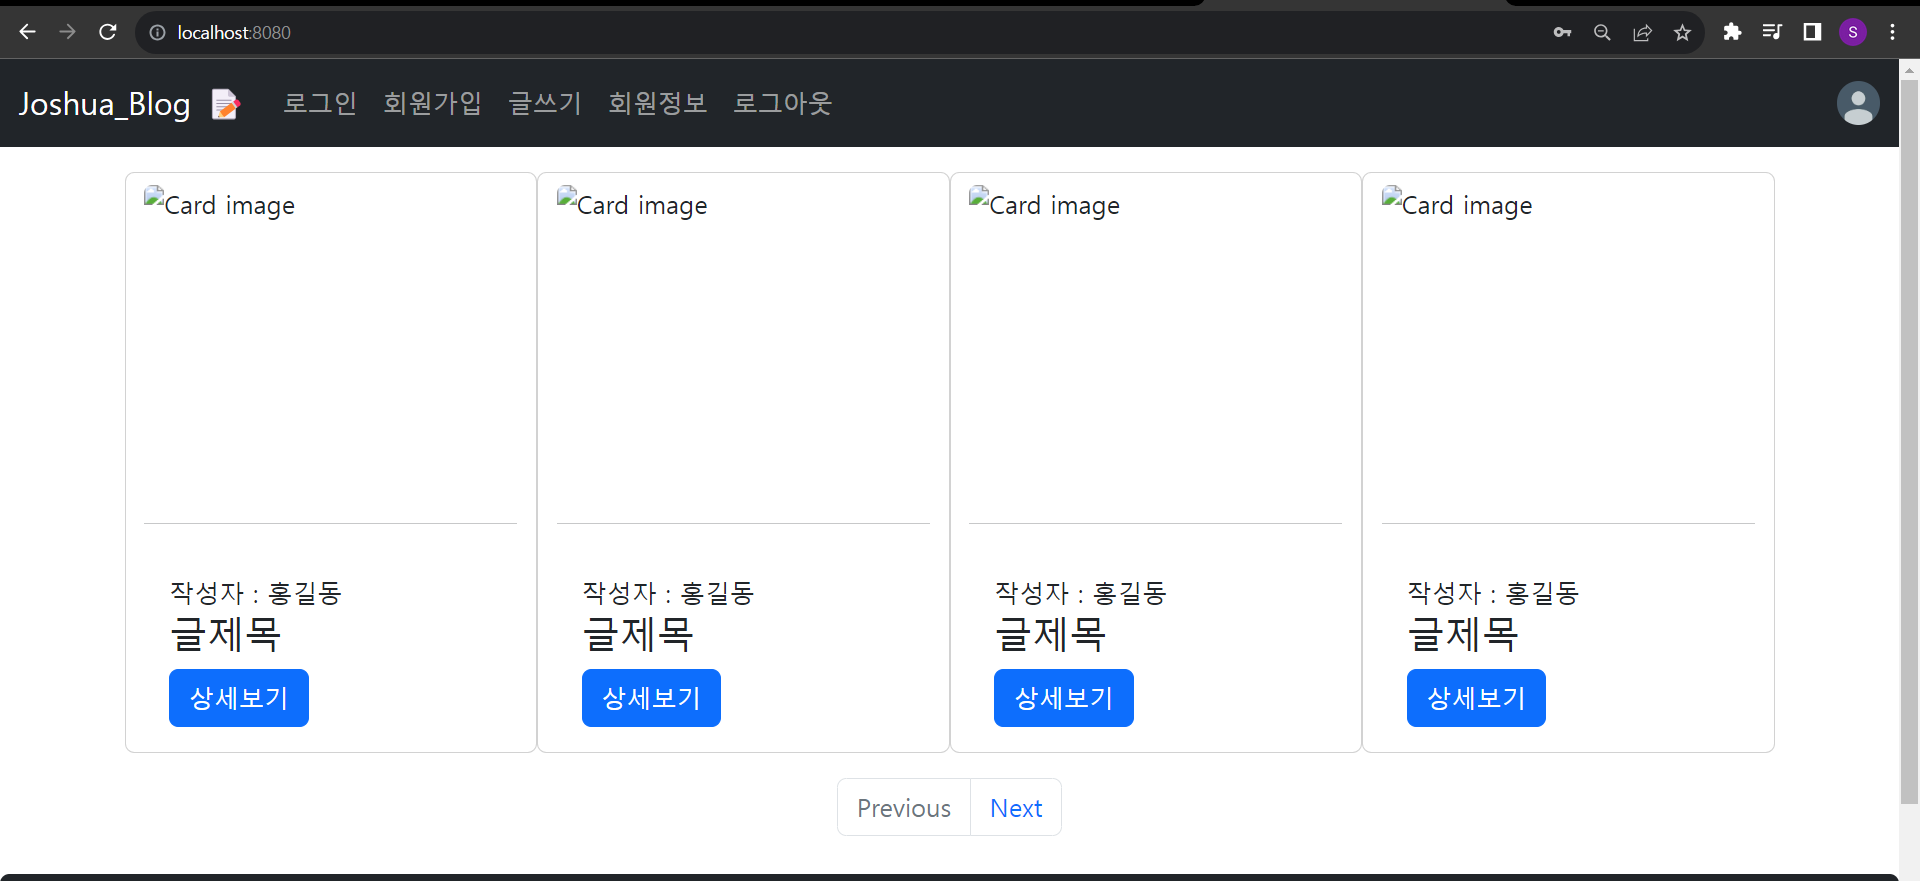
- 세션 테스트

세션 존재 및 내 이름으로 기록!!
팁
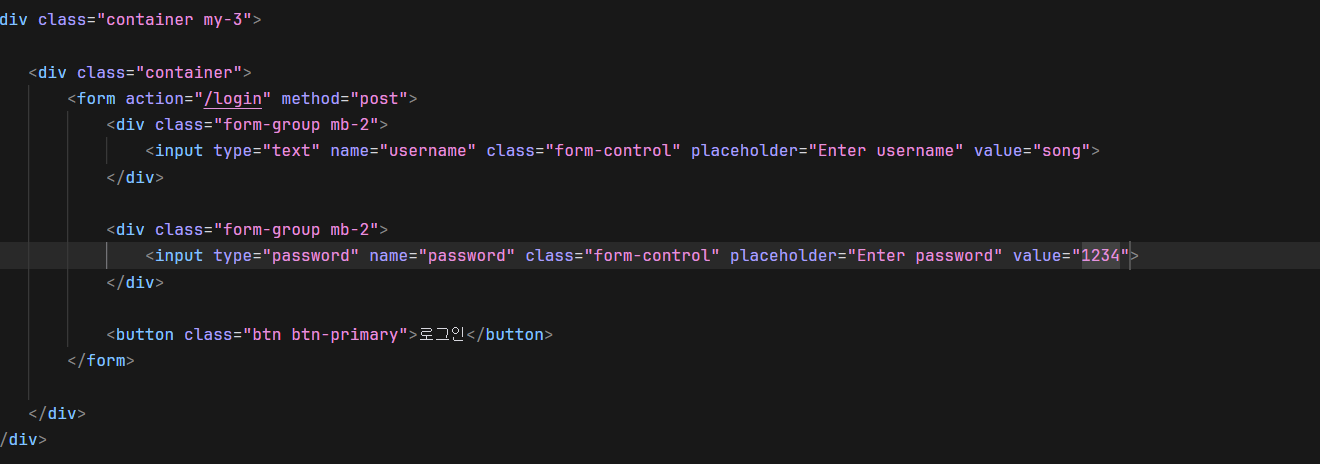
이렇게 하면 아예 ID, PW를 박아버려서 빠르게 가능

현재 블로그 : https://jasonsong97.tistory.com/