
ScrollView (코드로)화면에 적용하기
공식문서 를 토대로 한 번 만들어 봅시다.
1. Add the scroll view to the scene.
private let contentScrollView: UIScrollView = {
        let scrollView = UIScrollView()
        scrollView.translatesAutoresizingMaskIntoConstraints = false
        scrollView.backgroundColor = .white
        scrollView.showsVerticalScrollIndicator = false

        return scrollView
    }()
스크롤뷰를 scene에 더하려면 우선 scrollview가 필요하겠죠? 저는 위와 같이 코드로 한 번 만들어 봤습니다. *코드로 레이아웃을 작성하려면 .translatesAutoresizingMaskIntoConstraints 를 false로 설정 해 주셔야 해요. 까먹으면 안됩니다!!(자세한 내용은 여기 를 참고 하시면 될 듯 합니다)
무튼 이제 scrollview를 만들었으니 scene에 더해야겠죠?
func addSubview() {
  self.view.addSubview(contentScrollView)
}
2. Draw constraints to define the scroll view’s size and position, as normal.
private func setUpUIConstraints() {
  NSLayoutConstraint.activate([
            contentScrollView.topAnchor.constraint(equalTo: self.view.topAnchor),
            contentScrollView.leadingAnchor.constraint(equalTo: self.view.leadingAnchor),
            contentScrollView.trailingAnchor.constraint(equalTo: self.view.trailingAnchor),
            contentScrollView.bottomAnchor.constraint(equalTo: self.view.bottomAnchor),
]
}
저는 View 전체를 ScrollView로 구현하고 싶어서 top, leading, trailing, constraint 모두를 일단 view에 밎춰주었습니다.
3. Add a view to the scroll view. Set the view’s Xcode specific label to Content View.
    private let contentView: UIView = {
        let view = UIView()
        view.translatesAutoresizingMaskIntoConstraints = false
        return view
    }()
ContentView라는 이름을 가진 view를 만들어줍니다(이름은 아무렇게나 지어도 상관 없는 듯 해요 ㅎ)
그리고 해당 view 또한 scrollView에 더해주자구요
func addSubview() {
  self.view.addSubview(contentScrollView)

  contentScrollView.addSubview(contentView)
}
4. Pin the content view’s top, bottom, leading, and trailing edges to the scroll view’s corresponding edges. The content view now defines the scroll view’s content area.
private func setUpUIConstraints() {
  NSLayoutConstraint.activate([
    contentView.topAnchor.constraint(equalTo: contentScrollView.topAnchor),
            contentView.leadingAnchor.constraint(equalTo: contentScrollView.leadingAnchor),
            contentView.trailingAnchor.constraint(equalTo: contentScrollView.trailingAnchor),
            contentView.bottomAnchor.constraint(equalTo: contentScrollView.bottomAnchor)
  ]

}
이제 컨텐트 view의 상하좌우 edge 또한 scrollView에 맞게 설정을 해 주었어요!
5. 스크롤링 방향 잡기
-
(Optional) To disable horizontal scrolling, set the content view’s width equal to the scroll view’s width. The content view now fills the scroll view horizontally.
-
(Optional) To disable vertical scrolling, set the content view’s height equal to the scroll view’s height. The content view now fills the scroll view horizontally.
이제 스크롤 방향을 잡아봅시다.
저는 세로 방향의 스크롤뷰를 원하기 때문에
private func setUpUIConstraints() {
  //
  contentView.widthAnchor.constraint(equalTo: contentScrollView.widthAnchor)
}
이렇게 contentView의 폭을 scrollView의 폭으로 맞춰 주었습니다.
가로 방향의 스크롤 뷰를 설정하기 원하시면
contentview.heightAnchor.constraint(equalTo: contentScrollView.heightAnchor)이런식으로 잡아줄 수 있겠죠?
6. Lay out the scroll view’s content inside the content view. Use constraints to position the content inside the content view as normal.
이제 스크롤뷰의 레이아웃 작업은 끝났습니다.
이제 기존에 뷰에 제약사항을 주는 것 처럼 커스텀뷰를 scene에 더하고 제약사항을 주면 되는데요.
먼저 contentView에 화면에 띄워질 label, button, imageView등등을 넣어주시면 됩니다.
private func addSubview() {
  self.view.addSubview(contentScrollView)
  contentScrollView.addSubview(contentView)

  // 컨텐트뷰에 원하는 view들을 집어 넣읍시다.
  contentView.addSubview(dictionaryImageView)
  contentView.addSubview(dictionaryLabel)

}
물론 컨텐츠들의 제약사항 또한 빼먹으면 안되겠죠?
private func setUpUIConstraints() {
  .
  .
  .
  dictionaryImageView.topAnchor.constraint(equalTo: contentView.topAnchor, constant: 20),
  dictionaryImageView.leading.constraint(equalTo: contentView.topAnchor, constant: 50),
  dictionaryImageView.trailing.constraint(equalTo: contentView.topAnchor, constant: -50),
  dictionaryImagelabel.topAnchor.constraint(equalTo: dictionaryImageView.topAnchor, constant: -20),
  dictionaryImageLabel.bottomAnchor.constraint(equalTo: contentView.bottomAnchor)

}
이런식으로 스크롤뷰를 코드로 구현하시면 될 것 같습니다 😆
번외: Content Layout Guide
컨텐츠가 들어가 있는 영역을 뜻합니다.
해당 화면은 제가 좀전에 코드로 구현한 화면을 최대한 비슷하게 storyboard에 구현한 화면입니다 ㅎ
이렇게 보는게 더 이해하기 쉬울 것 같아서요.
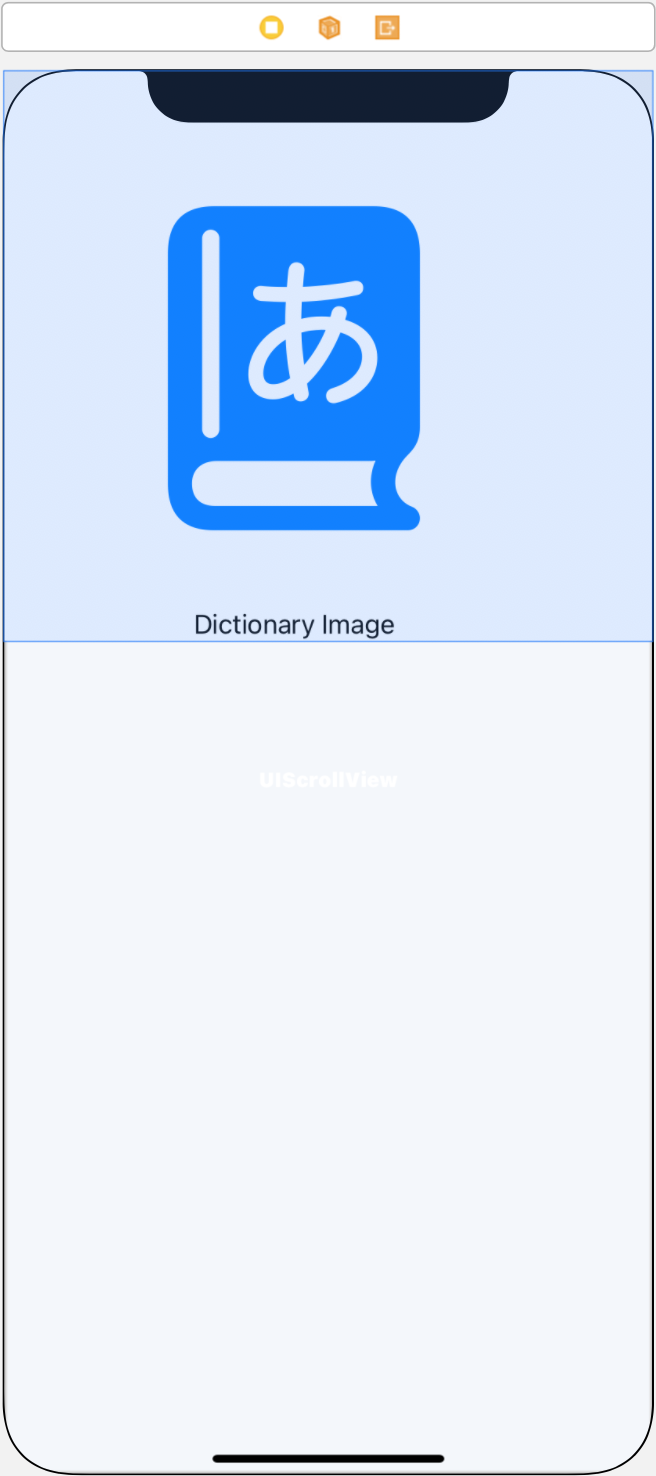
Content Layout Guide는 scrollview에서 imageView, label등과 같은 컨텐츠가 속한 영역을 뜻합니다.
위 사진에서 볼 수 있듯이 사전 이미지와 사전 label이 짧으면 짧은만큼이 content layout guide 영역에 속하게 되구요.
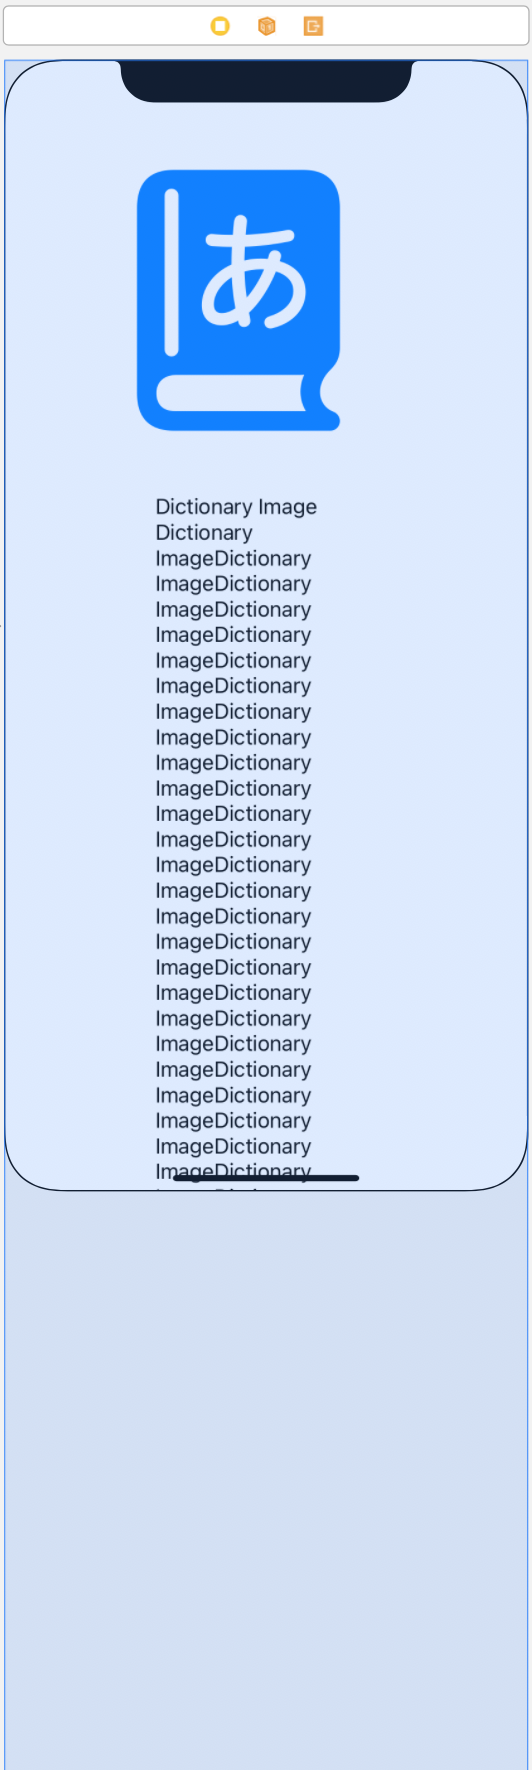
2번 째 사진 처럼 view의 영역이 화면을 넘어갈 정도록 길게 되면 화면을 넘어가도록 영역이 설정될 수도 있습니다. (밑에 안보이는 부분은 스크롤해서 봐야겠죠?)
번외2: Frame Layout Guide
스크롤뷰가 실제로 존재하는 Frame영역을 뜻합니다.
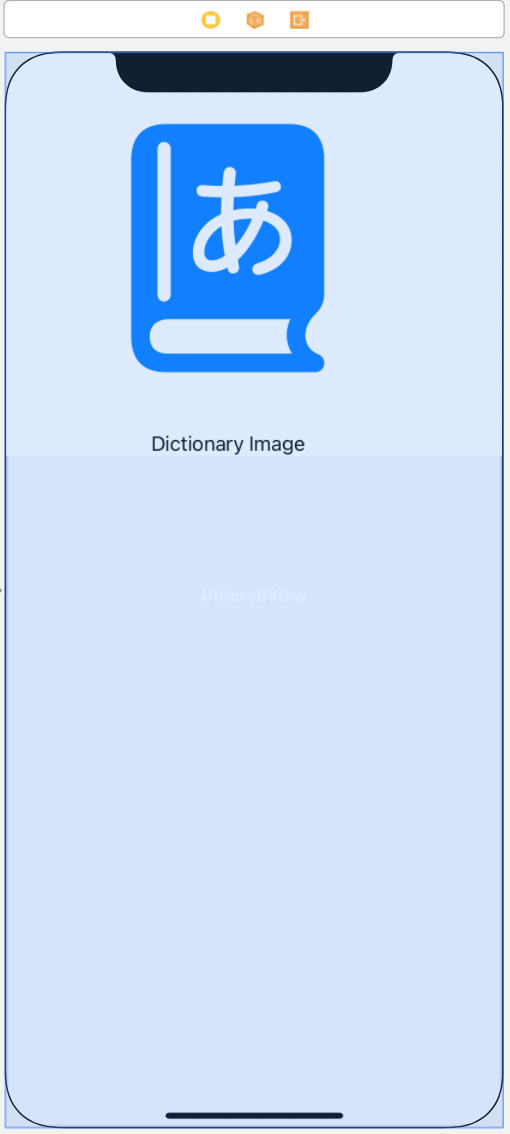
Frame Layout Guide는 Content Layout Guide와 다르게 한결 같은걸 보실 수 있습니다.
화면에 보여지는 스크롤뷰의 frame영역을 뜻하니까요 ㅎㅎ
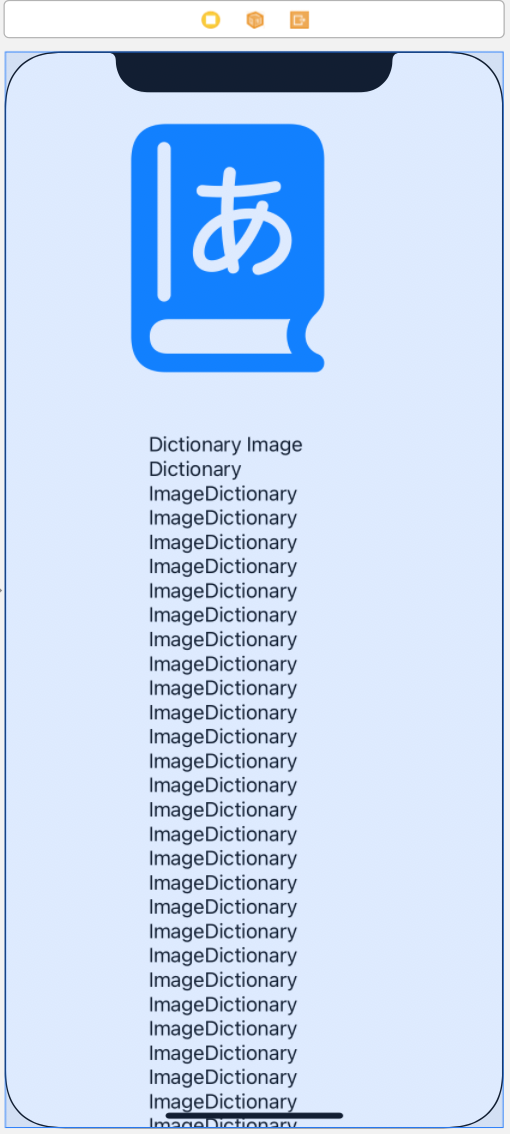
두 번째 사진 처럼 스크롤뷰에 더해진 컨텐츠들이 화면 밖을 넘어가도 영역이 변함 없는 것을 볼 수 있어요.
이 Frame Layout Guide를 활용해서 스크롤뷰, 테이블뷰, 컬렉션 뷰와 같이 스크롤링 되는 화면에서 플로팅 버튼의 위치 제약을 줄 때 사용할 수 있을 것 같아요(아직 안써봤지만) 무튼 스크롤링이 되면서도 변함없이 한 곳에 존재해야 하는 버튼이나 뷰가 있다면 그 때 이 Frame Layout Guide를 사용할 수 있을 것 같습니다.
마치며
차근차근 공부하다보니 어렵게 느껴졌던 스크롤뷰도 그렇게 어렵지 않은 것 같아요. 도움이 되셨기를 바랍니다.