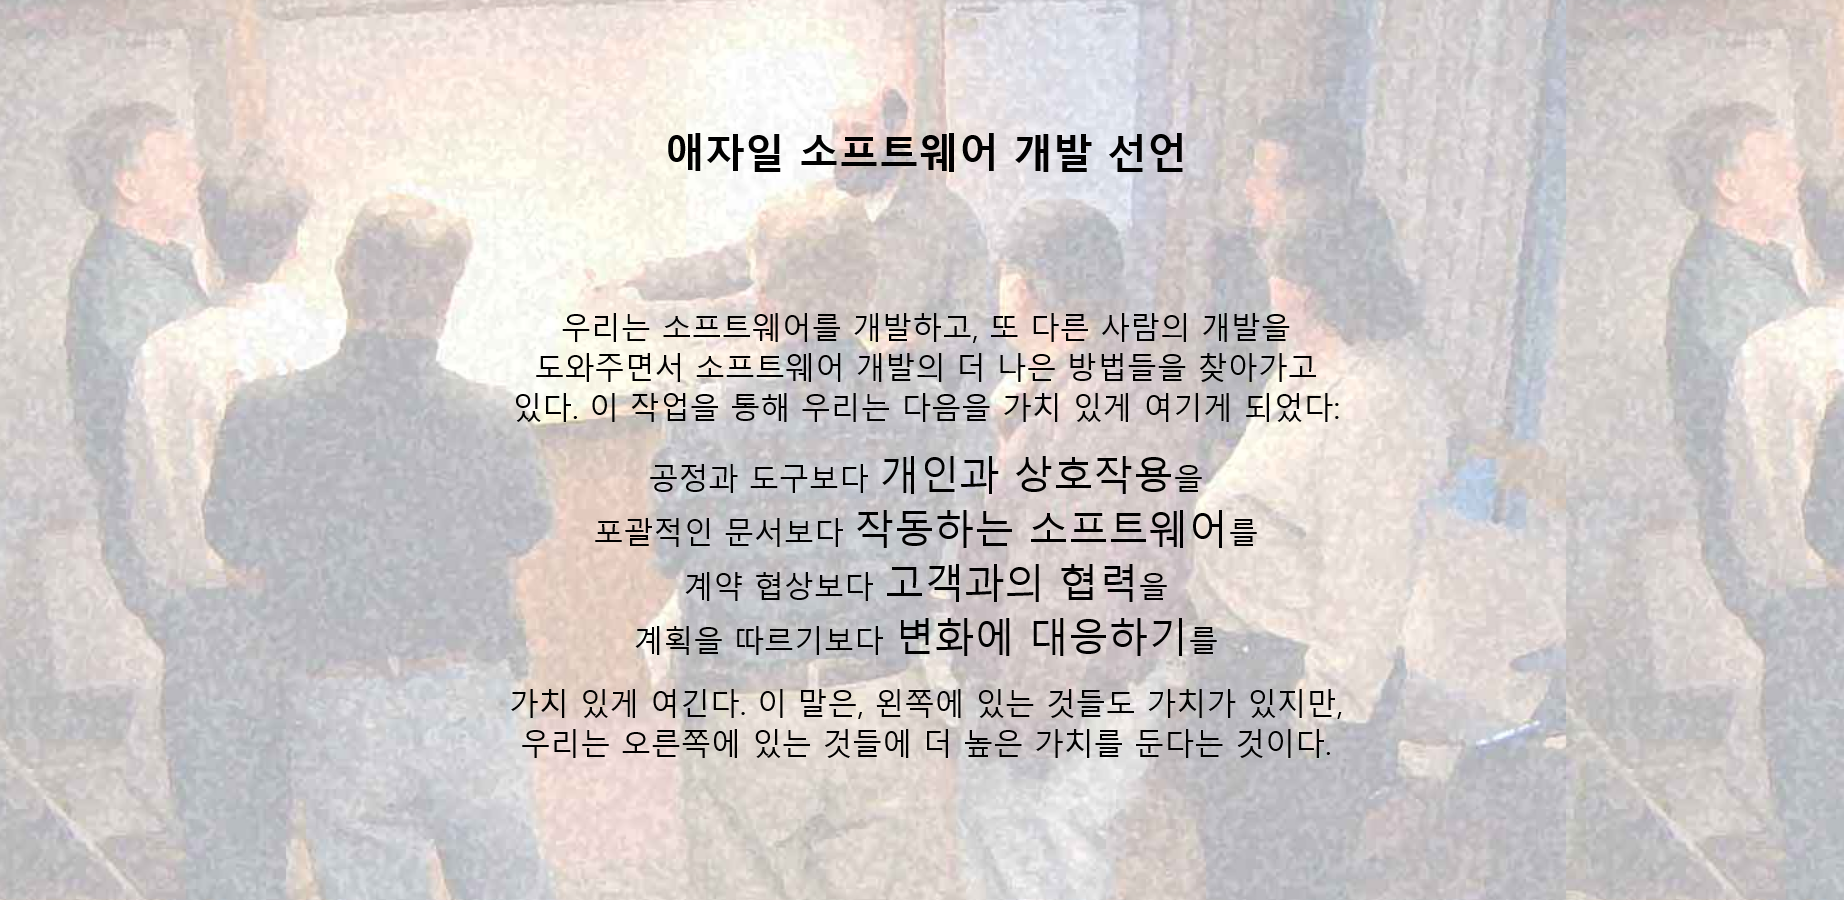
SOLID 원칙은 애자일 소프트웨어 개발 선언을 따르기 위한 방법이며, SOLID 원칙을 지킴으로써, 더 유연하고 유지보수가 용이한 코드를 작성할 수 있다.
이 주제로 팀원들과 스터디를 진행했는데, 개인적으로 글로 원칙을 암기하는 것보다 SOLID 원칙 각각에 대응하는 코드를 작성하는 것이 원칙을 이해하는 데 훨씬 유익했다.
SOLID 원칙을 타입스크립트, NestJS 코드로 익혀보자!
단일 책임 원칙 (Single Responsibility Principle)
- 한 클래스는 하나의 책임만 가져야 한다.
// before
class User {
  name: string;
  password: string;
  email: string;

  grade: string;

  constructor(name: string, password: string, email: string) {
    this.name = name;
    this.password = password;
    this.email = email;
    this.grade = "BASIC";
  }

  introduce(): string {
    return `hello! my name is ${name}!`
  }

  setUserPassword(password: string): void {
    this.password = password;
  }

  setGrade(grade: string) {
    this.grade = grade;
  }

  // ...
}
//after
enum Grade {
BASIC, VIP
}
class User {
name: string;
password: string;
email: string;
grade: Grade;
constructor(name: string, password: string, email: string) {
this.name = name;
this.password = password;
this.email = email;
this.grade = Grade.BASIC;
}
// ...
}
class UserService {
introduce(user: User): string {
return `hello! my name is ${user.name}!`
}
setUserPassword(user: User, password: string): void {
user.password = password;
}
setGrade(user: User, grade: Grade) {
user.grade = grade;
}
//...
}개방-폐쇄 원칙 (Open/closed principle)
- 소프트웨어 개체는 확장에 대해 열려 있어야 하고, 수정에 대해서는 닫혀 있어야 한다.
- 다형성을 활용해 인터페이스(역할)를 구현한 새로운 클래스(구현체)를 만들어 새로운 기능을 구현하면 개방 폐쇄 원칙을 준수할 수 있다.
// before
class Rectangle {
  private width: number;
  private height: number;
  public shape: string = "rectangle";

  constructor(width: number, height: number) {
    this.width = width;
    this.height = height;
  }

  public area(): number {
    return this.width * this.height;
  }
}

class Circle {
  private radius: number;
  public shape: string = "circle";

  constructor(radius: number) {
    this.radius = radius;
  }

  public area(): number {
    return Math.PI * this.radius ** 2;
  }
}

class AreaCalculator {
  private shapes: Circle [] | Rectangle[];

  constructor(shapes: Circle[] | Rectangle[]) {
    this.shapes = shapes;
  }

  public sum(): number {
    let area = 0;

    for (const shape of this.shapes) {
      area += shape.area();
    }

    return area;
  }
}
// after
interface Shape {
area(): number;
}
class Rectangle implements Shape {
private width: number;
private height: number;
constructor(width: number, height: number) {
this.width = width;
this.height = height;
}
public area(): number {
return this.width * this.height;
}
}
class Circle implements Shape {
private radius: number;
constructor(radius: number) {
this.radius = radius;
}
public area(): number {
return Math.PI * this.radius ** 2;
}
}
class AreaCalculator {
private shapes: Shape[];
constructor(shapes: Shape[]) {
this.shapes = shapes;
}
public sum(): number {
let area = 0;
for (const shape of this.shapes) {
area += shape.area();
}
return area;
}
}리스코프 치환 원칙 (Liskov substitution principle)
- 프로그램 객체는 프로그램의 정확성을 깨뜨리지 않으면서 하위 타입의 인스턴스로 바꿀 수 있어야 한다.
- 다형성에서 하위 클래스는 인터페이스 규약을 다 지켜야 한다.
// before
class Animal {
  public move(): void {
    console.log("Animal can move");
  }
}

class Cat extends Animal {
  public move(): void {
    console.log("newnewnewnew 🐈");
  }
}

class Fish extends Animal {
  public move(): void {
    console.log("꿈틀꿈틀 🐟");
  }
}
// after
class Animal {
public move(): void {
console.log("Animal can move");
}
}
class Cat extends Animal {
public move(): void {
console.log("Cats can walk and run 🐈");
}
}
class Fish extends Animal {
public move(): void {
console.log("Fish can swim 🐟");
}
}인터페이스 분리 원칙 (Interface segregation principle)
- 특정 클라이언트를 위한 인터페이스 여러 개가 범용 인터페이스 하나보다 낫다.
- 인터페이스를 분리하면 인터페이스의 역할이 분명해지고 대체 가능성이 높아진다.
// before
interface Movable {
  startEngine(): void;
  drive(): void;
  fly(): void;
}

class Car implements Movable {
  public startEngine(): void {
    console.log("Engine started for car 🚗🚗🚗");
  }
  public drive(): void {
    console.log("Car is driving 🚗");
  }

  fly(): void {
  }
}

class Plane implements Movable {
  public startEngine(): void {
    console.log("Engine started for plane 🛬");
  }
  public fly(): void {
    console.log("Plane is flying 🛫");
  }

  drive(): void {
  }
}
// after
interface Driveable {
startEngine(): void;
drive(): void;
}
interface Flyable {
startEngine(): void;
fly(): void;
}
class Car implements Driveable {
public startEngine(): void {
console.log("Engine started for car 🚗🚗🚗");
}
public drive(): void {
console.log("Car is driving 🚗");
}
}
class Plane implements Flyable {
public startEngine(): void {
console.log("Engine started for plane 🛬");
}
public fly(): void {
console.log("Plane is flying 🛫");
}
}의존관계 역전 원칙 (Dependency inversion principle)
- 의존관계 역전 원칙은 "추상화에 의존해야지 구체화에 의존하면 안된다"는 원칙이다.
- 즉, 구현 클래스에 의존하는 것이 아닌 인터페이스에 의존해야 한다는 얘기다.
- 이 과정에서 의존성 주입을 사용해 고수준 모듈(예: controller)이 저수준 모듈(예: 서비스)에 직접 의존하는 것을 피할 수 있다.
- 우선, 의존성 주입은 의존관계 역전 원칙을 준수하는 '방법'이고 '의존관계 역전 = 의존성 주입'은 아니다.
- Nest에서 IOC(Inversion Of Control) 컨테이너 역할인 module 클래스를 사용함으로써 의존관계 역전 원칙을 준수할 수 있다.
- 의존성 주입을 사용하면 고수준 모듈은 저수준 모듈의 인터페이스에 의존함으로써 구현체가 뭔지도 모르고 주입받을 수 있다.
의존관계 역전 원칙을 준수하면
"극단적으로 2개의 저수준 모듈이 있고 그중 하나에 의존하는 10만 개의 고수준 모듈이 있을 때, 저수준 모듈 변경시 10만 번의 코드 변경이 일어나는 것을 IOC 컨테이너에서 모듈을 갈아 끼움으로써 한번의 코드 변경으로 해결할 수 있다"
예시
Nest에서 의존관계 역전 원칙을 어떻게 준수할 수 있을까?
음... 적절한 예시가 떠오르지 않지만,
app.service가 getHello() 메서를 가진 인터페이스이고 app.controller가 getHello를 이용하는 고수준 모듈이라고 생각해보자.
우리는 잘 배운('Well-Educated') 개발자다. controller가 추상화(인터페이스)인 app.service에만 의존하면서 IOC 컨테이너인 app.module에서 그 구현체를 주입받게 하고 싶다.
예를 들면, getHello()가 환영 인사를 한국어로 건낼 수도, 영어로 건낼 수도, 일본어로 건낼 수도 있게 말이다!
단계별 코드를 보면서 의존관계 역전 원칙을 준수한 코드를 완성해보자.
- 인터페이스 app.service.ts와 구현체들(app.ko.service.ts, app.en.service.ts, app.jp.service.ts)를 만든다.
// getHello()라는 인사 메서드를 가진 인터페이스 AppService
export interface AppService {
  getHello();
}
// 인터페이스인 AppService를 구현해 한국말로 인사하는 getHello()를 가진 클래스 AppKoService
import { AppService } from './app.service';
import { Injectable } from '@nestjs/common';
@Injectable()
export class AppKoService implements AppService {
getHello(): string {
return '안녕하세요!';
}
}// 인터페이스인 AppService를 구현해 영어로 인사하는 getHello()를 가진 클래스 AppEnService
import { AppService } from './app.service';
import { Injectable } from '@nestjs/common';
@Injectable()
export class AppEnService implements AppService {
getHello(): string {
return 'Hello World!';
}
}// 인터페이스인 AppService를 구현해 일본어로 인사하는 getHello()를 가진 클래스 AppJpService
import { AppService } from './app.service';
import { Injectable } from '@nestjs/common';
@Injectable()
export class AppJpService implements AppService {
getHello(): string {
return 'イラッシャイマセ!';
}
}- app.module.ts(Inversion Of Control Container) 클래스 작성
Nest의 공식 문서 클래스 프로바이더와 클래스 사용에 따르면, provide에 토큰 값(AppService)을 지정 해주면 해당 토큰을 주입받는 고수준 모듈에서 useClass에 명시된 객체를 주입받는다고 설명되어 있다.
provide의 값으로 들어갈 토큰 value는 고수준 모듈이 의존하고 있는 추상화(AppService)에 일치해야 한다.
import { Module } from '@nestjs/common';
import { AppController } from './app.controller';
import { AppKoService } from './app.ko.service';

@Module({
  imports: [],
  controllers: [AppController],
  providers: [
    {
      // provide: "제공할 추상화 인터페이스명"
      provide: 'AppService',
      // useClass: "제공할 추상화 인터페이스의 구현체"
      useClass: AppKoService,
    },
  ],
})
export class AppModule {}
이제 고수준 모듈에서 토큰 값을 사용해보자!
- app.controller.ts(고수준 모듈) 작성
@Inject 데코레이터에 주입을 원하는 토큰 value를 넣어 AppService 타입인 변수 appService가 모듈에 명시된 useClass인 구현체를 주입받을 수 있게 만들면 끝이다.
이제 AppController는 구현체가 뭔지 모르는 상태에서도 의존성을 주입받아 다양한 언어의 인사를 '컨트롤러 내부 코드 수정 없이' 수행할 수 있게 되었다!
import { Controller, Get, Inject } from "@nestjs/common";
import { AppService } from "./app.service";

@Controller()
export class AppController {
  constructor(@Inject("AppService") private readonly appService: AppService) {
  }

  @Get()
  getHello(): string {
    return this.appService.getHello();
  }
}
한국어 인사 구현체 주입
@Module({
  imports: [],
  controllers: [AppController],
  providers: [
    {
      provide: 'AppService',
      useClass: AppKoService,
    },
  ],
})
export class AppModule {}
영어 인사 구현체 주입
@Module({
  imports: [],
  controllers: [AppController],
  providers: [
    {
      provide: 'AppService',
      useClass: AppEnService,
    },
  ],
})
export class AppModule {}
일본어 인사 구현체 주입
@Module({
  imports: [],
  controllers: [AppController],
  providers: [
    {
      provide: 'AppService',
      useClass: AppJpService,
    },
  ],
})
export class AppModule {}