zabbix 설치하기
0. 배경
서버 모니터링 목적으로 grafana를 설치하였다.
하지만, 적은 인력에 시스템을 운영해야 하고, 로그 모니터링등 커스터마이징 가능한 zabbix로 모니터링을 변경하기로 결정하였다.
zabbix 설치를 기록한다.
참고로, 서버는 ubuntu 20.04 LTS 이다.
1. LAMP 설치
zabbix는 LAMP 스택에서 실행된다.
DBMS등 원하면 변경할수 있는것 같지만, 기본 설정으로 진행한다.
sudo apt update
sudo apt install apache2 libapache2-mod-php
sudo apt install mysql-server
sudo apt install php php-mbstring php-gd php-xml php-bcmath php-ldap php-mysql
2. MySQL 설정
아래 명령을 실행하여, mysql 계정을 셋팅하자.
sudo mysql_secure_installation


Securing the MySQL server deployment.

Connecting to MySQL using a blank password.

VALIDATE PASSWORD COMPONENT can be used to test passwords
and improve security. It checks the strength of password
and allows the users to set only those passwords which are
secure enough. Would you like to setup VALIDATE PASSWORD component?

# 계정을 안전하게 설정하겠냐는 내용같다. N라고 해도 무방하고,Y라고 입력하면 보안강도를 조정할수 있다.
Press y|Y for Yes, any other key for No: y

There are three levels of password validation policy:

LOW    Length >= 8
MEDIUM Length >= 8, numeric, mixed case, and special characters
STRONG Length >= 8, numeric, mixed case, special characters and dictionary                  file

# 패스워드 생성시 규칙을 설정한다. 일단 중간으로..
Please enter 0 = LOW, 1 = MEDIUM and 2 = STRONG: 1
Please set the password for root here.

New password:

Re-enter new password:

Estimated strength of the password: 50
Do you wish to continue with the password provided?(Press y|Y for Yes, any other key for No) : y
By default, a MySQL installation has an anonymous user,
allowing anyone to log into MySQL without having to have
a user account created for them. This is intended only for
testing, and to make the installation go a bit smoother.
You should remove them before moving into a production
environment.

# 익명 유저 삭제하겠냐는 질문같고, 필요없으니 Y
Remove anonymous users? (Press y|Y for Yes, any other key for No) : y
Success.


Normally, root should only be allowed to connect from
'localhost'. This ensures that someone cannot guess at
the root password from the network.

# remote에서 root가 접속하는걸 허용하겠는지? 난 모니터링용도로만 사용하니 Y
Disallow root login remotely? (Press y|Y for Yes, any other key for No) : y
Success.

By default, MySQL comes with a database named 'test' that
anyone can access. This is also intended only for testing,
and should be removed before moving into a production
environment.

#Test Database 삭제하겠는지 여부 Y
Remove test database and access to it? (Press y|Y for Yes, any other key for No) : y
 - Dropping test database...
Success.

 - Removing privileges on test database...
Success.

Reloading the privilege tables will ensure that all changes
made so far will take effect immediately.

# 변경된 권한을 바로 적용하겠는지 Y
Reload privilege tables now? (Press y|Y for Yes, any other key for No) : y
Success.

All done!
정상적으로 완료되었다면, 아래 명령을 통해 mysql에 접속하자.
mysql -h localhost -u root -p정상적으로 패스워드를 입력해도 아래와 같은 에러가 발생하면, 아래 내용을 참고하자.
정확한 원인은 모르겠으나, mysql의 기본 password 셋팅때문이라고 한다.
Enter password:
ERROR 1698 (28000): Access denied for user 'root'@'localhost'
sudo mysql -u root # sudo를 사용하여 root계정으로 mysql에 접속한다.

mysql> use mysql;
Reading table information for completion of table and column names
You can turn off this feature to get a quicker startup with -A

Database changed
mysql> select user, host, plugin from user;
+------------------+-----------+-----------------------+
| user             | host      | plugin                |
+------------------+-----------+-----------------------+
| debian-sys-maint | localhost | caching_sha2_password |
| mysql.infoschema | localhost | caching_sha2_password |
| mysql.session    | localhost | caching_sha2_password |
| mysql.sys        | localhost | caching_sha2_password |
| root             | localhost | auth_socket           |
+------------------+-----------+-----------------------+
5 rows in set (0.00 sec)


mysql> update user set plugin='mysql_native_password' where user='root';
Query OK, 1 row affected (0.09 sec)
Rows matched: 1  Changed: 1  Warnings: 0

mysql> flush privileges;
Query OK, 0 rows affected (0.04 sec)
PHP 환경화일 수정
vim /etc/php/7.4/apache2/php.inimemory_limit 256M
upload_max_filesize 16M
post_max_size 16M
max_execution_time 300
max_input_time 300
max_input_vars 10000
date.timezone = 'Asia/Seoul'
2. zabbix repository 설정
zabbix 설치를 위해 repository 설정을 하자.
wget https://repo.zabbix.com/zabbix/5.0/ubuntu/pool/main/z/zabbix-release/zabbix-release_5.0-1+focal_all.deb
sudo dpkg -i zabbix-release_5.0-1+focal_all.deb
3. zabbix server 설치
zabbix 서버 설치
sudo apt update
sudo apt install zabbix-server-mysql zabbix-frontend-php zabbix-agent zabbix-apache-conf
4. zabbix database 설정 작업
mysql에 접속하여 아래와 같이 셋팅하자.
CREATE DATABASE zabbixdb character set utf8 collate utf8_bin;
CREATE USER 'zabbix'@'localhost' IDENTIFIED BY 'password';
GRANT ALL PRIVILEGES ON zabbixdb.* TO 'zabbix'@'localhost' WITH GRANT OPTION;
FLUSH PRIVILEGES;
테이블 스킴생성
cd /usr/share/doc/zabbix-server-mysql
zcat create.sql.gz | mysql -u zabbix -p zabbixdb

#패스워드는 위에서 생성한 zabbix 패스워드를 입력
#시간이 좀 걸린다. 인내심을 가지고 기다리자
5. zabbix 설정 변경
sudo vi /etc/zabbix/zabbix_server.confDBHost=localhost
DBName=zabbixdb
DBUser=zabbix
DBPassword=mysql_패스워드
zabbix 서버 재기동
sudo systemctl enable zabbix-server
sudo systemctl restart zabbix-server
apache 재기동
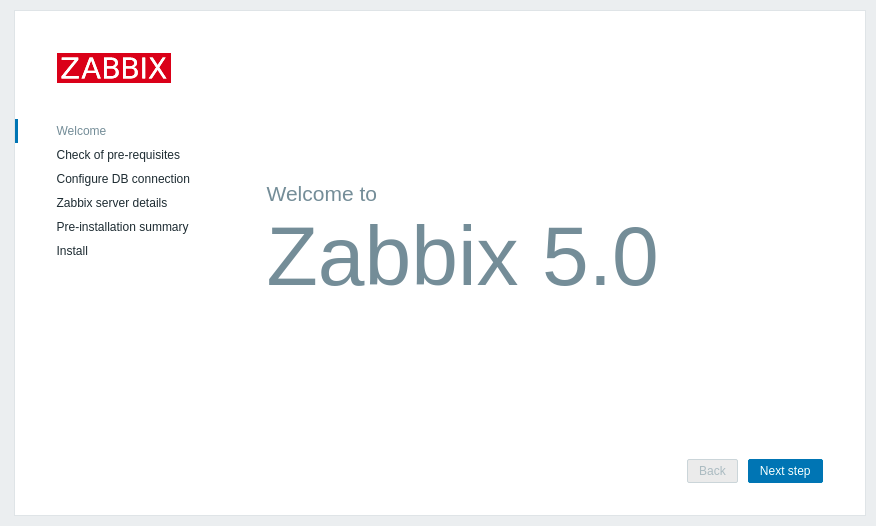
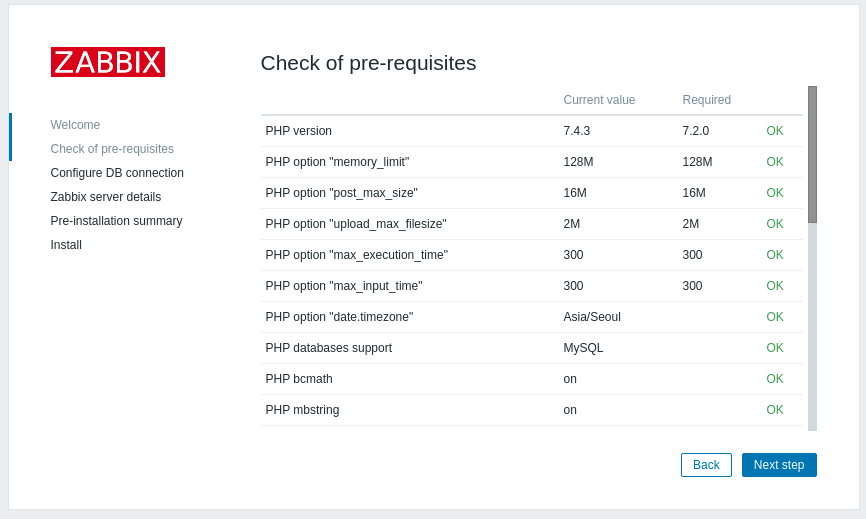
sudo systemctl restart apache26. web 인스톨러 시작
여기까지 완료되었다면, http://ip주소/zabbix 로 접속하자.
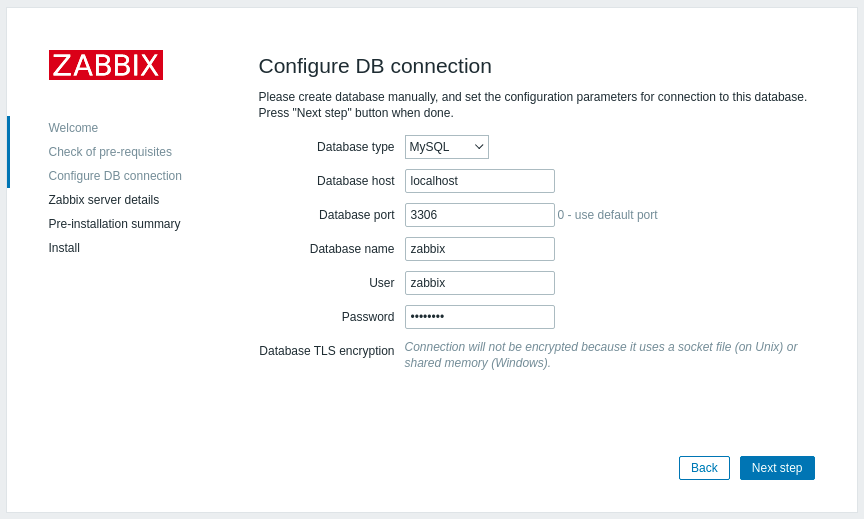
위에서 설정한 DB 접속정보를 입력한다.
zabbix서버에 대한 정보를 입력한다.

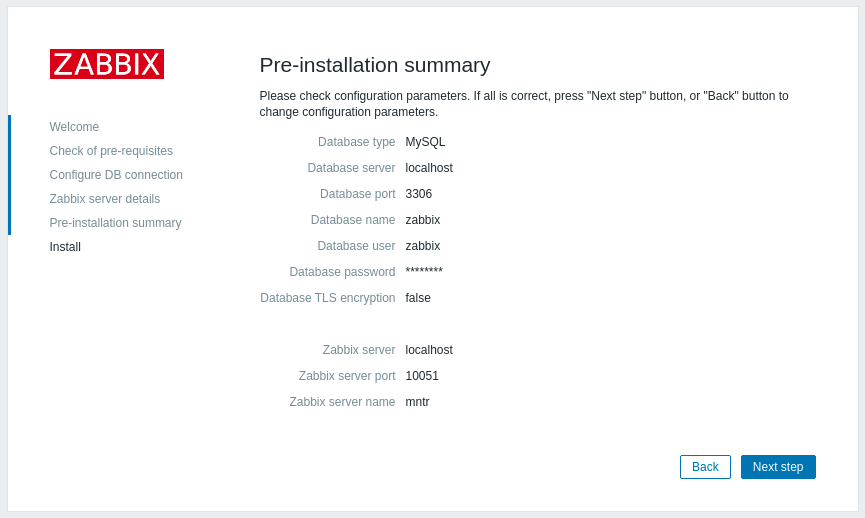
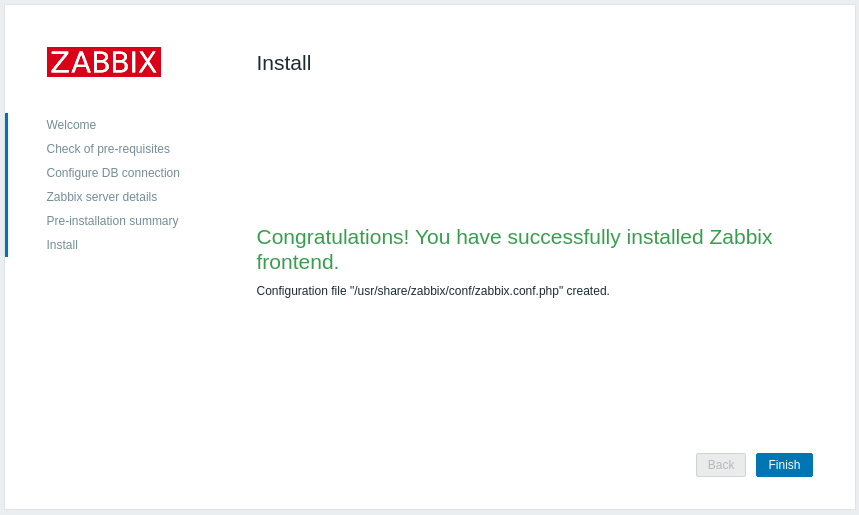
설정정보 최종확인
zabbix 설치완료!
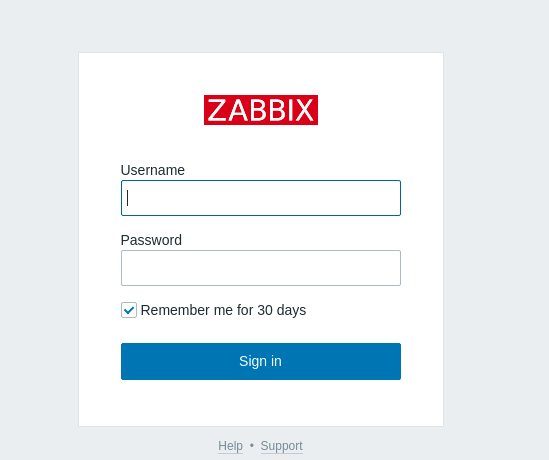
7. zabbix 접속
웬콘솔 접속
id = Admin
password = zabbix
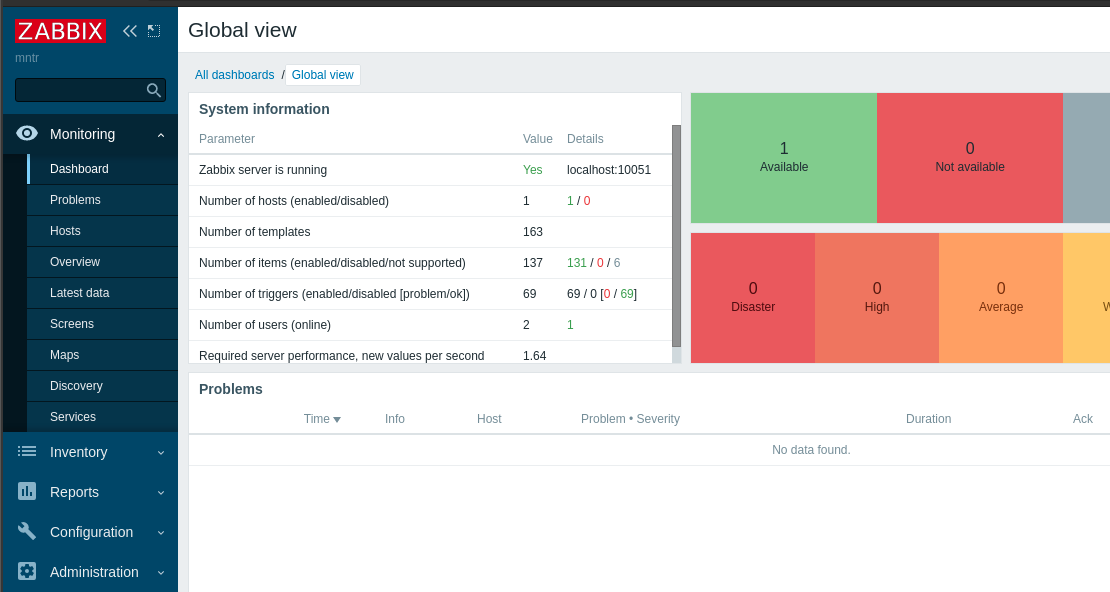
아래와 같은 화면이 나왔다면 정상 접속 성공!
이 블로그는 아래 글을 참조하여 작성하였습니다.
https://tecadmin.net/how-to-install-zabbix-server-on-ubuntu-20-04/