기본
import { Canvas } from "react-three-fiber";
const Square = () => {
return (
<mesh rotation-x={Math.PI * 0.25} rotation-y={Math.PI * 0.25}>
<boxBufferGeometry args={[2,2,2]} />
<meshStandardMaterial color={"blue"} />
</mesh>
)
}
const Example= () => {
return (
<Canvas>
<pointLight position={[5, 5, 5]} />
<Square />
</Canvas>
)
}
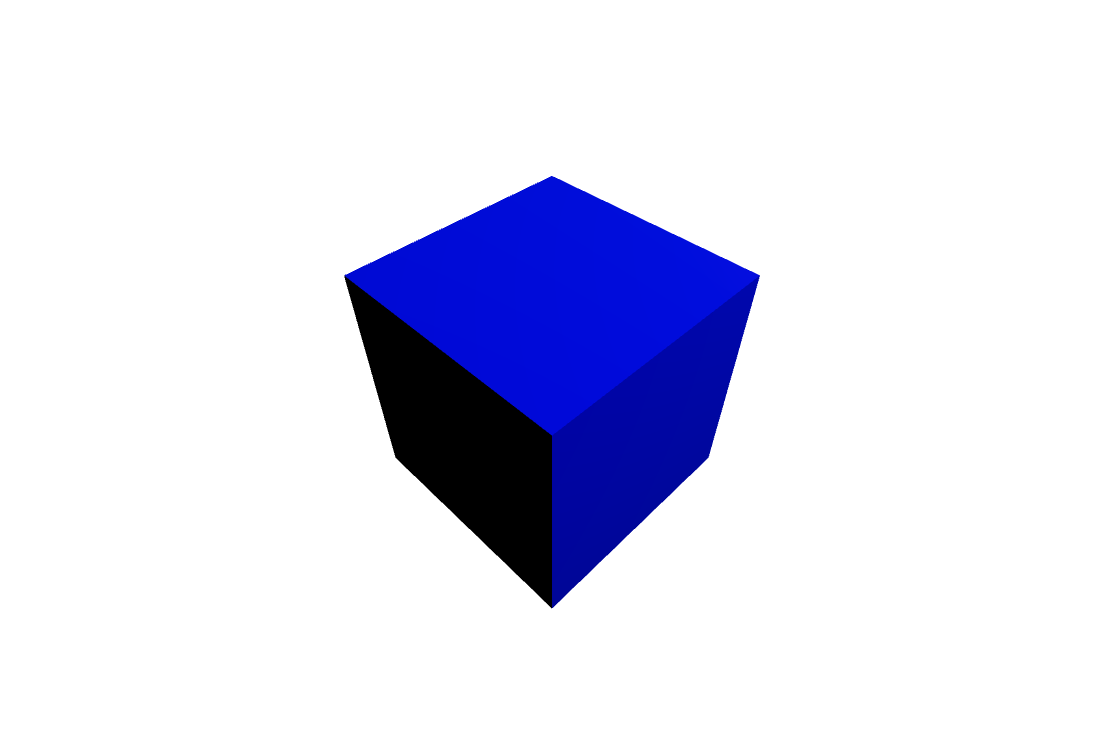
export default Rounded;three.js는 무조건 canvas안에 넣어주어야 한다.
BoxGeometry는 주어진 '너비', '높이' 및 '깊이'를 갖는 직사각형 입방체에 대한 지오메트리 클래스이다. 생성 시 정육면체는 원점을 중심으로 각 모서리가 축 중 하나와 평행하게 된다.
meshStandardMaterial는 재료의 모양을 정의하는 하나 이상의 속성을 가진 개체이다. 재료의 모든 속성(재료로부터 상속받은 모든 속성 포함)은 여기에 전달할 수 있다.
위치

Math.PI 속성은 원의 둘레와 지름의 비율, 약 3.14159의 값을 가진다고 나온다.
<mesh rotation-x={Math.PI * 0.4} rotation-y={Math.PI * 0.4}> 바꾼 모습이다.
크기

<boxBufferGeometry args={[2,2,2]} /> 에서 args={[5,5,5]}로 바꿔 준 모습이다. 커진 것을 알 수 있다. x,y,z의 순이다
회전
import { Canvas, useFrame } from "react-three-fiber";
import { useRef } from 'react';

const Square = () => {
  const torusRef = useRef();
  useFrame(() => {
    torusRef.current.rotation.x += 0.01;
    torusRef.current.rotation.y += 0.01;
  })
  return (
    <mesh rotation-x={Math.PI * 0.25} rotation-y={Math.PI * 0.25} ref={torusRef}>
      <boxBufferGeometry args={[2, 2, 2]} />
      <meshStandardMaterial color={"blue"} />
    </mesh>
  )
}
회전도 간단하다. useFrame을 추가해주면 된다.
torusRef.current.rotation.x += 0.01; 만 남기고 y는 지우면 이렇게 한 방향으로 돌게 된다
도넛모양

const Square = () => {
  const torusRef = useRef();
  useFrame(() => {
    torusRef.current.rotation.y += 0.01;
  })
  return (
    <mesh rotation-x={Math.PI * 0.5} rotation-y={Math.PI * 5} ref={torusRef}>
      <torusGeometry args={[1, 0.4, 12, 40]} />
      <meshStandardMaterial color={"blue"} />
    </mesh>
  )
}
박스 모양은 boxBufferGeometry를 사용했고 도넛 모양은 torusGeometry를 사용해주면 된다. args 순서는 반지름, 튜브, 방사형 세그먼트, 관형 세그먼트라고 나오는데 수치 몇 번 바꿔보면 무슨 느낌인 지 알 수 있다.
여러개의 도넛

import { Canvas, useFrame } from "react-three-fiber";
import { useRef } from 'react';
import { OrbitControls, OrthographicCamera } from "@react-three/drei";

const Square = (props) => {
  const torusRef = useRef();
  useFrame(() => {
    torusRef.current.rotation.y += 0.01;
  })
  return (
    <mesh ref={torusRef} {...props}>
      <torusGeometry args={[40, 25, 100, 200]}/>
      <meshStandardMaterial attach="material" color={"blue"} />
    </mesh>
  )
}

const Example = () => {
  return (
    <Canvas>
      <ambientLight intensity={0.3} />
      <pointLight intensity={0.75} position={[500, 500, 1000]} />>
      <Square position={[70, 70, 0]} />
      <Square position={[-70, 70, 0]} />
      <Square position={[70, -70, 0]} />
      <Square position={[-70, -70, 0]} />
      <OrbitControls />
      <OrthographicCamera
        makeDefault
        zoom={0.5}
        top={200}
        bottom={-200}
        left={300}
        right={-300}
        near={1}
        far={2000}
        position={[0, 0, 200]}
      />
    </Canvas>
  )
}
export default Rounded;OrthographicCamera는 투영 모드에서 렌더링된 이미지의 개체 크기가 카메라와의 거리에 관계없이 일정하게 유지된다.
이것은 무엇보다도 2D 장면과 UI 요소를 렌더링하는 데 유용할 수 있다.
<OrbitControls /> 은 마우스로 회전이나 휠 확대가 가능하게 해준다.
<OrbitControls enablePan={true} enableZoom={true} enableRotate={true} /> 이런 식으로 각자를 제어할 수가 있다.
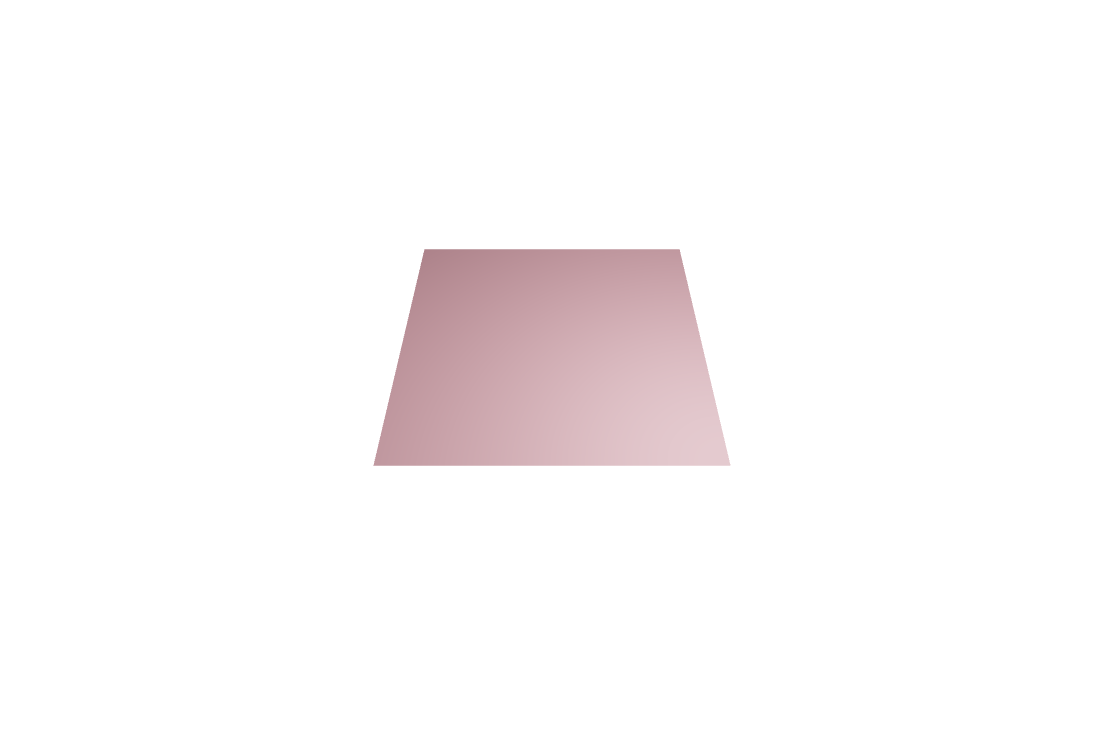
평면
import { Canvas, useFrame } from "react-three-fiber";
import { useRef } from 'react';

const Square = () => {
  return (
    <mesh rotation-x={Math.PI * -0.5}>
      <planeBufferGeometry args={[10, 10]} />
      <meshStandardMaterial color={"pink"} />
    </mesh>
  )
}

const Example = () => {
  return (
    <Canvas camera={{ position: [0, 15, 15] }}>
      <pointLight position={[5, 5, 5]} />
      <Square />
    </Canvas>
  )
}
export default Rounded;
planeBufferGeometry 사용
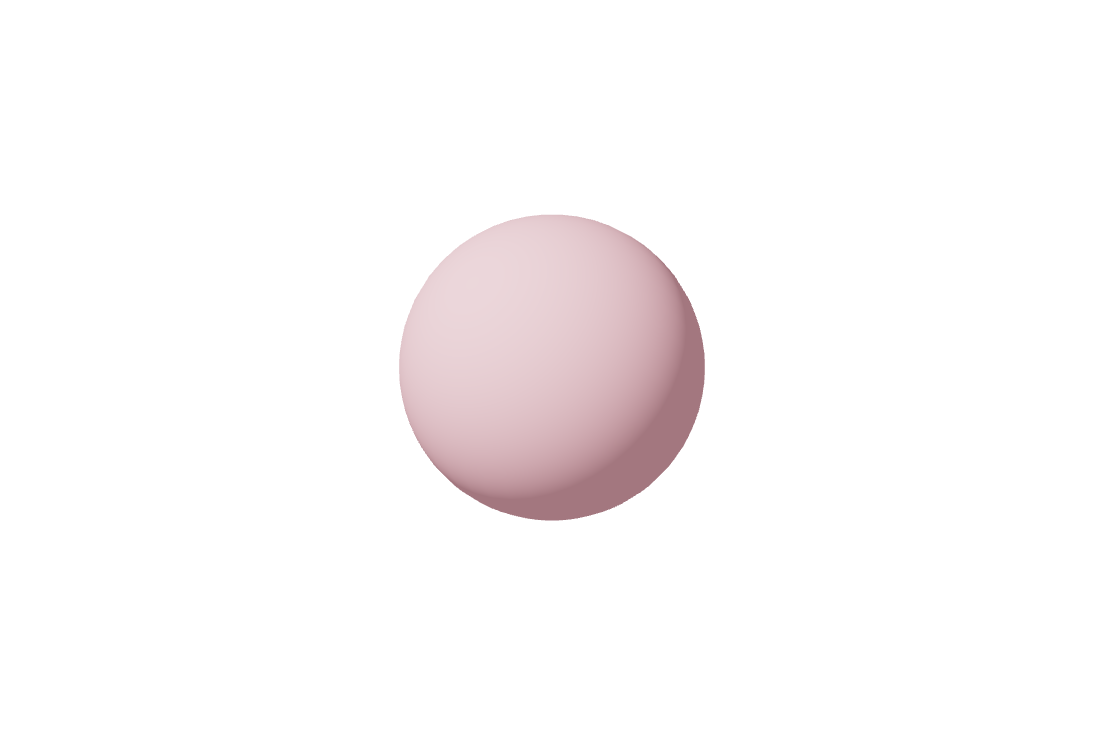
원형
import { Canvas, useFrame } from "react-three-fiber";
import { useRef } from 'react';

const Rounded = () => {
  return (
    <mesh rotation-x={Math.PI * -0.5}>
      <sphereBufferGeometry args={[5, 50, 24]} />
      <meshStandardMaterial color={"pink"} />
    </mesh>
  )
}

const Example = () => {
  return (
    <Canvas camera={{ position: [0, 15, 15] }}>
      <ambientLight intensity={0.3}/>
      <pointLight position={[-10, 20, 5]} />
      <Square />
    </Canvas>
  )
}
export default Rounded;
sphereBufferGeometry 사용
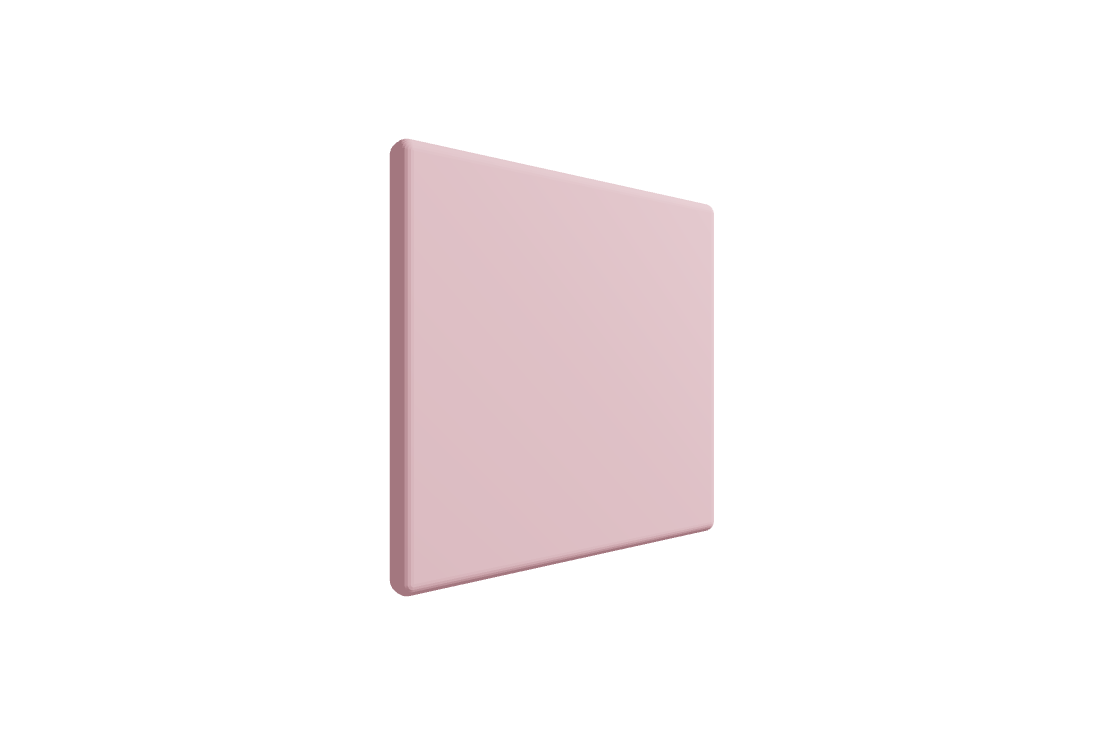
둥근 사각형
import { Canvas, useFrame } from "react-three-fiber";
import { useRef } from 'react';
import { OrbitControls, RoundedBox } from "@react-three/drei";


const Example = () => {
  return (
    <Canvas>
      <mesh rotation-y={Math.PI * 0.2}>
        <pointLight position={[5, 5, 5]} />
        <ambientLight intensity={0.3} />
        <RoundedBox args={[3, 3, 0.25]} radius={0.1}>
          <meshLambertMaterial attach="material" color={"pink"} />
        </RoundedBox>
        <OrbitControls />
      </mesh>
    </Canvas>
  )
}
export default Rounded;
RoundedBox 사용
기하학
import { Canvas } from "react-three-fiber";
import { OrbitControls } from "@react-three/drei";

const Sphere = () => {
  return (
    <group scale={0.3}>
      <mesh>
        <torusKnotGeometry args={[4, 0.9, 256, 64, 1, 3]} />
        <meshStandardMaterial metalness={0.1} roughness={0.3} color={"pink"} />
      </mesh>
    </group>
  );
};

const Example = () => {
  return (
    <Canvas>
      <ambientLight intensity={0.3} />
      <pointLight intensity={0.75} position={[5, 5, 5]} />
      <Sphere />
      <OrbitControls />
    </Canvas>
  )
}
export default Rounded;
torusKnotGeometry 사용
https://threejs.org/docs/#api/en/geometries/TorusKnotGeometry 수치값 순서 확인