[Spring] 스프링 입문 - 코드로 배우는 스프링 부트, 웹 MVC, DB 접근 기술 01 프로젝트 환경설정

01-1 프로젝트 생성

GENERATE - 압축 풀기 - IntelliJ에서 build.gradle를 프로젝트로 열기
build.gradle
testImplementation 'org.springframework.boot:spring-boot-starter-test'↓ 수정
testImplementation('org.springframework.boot:spring-boot-starter-test') {
		exclude group: 'org.junit.vintage', module: 'junit-vintage-engine'
	}
HelloSpringApplication.java 실행
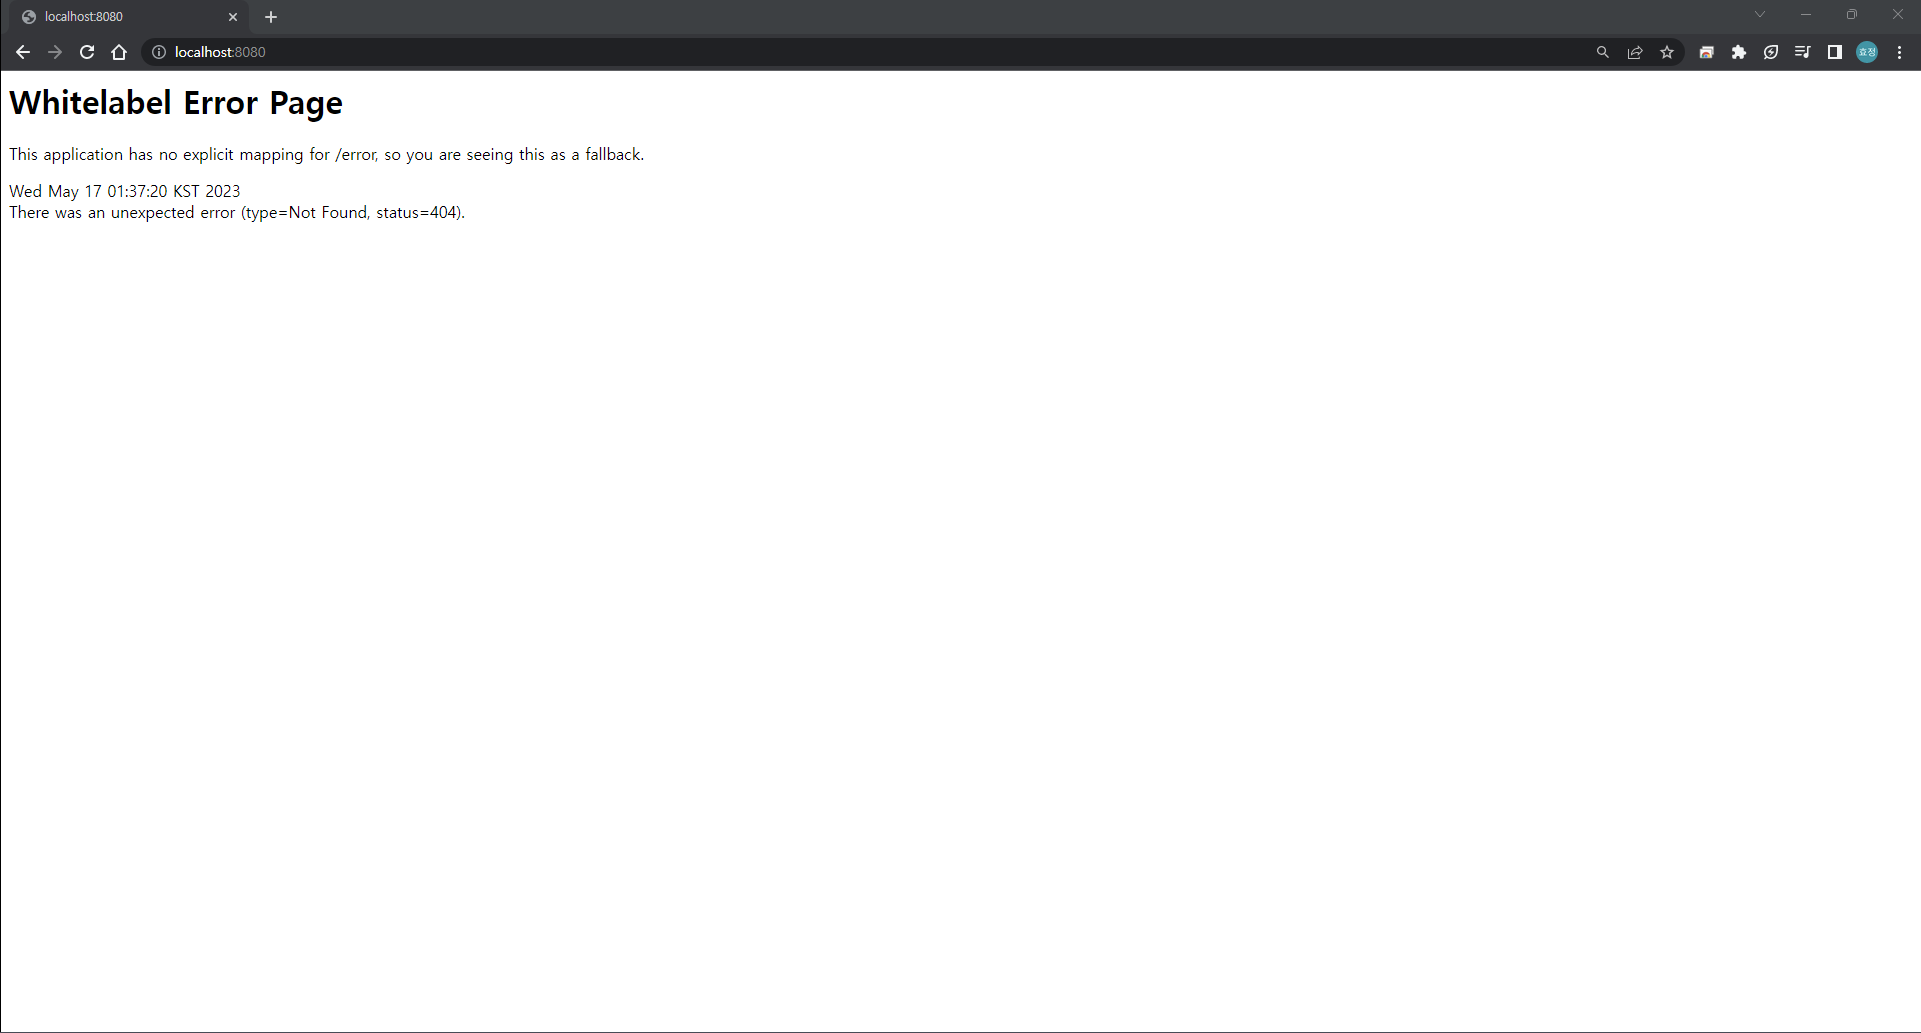
에러 페이지가 뜨지만 성공한 거임!
IntelliJ Gradle 대신에 자바 직접 실행
- 최근 IntelliJ 버전은 Gradle을 통해서 실행 하는 것이 기본 설정이다. 이렇게 하면 실행속도가 느리다. 다음과 같이 변경하면 자바로 바로 실행해서 실행속도가 더 빠르다.
- File → Setting → Preferences → Build, Execution, Deployment → Build Tools → Gradle
- Build and run using: Gradle IntelliJ IDEA
- Run tests using: Gradle IntelliJ IDEA
IntelliJ에서 단축키를 확실하게 검색하는 방법
- File Settings에 들어간다.
- 다음 화면 왼쪽에 보이는 것 처럼 keymap을 선택한다.
- 다음 화면 오른쪽에 있는 검색창에 단축키 이름을 입력한다. 단축키 이름은 위 그림 처럼 영상 하단에 나온다.
- 다음 그림을 보면 Refactor This의 윈도우 단축키는 Ctrl + Alt + Shift + T 인 것을 알 수 있다.
01-2 라이브러리 살펴보기
스프링 부트 라이브러리
- spring-boot-starter-web
- spring-boot-starter-tomcat: 톰캣 (웹서버)
- spring-webmvc: 스프링 웹 MVC
- spring-boot-starter-thymeleaf: 타임리프 템플릿 엔진(View)
- spring-boot-starter(공통): 스프링 부트 + 스프링 코어 + 로깅
- spring-boot
- spring-core
- spring-boot-starter-logging
- logback, slf4j
- spring-boot
테스트 라이브러리
spring-boot-starter-test
junit: 테스트 프레임워크
mockito: 목 라이브러리
assertj: 테스트 코드를 좀 더 편하게 작성하게 도와주는 라이브러리
spring-test: 스프링 통합 테스트 지원
01-3 View 환경설정
Welcome Page 만들기
resources/static/index.html 생성
static/index.html을 올려두면 Welcome page 기능을 제공한다.
<!DOCTYPE html>
<html>
<head>
    <title>Title</title>
    <meta http-equiv="Content-Type" content="text/html; charset=UTF-8" />
</head>
<body>
Hello
<a href="/hello">hello</a>
</body>
</html>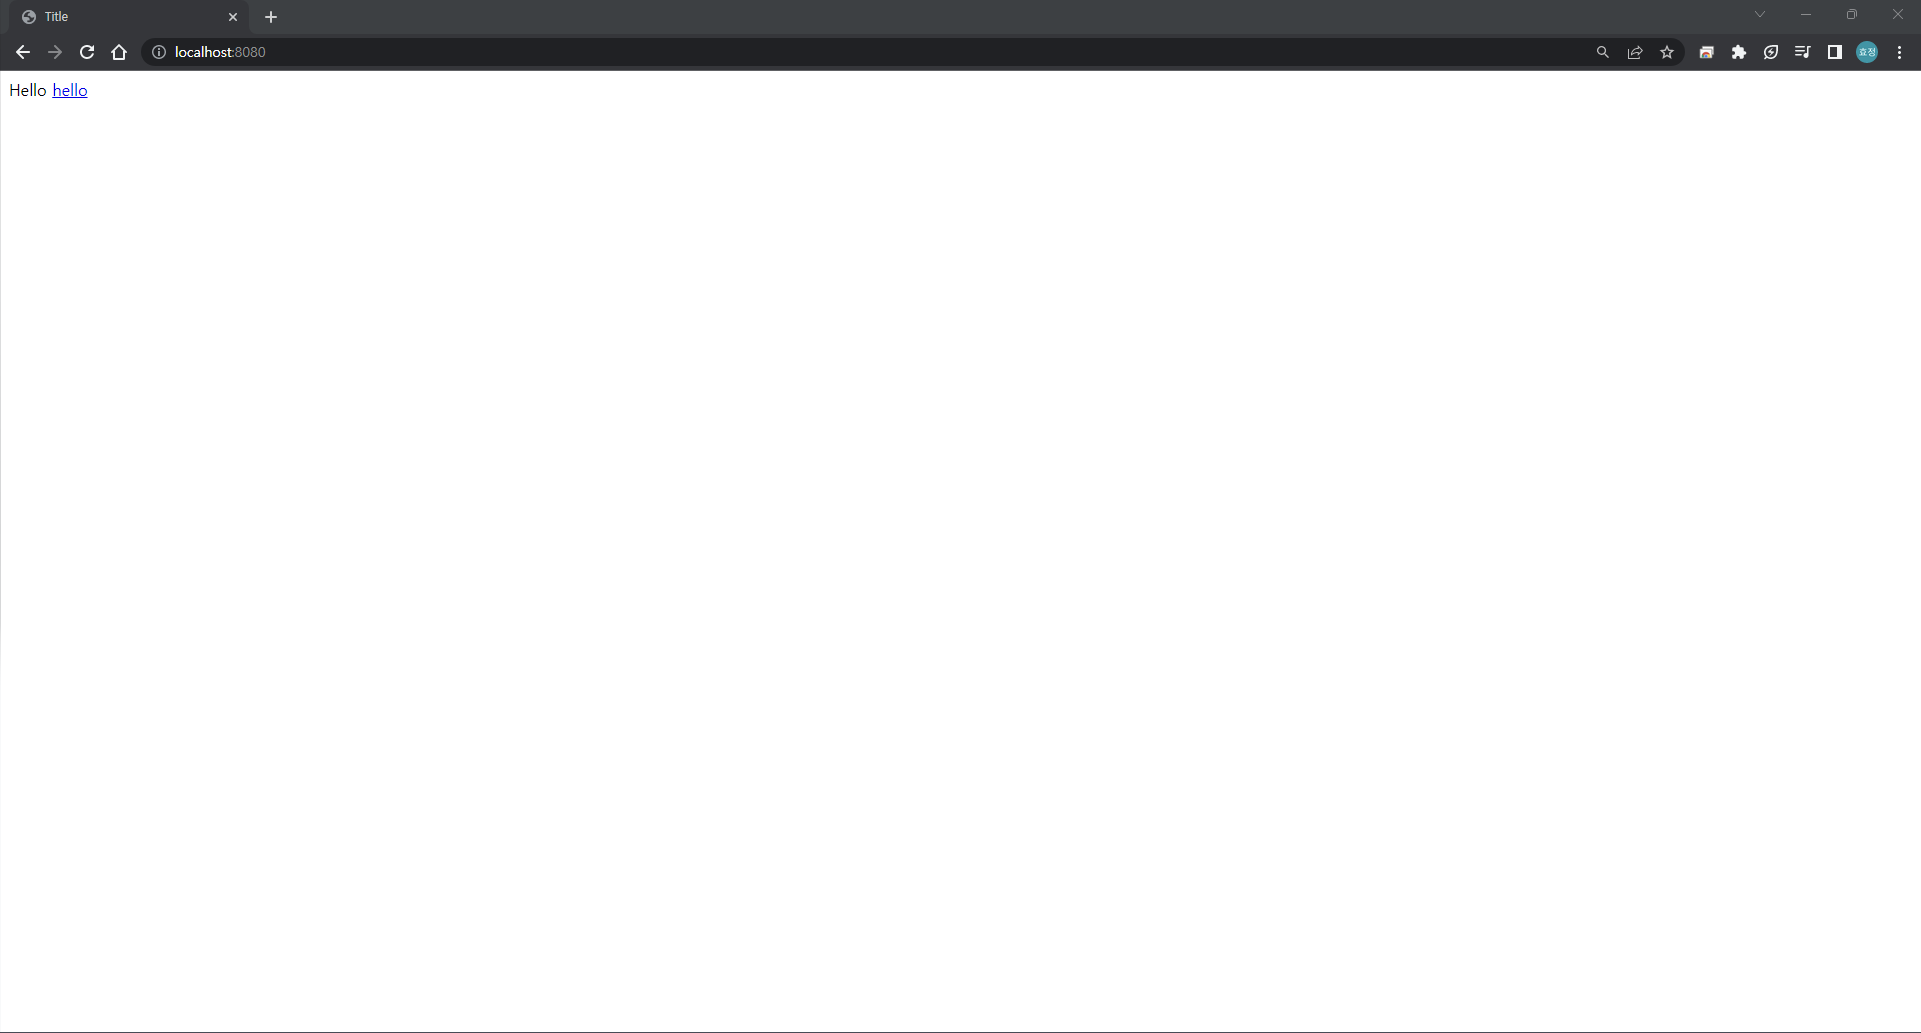
스프링 부트가 제공하는 Welcome Page 기능
- static/index.html 을 올려두면 Welcome page 기능을 제공한다.
- 7.1.6 Welcome Page
7.1.6. Welcome Page
Spring Boot supports both static and templated welcome pages. It first looks for an index.html file in the configured static content locations. If one is not found, it then looks for an index template. If either is found, it is automatically used as the welcome page of the application.
1) static 영역에서 index.html 찾기
2) 없으면 index 템플릿 찾기
thymeleaf 템플릿 엔진
hello.hellospring/controller 패키지 생성/HelloController 클래스 생성
hello.hellospring/controller/HelloController
package helllo.hellospring.controller;

import org.springframework.stereotype.Controller;
import org.springframework.ui.Model;
import org.springframework.web.bind.annotation.GetMapping;

@Controller
public class HelloController {
    // 웹 어플리케이션에서 /hello로 접속하면 아래 메소드 호출
    @GetMapping("hello")
    public String hello(Model model) {
        model.addAttribute("data", "hello!!");
        return "hello";
        // return "hello"를 하면 스프링은 resources/templates 아래에 있는 hello를 찾아 렌더링
    }
}
웹 어플리케이션에서 /hello로 접속하면 아래 메소드 호출
@GetMapping("hello")
    public String hello(Model model) {

    }
templates/hello.html 생성
hello.html
<!DOCTYPE HTML>
<html xmlns:th="http://www.thymeleaf.org">
<!--thymeleaf 템플릿 엔진 선언-->
<head>
<title>Hello</title>
<meta http-equiv="Content-Type" content="text/html; charset=UTF-8" />
</head>
<body>
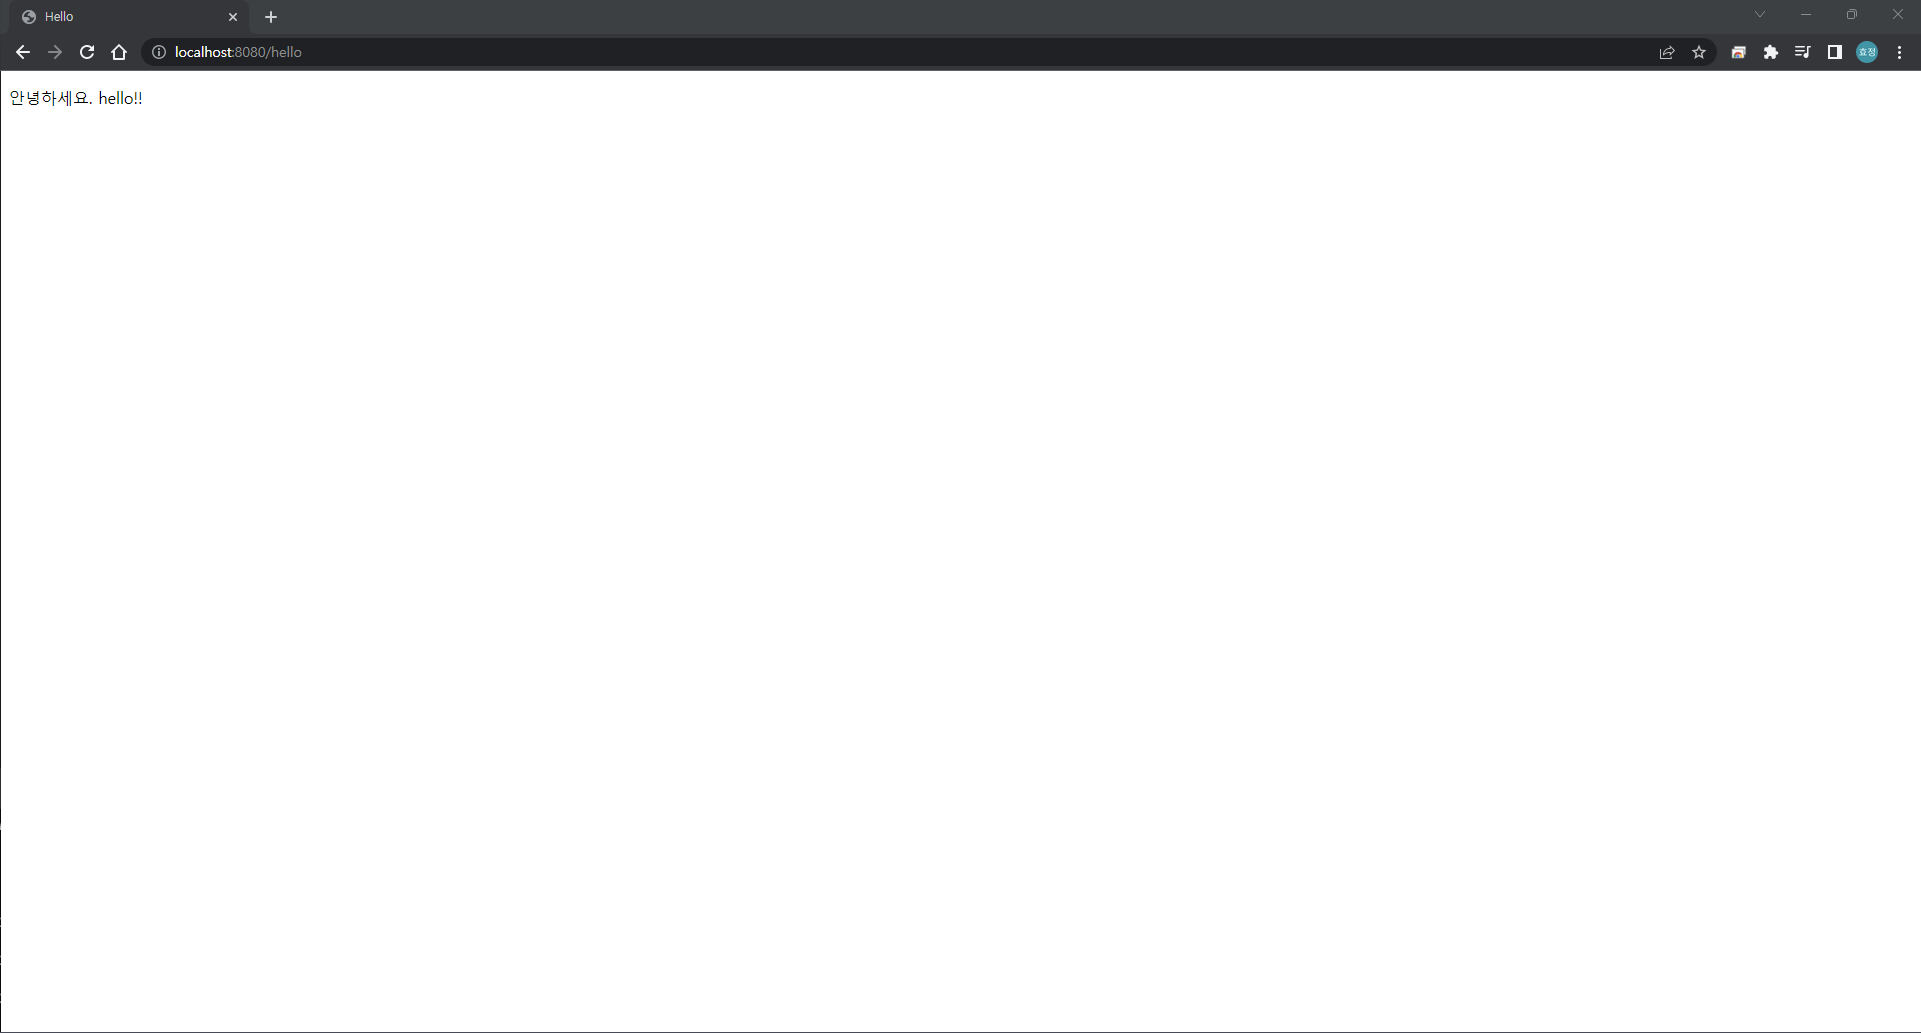
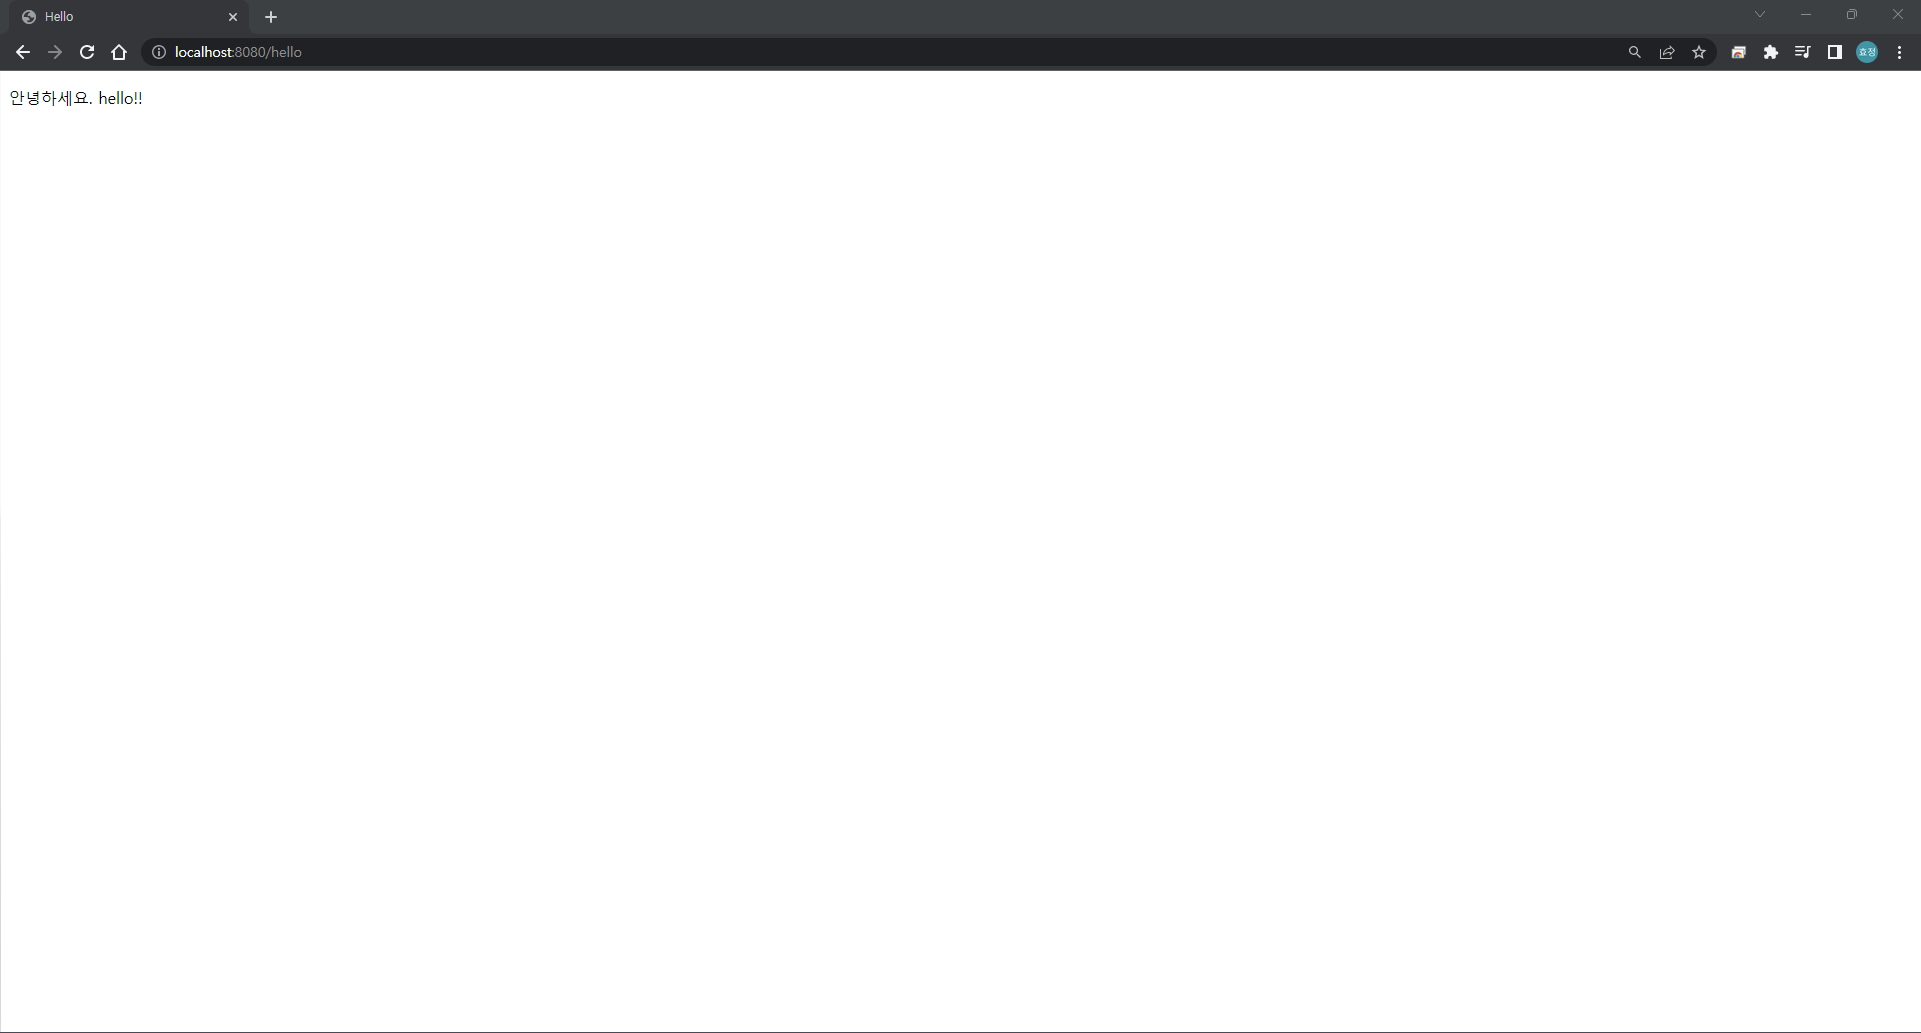
<p th:text="'안녕하세요. ' + ${data}" >안녕하세요. 손님</p>
<!--data가 hello!!로 치환-->
</body>
</html>http://localhost:8080/hello 접속
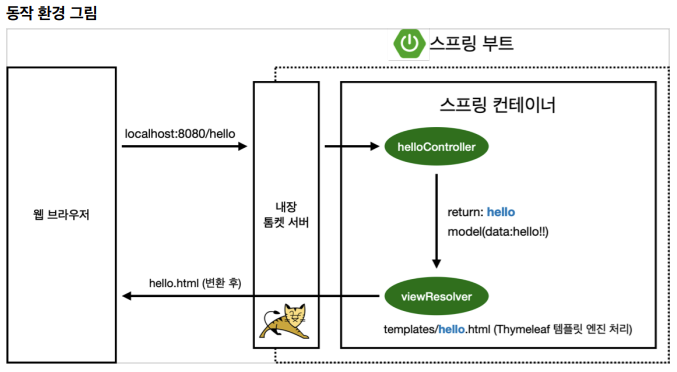
- 컨트롤러에서 리턴 값으로 문자를 반환하면 뷰 리졸버( viewResolver )가 화면을 찾아서 처리한다.
- 스프링 부트 템플릿엔진 기본 viewName 매핑
- resources:templates/ +{ViewName}+ .html
참고
spring-boot-devtools 라이브러리를 추가하면, html 파일을 컴파일만 해주면 서버 재시작 없이 View 파일 변경이 가능하다.
인텔리J 컴파일 방법: 메뉴 build Recompile
01-4 빌드하고 실행하기
윈도우 사용자를 위한 팁
- 콘솔로 이동 명령 프롬프트(cmd)로 이동
- ./gradlew gradlew.bat 를 실행하면 됩니다.
- 명령 프롬프트에서 gradlew.bat 를 실행하려면 gradlew 하고 엔터를 치면 됩니다.
- gradlew build
- 폴더 목록 확인 ls dir
- 윈도우에서 Git bash 터미널 사용하기
hello-spring>gradlew.bat build
hello-spring\build\libs>dir
hello-spring\build\libs>java -jar hello-spring-0.0.1-SNAPSHOT.jar