나홀로 싸우면서 만드는 프로젝트의 여정을 시작하려고한다!
1. IntelliJ 내에서 프로젝트 생성
나는 플랫폼을 만들어 보기위해 프로젝트 구조를 아래와 같이 설계했다.
또한 프로젝트를 구별하기위해 D드라이브에 진행하니 참고하길 바란다.
cleans-platform/        # 메인 프로젝트 루트 폴더
│── cleans-bo-api/      # Spring Boot 백엔드 프로젝트
│   ├── src/
│   │   ├── main/
│   │   │   ├── java/com/example/ # Java 소스 코드
│   │   │   ├── resources/        # 설정 파일 (application.yml 등)
│
│── cleans-bo-app/       # Vue.js 프론트엔드 프로젝트
│   ├── src/            # Vue 컴포넌트 및 소스 코드
│   │   ├── assets/
│   │   ├── components/
│   │   ├── views/
│   │   ├── router/index.js   # Vue Router 설정
│   │   ├── store/index.js    # Vuex 또는 Pinia 상태 관리
│   │   ├── App.vue
│   │   ├── main.js
│   ├── public/          # 정적 파일
│   ├── package.json     # npm 패키지 설정
│   ├── vite.config.js   # Vite 또는 Webpack 설정
│   ├── node_modules/    # npm dependencies
│   ├── README.md
│
│── README.md            # 전체 프로젝트 설명서
1.1 Spring Boot 백엔드 프로젝트 생성

⬆️ 프로젝트 이름과 언어, 타입, jdk 설정 후 다음

⬆️ 나는 기본적으로 위 3개정도 설정하고 생성한다.
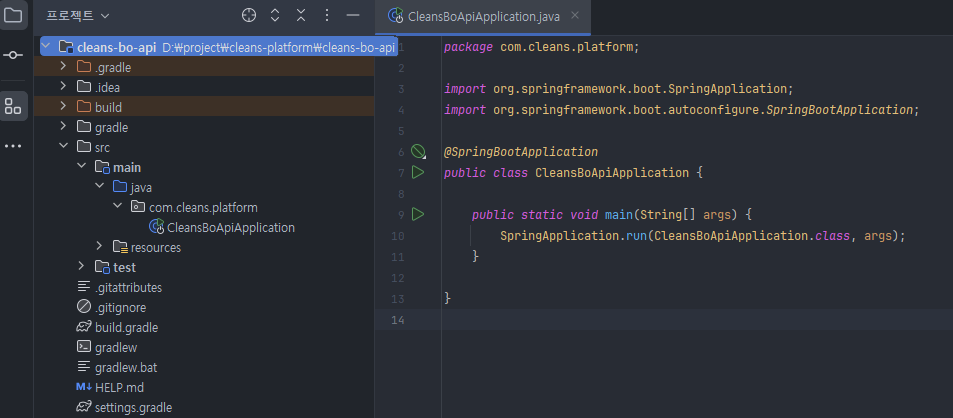
⬆️ 이후 Main으로 들어가면 위와 같이 생성되어 있다.
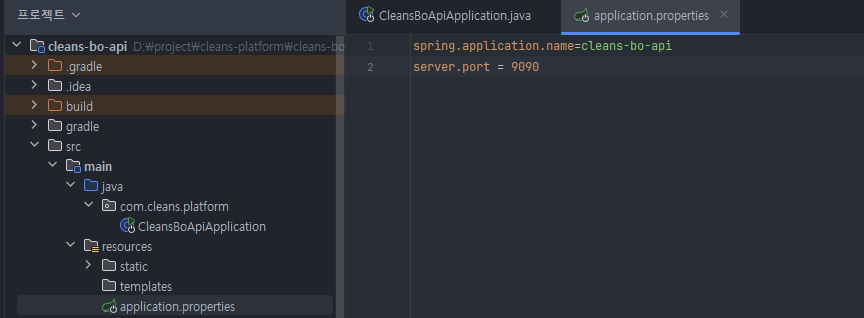
⬆️ port 설정을 따로 하고싶으면 위와 같이 하면된다.
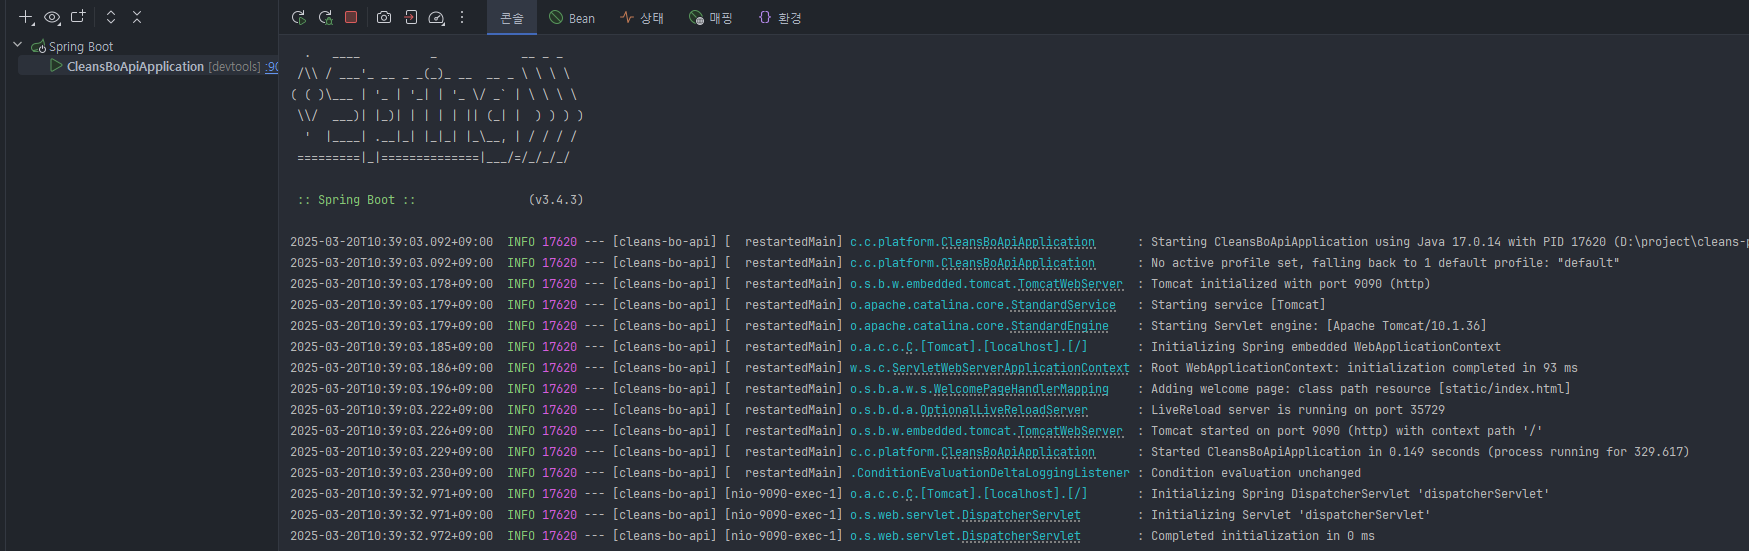
⬆️ 그리고 Boot 를 run하면 잘 뜬것을 확인 할 수 있다.
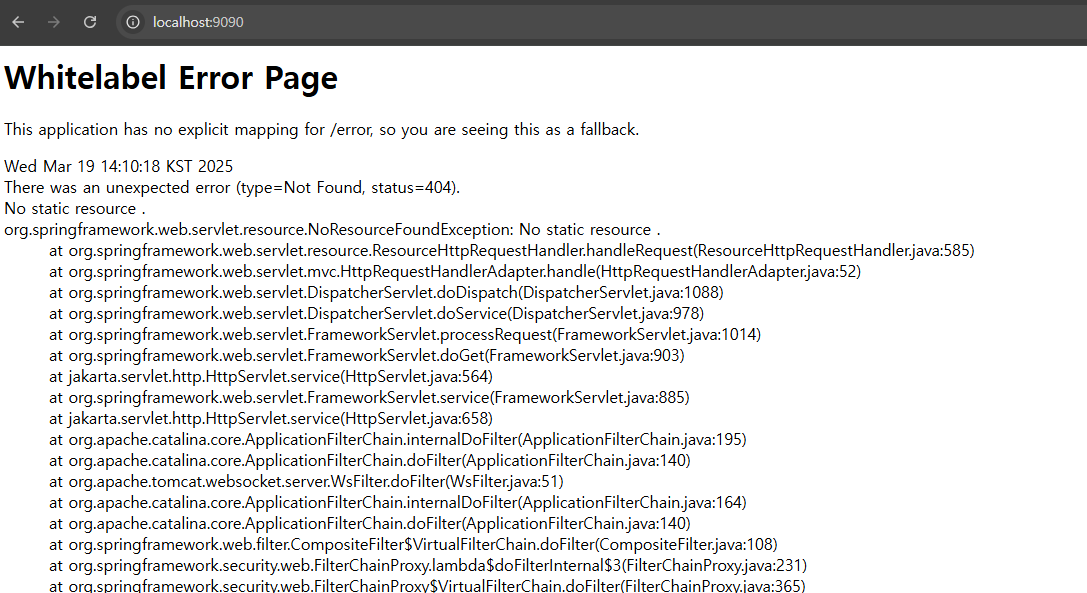
⬆️ localhost:9090으로 접속하면 이 화면이 뜨면 정상접속이다!
ex) 시큐리티 설정한 사람들을 위해

⬆️ 시큐리티 설정 후 run을 하게되면 console에 password가 생겨난 것을 볼 수 있다.
Using generated security password: edd03d18-b169-4502-a69c-047666bdbe94
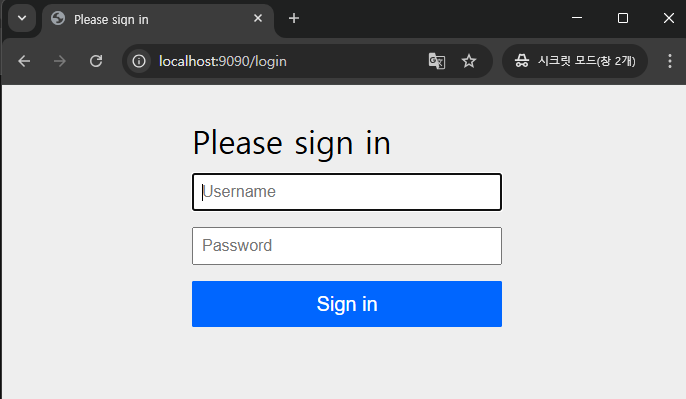
⬆️ 그리고 web을 확인하면 위와 같은 화면이 뜨는데
Username - user
Password - 콘솔에서 알려준 password를 치고 진입하면 된다.
2. View 설정
방법은 여러 가지이다.
나는 기존 방법에서 vue를 사용하는 방법을 택했다.
2.1 정적 리소스 설정 커스터마이징 - WebConfigurer
기본적으로 스프링 부트에서 web의존성 추가 후
localhost:9090으로 접근하면 resources/static/index.html을 읽게된다.
만약 resources/templates/index.html로 위치하려면
스프링 부트에서 제공하는 WebMvcConfigurer를 implements 한 후 addResourceHandlers를 override 해야한다.
package com.example.ilapofol.config;

import org.springframework.context.annotation.Configuration;
import org.springframework.web.servlet.config.annotation.ResourceHandlerRegistry;
import org.springframework.web.servlet.config.annotation.WebMvcConfigurer;

@Configuration
public class ViewConfiguration implements WebMvcConfigurer {
	@Override
	public void addResourceHandlers(ResourceHandlerRegistry registry) {
		registry.addResourceHandler("/**")
				.addResourceLocations("classpath:/templates/", "classpath:/static/");
	}
}
2.2 Thymeleaf설정
application.properties 를 아래와같이 thymeleaf 추가
spring.application.name=cleans
server.port = 9090

#thymeleaf
spring.thymeleaf.prefix=classpath:/templates/
spring.thymeleaf.suffix=.html
spring.thymeleaf.cache=false
spring.thymeleaf.check-template-location=true
build.gradle 에 thymeleaf 의존성 추가
plugins {
    id 'java'
    id 'org.springframework.boot' version '3.4.3'
    id 'io.spring.dependency-management' version '1.1.7'
}

group = 'com.cleans'
version = '0.0.1-SNAPSHOT'

java {
    toolchain {
        languageVersion = JavaLanguageVersion.of(17)
    }
}

configurations {
    compileOnly {
        extendsFrom annotationProcessor
    }
}

repositories {
    mavenCentral()
}

dependencies {
    implementation 'org.springframework.boot:spring-boot-starter-security'
    implementation 'org.springframework.boot:spring-boot-starter-thymeleaf'
    implementation 'nz.net.ultraq.thymeleaf:thymeleaf-layout-dialect'
    implementation 'org.springframework.boot:spring-boot-starter-web'
    implementation 'org.thymeleaf.extras:thymeleaf-extras-springsecurity6'
    compileOnly 'org.projectlombok:lombok'
    developmentOnly 'org.springframework.boot:spring-boot-devtools'
    annotationProcessor 'org.projectlombok:lombok'
    testImplementation 'org.springframework.boot:spring-boot-starter-test'
    testImplementation 'org.springframework.security:spring-security-test'
    testRuntimeOnly 'org.junit.platform:junit-platform-launcher'
}

tasks.named('test') {
    useJUnitPlatform()
}
2.3 vue project 셋팅
2.3.1 nodejs 다운
2.3.2 node 및 npm version 확인
(참고, 명령프롬포트를 관리자권한으로 실행하면 C드라이브가 디폴트일때 D로 가려면 :D 입력하면된다)
D:\>node -v
v22.14.0

D:\>npm -v
10.9.2
2.3.3 프로젝트 내에 vue를 설치한다.
D:\>cd project

D:\project>cd cleans-platform

D:\project\cleans-platform>npm install vue

added 23 packages in 4s

3 packages are looking for funding
  run `npm fund` for details
npm notice
npm notice New major version of npm available! 10.9.2 -> 11.2.0
npm notice Changelog: https://github.com/npm/cli/releases/tag/v11.2.0
npm notice To update run: npm install -g npm@11.2.0
npm notice
2.3.4 vue version 확인
D:\project\cleans-platform>npm vue -v
10.9.2
2.3.5 Vue CLI 설치하기
npm install -g @vue/cli cadded 834 packages in 39s
76 packages are looking for funding
run `npm fund` for details
D:\project\cleans-platform>위처럼 packages 받으면 된것!
이후 차례대로 설치해주기!
npm install -D webpack webpack-clinpm install -D vue-loader vue-template-compilernpm install -D @babel/core @babel/preset-env babel-loader다 설치후 vue -v를 확인하면 아래와 같이 잘뜬다.
D:\project\cleans-platform>vue -V
@vue/cli 5.0.8
2.3.6 이후 원하는 경로에 project를 만든다
(경로는 맨위 참조)
D:\>cd project

D:\project>cd cleans-platform

D:\project\cleans-platform>vue create cleans-bo-app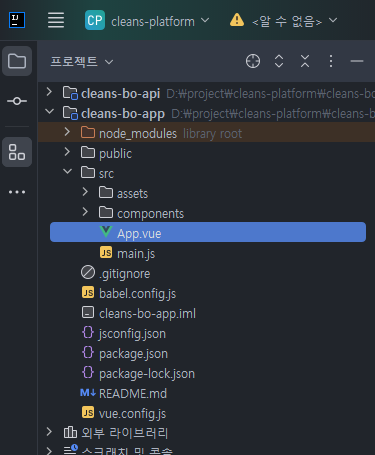
위와 같이 생긴 것을 알 수 있다.
2.3.7 Spring Boot 프로젝트 연동 (분리된 프로젝트 연동하기)
2.3.7.1 package.json 수정
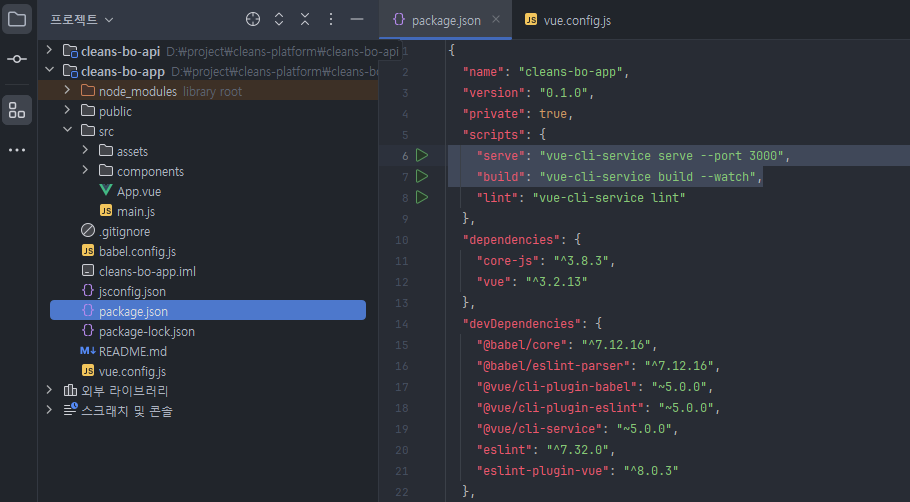
Vue.js에서 사용할 port 3000으로 변경
"serve" : "vue-cli-service serve --port 3000"
코드 변경 시 자동 재빌드 옵션 추가
"build" : "vue-cli-service build --watch"
2.3.7.2 vue.config.js 파일 수정
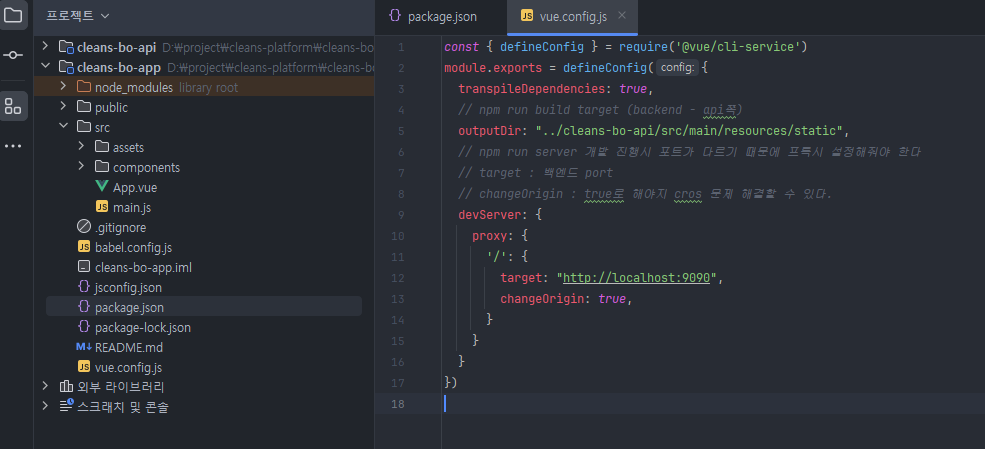
const { defineConfig } = require('@vue/cli-service')
module.exports = defineConfig({
  transpileDependencies: true,
  // npm run build target (backend - api쪽)
  outputDir: "../cleans-bo-api/src/main/resources/static",
  // npm run server 개발 진행시 포트가 다르기 때문에 프록시 설정해줘야 한다
  // target : 백엔드 port
  // changeOrigin : true로 해야지 cros 문제 해결할 수 있다.
  devServer: {
    proxy: {
      '/': {
        target: "http://localhost:9090",
        changeOrigin: true,
      }
    }
  }
})
2.3.7.3 Vue project build
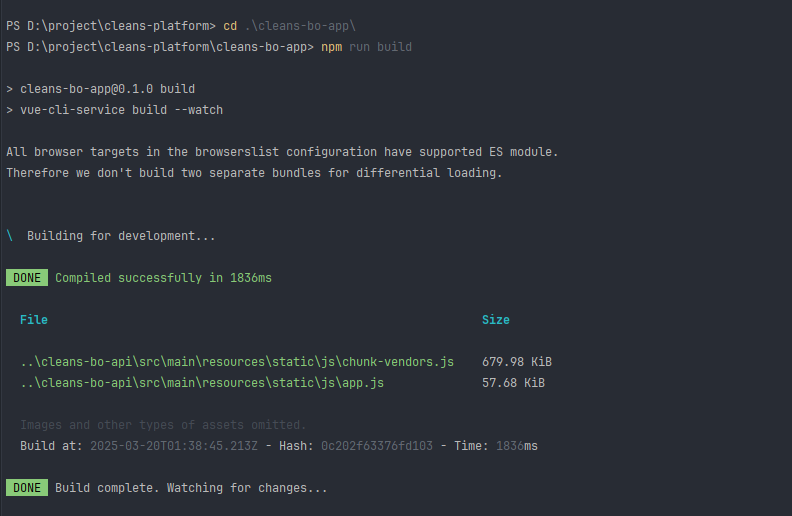
프로젝트 폴더에서 npm run build 입력
2.3.7.4 Spring Boot project 내 index.html 생성 확인
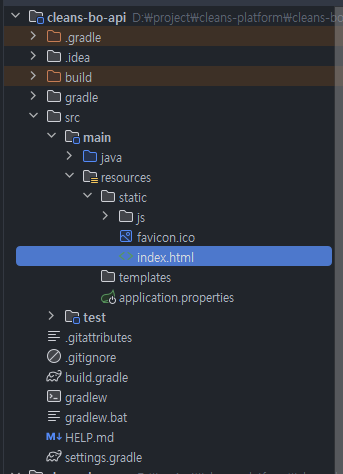
2.3.7.5 Spring Boot project 실행