
📍 기상청 단기예보 조회 서비스 활용
기상청 데이터를 가져오기 위해 아래의 링크에 접속하여 키를 발급받았다.
https://www.data.go.kr/tcs/dss/selectApiDataDetailView.do?publicDataPk=15084084
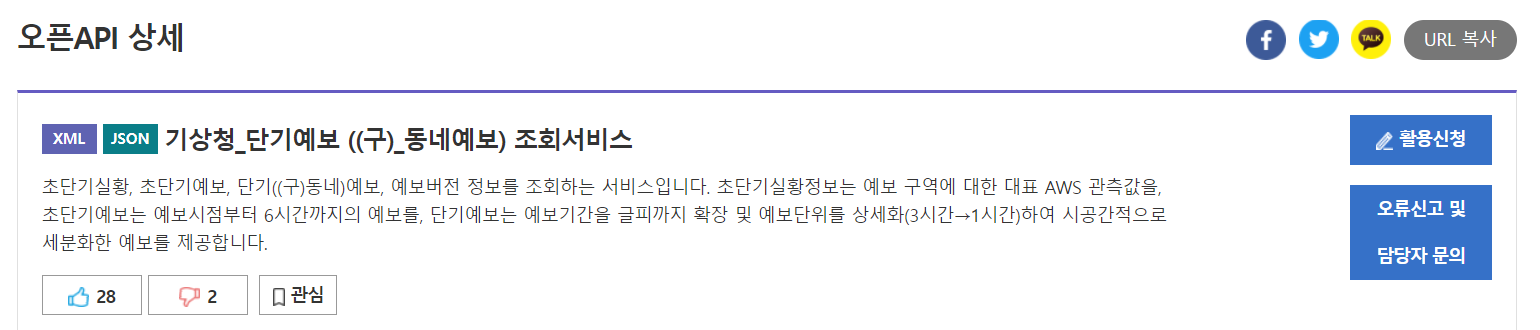
활용신청을 하면 키를 발급 받을 수 있다!
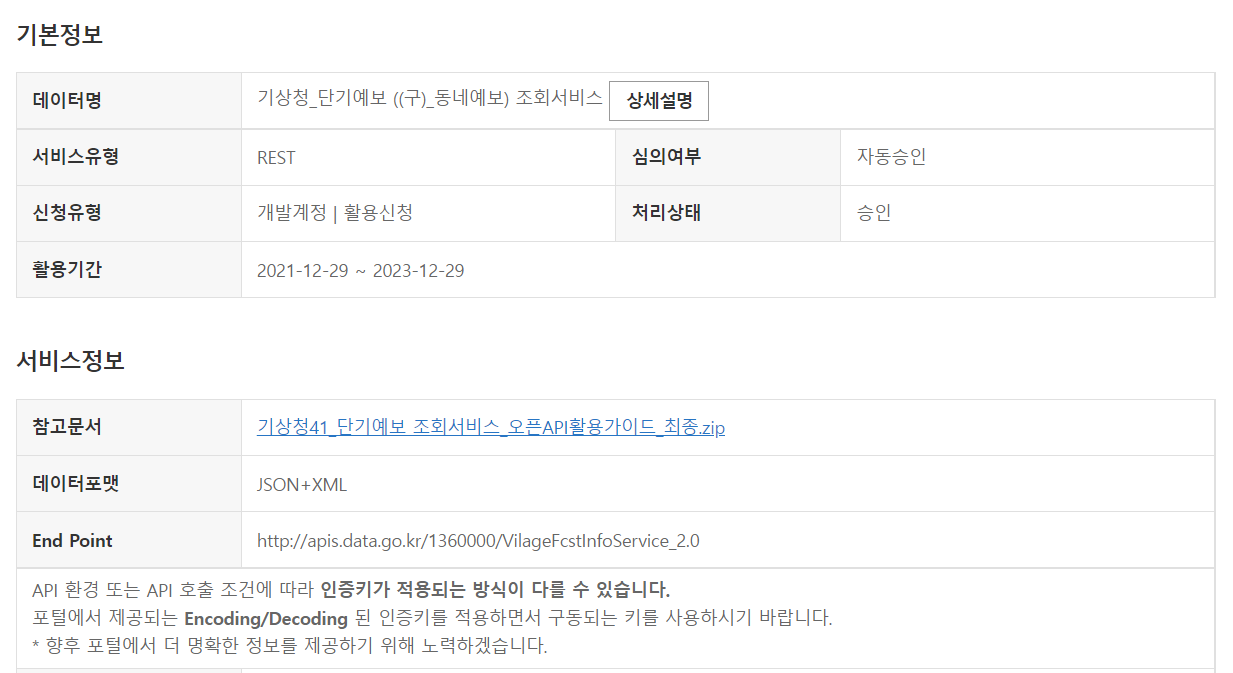
가이드 문서를 다운받아 api 활용 방법대로 적용해본다.
그리고 테스트를 해본다! JSON형태로 불러들여 잘 나오는 것을 확인했다
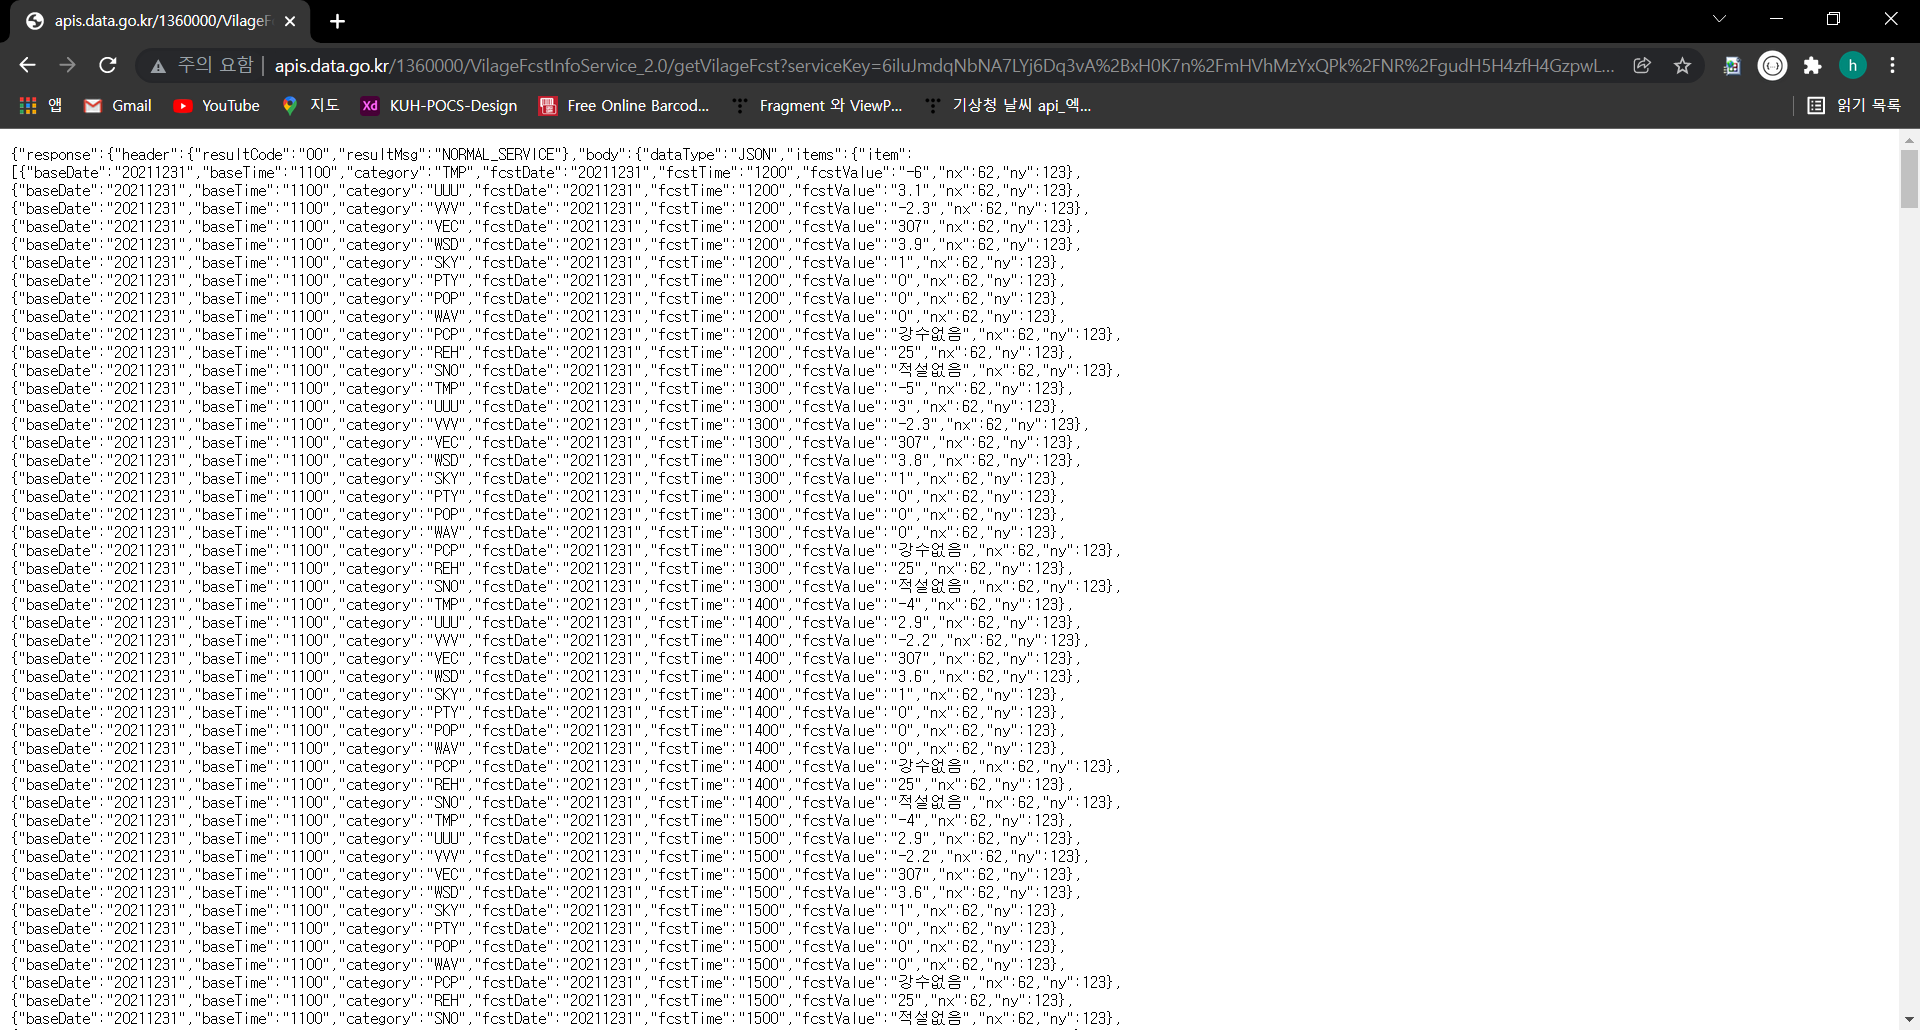
이제 코드에 적용해보자!
적용 예제
네트워크 구성 파일 추가
res폴더에 xml > network_security_config.xml 파일을 생성하고 안에 아래의 내용을 추가한다. android가 https가 아닌 http 프로토콜 접속시 제한되는 오류 발생을 막기 위함!
<?xml version="1.0" encoding="utf-8"?>
<network-security-config>
    <!--Set application-wide security config using base-config tag.-->
    <base-config cleartextTrafficPermitted="true"/>
</network-security-config>
그리고, AndroidManifest.xml의 application안에 추가한다.
android:networkSecurityConfig="@xml/network_security_config"
android:usesCleartextTraffic="true"
api url을 적용할 수 있는 함수를 생성했다. HttpURLConnection을 사용해 파싱하고 json타입을 분석하여 가져왔다.
public String lookUpWeather(String baseDate, String time, String nx, String ny) throws IOException, JSONException {

        String baseTime = timeChange(time); //"0500" 조회하고 싶은 시간
        String type = "json";    //타입

        String apiUrl = "http://apis.data.go.kr/1360000/VilageFcstInfoService_2.0/getVilageFcst";

//         홈페이지에서 받은 키
        String serviceKey = "6iluJmdqNbNA7LYj6Dq3vA%2BxH0K7n%2FmHVhMzYxQPk%2FNR%2FgudH5H4zfH4GzpwLcXgPE17zicZ35PqjRfwZU9MMQ%3D%3D";

        StringBuilder urlBuilder = new StringBuilder(apiUrl);
        urlBuilder.append("?" + URLEncoder.encode("ServiceKey", "UTF-8") + "=" + serviceKey);
        urlBuilder.append("&" + URLEncoder.encode("nx", "UTF-8") + "=" + URLEncoder.encode(nx, "UTF-8")); //경도
        urlBuilder.append("&" + URLEncoder.encode("ny", "UTF-8") + "=" + URLEncoder.encode(ny, "UTF-8")); //위도
        urlBuilder.append("&" + URLEncoder.encode("base_date", "UTF-8") + "=" + URLEncoder.encode(baseDate, "UTF-8")); /* 조회하고 싶은 날짜*/
        urlBuilder.append("&" + URLEncoder.encode("base_time", "UTF-8") + "=" + URLEncoder.encode(baseTime, "UTF-8")); /* 조회하고 싶은 시간 AM 02시부터 3시간 단위 */
        urlBuilder.append("&" + URLEncoder.encode("dataType", "UTF-8") + "=" + URLEncoder.encode(type, "UTF-8"));    /* 타입 */

        /*
         * GET방식으로 전송해서 파라미터 받아오기
         */
        URL url = new URL(urlBuilder.toString());
        //어떻게 넘어가는지 확인하고 싶으면 아래 출력분 주석 해제
        //System.out.println(url);
        HttpURLConnection conn = (HttpURLConnection) url.openConnection();
        conn.setRequestMethod("GET");
        conn.setRequestProperty("Content-type", "application/json");

        BufferedReader rd;
        if (conn.getResponseCode() >= 200 && conn.getResponseCode() <= 300) {
            rd = new BufferedReader(new InputStreamReader(conn.getInputStream()));
        } else {
            rd = new BufferedReader(new InputStreamReader(conn.getErrorStream()));
        }
        StringBuilder sb = new StringBuilder();
        String line;
        while ((line = rd.readLine()) != null) {
            sb.append(line);
        }
        rd.close();
        conn.disconnect();
        String result = sb.toString();


        // response 키를 가지고 데이터를 파싱
        JSONObject jsonObj_1 = new JSONObject(result);
        String response = jsonObj_1.getString("response");

        // response 로 부터 body 찾기
        JSONObject jsonObj_2 = new JSONObject(response);
        String body = jsonObj_2.getString("body");

        // body 로 부터 items 찾기
        JSONObject jsonObj_3 = new JSONObject(body);
        String items = jsonObj_3.getString("items");
        Log.i("ITEMS", items);

        // items로 부터 itemlist 를 받기
        JSONObject jsonObj_4 = new JSONObject(items);
        JSONArray jsonArray = jsonObj_4.getJSONArray("item");

        for (int i = 0; i < jsonArray.length(); i++) {
            jsonObj_4 = jsonArray.getJSONObject(i);
            String fcstValue = jsonObj_4.getString("fcstValue");
            String category = jsonObj_4.getString("category");

            if (category.equals("SKY")) {
                weather = "현재 날씨는 ";
                if (fcstValue.equals("1")) {
                    weather += "맑은 상태로";
                } else if (fcstValue.equals("2")) {
                    weather += "비가 오는 상태로 ";
                } else if (fcstValue.equals("3")) {
                    weather += "구름이 많은 상태로 ";
                } else if (fcstValue.equals("4")) {
                    weather += "흐린 상태로 ";
                }
            }

            if (category.equals("TMP")) {
                tmperature = " 기온은 " + fcstValue + "℃";
            }

        }

        return weather + tmperature;
    }
다음으로 시간을 적용하기 위한 함수를 넣어 3시간 동안 조회한다.
 public String timeChange(String time)
    {
        // 현재 시간에 따라 데이터 시간 설정(3시간 마다 업데이트) //
        /**
         시간은 3시간 단위로 조회해야 한다. 안그러면 정보가 없다고 뜬다.
         0200, 0500, 0800 ~ 2300까지
         그래서 시간을 입력했을때 switch문으로 조회 가능한 시간대로 변경해주었다.
         **/
        switch(time) {

            case "0200":
            case "0300":
            case "0400":
                time = "0200";
                break;
            case "0500":
            case "0600":
            case "0700":
                time = "0500";
                break;
            case "0800":
            case "0900":
            case "1000":
                time = "0800";
                break;
            case "1100":
            case "1200":
            case "1300":
                time = "1100";
                break;
            case "1400":
            case "1500":
            case "1600":
                time = "1400";
                break;
            case "1700":
            case "1800":
            case "1900":
                time = "1700";
                break;
            case "2000":
            case "2100":
            case "2200":
                time = "2000";
                break;
            default:
                time = "2300";

        }
        return time;
    }
호출시, 네트워크 스레드를 활용한다. 현재 시간 기준으로 최신값을 가져왔다.
// 네트워크를 이용할 때는 쓰레드를 사용해서 접근해야 함
    inner class NetworkThread2 : Thread() {
        override fun run() {
            val wd = WeatherData()
            try {
                // date와 time에 값을 넣어야함, 오늘 날짜 기준으로 넣기!
                // ex) date = "20210722", time = "0500"
                val now = System.currentTimeMillis()
                val date = Date(now)

                val simpleDateFormatDay = SimpleDateFormat("yyyyMMdd")
                val simpleDateFormatTime = SimpleDateFormat("HH00")
                val getDay = simpleDateFormatDay.format(date)
                val getTime = simpleDateFormatTime.format(date)
                Log.i("datetime.../",getDay + getTime)

                weather = wd.lookUpWeather(getDay, getTime, nx, ny)

            } catch (e: IOException) {
                Log.i("THREE_ERROR1", e.message!!)
            } catch (e: JSONException) {
                Log.i("THREE_ERROR2", e.message!!)
            }
            Log.i("현재날씨", weather!!)
        }
    }
추가로, 현재 위치 기반으로 가져오기 위해 위도, 경도를 받는 로직에 주소를 읽어왔다. 이제 기상청 가이드 문서에 있는 엑셀 시트를 적용하여 각 도, 시, 구 별 nx, ny값을 받아 보여주기 위해 폴더에 추가해준다
엑셀 시트 적용 방법은 아래 링크에서 확인할 수 있다!
https://toubi-tobap.tistory.com/11
   private fun readExcel(localName: String?) {
        try {
            val localFile: InputStream = baseContext.resources.assets.open("local_name.xls")
            val wb: Workbook = Workbook.getWorkbook(localFile)
            if (wb != null) {
                val sheet = wb.getSheet(0) // 시트 불러오기
                if (sheet != null) {
                    val colTotal = sheet.columns // 전체 컬럼
                    val rowIndexStart = 1 // row 인덱스 시작
                    val rowTotal = sheet.getColumn(colTotal - 1).size
                    var row = rowIndexStart
                    while (row < rowTotal) {
                        val contents = sheet.getCell(0, row).contents
                        if (contents.contains(localName!!)) {
                            nx = sheet.getCell(1, row).contents
                            ny = sheet.getCell(2, row).contents
                            row = rowTotal
                        }
                        row++
                    }
                }
            }
        } catch (e: IOException) {
            Log.i("READ_EXCEL1", e.message!!)
            e.printStackTrace()
        } catch (e: BiffException) {
            Log.i("READ_EXCEL1", e.message!!)
            e.printStackTrace()
        }

        Log.i("격자값", "x = " + nx + "  y = " + ny)
    }
이제 여기에 나온 nx, ny 값에 따라 해당 위치 값을 가져와 api에 적용할 수 있게 되었다!