
React에서 innerHTML
React에서 innerHTML대신 dangerouslySetInnerHTML를 사용할 수 있다.
...
renderDescriptionHTML() {
  return {
    __html: 'Edit <code>src/App.js</code> and save to reload.',
  };
}
...

...
<p dangerouslySetInnerHTML={this.renderDescriptionHTML()} />
...
다음과 같이 사용할 수 있지만 XSS(사이트 간 스크립팅) 공격엔 여전히 노출되어 있음

참고: https://ko.reactjs.org/docs/dom-elements.html#dangerouslysetinnerhtml
참고: https://ko.reactjs.org/docs/design-principles.html#optimized-for-tooling
타입 관련 인텔리센스 패키지 설치
yarn add -D @types/react
yarn add -D @types/react-dom
셀프 클로징
React 셀프 클로징 태그 설정은 ESLint는 react/selft-closing-comp규칙을 통해 자식을 포함하지 않는 React 컴포넌트는 닫기 태그를 자체적으로 닫을 수 있다.
CRA로 환경을 구성한 경우, package json의 eslintConfig 부분에 아래를 추가해 준다.
package.json
  "rules": {
    "react/self-closing-comp": "error"
  }
지원하는 브라우저 범위 설정(IE지원하기)
package.json
  "browserslist": {
    "production": [
      "> 5% in KR",
      "not dead",
      "ie 11"
    ],
    "development": [
      "last 2 chrome version",
      "last 1 firefox version",
      "last 1 safari version",
      "last 1 edge version"
    ]
  },
mode에 따라 각각 설정 가능하다.

참고: https://create-react-app.dev/docs/supported-browsers-features/
오래된 브라우저에서도 작동되는 리액트 앱을 위해 polyfill 설치
패키지 설치
yarn add react-app-polyfill 주의해야할 점 (babel-loader 와 관련된 문제)

사용하려면 다음과 같이 사용해야됨

src/index.js
// polyfill
import 'react-app-polyfill/ie11';
// support other browsers language features
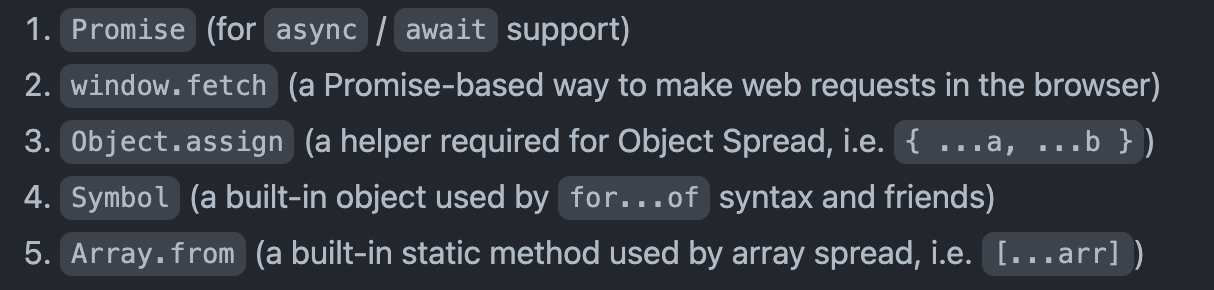
import 'react-app-polyfill/stable';이렇게 적어주면 ie11까지 지원하고 EcmaScript와 관련된 최신문법(널 병합)까지(아래 사진말고도) 지원한다.
오류와 관련되어 있는 라이프 사이클
- static getDerivedStateFromError
- componentDidCatch
참고: https://ko.reactjs.org/docs/error-boundaries.html
무조건 클래스 컴포넌트로만 가능 (현재 까지는)
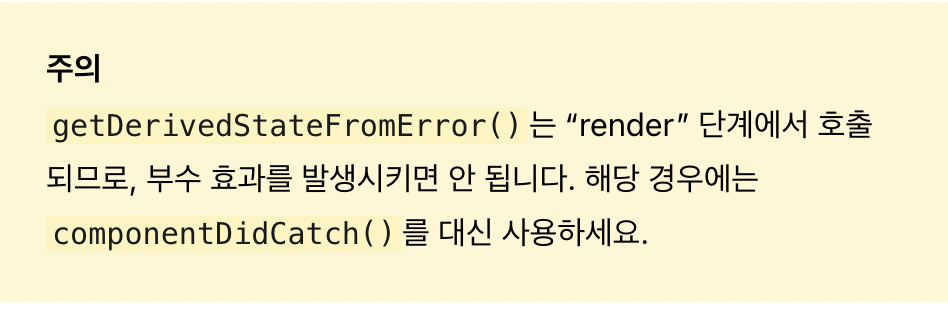
static getDerivedStateFromError
자손 컴포넌트 오류 발생 시 호출(error 제공)
App.js
// 오류 캐치
static getDerivedStateFromError(error) {
// 오류를 감지하면 새로운 파생 상태를 반환
return {
error, // { message }
};
}
...
render() {
// 조건부 렌더링
// JSX 안이 아니기 때문에 문을 사용
// App 컴포넌트가 포함하는 하위(자식 또는 자손) 컴포넌트에 오류가 발생하면
// 오류를 감지해 alert role 요소를 화면에 출력한다.
if (error) {
return <div role='alert'>{error.message}</div>;
}
...
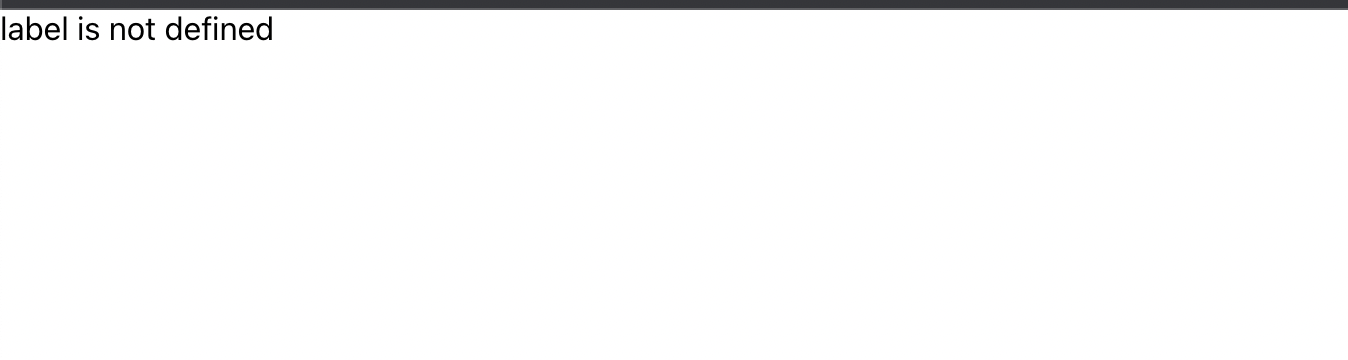
}배포환경에서 오류가 발생하면 에러가 무엇인지 보여줌(중첩되어 있는 자손의 노드에 대한 에러를 잡을 수 있고 자기 자신은 못잡음)
개발환경에선 웹팩의 에러 도구(iframe) 때문에 잘 보이진 않음 --> 이를 확인하기 위해 iframe의display:none으로 하면 아래와 같은 화면을 볼 수 있음
componentDidCatch
자손 컴포넌트 오류 발생 시 호출(error, info 제공)
참고: https://ko.reactjs.org/docs/react-component.html#componentdidcatch
  componentDidCatch(error, info) {
    console.log(error);
    console.log(info.componentStack);
  }
ErrorBoundary 실습

참고: https://ko.reactjs.org/docs/error-boundaries.html#gatsby-focus-wrapper
ErrorBoundary.js
import './ErrorBoundary.scss';
import { Component } from 'react';

export class ErrorBoundary extends Component {
  state = {
    errorMessage: '',
    componentStackInfo: '',
  };

  //   static getDerivedStateFromError(error) {
  //     return { error };
  //   }

  componentDidCatch({ message }, { componentStack }) {
    this.setState({ errorMessage: message, componentStackInfo: componentStack });
  }

  render() {
    if (this.state.errorMessage) {
      return (
        <div className='displayError' role='alert'>
          {this.state.errorMessage}
        </div>
      );
    }

    return this.props.children;
  }
}
hook으로도 아직 errorboundary를 구현하지 못하고 클래스컴포넌트만 가능하다.
errorboundary에서 scss 사용
참고: https://create-react-app.dev/docs/adding-a-sass-stylesheet/
패키지 설치
yarn add -D sass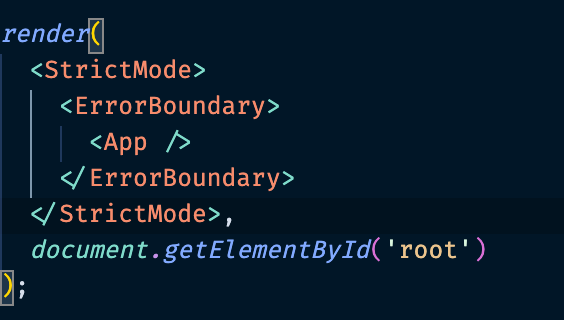
위와 같이
src/index.js에서 컴포넌트를 불러와 사용
최종 결과

라이프 사이클이 필요한 이유
React의 성능 최적화를 위한 목적 또는 React가 컨트롤 할 수 없는 사이드 이펙트(Side Effects, 부수 효과)를 처리하기 위함이다. 대표적인 사이드 이펙트는 다음과 같다.
- 네트워크 통신 (비동기 통신 요청/응답)
- DOM 컨트롤 (실제 문서 객체 접근/조작)
- 구독/취소 (예: 이벤트 핸들링 등)
- 오류 감지 (예: ErrorBoundary 컴포넌트 등)
네트워크 통신
queryNpmRegistry.js
export function queryNpmRegistry({ query, size = 5 } = {}) {
  return fetch(`https://registry.npmjs.org/-/v1/search?text=${query}&size=${size}`);
}
App.js
import { queryNpmRegistry } from 'utils';
...
state = {
isShowHeader: true,
brand: {
label: 'React',
className: 'App-logo',
},
packageInfo: [],
};
...
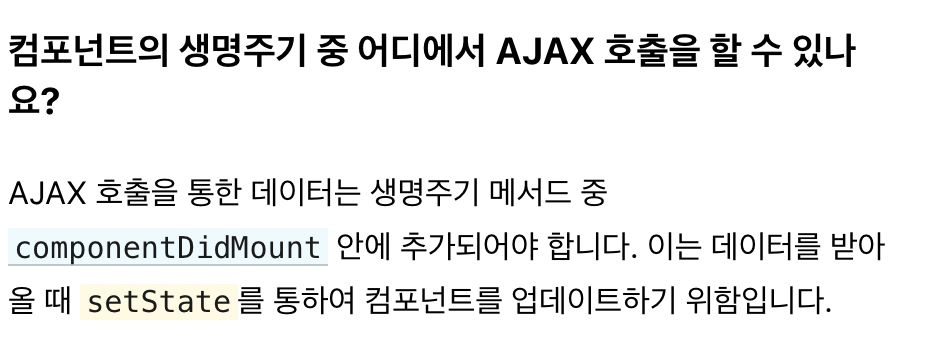
componentDidMount() {
// 네트워크 비동기 통신 요청
// 마운트 이후 시점에 요청
queryNpmRegistry({ query: 'react', size: 1 })
.then(response => response.json())
.then(({ objects }) => {
// 컴포넌트의 상태 업데이트
this.setState({
packageInfo: objects,
});
})
.catch(({ message }) => console.error(message));
}비동기 통신 후
state의 packageInfo에 담는다.
이후 가져온packageInfo를 가지고 렌더링을 위해 다음의 코드 작성
return (
  <div className='App'>
    <ErrorBoundary>
      {isShowHeader ? (
        <>
          <AppHeader brand={brand} />
          {packageInfo.length > 0
            ? packageInfo.map(({ package: { name, description } }) => {
                return (
                  <div key={name}>
                    <div>name: {name}</div>
                    <div>description: {description}</div>
                  </div>
                );
              })
            : null}
        </>
      ) : (
        '이런... 자식 노드가 없습니다.'
      )}
    </ErrorBoundary>
  </div>
);
이후 개발자도구의 element에서 살펴보면 잘 들어온 것을 확인할 수 있다.

컨테이너 컴포넌트 API 개발 실습
이번에는 간단한 API서버를 직접 localhost:5000에서 돌려서 실습
참고: https://ko.reactjs.org/docs/faq-ajax.html
우선 CRA 환경에서 프록시 설정을 위해 pacakge.json에 다음과 같은 설정을 해준다.
"proxy": "http://localhost:5000",server가 localhost:5000에서 실행중
src/api/index.js
import axios from 'axios';

export async function getTiltCard() {
  try {
    const { data } = await axios.get('/api/tiltcard');
    return data;
  } catch (error) {
    console.error(error.message);
  }
}
src/App.js
import axios from 'axios';

export async function getTiltCard() {
  try {
    const { data } = await axios.get('/api/tiltcard');
    return data;
  } catch (error) {
    console.error(error.message);
  }
}
DOM 컨트롤
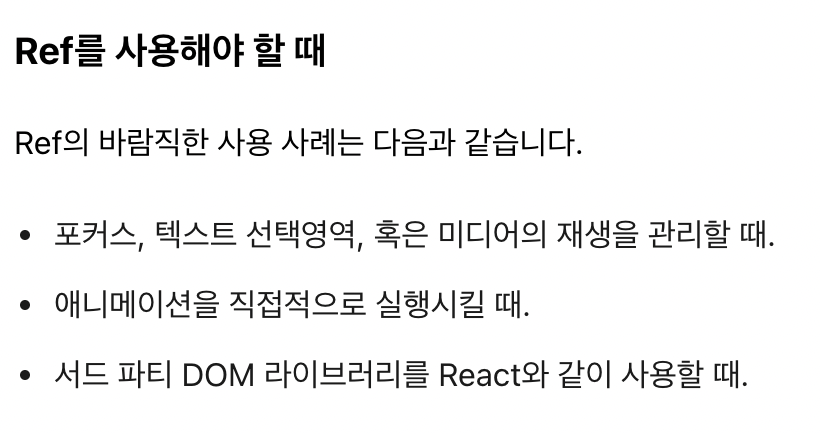
참고: https://ko.reactjs.org/docs/refs-and-the-dom.html#gatsby-focus-wrapper
접근성 관련 (ref로 virtualDOM에 직접 접근 가능함)
document.querySelector로도 접근이 가능하지만 리액트에선 ref사용을 권장(명령형 < 선언형)
TiltCard.js
/* eslint-disable */

import './TiltCard.css';
import React, { createRef } from 'react';
// import VanillaTilt from 'vanilla-tilt'

/* -------------------------------------------------------------------------- */
// 참고
// Vanilla Tilt — https://www.npmjs.com/package/vanilla-tilt
// jQuery Tilt  — https://www.npmjs.com/package/tilt.js
// React Tilt   — https://www.npmjs.com/package/react-parallax-tilt
/* -------------------------------------------------------------------------- */

// Vanilla Tilt 옵션
const tiltOptions = {
  'max': 8,
  'speed': 10,
  'perspective': 1000,
  'scale': 1.01,
  'glare': true,
  'max-glare': 0.25,
};

export class TiltCard extends React.Component {
  static defaultProps = {
    options: tiltOptions,
  };

  // DOM 요소 참조를 목적으로 Ref를 생성합니다.
  // → 코드 작성
  // 클래스 필드
  // 속성 정의 (인스턴스 멤버)
  tiltCardRef = createRef(null); // { current: null }

  // 최초 마운트 시점 이후 처리할 로직을 작성합니다.
  // → 코드 작성

  // 마운트 해제 직전에 처리할 로직을 작성합니다.
  // → 코드 작성

  render() {
    const { children } = this.props;
ㅇ
    return (
      // 생성된 Ref를 참조하도록 설정합니다.
      // { type, key, ref, props }
      <div ref={this.tiltCardRef} className="tiltCard">
        {children}
      </div>
    );
  }

  componentDidMount() {
    // console.log(this.props.index);
    // console.log(document.querySelectorAll('.tiltCard')[this.props.index]);
    // console.log(document.querySelector('.tiltCard'))
    console.log(this.tiltCardRef);
  }
}