
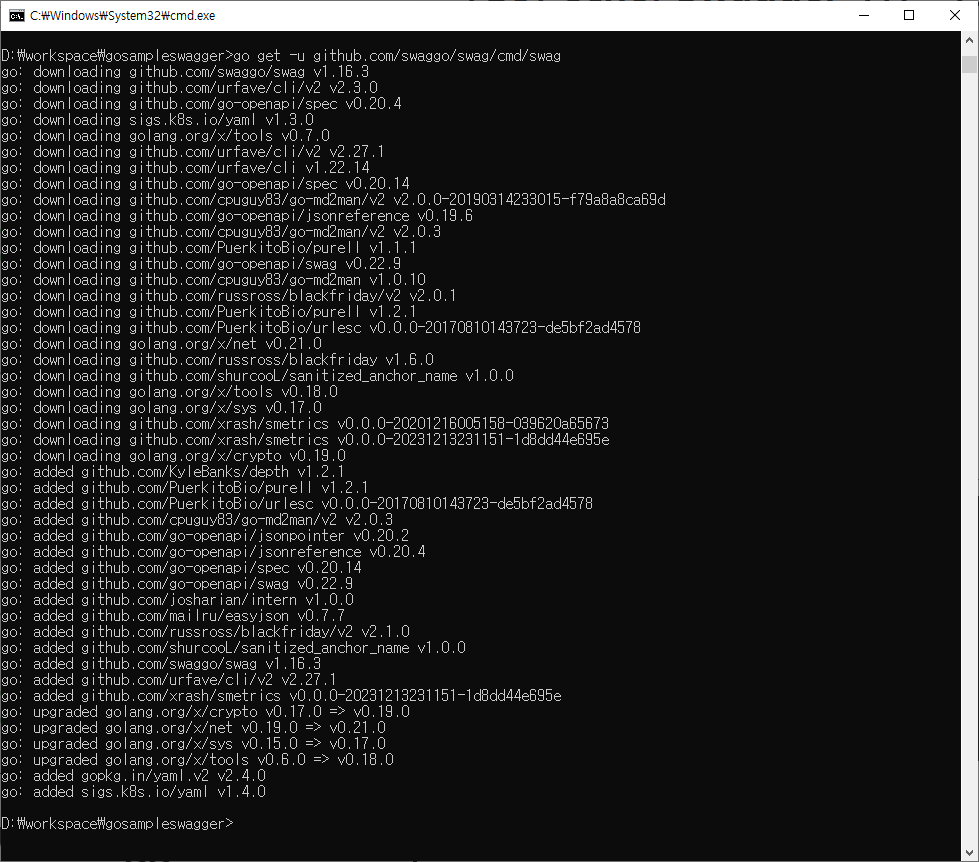
2. 이제 swagger를 설치해보자
$ go get -u github.com/swaggo/swag/cmd/swag
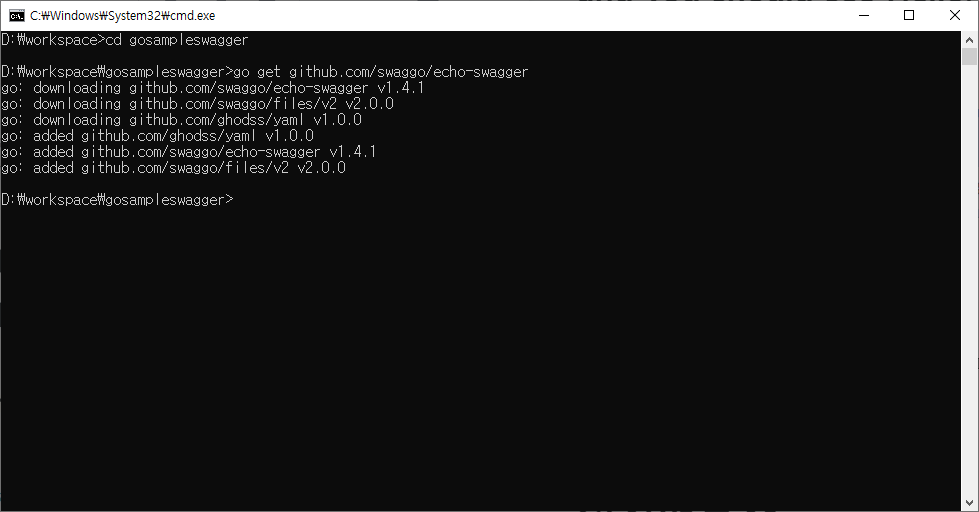
$ go get github.com/swaggo/echo-swaggerSwagger 2.0의 RESTful API 문서를 자동으로 생성해주는 swaggo/swag
Echo 프레임워크의 Middleware로 동작하여 Swagger를 사용할 수 있도록 도와주는 swaggo/echo-swagger
swagger를 사용하기 위해서 소스를 좀 수정해보겠다.
package main

import (
	_ "gosampleswagger/docs"
	"net/http"

	"github.com/labstack/echo/v4"
	"github.com/labstack/echo/v4/middleware"
	echoSwagger "github.com/swaggo/echo-swagger"
)

// Swagger 문서용 주석
// @title MyAPI
// @version 1.0
// @description This is a sample Echo API with Swagger documentation.
// @host localhost:1323
// @BasePath /
func main() {
	e := echo.New()

	// Middelware
	e.Use(middleware.Logger())
	e.Use(middleware.Recover())

	e.GET("/", func(c echo.Context) error {
		return c.String(http.StatusOK, "Hello, World!")
	})

	e.GET("/user/:name", getUserName)

	e.GET("/user", getUserId)

	e.GET("/swagger/*", echoSwagger.WrapHandler)

	e.Logger.Fatal(e.Start(":1323"))
}

// @Summary 유저를 가져온다.
// @Description 유저의 이름을 가져온다.
// @Accept json
// @Produce json
// @Param name path string true "name of the user"
// @Success 200 string name
// @Router /user/{name} [get]
func getUserName(c echo.Context) error {
	user := c.Param("name")
	return c.String(http.StatusOK, "user: "+user)
}

// @Summary 유저를 가져온다.
// @Description 유저의 ID를 가져온다.
// @Accept json
// @Produce json
// @Param id query string true "user ID"
// @Success 200 string id
// @Router /user [get]
func getUserId(c echo.Context) error {
	userId := c.QueryParam("id")
	return c.String(http.StatusOK, "userId: "+userId)
}
swag init
소스를 수정한 후 swag init을 해준다.
$ swag init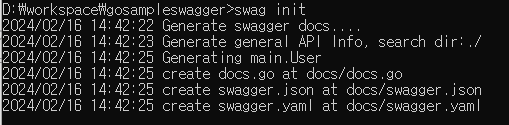
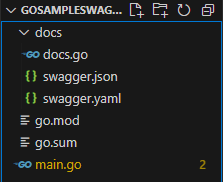
swag init 이후에 docs 폴더가 생성되었다.
swag 명령어가 제대로 적용이 안될땐 아래 명령어를 실행하자.
$ go install github.com/swaggo/swag/cmd/swag@latest💡 API 스펙의 변화가 있을 때마다 swag init을 해주어야한다.
프로젝트 git 주소 : 클릭
출처 : https://echo.labstack.com/docs/quick-start
출처 : https://github.com/swaggo/swag
출처 : https://wookiist.dev/103