이번 2차 프로젝트에서는 라이브러리를 자유로이 쓸 수 있었다(!)
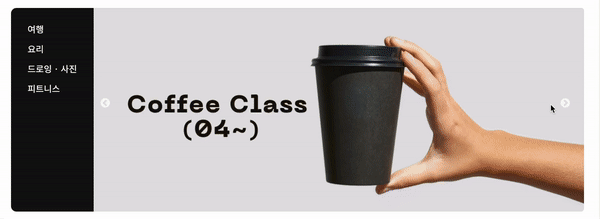
레이아웃 과정에서 구현해보고 싶었던 기능이 이미지 슬라이드 부분이었다.
1차 프로젝트 때는 라이브러리를 사용하지 않고 transformX 와 transition을 활용했는데, 이번에는 Styled Component 와 react-slick library를 활용해보았다.
✔️ 참고한 공식문서 : https://react-slick.neostack.com/
slick library 사용하는 법은 생각보다 간단하다.
공식문서 참고해서 settings 내에 내가 넣고 싶은 효과들을 적어주면 된다!
✔️ 위 main slider 부분 코드 공유
const MainSlider = () => {
  const settings = {
    slide: <Promotion />, // slide 해주고 싶은 단위
    infinite: true, //무한 슬라이더로 할지
    speed: 500,
    arrows: true, //화살표 (양옆 버튼) 구현할 것인지
    autoplay: true, //자동 재생 할 것인지
    autoplaySpeed: 5000,
    slidesToShow: 1, // 한번에 몇개 슬라이드 보여줄 것인지
    slidesToScroll: 1,
    centerMode: true,
    variableWidth: true,
    centerPadding: '0px',
  };

  return (
    <Wrapper>
      <StyledSlide {...settings}>
        <Promotion id="0" />
        <Promotion id="1" />
        <Promotion id="2" />
      </StyledSlide>
    </Wrapper>
  );
};
메인 슬라이더 style 부분. Styled Component를 활용하여 꾸며주기!
slick 내에 포함된 태그들은 개발자 도구창에서 계속 찍어가며 확인하며 원하는 스타일대로 꾸며줄 수 있다!
그리고 꼭 .slick-list 의 스타일 속성 overflow : hidden 해줄 것!
안그러면 다른 슬라이드까지 다 보여버린다.
const StyledSlide = styled(Slider)`
  position: relative;
  margin-top: 30px;
  margin-bottom: -40px;
  width: 100%;

  .slick-list {
    position: absolute;
    width: 890px;
    height: 370px;
    margin: 0 auto;
    overflow: hidden;
    top: -30px;
  }

  .slick-slider {
    display: flex;
  }

  .slick-track {
    display: flex;
    height: 100%;
  }

  .slick-dots {
    display: none !important;
  }

  .slick-arrow {
    padding: 4px 6px;
    transform: translate(30px, 150px);
    background-color: transparent;
    color: white;
    border-radius: 3px;
    cursor: pointer;
  }

  .slick-prev {
    position: absolute;
    top: -20px;
    right: -800px;
    cursor: pointer;
    z-index: 100;
  }

  .slick-next {
    position: absolute;
    top: -20px;
    left: 810px;
    cursor: pointer;
  }
`;
이부분도 위의 코드와 매우 유사하다.
  const settings = {
    slide: <Card />,
    dots: true,
    infinite: true,
    speed: 500,
    arrows: true,
    autoplay: false,
    autoplaySpeed: 2000,
    slidesToShow: 3,
    slidesToScroll: 1,
    centerMode: true,
    variableWidth: true,
    centerPadding: '0px',
  };
settings 부분에서 slide 단위와 slideToShow 개수만 다르고 동일함!
🍯 마무리
라이브러리 처음에는 사용하는 게 어색했는데 한 번 써보니까 매우 편하고 간단! 특히나 slick은 라이브러리를 사용해보지 않은 사람들도 쉽게 적용해볼 수 있도록 잘 마련되어있으니 슬라이드 구현하려면 slick library 사용해보는 것 좋을 것 같습니다! 🙂

꾸준히 성장하기🦋 https://hyodduru.tistory.com/ 로 블로그 옮겼습니다