상황
- 데이터를 줄 백엔드가 구비되어있는 상황 (5001 port 이용)
- 데이터를 불러와서 items에 넣어주고 이름,이미지를 보여주려고 한다.
useEffect(() => {
  async (orderType) => {
    try {
      let response = await axios.get(`http://localhost:5001/${orderType}`);
      setItems(response.data);
    } catch (error) {
      setError(true);
    }
  };
}, [orderType]);

// 에러 났으면
if (error) return <ErrorBanner message="에러가 발생했습니다." />;

return (
  <>
    <p>총 가격: {orderDatas.totals[orderType]}</p>
    <div>
      {items.map((item) => (
        <ItemComponents
          key={item.name}
          name={item.name}
          imagePath={item.imagePath}
        />
      ))}
    </div>
  </>
);
이때 테스트를 하기 위해서는 서버의 데이터를 불러올 수 없기 때문에 가짜 데이터를 이용해야 한다.
react 내에서 요청을 보낼 때,
- ex) get/"5001/hi" 라고 서버로 요청을 보내면 test에서는 이 요청을 등록이 되어있다면,
뺏어(?) 와서 대신 응답을 보내주고 이 값을 테스트에서 사용한다.
Mock 사용법
handler 등록
-
msw 다운로드
npm install msw --save -
handler를 array 형태로 원하는 api 요청과, 결과를 적어준다.
src/mocks/handlers.js
import { rest } from "msw";
export const handlers = [
rest.get("http://localhost:5001/products", (req, res, ctx) => {
return res(
ctx.json([
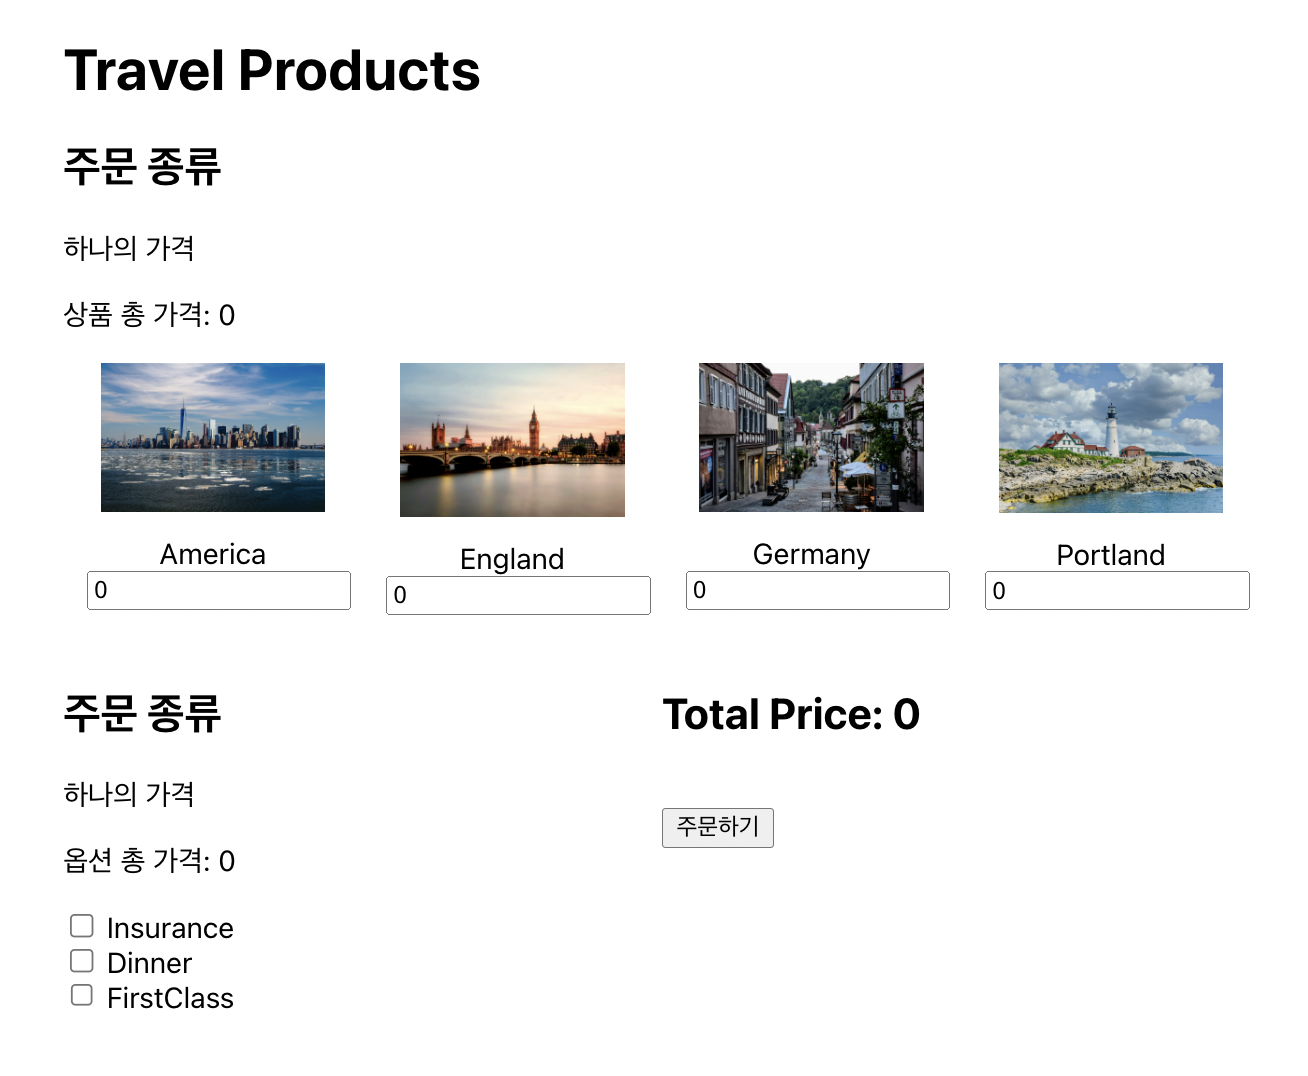
{
name: "America",
imagePath: "/images/america.jpeg",
},
{
name: "England",
imagePath: "/images/england.jpeg",
},
])
);
}),
rest.get("http://localhost:5001/options", (req, res, ctx) => {
return res(
ctx.json([
{
name: "Insurance",
},
{
name: "Dinner",
},
])
);
}),
rest.post("http://localhost:5001/order", (req, res, ctx) => {
let dummyData = [{ orderNumber: 2131234324, price: 2000 }];
return res(ctx.json(dummyData));
}),
];서버 등록 1
만들어준 핸들러를 서버로 등록해야 사용가능하다.
mocks/server.js
import { setupServer } from "msw/node";
import { handlers } from "./handlers";

// mocking server 생성
export const server = setupServer(...handlers);
서버 등록 2
만들어준 서버를 테스트에서 사용하기 위해서 root에서 등록해준다.
Root는 setupTests.js 이다
import "@testing-library/jest-dom";
import { server } from "./mocks/server";

beforeAll(() => server.listen());
afterEach(() => server.resetHandlers());
afterAll(() => server.close());- beforeAll : 전체 테스트 시작전에 서버를 켜고
- afterEach : 매 테스트 마다 핸들러를 초기화 해준다.
- afterAll : 전체 요청이 끝나면 서버를 닫는다
Test
실제로 되는지 테스트를 해보도록 한다.
이미지 확인
이미지 불러오는지 확인
더미 이미지가 두개이므로 두개를 확인한다.
test("displays product images from server", async () => {
  render(<Type orderType="products" />);
  const productImages = await screen.findAllByRole("img", {
    name: /product$/i,
  });
  expect(productImages).toHaveLength(2);

  const altText = productImages.map((element) => element.alt);
  expect(altText).toEqual(["America product", "England product"]);
});
/product$/i
$: 이 요소로 끝나는 것은 다 가져온다./i: 대소문자 안가리고 찾는다.
옵션 확인
체크박스 가져오기
옵션의 갯수가 두개인지 확인한다 (더미 2개)
test("fetch option information from server", async () => {
  render(<Type orderType="options" />);

  const optionCheckboxes = await screen.findAllByRole("checkbox");

  expect(optionCheckboxes).toHaveLength(2);
});
에러창이 뜨는지 확인
server.resetHandlers server의 핸들러를 변경하여 더미 데이터가 아닌 에러가 왔을 때,
에러창이 뜨는지 확인
test("when fetching product datas, face an error", async () => {
  server.resetHandlers(
    rest.get("http://localhost:5001/products", (req, res, ctx) => {
      return res(ctx.status(500));
    })
  );

  render(<Type orderType="products" />);

  const errorBanner = await screen.findByTestId("error-banner");
  expect(errorBanner).toHaveTextContent("에러가 발생했습니다.");
});
주경야독