- cafe24 주요 도메인 비용

- 웹 호스팅

절약형 or 일반형
일반형 하드용량 : 1.4G 웹 : 1000MB
절약형 트래픽용량: 2.5G 웹 : 1500MB
이미지를 첨부할 수 있는 공간(CDN):
설치비 : 11,000원 + 월 사용료 :1,100원
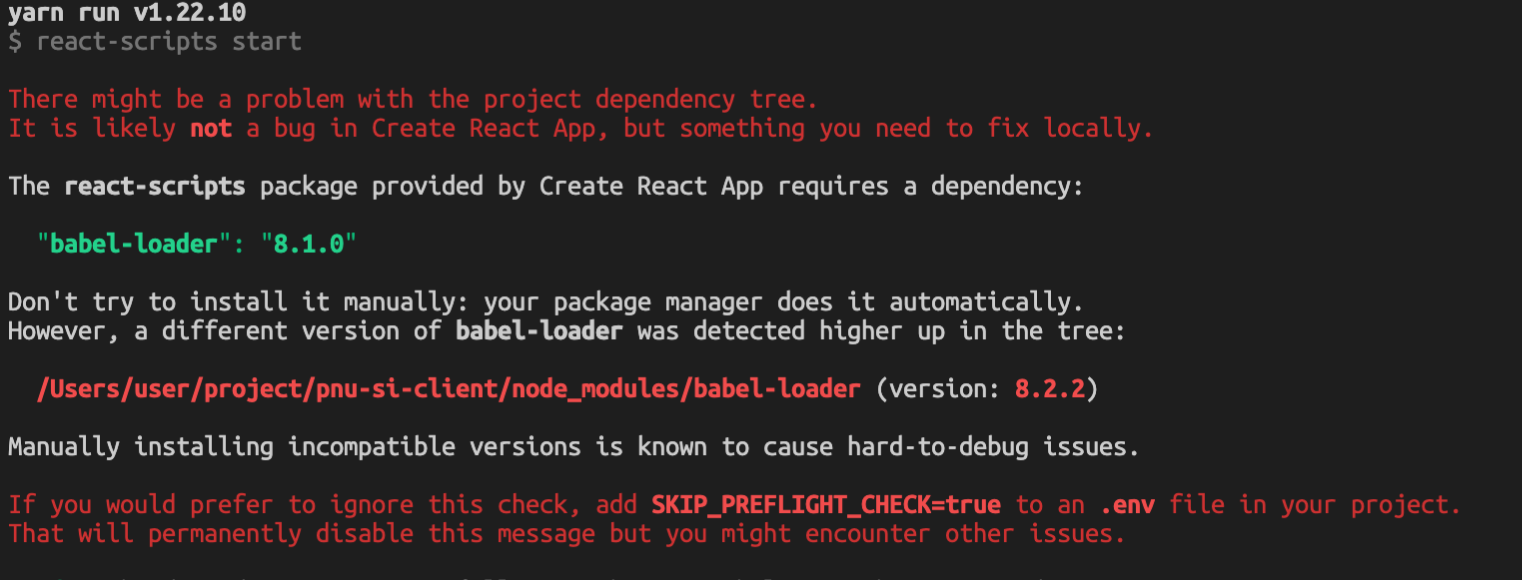
- ssh 터널링 미제공 -mysql 연결
https://support.sqlgate.com/hc/ko/articles/115004802133--MySQL-카페24에-MySQL-원격-연결-하는-방법을-알려-주세요
1. 네트워크 설정
- AZ 확보
- ap-east-2a (오하이오 리전)
오하이오 리전은 다른 리전보다 반값정도로 싸기 때문에 이용하였다.
- ap-east-2a (오하이오 리전)
2. EC2 생성 및 ssh 연결
- EC2 (Amazon Linux 2 , t2-small) 생성
- 키페어 생성
키페어를 생성하지 않으면 ssh 연결이 안되기 때문에 필수적으로 생성하여야 한다. - ssh -i 키페어 인스턴스연결
3.nodejs 설치 및 git 연결
- sudo yum update
- curl sL https://rpm.nodesource.com/setup_10.x | sudo bash -
- sudo yum install nodejs
- git clone "주소"
- UserName: harrysci@naver.com 입력
- Password: git access 토큰 입력
git access token은 기록해두는 것이 유용하다
4.nginx 설치
- sudo amazon-linux-extras install nginx1
- sudo service nginx start
- ps -ef | grep nginx 구동 확인
5. yarn build 파일 생성
주의점 : git clone 디렉 토리 안으로 들어가 실행
⇒ npm update 해줄것
node -v
nodejs 빌드 파일 최신 버전 업데이트 필요
- yarn ⇒ yarn build
- sudo cat /proc/sys/fs/inotify/max_user_watches 로 FIle watcher 확인
sudo echo fs.inotify.max_user_watches=8152 | sudo tee -a /etc/sysctl.conf && sudo sysctl -p
6. nginx 와 빌드 파일 연결
- sudo vi /etc/nginx/nginx.conf 파일 수정
include /etc/nginx/conf.d/*.conf;
include /etc/nginx/sites-enabled/*.conf;#server {
#    listen       80 default_server;
#    listen       [::]:80 default_server;
#    server_name  _;
#    root         /usr/share/nginx/html;    # Load configuration files for the default server block.
#    include /etc/nginx/default.d/*.conf;#    location / {
#    }#    error_page 404 /404.html;
#        location = /40x.html {
#    }#    error_page 500 502 503 504 /50x.html;
#        location = /50x.html {
#    }
#}- conf 파일 Slink로 연결
sudo mkdir /etc/nginx/sites-available
$ sudo mkdir /etc/nginx/sites-enabled.
$ sudo vi /etc/nginx/sites-available/#######.conf
server {
  listen 80;  location / {
    root /home/ec2-user/#######/#######/build;
    index index.html index.htm;
    try_files $uri $uri/ /index.html;
  }
}
$ sudo ln -s /etc/nginx/sites-available/#######.conf /etc/nginx/sites-enabled/#######.conf
$ sudo nginx -t
- nginx 연결 확인 후 실행
nginx: the configuration file /etc/nginx/nginx.conf syntax is ok
nginx: configuration file /etc/nginx/nginx.conf test is successful
sudo systemctl start nginx