
사용자 입력폼을 여러 단계로 작성할 수 있는 부분을 레이어 팝업식으로 띄어지는것이 아닌, 브라우저 상에서도 뒤로가기, 앞으로 가기가 가능한 랜딩페이지 형식으로 만들고 싶었다.
아래와 같은 사항때문이었다.
- 4개의 페이지로 분리하면 페이지 이동 시 이전에 입력한 사용자의 입력값이 날아감
- 처음엔
sessionStorge(링크) 를 사용해서 페이지마다 데이터를 저장하려 시도했으나, 주민등록번호 등 예민한 정보도 포함되어있는 경우 고려
- 처음엔
- spa 환경처럼 페이지전환이 부드럽지 않고 단계마다 페이지를 이동시 깜박거리는 현상 발생
별도로 페이지마다 데이터를 저장하는것이 아닌, form 양식 안에서 입력값들을 한꺼번에 제출할 수 있기 때문에 앞서 말한 방식으로 진행하고 싶었다.
하지만 생각보다 간단한 해결책이 있었으니, 바로 swiper 의 hashNavigation 옵션을 사용하는 것이었다. 해당 옵션을 사용하면 위의 고려사항들이 모두 충족될 수 있었다. (swiper 에 이런 기능이 있는지도 몰랐고, a 태그로 링크 이동을 하는 방법을 생각해보지못한 내가 아쉬웠다 😓)
- swiper 의 next, prev 버튼 뿐만 아닌 브라우저상 뒤로가기, 앞으로 가기 버튼을 눌러도 페이지 이동이 가능
#를 사용하기 때문에 새로고침 발생이 되지 않고 각 단계에서의 사용자 정보가 보존됨
<div class="participant swiper-container">
<div class="swiper-wrapper">
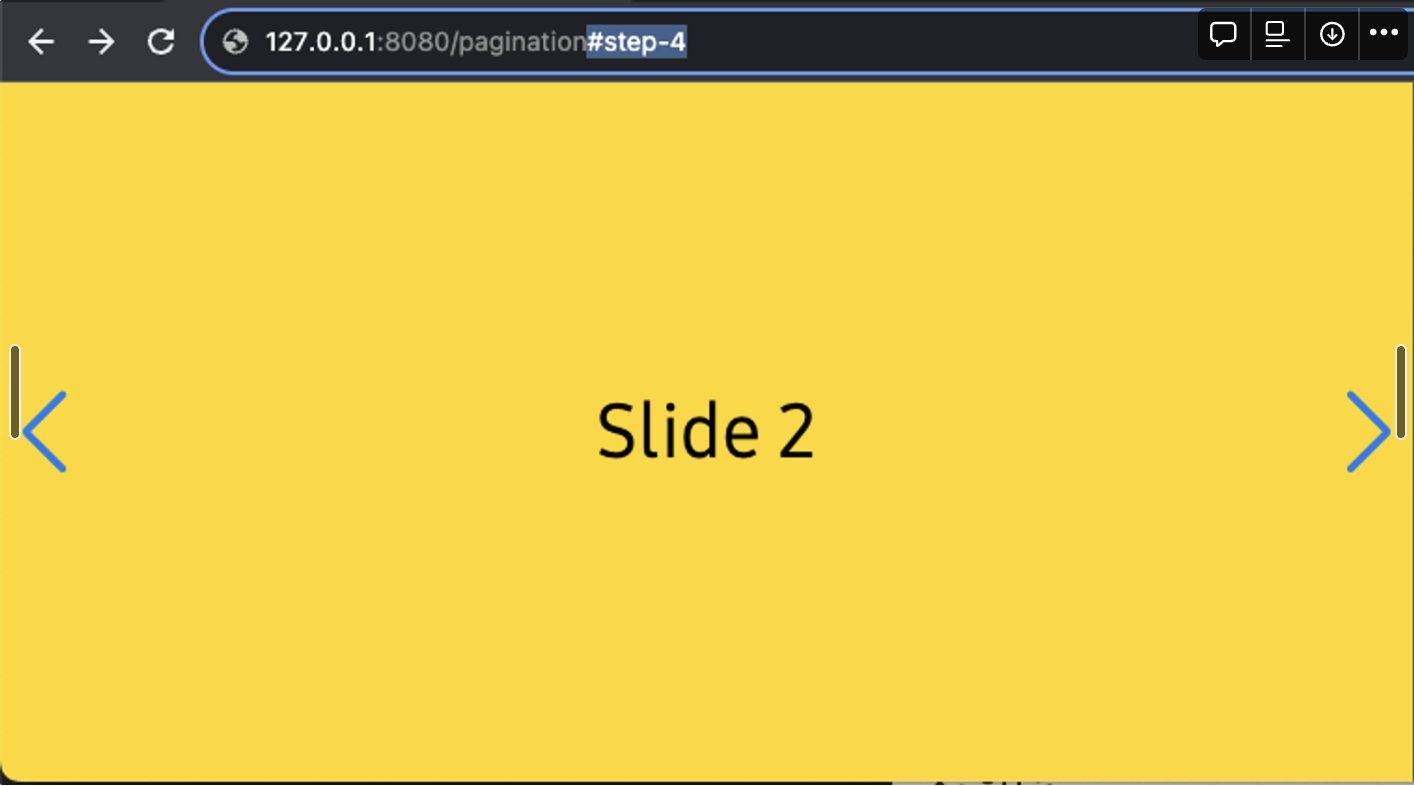
<div class="swiper-slide" data-hash="step-1">Slide 1</div>
<div class="swiper-slide" data-hash="step-2">Slide 2</div>
<div class="swiper-slide" data-hash="step-3">Slide 3</div>
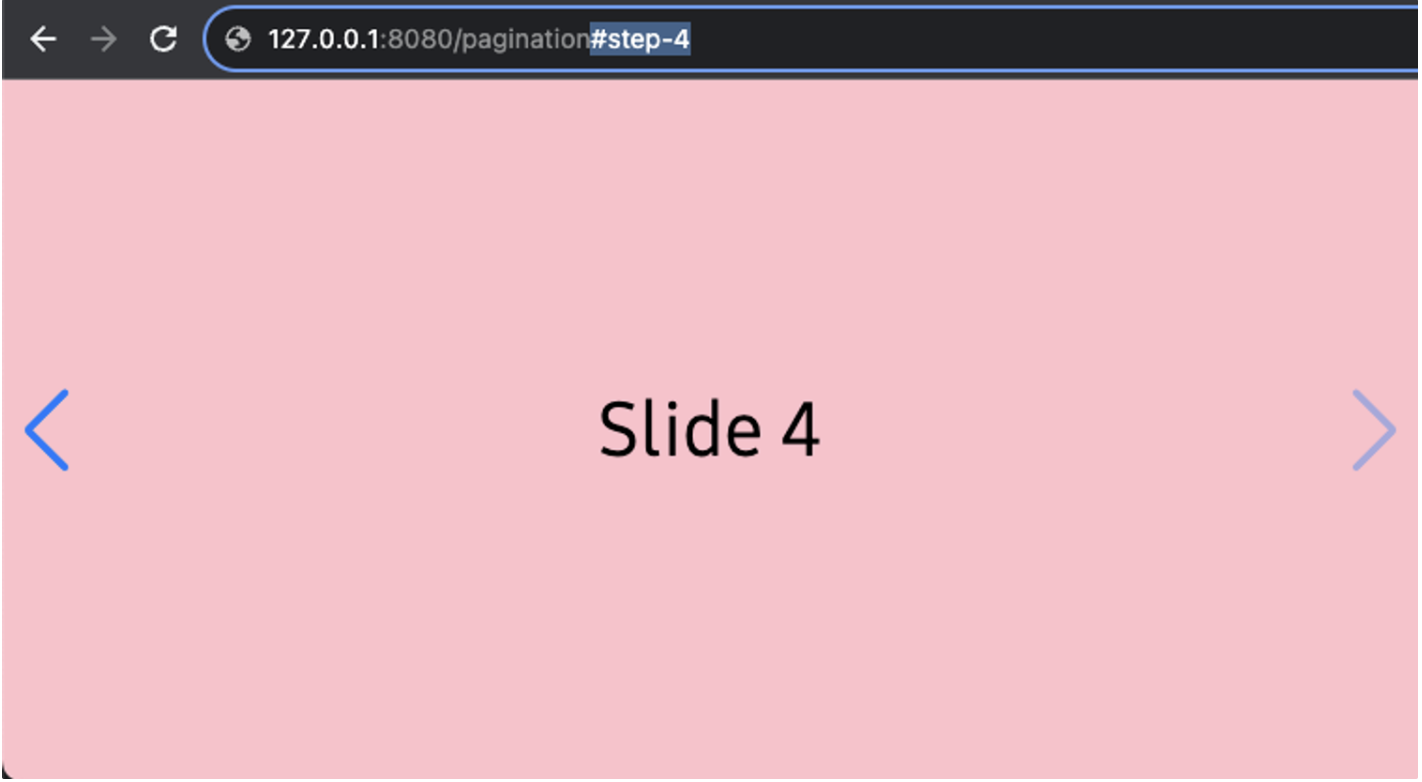
<div class="swiper-slide" data-hash="step-4">Slide 4</div>
</div>
<div class="swiper-button-next"></div>
<div class="swiper-button-prev"></div>
</div><script>
const participantSwiper = new Swiper('.participant', {
fadeEffect: {
crossFade: true
},
hashNavigation: {
watchState: true,
},
navigation: {
nextEl: '.swiper-button-next',
prevEl: '.swiper-button-prev',
},
});
</script>🚨 문제 발생 & 해결
슬라이드처럼 보이지 않고 페이지가 전환되는 것처럼 보이도록 effect 효과를 빼고 싶었는데, 해당 방법은 보이지 않아 effect : 'fade' 효과를 준 후 다음의 css 를 추가했다.
.swiper-container .swiper-wrapper .swiper-slide {
    transition: opacity 0s !important;
}
그랬더니 슬라이드가 넘어갈 때 효과가 없이 휙휙 페이지처럼 전환되도록 하는것이 성공했다.
하지만 위의 css 를 적용하니 어째서인지 hashNavigation 가 작동하지 않는것이었다.😱
그래서 hashNavigation 옵션을 사용하는 대신 아래처럼 직접 해시를 스크립트를 작성해보았다.
- 슬라이드가 바뀌면 활성화된 슬라이드의 data-hash 가 url 의 해시(#)로 추가
- url 로 접근시 이전 단계를 건너뛰고 폼을 작성할 수 있기 때문에 초기 로딩 시에는 항상 슬라이드가 첫번째로 설정
- 브라우저 앞/뒤로가기 버튼을 통해 url 의 해시(#)가 바뀌면 해시의 값에 따라 슬라이드도 활성화
const participantSwiper = new Swiper('.participant', {
  effect : 'fade',
  fadeEffect: {
    crossFade: true
  },
  // hashNavigation: {
  //   watchState: true,
  // },
  navigation: {
    nextEl: '.swiper-button-next',
    prevEl: '.swiper-button-prev',
  },
  on: {
    slideChange: function (e) { // 슬라이드의 변화에 따라 url 해시값 수정
      const activeSlide = participantSwiper.slides[participantSwiper.activeIndex];
      const dataHash = activeSlide.getAttribute('data-hash');

      // 현재 URL에 #와 함께 data-hash를 추가
      window.location.hash = dataHash;
    }
  }
});

function setActiveSlideByHash(action) {
	if (action === 'load') { // 초기 로딩 시 항상 첫번쩨 슬라이드여야함
    window.location.hash = 'step-1';
  } else {
		// 현재 URL의 해시 값을 가져와 해당 슬라이드로 이동
    const hash = window.location.hash.replace('#', '');
    const slideIndex = participantSwiper.slides.findIndex((slide) => slide.getAttribute('data-hash') === hash);

		// hash와 일치하는 data-hash를 가진 슬라이드가 발견되지 않은 경우
    if (slideIndex !== -1) {
      participantSwiper.slideTo(slideIndex);
    }
  }
}

	// 브라우저의 뒤로가기 및 앞으로가기 버튼을 처리
window.addEventListener('popstate', function () {
	setActiveSlideByHash('popstate');
});

	// 초기 로딩 시 URL의 해시값을 확인하고 해당 슬라이드로 이동
window.addEventListener('load', function () {
	setActiveSlideByHash('load');
});
예전엔 특정 요소의 index 를 찾을 때 find() 메서드를 사용 후 그 안에서 index 값을 또 구했는데, 그럴 필요 없는 findIndex() 라는 메서드가 있다는 것을 뒤늦게 기억했다..!
그리고 오히려 좋아진 점이, hashNavigation 를 썼을 땐 뒤로가기가 무조건 이전 슬라이드로 가는것이 아닌, prev, next 버튼을 통해 들렀던 슬라이드로 전환되기 때문에 뒤죽박죽 되었던 반면,
(예: 두번째 슬라이드에서 뒤로가기를 누르면 보통 첫번째 슬라이드로 가야하는데, swiper 의 prev 나 next 버튼을 사용했던 내역때문에 세번째 슬라이드로 이동하는 경우)
해당 함수를 사용하면 내가 이전에 어떤 슬라이드를 들렀건 무조건 현재 슬라이드에서 한칸 이전 슬라이드로 이동하기 때문에 더 편해졌다.
정상작동하는 것 까지 확인 완료 😘
+ 추가
noSwiping옵션을 주어 마우스로 드래그하여 슬라이드를 움직이는 것을 막아주었다.- 전체 슬라이드 중 현재 활성화된 슬라이드의 번호도 표시해주었다. (
2 / 4,3 / 4… 의 형태로)
<div class="participant swiper-container">
  <div class="swiper-wrapper"...>

	<div class="btn-wrap">
    <div class="slide-info">1 / 4</div>
    <div class="swiper-button-next"></div>
    <div class="swiper-button-prev"></div>
  </div>

</div>
const participantSwiper = new Swiper('.participant', {
// ...이전 코드
// 마우스 드래그 동작으로 인한 슬라이딩 방지
noSwiping: true,
noSwipingClass: 'swiper-slide',
// 슬라이드 번호 표시
on: {
slideChange: function () {
// ...이전 코드
// 현재 활성화된 슬라이드 번호 표시
const activeSlideIndex = participantSwiper.activeIndex + 1; // 현재 활성화된 슬라이드 번호
const totalSlides = participantSwiper.slides.length; // 총 슬라이드 수
const text = activeSlideIndex + ' / ' + totalSlides;
document.querySelector('.slide-info').textContent = text;
}
}
}
let totalSlides = participantSwiper.slides.length; // 총 슬라이드 수
let slideInfo = document.querySelector('.slide-info');
slideInfo.textContent = `1 / ${totalSlides}`;+ 슬라이드 effect 해결
swiper 에 슬라이드 속도를 조절해주는 speed 라는 옵션을 주면 앞서 주었던 css 수정, effect 옵션 추가 등 복잡한 추가 작업 없이 바로 효과가 없는 페이지 전환 슬라이드를 줄 수 있었다..!
하지만 hashNavigation 를 쓰면 초기 로딩 시 url 이 첫번째 해시로 지정되지 않는 버그가 있어 계속 안쓰고 그냥 slideChange 의 코드를 그대로 썼다.
- opacity transition 을 0 으로 줬던 css 삭제
- swiper 의 옵션 effect, fadeEffect 삭제
- swiper 의 옵션 speed 를 0으로 설정
const participantSwiper = new Swiper('.participant', {
  speed: 0, ...
최종 코드:
const participantSwiper = new Swiper('.participant', {
  speed: 0,
  // hashNavigation: {
  //   watchState: true,
  // },
  noSwiping: true,
  noSwipingClass: 'swiper-slide',
  spaceBetween: 30,
  navigation: {
    nextEl: '.swiper-button-next',
    prevEl: '.swiper-button-prev',
  },
  on: {
    slideChange: function (e) { // 슬라이드의 변화에 따라 url 해시값 수정
      const activeSlide = participantSwiper.slides[participantSwiper.activeIndex];
      const dataHash = activeSlide.getAttribute('data-hash');
      // 현재 URL에 #와 함께 data-hash를 추가
      window.location.hash = dataHash;

      // 현재 활성화된 슬라이드 번호 표시
      const activeSlideIndex = participantSwiper.activeIndex + 1; // 현재 활성화된 슬라이드 번호
      const totalSlides = participantSwiper.slides.length; // 총 슬라이드 수
      const text = activeSlideIndex + ' / ' + totalSlides;
      document.querySelector('.slide-info').textContent = text;
    }
  }
});

// 초기 슬라이드 -> 현재 슬라이드 번호 / 총 슬라이드 수
let totalSlides = participantSwiper.slides.length; // 총 슬라이드 수
let slideInfo = document.querySelector('.slide-info');
slideInfo.textContent = `1 / ${totalSlides}`;

function setActiveSlideByHash(action) {
  if (action === 'load') {
    window.location.hash = 'step-1';
  } else {
    const hash = window.location.hash.replace('#', '');
    const slideIndex = participantSwiper.slides.findIndex((slide) => slide.getAttribute('data-hash') === hash);
    if (slideIndex !== -1) { // hash와 일치하는 data-hash를 가진 슬라이드가 발견되지 않은 경우
      participantSwiper.slideTo(slideIndex);
    }
  }
}

// 브라우저의 뒤로가기 및 앞으로가기 버튼을 처리
window.addEventListener('popstate', function () {
  setActiveSlideByHash('popstate');
});

// 초기 로딩 시 URL의 해시값을 확인하고 해당 슬라이드로 이동
window.addEventListener('load', function () {
  setActiveSlideByHash('load');
});