
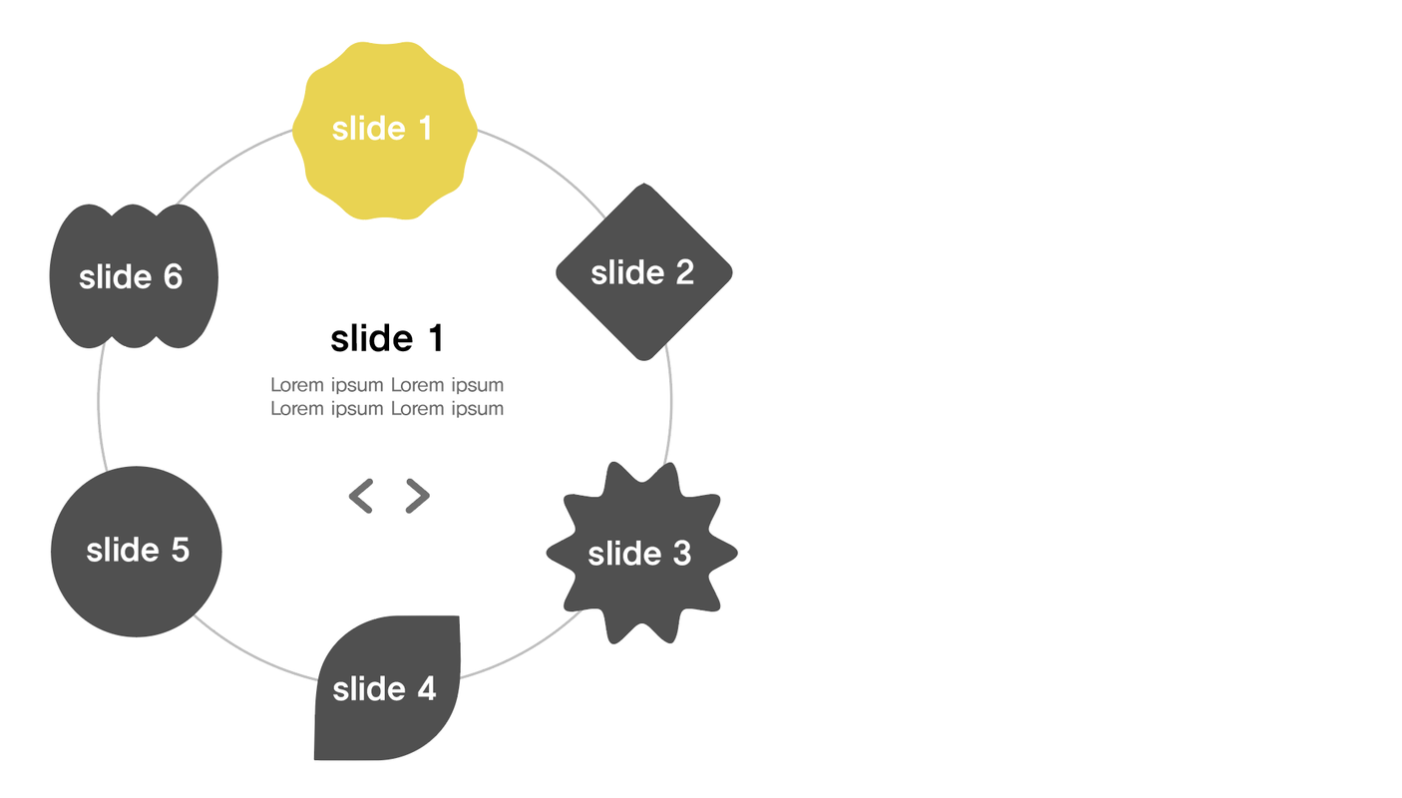
pagination의bullets요소를 css 커스텀 하는것이 아닌, 특이한 모양의 아예 다른 버튼을pagination으로 만들고 싶어svg를 사용했다.
하지만 많은 난관이 있었는데, 기존 내장된pagination을 쓴다면 스타일만 바꾸면 되지만 아예 다른 요소를 버튼으로 사용해야했기 때문에 따로 스크립트를 추가해주어야 했다.
- prev, next 버튼 작동 & pagination 작동
svg 로 변환
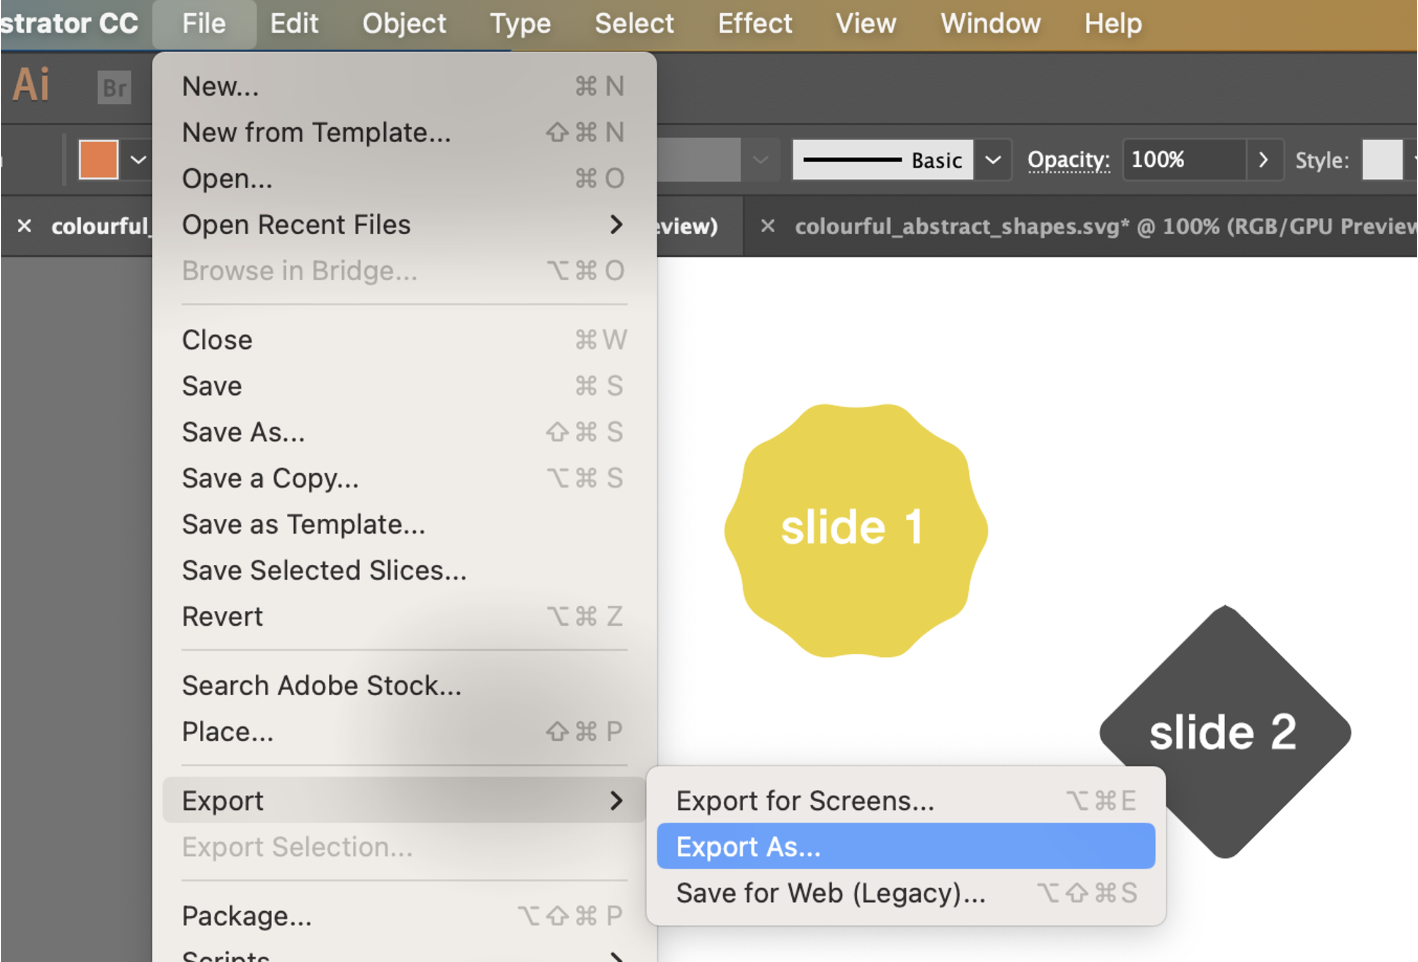
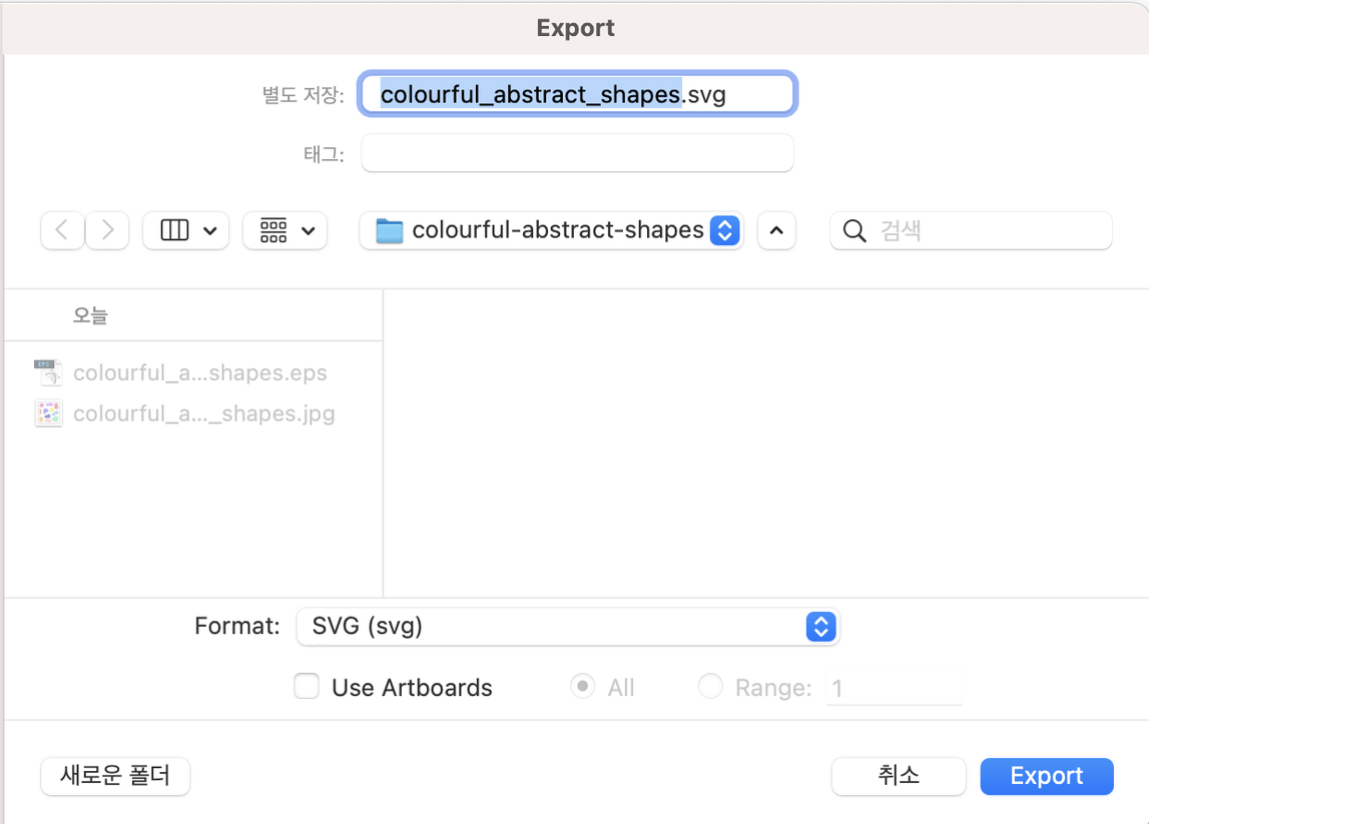
우선 svg 파일을 생성해볼 것이다. 일러스트에서 각기 다른 버튼들을 뭉탱이로 벡터화하여 아트보드 안에 담고, 이를 svg 로 확장하여 다운로드해준다.
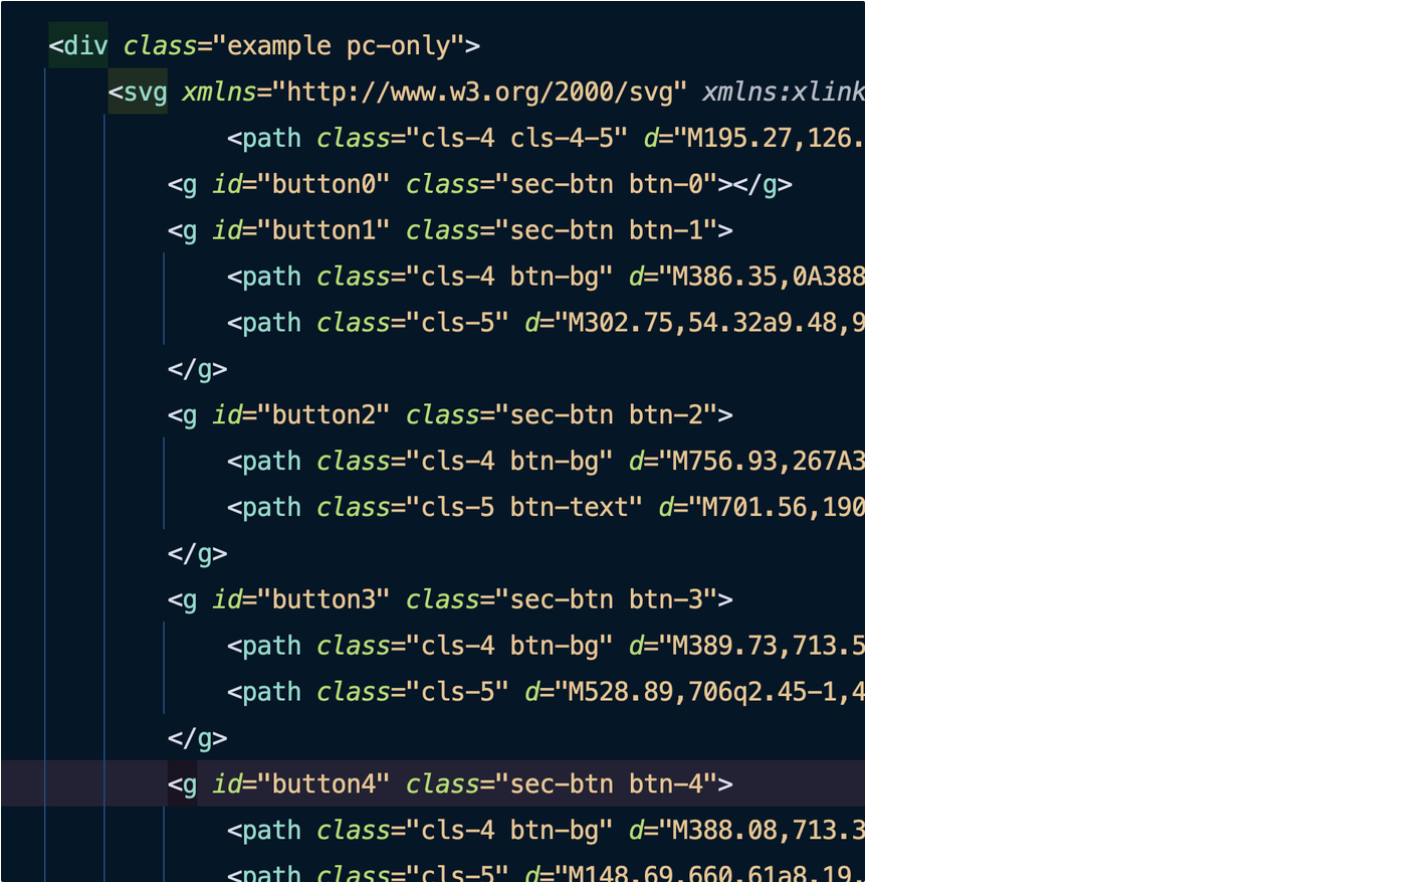
해당 파일을 크롬창 상단바에 끌어당기면 이렇게 svg 가 어떻게 생성되었는지 태그까지 알 수 있다.
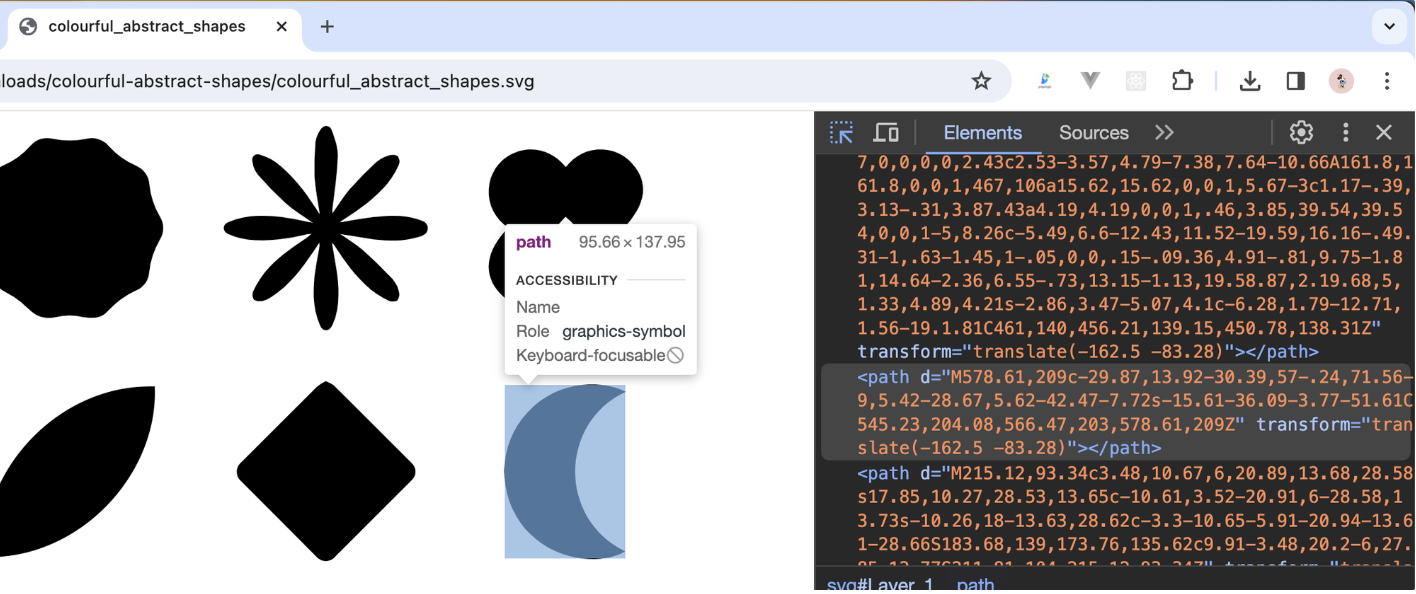
svg 는 태그상에서 배경색, 요소의 색 등을 커스텀할 수 있는 장점이 있는데, 다만 가독성이 너무 안좋아 <g> 태그를 사용하여 class 와 id 를 주어 공통된 요소끼리 path 를 그룹화 해보았다.
⇒ sec-btn 요소들을 클릭하면 스와이퍼의 슬라이더가 그에 따라 작동되게끔 구현을 목표
html & 스크립트
<div class="example pc-only">
	<!-- svg 태그 -->
	<svg xmlns="http://www.w3.org/2000/svg"... </svg>
	<!-- swiper -->
	<div class="example-wrap">
      <div class="swiper container2">
          <div class="swiper-wrapper">
              <div class="swiper-slide">page 1</div>
              <div class="swiper-slide">page 2</div>
              <div class="swiper-slide">page 3</div>
              <div class="swiper-slide">page 4</div>
              <div class="swiper-slide">page 5</div>
              <div class="swiper-slide">page 6</div>
          </div>
          <div class="circle-btn">
            <button class="btn-prev">이전</button>
            <button class="btn-next">다음</button>
          </div>
          <div class="swiper-pagination"></div>
      </div>
  </div>
</div>
// 스와이퍼 기본 스크립트
const mySwiper = new Swiper('.container2', {
effect: 'fade',
loop: true,
slidesPerView: 1,
navigation: {
nextEl: '.circle-btn .btn-next',
prevEl: '.circle-btn .btn-prev',
},
pagination: {
el: '.swiper-pagination',
clickable: true,
},
});내장된 이벤트 객체를 적극 활용하자..
처음엔 Swiper 의 클래스(swiper-slide-active)만 이용하면 조작할 수 있을것이라 생각했지만, 해당 클래스 뿐만아니라 매번 바뀌는 swiper-slide-prev 와 swiper-slide-next 라는 클래스, 그리고 계속 바뀌는 slider 들의 태그상 순서때문에 굉장히 노가다로 코드를 작성했다.
하지만 굉장히 바보같은 행위였고, Swiper 의 이벤트 객체나 내장함수를 활용하면 훨씬 간편하게 기능을 커스텀 할 수 있다는 것을 알게되어 몇 시간에 걸쳐진 코드를 무참히 다 지웠다..
// 추가 스크립트

// 스와이퍼 페이지 이동 시 해당 버튼 active 적용
const $$circleBtn = document.querySelectorAll('.example .sec-btn');
const $$swiperBullets = document.querySelectorAll('.example .swiper-pagination-bullet');

// 슬라이드 페이지에 따른 버튼 활성화(mySwiper.activeIndex 작동 오류로 pagination 사용)
mySwiper.on('slideChange', function (e) {
  // console.log('슬라이드 ----')
  const mySwiperPagination = e.pagination.bullets;
  let activeIndex = 0;

  mySwiperPagination.forEach((bullet, bulletIndex) => {
    if (bullet.classList.contains('swiper-pagination-bullet-active')) {
      activeIndex = bulletIndex;
    }
  });

  $$circleBtn.forEach((btn, index) => {
    btn.classList.toggle('active', index === activeIndex);
  });
});
// svg 버튼 클릭 시 페이지 활성화 (slideTo() 작동 오류로 pagination bullet 버튼 강제 클릭 유도)
$$circleBtn.forEach((btn, index) => {
  btn.addEventListener('click', () => {
    // console.log('버튼 클릭 ----')
    let needToClick;
    $$swiperBullets.forEach((bullet, bi) => {
      if (bi === index) {
        needToClick = bullet;
      }
    });

    if (needToClick) {
      needToClick.click(); // 클릭 이벤트 실행
    } else {
      console.log('해당 인덱스를 가진 요소를 찾을 수 없습니다.');
    }
  });
});
슬라이드에 따른 버튼 활성화
활성화된 슬라이드의 index 값에 따라 해당하는 index 의 svg 버튼 또한 active 클래스를 주어 활성화시키려했다. 여기서 Swiper 의 이벤트 객체 중 activeIndex 라는게 있었는데, 현제 활성화된 슬라이더의 index 값을 반환해주는 것이었다.
mySwiper.on('slideChange', function (e) { 에서 console.log(e) 로 로그를 찍어보면 다음과 같이 나온다.

🚨 문제 발생
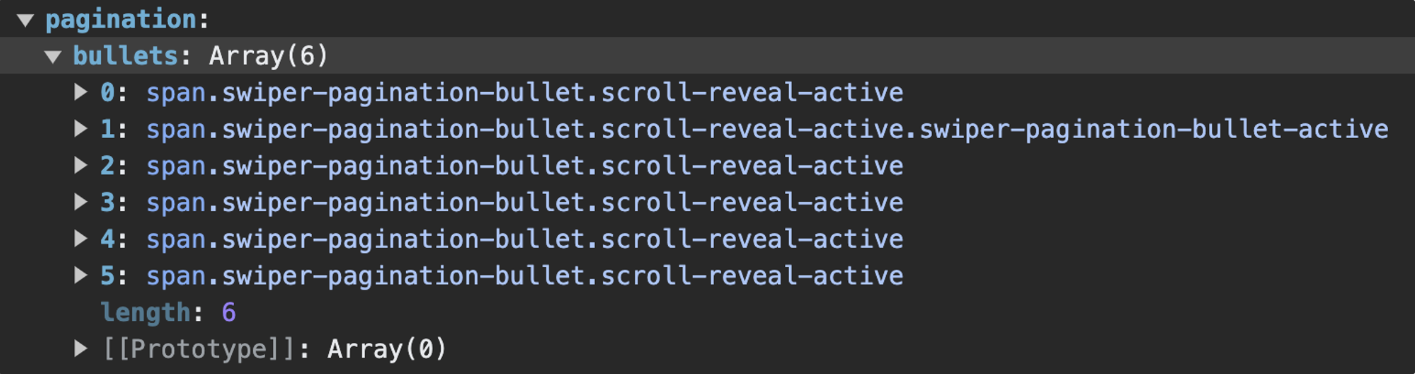
하지만 문제가 있었다. 스와이퍼에 loop 옵션을 준 상태라 끝에서 다음 버튼을 누르면 다시 처음으로 돌아가게끔 했는데, 마지막 index(5) 에 있는 상태에서 next 버튼을 눌러도 activeIndex 가 0이 되지 않고 계속 마지막 index 값을 유지하는 것이었다ㅠ 그에 대한 차선책으로 다른 객체 요소인 pagination 을 이용하게 되었다. pagination 의 bullets 배열요소들이 있고, 그 안에서 현재 활성화된 요소의 index 를 알 수 있었다.
const mySwiperPagination = e.pagination.bullets;
let activeIndex = 0;

mySwiperPagination.forEach((bullet, bulletIndex) => {
  if (bullet.classList.contains('swiper-pagination-bullet-active')) {
    activeIndex = bulletIndex;
  }
});

$$circleBtn.forEach((btn, index) => {
  btn.classList.toggle('active', index === activeIndex);
});
+ 해결
그 원인을 알게되었다. Swiper 에서 loop 가 true 인 상태에서는 realIndex 을, false 인 상태에서는 activeIndex 를 사용하는 것이었다..! 위의 길고 복잡한 코드가 아래와 같이 간단해졌다 🥹
const activeIndex = e.realIndex;

$$circleBtn.forEach((btn, index) => {
  btn.classList.toggle('active', index === activeIndex);
});
참고: https://uiweb.tistory.com/46
이후 mySwiper 객체의 on 속성으로 해당 스크립트를 넣었다. (on: { slideChange: function (e) {})
버튼 클릭시 슬라이드 활성화
반대로 svg 버튼을 클릭할 시 해당하는 슬라이드가 활성화되도록 해보았다. 그 중 slideTo() 라는 함수가 있었는데, ()안에 index 값(0부터 시작)을 입력하면 해당 index 로 슬라이드가 활성화되는 것이었다.
svg 버튼에 addEventListener 로 클릭이벤트를 주어 클릭한 index 값으로 slideTo() 를 실행시켰다.
🚨 문제 발생
$$circleBtn.forEach((btn, index) => {
  btn.addEventListener('click', () => {
    mySwiper.slideTo(index)
		console.log('index: ', index)
  });
});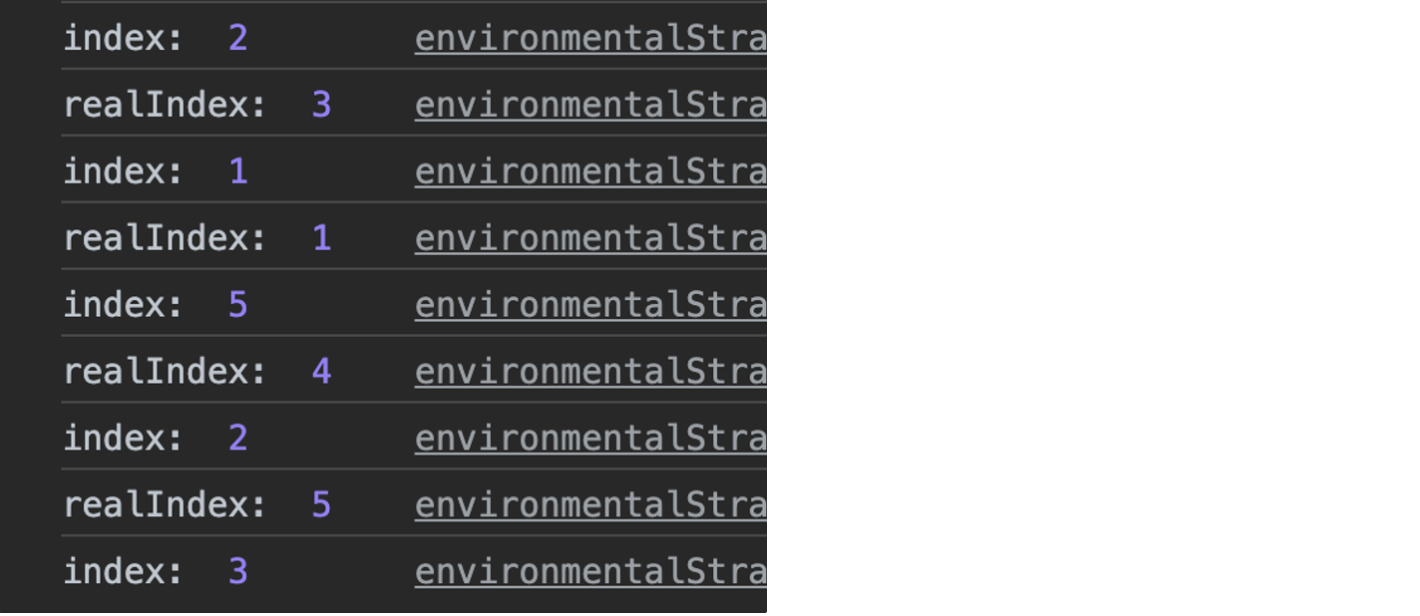
버튼을 클릭해도 클릭한 버튼의 index 와 다른 엉뚱한 버튼과 슬라이드가 활성화되어 콘솔을 확인해보니 index 값과 realIndex 의 값이 다르게 나오는 것을 확인할 수 있다ㅠ 원인을 알고싶었지만 찾을 수 없었고 결국 다른 방법을 생각했다.
pagination 버튼들은 해당 슬라이드들이 활성화되는 등 잘 작동하기 때문에, svg 버튼을 클릭하면 그와 똑같은 index 값을 가진 pagination 의 bullet 이 강제로 클릭되게끔 스크립트를 구현했다.
(pagination 은 css 로 hidden 처리)

$$circleBtn.forEach((btn, index) => {
  btn.addEventListener('click', () => {
    let needToClick;
    $$swiperBullets.forEach((bullet, bi) => {
      if (bi === index) {
        needToClick = bullet;
      }
    });

    if (needToClick) {
      needToClick.click(); // 클릭 이벤트 실행
    } else {
      console.log('해당 인덱스를 가진 요소를 찾을 수 없습니다.');
    }
  });
});
위와 같이 구현했더니 버튼, 슬라이드 모두 정상적으로 기능을 하였다.
+ 해결
원인을 찾았다.! loop 일 땐 slideToLoop() 를 사용해야했다.
https://stackoverflow.com/questions/60401044/swiper-slider-slideto-method-with-loop
최종 코드: (반응형x)
const mySwiper = new Swiper('.container2', {
  effect: 'fade',
  loop: true,
  slidesPerView: 1,
    navigation: {
        nextEl: '.circle-btn .btn-next',
        prevEl: '.circle-btn .btn-prev',
    },
  pagination: {
    el: '.swiper-pagination',
    clickable: true,
  },
  on: { // 슬라이드에 따른 svg 버튼 활성화
      slideChange: function (e) {
          const activeIndex = e.realIndex;
          $$circleBtn.forEach((btn, index) => {
              btn.classList.toggle('active', index === activeIndex);
          });
      }
  }
});

// 스와이퍼 페이지 이동 시 해당 버튼 active 적용
const $$circleBtn = document.querySelectorAll('.example .sec-btn');

// svg 버튼 클릭 시 페이지 활성화
$$circleBtn.forEach((btn, index) => {
  btn.addEventListener('click', () => {
    mySwiper.slideToLoop(index)
  });
});
화면 resize 에 따른 swiper 적용
반응형 스와이퍼를 만들기 위해 다음과 같이 코드를 작성한 상황이다.
- 위의 스와이퍼를 pc, mobile 화면에 따라 형태를 다르게 줌 ⇒ mobile 버전의 경우 svg 형태만 다르게 적용
- 동일한 기능을 가지고 있기 때문에 pc, mobile 둘 다 똑같은 Swiper 객체를 적용했지만, 한쪽이 스와이퍼 기능을 제대로 수행하지 못해 각각
mySwiper,mySwiper2이렇게 두 개의 Swiper 객체로 따로 적용 - resize 되었을 때 콜백함수 생성
window.addEventListener('resize', init); - pc 의 svg 버튼과 모바일의 svg 버튼이 다르기 때문에 화면이 resize 될 때 버튼 요소를 변수에 각각 다르게 할당
🚨 문제 발생 & 해결
pc, 모바일 버전으로 화면 크기를 바꿀 때 바껴진 후 swiper 가 제대로 작동하지 않는 문제가 생겼다. 이는 금방 해결되었는데, 스와이퍼에 적용되는 element 가 바뀔 때마다 swiper.update() 를 실행하여 swiper 를 갱신해주는 것이었다.
참고:
https://ducklett.tistory.com/3
https://velog.io/@1000peach/Error-swiper-content-update-시-정상적으로-스와이프-되지-않는-현상-bwx2j0jm
mySwiper.update()resize 콜백 함수 안에서 버튼 element 가 할당될 때 스와이퍼도 같이 갱신해주었다.
최종 코드: (반응형o)
let $$circleBtn;
const swiperOptions = {
  effect: 'fade',
  loop: true,
  slidesPerView: 1,
  navigation: {
    nextEl: '.circle-btn .btn-next',
    prevEl: '.circle-btn .btn-prev',
  },
  pagination: {
    el: '.swiper-pagination',
    clickable: true,
  },
  on: {
    slideChange: function (e) {
      const activeIndex = e.realIndex;
      $$circleBtn?.forEach((btn, index) => {
        btn.classList.toggle('active', index === activeIndex);
      });
    }
  }
}

// pc
const mySwiper2 = new Swiper('.container2', swiperOptions);

// mo
const mySwiper = new Swiper('.container', swiperOptions);

function initializeVariables() {
  if (isMobile()) {
    $$circleBtn = document.querySelectorAll('.example .sec-btn');
    mySwiper.update()
    clickBtn($$circleBtn, mySwiper);
  } else {
    $$circleBtn = document.querySelectorAll('.example2 .sec-btn');
    mySwiper2.update()
    clickBtn($$circleBtn, mySwiper2);
  }
}

document.addEventListener('DOMContentLoaded', initializeVariables);
window.addEventListener('resize', initializeVariables);

// svg 버튼 클릭 시 페이지 활성화
function clickBtn(btns, swiper) {
  btns.forEach((btn, index) => {
    btn.addEventListener('click', () => {
      swiper.slideToLoop(index);
    });
  });
}