https://e-7-e.tistory.com/
철희쌤 티스토리다 박제!
AgGrid.html
자체개발한 엔진으로 출력 할때 상당히 빠르다
다만 유료서비스..
대신 csv를 활용해서 내용을 다운받을 수 있다.

그리드에서 제공해주는 내용을 가져다 샘플로 사용 할 수 있다.
js 브라우져가 없기 때문에
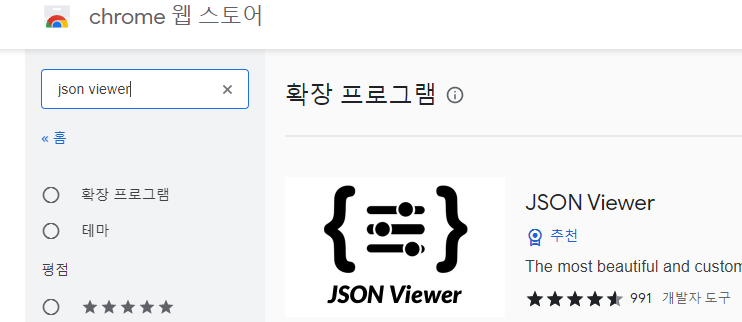
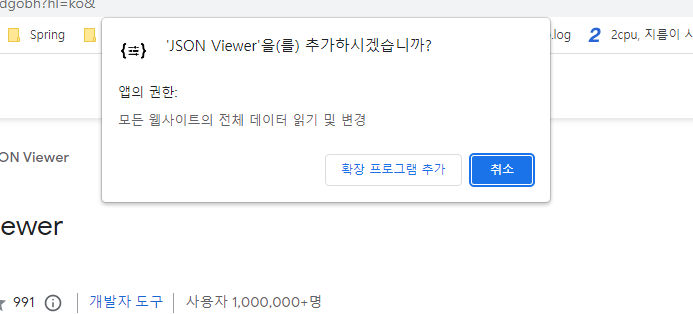
chrome 웹스토어에 접속해서 jsion Viewer 설치 한다.


써 주면 체크박스가 생성된다.
처음엔 낯설어도 기본제공 내용이랑 같이 확인하다보면 금방 사용할 수가 있다.
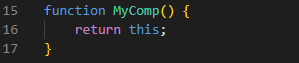
function MyComp() {
return this;
}
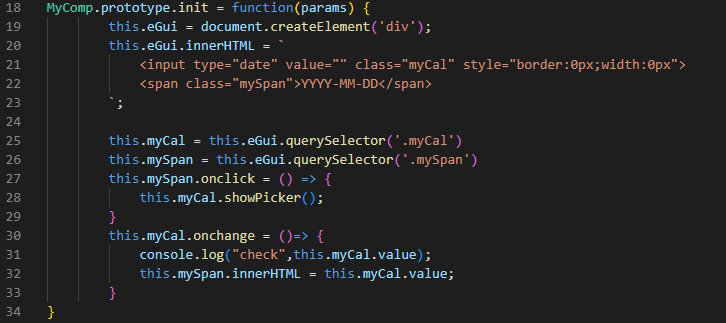
MyComp.prototype.init = function(params) {
this.eGui = document.createElement('div');
this.eGui.innerHTML = `
<input type="date" value="" class="myCal" style="border:0px;width:0px">
<span class="mySpan">YYYY-MM-DD</span>
`;
this.myCal = this.eGui.querySelector('.myCal')
this.mySpan = this.eGui.querySelector('.mySpan')
this.mySpan.onclick = () => {
this.myCal.showPicker();
}
this.myCal.onchange = ()=> {
console.log("check",this.myCal.value);
this.mySpan.innerHTML = this.myCal.value;
}
}
MyComp.prototype.getGui=function(){
console.log("check1");
return this.eGui;
}
MyComp.prototype.refresh=function(){
console.log("check2");
return true;
}
MyComp.prototype.destroy=function(){
console.log("check3");
}다른 형식으로 만들고 싶으면 위의 코드를 가지고 내용 변경하여 사용하라고 샘플 예제를 ag-grid 홈페이지에서 확인 할 수 있다.

Country 출력 되는 날자 데이터를 누르면 달력이 나오는데
이는 쌤이 생성하신 것으로
이렇게 만든것이다.
이도 샘플 예제에 있다
셀 안에 내용이 들어갈 때 init 가 필요한데
Mycomp를 만들어서 country 컬럼에 연결했기 때문에 달력이 제대로 출력 되는 것이다.
요즘 추세는 테이블로 만들어서 사용하는 것이 아니라
Ag-Grid를 사용하는 것과 같이
web에서 excel처럼 확인 할 수 있으며,
각 테이블의 내용을 정렬해서 확인 할 수 있고,
컬럼을 web 상에서 드래그 아웃으로 삭제하여 보여줄 수도 있다.
서버에서 작업할 수 있고, 클라이언트에서 작업할 수 있는 상황이라면
서버보다 클라이언트(web)에서 처리하는것이 서버부하도 줄이고
클라이언트도 직관적으로 사용할 수 있음에 좋다.
서버는 row 데이터만 클라이언트에게 출력해주고
클라이언트가 직접 수정하여서 확인 할 수 있는것이 요즘 추세이다.

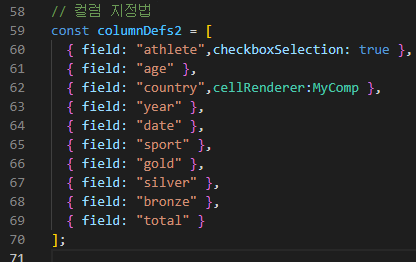
요롷게 타이핑 해 주셨는데
코딩을 잘 못하는것이 눈에 보이는 순간 산출물 작업이 늘어난다.
그렇게 되면 사업관리팀으로 변경이 되는데
그때는 프로그래머의 인생이 끝이다.
초반에 코딩 인정을 잘 받아야 코딩 실력도 늘어나고 전망도 밝아진다.
프로젝트는 끌려다녀서는 안되고 이끌어야 한다.
하는데까지 최선을 다 하고 마지막까지 최선을 다 해서 스스로 후회가 없으면 된다.
최종코드
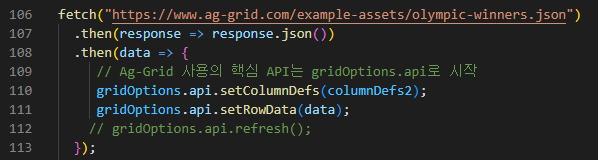
<!DOCTYPE html>
<html lang="en">
<head>
    <meta charset="UTF-8">
    <title>Document</title>
   <script src="https://unpkg.com/ag-grid-community/dist/ag-grid-community.min.js"></script>
</head>
<body>
    <div id="myGrid" class="ag-theme-alpine" style="height:500px"></div>
    <input type="button" value="내보내깅" onclick="f_exp()">
<script>
// 시대적 흐름이니깡, 프로젝트에 1개씩 넣어 보는 걸롱!
-
function MyComp() {
    return this;
}
-
MyComp.prototype.init = function(params) {
        this.eGui = document.createElement('div');
        this.eGui.innerHTML = `
            <input type="date" value="" class="myCal" style="border:0px;width:0px">
            <span class="mySpan">YYYY-MM-DD</span>
        `;
        this.myCal = this.eGui.querySelector('.myCal')
        this.mySpan = this.eGui.querySelector('.mySpan')
        this.mySpan.onclick = () => {
            this.myCal.showPicker();
        }
        this.myCal.onchange = ()=> {
            console.log("check",this.myCal.value);
            this.mySpan.innerHTML = this.myCal.value;
        }
}
MyComp.prototype.getGui=function(){
    console.log("check1");
    return this.eGui;
}
-
MyComp.prototype.refresh=function(){
    console.log("check2");
    return true;
 -
}
-
MyComp.prototype.destroy=function(){
    console.log("check3");
}
-
-
const columnDefs = [
  { field: "make",cellRenderer:MyComp },
  { field: "model" },
  { field: "price" }
];
-
-
// 컬럼 지정법
const columnDefs2 = [
  { field: "athlete",checkboxSelection: true },
  { field: "age" },
  { field: "country",cellRenderer:MyComp },
  { field: "year" },
  { field: "date" },
  { field: "sport" },
  { field: "gold" },
  { field: "silver" },
  { field: "bronze" },
  { field: "total" }
];
-
-
// specify the data
const rowData = [
  { make: "Toyota", model: "Celica", price: 35000 },
  { make: "Ford", model: "Mondeo", price: 32000 },
  { make: "Porsche", model: "Boxster", price: 72000 }
];
-
// Ag-Grid 사용의 핵심, 옵션 설정!
const gridOptions = {
  columnDefs: columnDefs,
  rowData: rowData,
  defaultColDef: {
    sortable:true,  // 헤더 클릭마다 정렬
    filter:true,    //  컬럼 내 검색
    resizable:true,  // 컬럼 사이즈 조정
    editable:false   // 수정 가능여부
  },
  pagination:true,
  paginationAutoPageSize:true,
  //paginationPageSize:8,
  onCellClicked: params => {
    console.log('cell was clicked',params);
  }
};
-
// 그리드 만드는 곳, 페이지 로딩 되자 마자
document.addEventListener('DOMContentLoaded', () => {
    const gridDiv = document.querySelector('#myGrid');
    new agGrid.Grid(gridDiv, gridOptions);
});
-
-
fetch("https://www.ag-grid.com/example-assets/olympic-winners.json")
  .then(response => response.json())
  .then(data => {
     // Ag-Grid 사용의 핵심 API는 gridOptions.api로 시작
     gridOptions.api.setColumnDefs(columnDefs2);
     gridOptions.api.setRowData(data);
    // gridOptions.api.refresh();
  });
-
-
  function f_exp(){
    var v_params = {
    suppressQuotes: "true",   // none, true
    columnSeparator: "tab",   // none, tab, |
    customHeader: "AAA BBB CCC DDD",  // 헤더명 추가 출력
    customFooter: "This is Footer"    // 데이타 아래에 footer추가
  }
  gridOptions.api.exportDataAsCsv(v_params);
}
</script>
</body>
</html>
Ag-Grid에 대해서 간략히 맛만 보여주고 끝내주셨는데... 할말 하않(참고)...ㅜ
