프로젝트를 진행하면서 사용자에게 직관적인 파일 탐색 경험을 제공하기 위해 폴더와 이미지를 함께 표시하는 갤러리 기능을 직접 구현했습니다. 각 디렉토리 내에서 형제 요소들만 보여주는 네비게이션 방식으로 구현했는데, 그 과정을 정리해봤습니다.
구현 목표
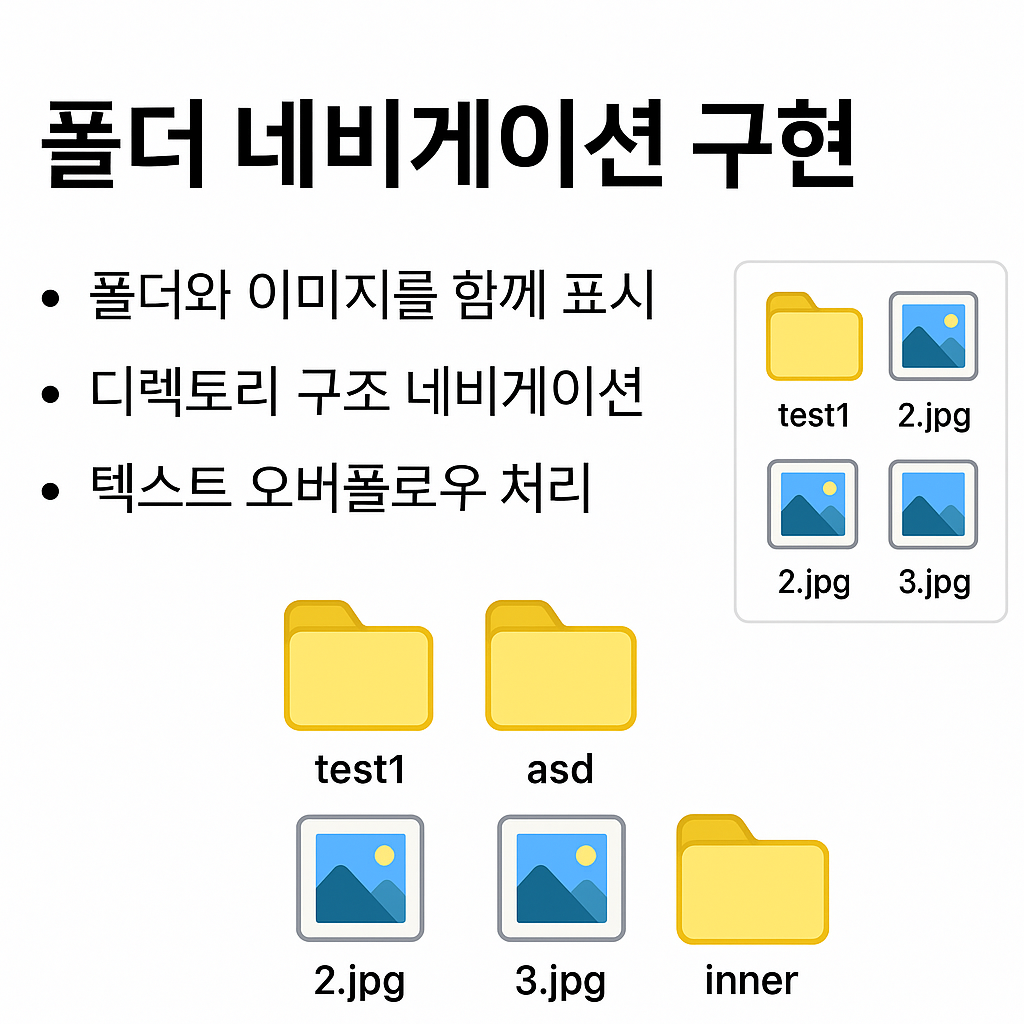
- 폴더와 이미지를 함께 표시: 같은 그리드에 폴더 아이콘과 이미지 썸네일을 나란히 표시
- 디렉토리 구조 네비게이션: 선택한 폴더의 직접 자식 형제 요소들만 표시
- 텍스트 오버플로우 처리: 긴 파일명/폴더명은 ellipsis로 처리
핵심 구현
1. 폴더 그룹화 커스텀 훅
디렉토리 구조에 따라 폴더와 파일을 그룹화하는 커스텀 훅을 만들었습니다.
// hooks/useFolderGroups.ts
import { useMemo } from 'react';

interface PhotoItem {
  id: string;
  fileName: string;
  path: string;
  folderName: string;
  folderPath?: string;
  thumbnail: string;
}

interface FolderGroup {
  folderName: string;
  folderPath?: string;
  items: PhotoItem[];
  thumbnail: string;
  isFolder?: boolean;
}

export const useFolderGroups = (
  photos: unknown[],
  selectedFolderPath: string,
  folderOrder: string[]
): FolderGroup[] => {
  return useMemo(() => {
    const typedPhotos = photos as PhotoItem[];

    // 루트 레벨: 폴더들만 표시
    if (!selectedFolderPath || selectedFolderPath === 'my-gallery') {
      const groupMap = new Map<string, PhotoItem[]>();

      typedPhotos.forEach(photo => {
        const folderName = photo.folderName || 'Unnamed Folder';
        const folderPath = photo.folderPath || '';

        // 루트 레벨 파일만 그룹화
        if (!folderPath || folderPath === folderName) {
          if (!groupMap.has(folderName)) {
            groupMap.set(folderName, []);
          }
          groupMap.get(folderName)?.push(photo);
        }
      });

      const groups = Array.from(groupMap.entries()).map(
        ([folderName, items]): FolderGroup => ({
          folderName,
          folderPath: items[0]?.folderPath || folderName,
          items,
          thumbnail: items[0]?.thumbnail || '',
          isFolder: true,
        })
      );

      // 폴더 순서 정렬
      if (folderOrder.length > 0) {
        return groups.sort((a, b) => {
          const aIndex = folderOrder.indexOf(a.folderName);
          const bIndex = folderOrder.indexOf(b.folderName);
          if (aIndex === -1 && bIndex === -1) return 0;
          if (aIndex === -1) return 1;
          if (bIndex === -1) return -1;
          return aIndex - bIndex;
        });
      }

      return groups;
    }

    // 선택된 폴더의 직접 자식 형제 요소들만 표시
    const result: FolderGroup[] = [];
    const childFolderMap = new Map<string, PhotoItem[]>();
    const childImages: PhotoItem[] = [];

    typedPhotos.forEach(photo => {
      const folderPath = photo.folderPath || '';

      // 직접 자식 이미지
      if (folderPath === selectedFolderPath) {
        childImages.push(photo);
      }
      // 직접 자식 폴더 확인
      else if (folderPath.startsWith(selectedFolderPath + '/')) {
        const remainingPath = folderPath.slice(selectedFolderPath.length + 1);
        const pathParts = remainingPath.split('/').filter(Boolean);

        if (pathParts.length > 0) {
          const childFolderName = pathParts[0];
          const childFolderPath = selectedFolderPath + '/' + childFolderName;

          // 직접 자식 폴더인지 확인
          if (
            folderPath === childFolderPath ||
            folderPath.startsWith(childFolderPath + '/')
          ) {
            if (childFolderName && !childFolderMap.has(childFolderName)) {
              childFolderMap.set(childFolderName, []);
            }
            childFolderMap.get(childFolderName)?.push(photo);
          }
        }
      }
    });

    // 폴더들을 결과에 추가
    childFolderMap.forEach((items, folderName) => {
      result.push({
        folderName,
        folderPath: selectedFolderPath + '/' + folderName,
        items,
        thumbnail: items[0]?.thumbnail || '',
        isFolder: true,
      });
    });

    // 직접 자식 이미지들을 결과에 추가
    childImages.forEach(photo => {
      result.push({
        folderName: photo.fileName,
        folderPath: photo.folderPath || selectedFolderPath,
        items: [photo],
        thumbnail: photo.thumbnail,
        isFolder: false,
      });
    });

    return result;
  }, [photos, selectedFolderPath, folderOrder]);
};
2. 갤러리 콘텐츠 컴포넌트
폴더와 이미지를 함께 표시하는 메인 컴포넌트입니다.
// components/Gallery/GalleryContent.tsx
'use client';
import { GalleryFolderItem } from './GalleryFolderItem';
import { GalleryPhotoItem } from './GalleryPhotoItem';
import { GridLayout } from '@/components/ui/Layout';

interface GalleryContentProps {
  folderGroups: FolderGroup[];
  isDragOver: boolean;
  onDragOver: (e: React.DragEvent) => void;
  onDragLeave: (e: React.DragEvent) => void;
  onDrop: (e: React.DragEvent) => void;
  onFolderSelect?: (folderPath: string) => void;
}

export const GalleryContent = ({
  folderGroups,
  isDragOver,
  onDragOver,
  onDragLeave,
  onDrop,
  onFolderSelect,
}: GalleryContentProps) => {
  return (
    <div
      className={`flex gap-2 grow items-start justify-center min-h-0 min-w-0 w-full transition-colors duration-200 ${
        isDragOver
          ? 'bg-blue-50 border-2 border-dashed border-blue-300 rounded-lg'
          : ''
      }`}
      onDragOver={onDragOver}
      onDragLeave={onDragLeave}
      onDrop={onDrop}
    >
      {folderGroups.length === 0 ? (
        <div className='flex flex-col font-normal justify-center leading-0 not-italic relative shrink-0 text-gray-500 text-sm text-center text-nowrap tracking-tight'>
          {isDragOver ? (
            <p className='leading-5 whitespace-pre text-blue-600'>
              파일을 여기에 드롭하세요
            </p>
          ) : (
            <p className='leading-5 whitespace-pre'>No results found.</p>
          )}
        </div>
      ) : (
        <GridLayout cols={4} rows={3} gap={6} className='w-full'>
          {folderGroups.map(group => (
            <div key={group.folderName} className='w-full'>
              <div className='flex gap-2 items-start relative w-full'>
                {group.isFolder ? (
                  <GalleryFolderItem
                    folderName={group.folderName}
                    onClick={() => onFolderSelect?.(group.folderPath || '')}
                  />
                ) : (
                  group.items.map(photo => (
                    <GalleryPhotoItem key={photo.id} photo={photo} />
                  ))
                )}
              </div>
            </div>
          ))}
        </GridLayout>
      )}
    </div>
  );
};
3. 이미지 아이템 컴포넌트
텍스트 오버플로우 처리를 포함한 이미지 아이템입니다.
// components/Gallery/GalleryPhotoItem.tsx
'use client';
import Image from 'next/image';
import { Icon } from '@/components/ui/Icon';

interface GalleryPhotoItemProps {
  photo: PhotoItem;
}

export const GalleryPhotoItem = ({ photo }: GalleryPhotoItemProps) => {
  return (
    <div className='flex flex-col gap-2 items-start max-h-[338px] overflow-hidden relative shrink-0'>
      {/* 썸네일 */}
      <div className='flex flex-col gap-1 items-center overflow-hidden justify-center p-8 relative rounded-lg shrink-0 size-48 bg-gray-100'>
        {photo.thumbnail ? (
          <Image
            src={photo.thumbnail}
            alt={photo.fileName}
            width={64}
            height={64}
            className='absolute inset-0 w-full h-full object-cover rounded-lg'
          />
        ) : (
          <Icon name='FolderSturecture' size={64} />
        )}
      </div>
      {/* 파일명 */}
      <div className='flex flex-col gap-0 items-start justify-center max-w-48 min-w-[140px] pb-2 pt-0.5 px-0.5 relative shrink-0 w-full'>
        <div className='flex flex-col gap-0.5 items-start justify-end py-0 relative shrink-0 w-full'>
          <p className='font-medium h-6 text-sm truncate w-[192px] min-w-0'>
            {photo.fileName}
          </p>
        </div>
      </div>
    </div>
  );
};
4. 폴더 아이템 컴포넌트
// components/Gallery/GalleryFolderItem.tsx
'use client';
import { Icon } from '@/components/ui/Icon';

interface GalleryFolderItemProps {
  folderName: string;
  onClick: () => void;
}

export const GalleryFolderItem = ({
  folderName,
  onClick,
}: GalleryFolderItemProps) => {
  return (
    <button
      onClick={onClick}
      className='flex flex-col gap-2 items-start max-h-[338px] overflow-hidden relative shrink-0 cursor-pointer hover:opacity-80 transition-opacity'
    >
      {/* 폴더 아이콘 */}
      <div className='flex flex-col gap-1 items-center justify-center overflow-hidden p-8 relative rounded-lg shrink-0 size-48 bg-gray-100'>
        <Icon name='BigFolderStructure' size={64} />
      </div>
      {/* 폴더명 */}
      <div className='flex flex-col gap-0 items-start justify-center max-w-48 min-w-[140px] pb-2 pt-0.5 px-0.5 relative shrink-0 w-full'>
        <div className='flex flex-col gap-0.5 items-start justify-end px-1.5 py-0 relative shrink-0 w-full'>
          <p className='flex flex-col truncate text-sm max-w-full'>
            {folderName}
          </p>
        </div>
      </div>
    </button>
  );
};
구현 포인트
1. 경로 파싱 로직
선택한 폴더의 직접 자식만 필터링하기 위해 경로를 파싱하는 로직이 핵심입니다:
// selectedFolderPath 이후의 경로 부분 추출
const remainingPath = folderPath.slice(selectedFolderPath.length + 1);
const pathParts = remainingPath.split('/').filter(Boolean);

if (pathParts.length > 0) {
  const childFolderName = pathParts[0];
  const childFolderPath = selectedFolderPath + '/' + childFolderName;

  // 직접 자식 폴더인지 확인
  if (
    folderPath === childFolderPath ||
    folderPath.startsWith(childFolderPath + '/')
  ) {
    // 직접 자식 폴더로 분류
  }
}
2. 텍스트 오버플로우 처리
Tailwind의 truncate 클래스와 min-w-0을 조합하여 flex 컨테이너 내에서도 ellipsis가 제대로 작동하도록 했습니다:
<p className='font-medium h-6 text-sm truncate w-[192px] min-w-0'>
  {photo.fileName}
</p>truncate는 overflow-hidden text-ellipsis whitespace-nowrap를 포함하며, flex 컨테이너에서는 min-w-0이 필요합니다.
3. GridLayout 활용
4열 3행 그리드 레이아웃으로 폴더와 이미지를 균등하게 배치했습니다:
<GridLayout cols={4} rows={3} gap={6} className='w-full'>
  {folderGroups.map(group => (
    // 폴더 또는 이미지 아이템
  ))}
</GridLayout>
동작 방식
-
루트 레벨 (
selectedFolderPath === ''또는'my-gallery'):- 최상위 폴더들만 표시 (
folderPath가 없거나folderName과 같은 경우)
- 최상위 폴더들만 표시 (
-
특정 폴더 선택 시:
folderPath === selectedFolderPath: 직접 자식 이미지folderPath.startsWith(selectedFolderPath + '/'): 하위 폴더의 파일들- 경로를 파싱하여 첫 번째 부분만 확인 → 직접 자식 폴더만 표시
-
결과 반환:
- 폴더 그룹들을 먼저 추가 (
isFolder: true) - 이미지들을 그 다음에 추가 (
isFolder: false)
- 폴더 그룹들을 먼저 추가 (
예시
test1/
  ├── asd/          ← test1 선택 시: asd 폴더와 2.jpg만 표시
  └── 2.jpg

asd/
  ├── inner/        ← asd 클릭 시: inner 폴더와 3.jpg만 표시
  └── 3.jpg
마무리
이번 구현을 통해 사용자가 직관적으로 폴더 구조를 탐색할 수 있도록 했습니다. 경로 파싱 로직을 통해 depth에 따라 형제 요소들만 정확히 표시하는 것이 핵심이었습니다.
추가로 드래그 앤 드롭 기능과 검색 기능도 함께 구현했지만, 핵심은 각 디렉토리 내에서 형제 요소만 보여주는 네비게이션 로직이었습니다.


IT 삶을 사는 쿠키