WeBucks 페이지 클론 프로젝트
Mission 2 완료
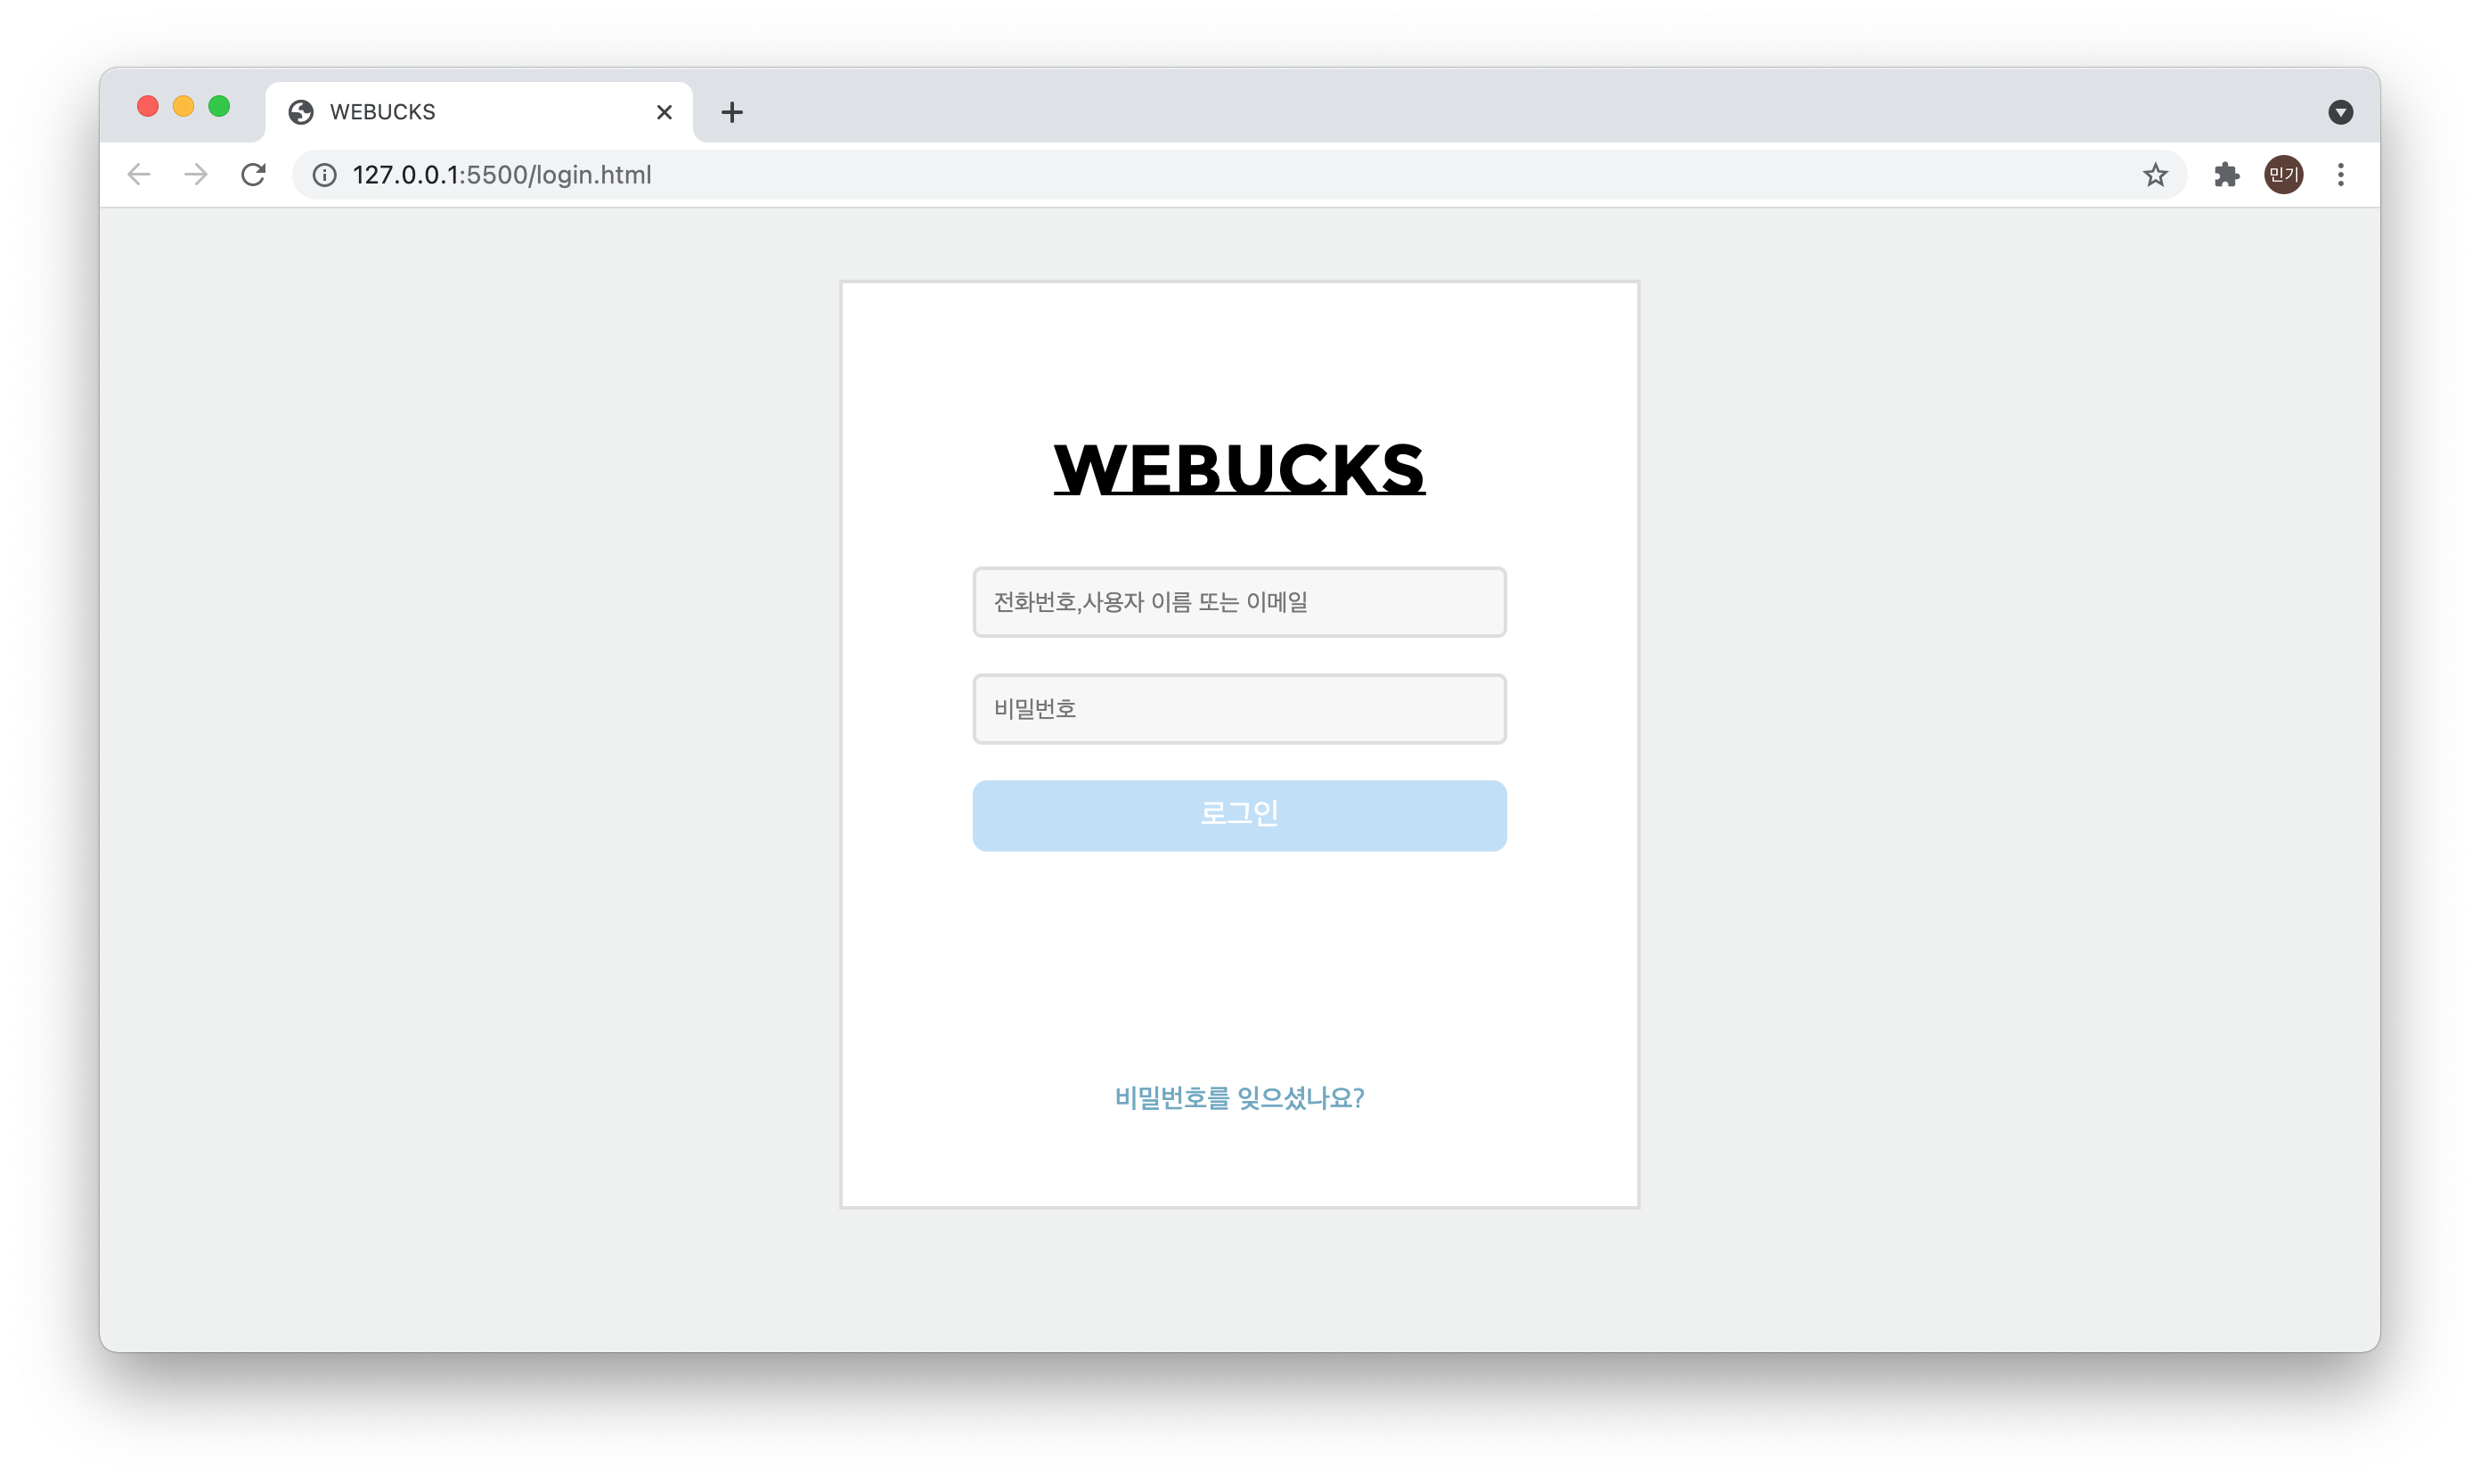
로그인 페이지 기능 구현
-
로그인 페이지
- 구글 폰트 링크 사용법
display:flex;,justify-content,align-items사용하여 레이아웃 배치
-
로그인 버튼 활성화 기능
- 특정 조건 만족시 로그인 버튼 활성화 기능
(이메일에 "@" 포함 & 비밀번호 8자리 이상) - 특정 조건 다시 불만족시 로그인 버튼 비활성화 기능
- 조건 만족 후 버튼 클릭 이벤트 발생시 디테일 페이지 이동
- 특정 조건 만족시 로그인 버튼 활성화 기능
// iput 태그에 접근
let input = document.getElementsByClassName('innerBox');

// button 태그에 접근
const button = document.getElementById('button');

// 버튼 활성화 기능 함수
function buttonActiv() {
    //이메일 input란에 입력되는 값
    const id = document.getElementById('id').value;
    // pw input란에 입력되는 값
    const password = document.getElementById('password').value;
    const button = document.getElementById('button');
    if (id.includes('@') && password.length >= 8) {
        button.style="cursor:pointer";
        button.disabled = false;
    } else {
        // 조건이 다시 불만족 되었을 시에 다시 비활성화 기능
        button.style="cursor:defalt"
        button.disabled = true;
    }
}

// 아이디란에 입력 발생시 함수 실행
input[0].addEventListener('keyup', buttonActiv);

// 비밀번호란에 입력 발생시 함수 실행
input[1].addEventListener('keyup', buttonActiv);


// button 클릭시 디테일 페이지로 이동하는 기능
button.addEventListener('click', function() {
    window.location.href = 'list.html'
})-
로그인페이지를 만들면서 HTML과 CSS를 활용해서
기본적인 레이아웃 구성에 대해서 고민해보며 연습해 볼 수 있었다. -
flex를 이용하면 레이아웃 구성이 편하다는 것을 알았다.
-
javascript를 통해서 dom에 접근하여 html 요소에 접근하거나
추가하는 기능을 수행하면서 dom에 대한 이해를 높일수 있었다.
html 코드
<!DOCTYPE html>
<html lang="ko">
<head>
    <meta charset="UTF-8">
    <meta http-equiv="X-UA-Compatible" content="IE=edge">
    <meta name="viewport" content="width=device-width, initial-scale=1.0">
    <link rel="stylesheet" href="styles/login.css">
    <link rel="preconnect" href="https://fonts.googleapis.com">
    <link rel="preconnect" href="https://fonts.gstatic.com" crossorigin>
    <link href="https://fonts.googleapis.com/css2?family=Montserrat+Subrayada:wght@400;700&display=swap" rel="stylesheet">
    <title>WEBUCKS</title>
</head>
<body>
    <section class="loginBox">
        <h1>WeBucks</h1>
        <form class="formBox">
            <input class="innerBox" id="id" type="text" placeholder="전화번호,사용자 이름 또는 이메일">
            <input class="innerBox" id="password" type="password" placeholder="비밀번호">
        </form>
        <section class="buttonBox">
            <button disabled id="button">로그인</button>
        </section>
        <section class="findPw">
            <a href="#">비밀번호를 잊으셨나요?</a>
        </section>
    </section>
    <script src="js/login.js"></script>
</body>
</html>
css 코드
* {
    box-sizing: border-box;
    padding: 0;
    margin: 0;
}

body {
    display: flex;
    justify-content: center;
    border-radius: 10px;
    background-color: hsl(180deg 3% 94%);
    margin: 40px;
}
.loginBox {
    display: flex;
    flex-direction: column;
    align-items: center;
    width: 450px;
    border: 2px solid hsl(0deg 0% 87%);
    background-color: white;
}

h1 {
    margin-top: 80px;
    font-family: 'Montserrat Subrayada', sans-serif;
    font-size: 40px;
    font-weight: 700;
}

.formBox {
    display: flex;
    flex-direction: column;
    align-items: center;
    margin: 20px 0 0;
}
.innerBox {
    border: 2px solid hsl(0deg 0% 87%);
    border-radius: 5px;
    background-color: hsl(0deg 0% 97%);
    width: 300px;
    height: 40px;
    margin: 10px 0;
    padding: 0 10px;
}

.buttonBox {
    margin: 10px;
}

#button {
    border: 2px solid #61aded;
    border-radius: 8px;
    width: 300px;
    height: 40px;
    padding: 0 10px;
    color: white;
    background-color: #61aded;
    font-size: 17px;
}

button:disabled {
    opacity: 0.4;
}

.findPw {
    margin: 120px 0 50px;
}

.findPw a {
    color: hsl(200deg 40% 60%);
    font-size: 15px;
    font-weight: 500;
    text-decoration: none;
}