
9일차 과제 링크 👉 9일차 과제
관리가 필요한 위젯들
- TextField (TextFormField)
- 위젯에 작성된 텍스트를 가져올 때
- 위젯에 작성된 텍스트를 초기화할 때
- PageView
- 다음 페이지로 넘어갈 때
- N 페이지로 이동시킬 때
Controller
- 작성되고 있는 데이터를 가져올 때 사용
- 위젯의 특정한 액션을 취하거나, 조종하고 싶을 때 사용
- Controller는 위젯 내에 변수로 선언하고, 그 변수를 조작하면 된다
TextField에 Controller 붙이기
var myController = TextEditingController();// 텍스트 필드에 텍스트를 입력하고 Hit me 클릭 시 입력한 텍스트를 콘솔에 출력 // Erase 클릭 시 입력한 텍스트 지우기 TextField( controller: myController, ), TextButton( onPressed: () { print(myController.text); }, child: Text('Hit me'), ), TextButton( onPressed: () { myController.text = ''; }, child: Text('Erase'), ),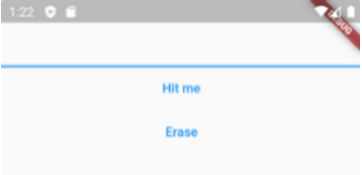
- TextField 초깃값 설정
var myController = TextEditingController(text: 'admin@naver.com');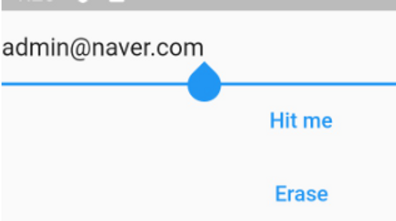
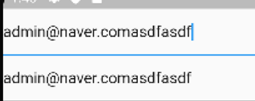
- 같은 컨트롤러 사용
- 텍스트 가리기
var idController = TextEditingController(text: '');
var pwController = TextEditingController(text: '');

TextField(
  controller: idController,
),
TextField(
  controller: pwController,
  obscureText: true,
),
TextButton(
  onPressed: () {
    print(idController.text);
    print(pwController.text);
  },
  child: Text('로그인'),
),
PageView에 Controller 붙이기
var pageController = PageController();Scaffold( floatingActionButton: FloatingActionButton( onPressed: () { // 다음 페이지로 넘어가는 버튼 // Duration : 버튼을 누른 후에 다음 페이지까지 도착하는 시간 // curve : 애니메이션 pageController.nextPage(duration: Duration(seconds: 1), curve: Curves.linear); }, child: Icon(Icons.navigate_next), ), body: DefaultTextStyle( style: TextStyle(fontSize: 36, color: Colors.black), child: SafeArea( child: Padding( padding: const EdgeInsets.all(8.0), child: PageView( // 스와이프 못하게 금지 physics: NeverScrollableScrollPhysics(), controller: pageController, children: [ Text('A페이지'), Text('B페이지'), Text('C페이지'), ], ), ), ), ), )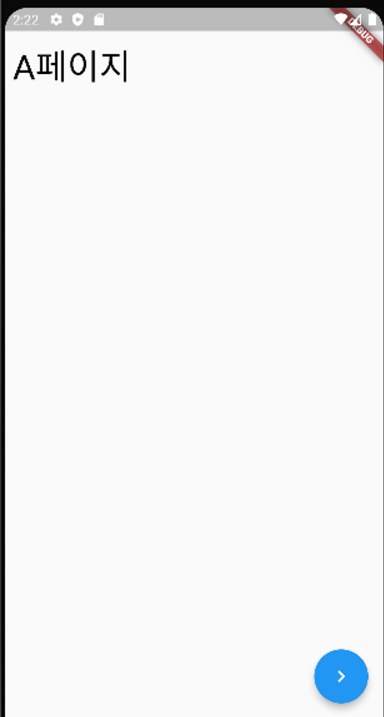
Navigation
Routing (다른 페이지로 이동)
- Scaffold 단위를 하나의 Page라고 생각하면 쉬움
- Scaffold를 최상위로 올려서 Material과 분리
- Navigation을 활용하여 Routing
Navigation
-
Push : 새로 페이지를 불러온다
-
Pop : 현재 페이지를 뺀다
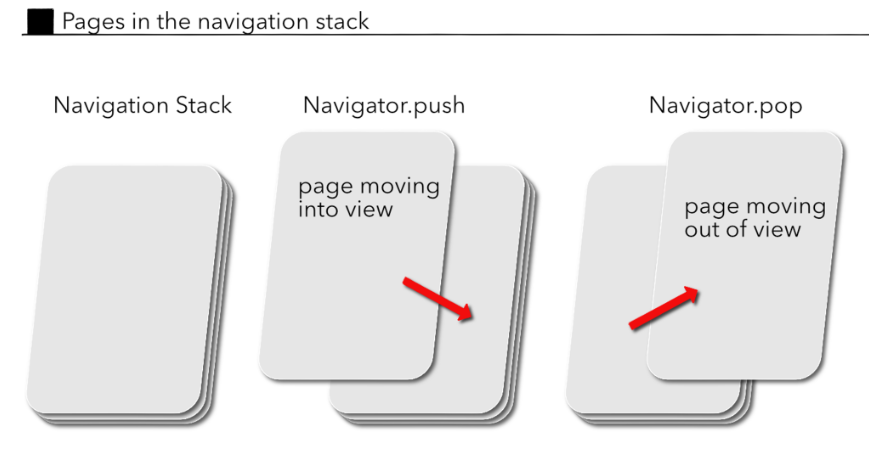
- Stack 구조 - 늦게 들어온 것이 가장 먼저 빠짐
Navigation 하는 방법
- context : 현재 위젯의 상태 정보
Navigator.push( context, MaterialPageRoute, ); - 화면 이동 구현해보기
class MyApp extends StatelessWidget { const MyApp({super.key}); Widget build(BuildContext context) { return MaterialApp( home: FirstPage(), ); } } class FirstPage extends StatelessWidget { const FirstPage({Key? key}) : super(key: key); Widget build(BuildContext context) { return Scaffold( appBar: AppBar(), body: Text('A'), ); } } class SecondPage extends StatelessWidget { const SecondPage({Key? key}) : super(key: key); Widget build(BuildContext context) { return Scaffold( appBar: AppBar( backgroundColor: Colors.green, ), body: Text('B'), floatingActionButton: FloatingActionButton( onPressed: () { Navigator.push( context, MaterialPageRoute(builder: (context) => FirstPage()) ); }, child: Icon(Icons.add), ), ); } }
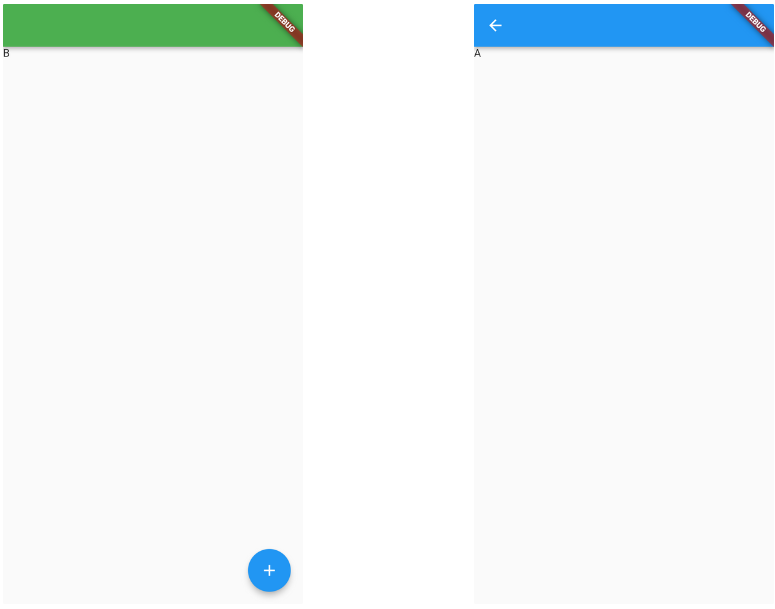
- 두 번째 페이지의 앱바에는 leading을 넣지 않아도 뒤로가기 버튼이 자동으로 생성된다.
- AppBar의 automaticallyImplyLeading 속성이 true로 설정되어 있기 때문
❗Unimplemented handling of missing static target
- 과제 중 발생한 에러
- 그냥 프로젝트를 다시 빌드하면 해결된다…
9일차 끝
3주차가 시작되었다니!
세상에
뿌듯~
노션에 매일 거북이 이모지로 하위 페이지를 만드는데
하루하루 늘어나는 거북이들을 보면 뭔가 성장하는 느낌이 드는 것 같기도 하고......아닌가?
사실 그냥 거북이가 귀여워서 기분이 좋아요
내일도 만들어야쥐


우와재밋다