8일차 과제 링크 👉 8일차 과제
버튼 위젯
- onPressed 함수로 버튼이 눌려질 때 이벤트 핸들러와 연결할 수 있음
FloatingActionButton 위젯
- 떠있는 버튼
- 원하는 곳으로 띄워서 화면 내에 인터랙션을 제공할 수 있음
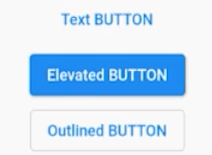
TextButton 위젯
- 텍스트가 버튼
TextButton(
  onPressed: () {},
  child: Text('text button'),
),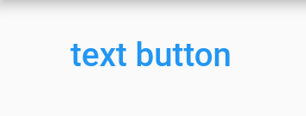
ElevatedButton 위젯
- 확실히 강조 가능
ElevatedButton(
  onPressed: () {},
  child: Text('elevated button'),
),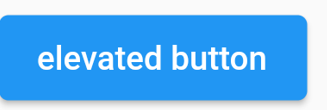
OutlineButton 위젯
- 테두리가 나타나는 버튼
OutlinedButton(
  onPressed: () {},
  child: Text('outlined button'),
),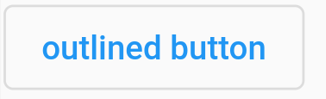
IconButton 위젯
- 아이콘을 버튼으로 사용하고 싶을 때 사
- Icon 위젯과 다르게 Padding이 기본 적용돼있다. (48*48 px)
IconButton(
  onPressed: () {},
  icon: Icon(Icons.abc_sharp),
),
버튼 디자인을 할 때 고려해야 하는 것
💡 버튼 디자인을 할 때 고려해야 하는 것
데스크탑에서는 커서를 이용해 클릭하지만 모바일 상에서는 커서가 아닌 손가락으로 클릭을 하게 된다.
→ 손가락은 사람마다 크기가 다르기 때문에 사용자가 터치해야하는 터치 포인트의 크기를 적절히 잘 설정해야 한다!
- 최소 7mm, 적당하게는 11-13mm
- 최소 26px, 적당하게는 42-49px
- 애플에서는 44pt, 구글은 48dp로 추천하고 있음
- dp : 안드로이드의 기본 단위
- pt : iOS의 기본 단위
- 기기마다 픽셀의 밀도(해상도)가 달라서 표현되는 길이가 각각 다름
- dp와 pt를 사용하면 기기마다의 차이를 고민하지 않고도 인터페이스를 디자인 할 수 있다
이벤트를 제공하는 위젯
- 일반 위젯도 이벤트를 가질 수 있다
- Text나 Container 등의 위젯에도 이벤트를 넣고 싶을 때는 이벤트 위젯을 부모로 두면 됨
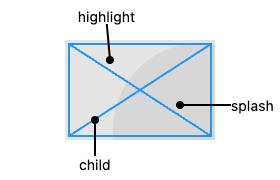
1. InkWell 위젯
- 잉크처럼 애니메이션이 퍼지는 효과 제공
InkWell(
  onTap: () {
    print('야호');
  },
  child: Text('text'),
),
2. GestureDetector 위젯
- InkWell보다 더욱 많은 제스쳐를 감지 가능함 (잉크 애니메이션 제공 X)
GestureDetector(
  onTap: () {
    print('야호');
  },
  child: Text('text'),
),
플러터가 화면에 내용을 출력하는 방법 (Build)
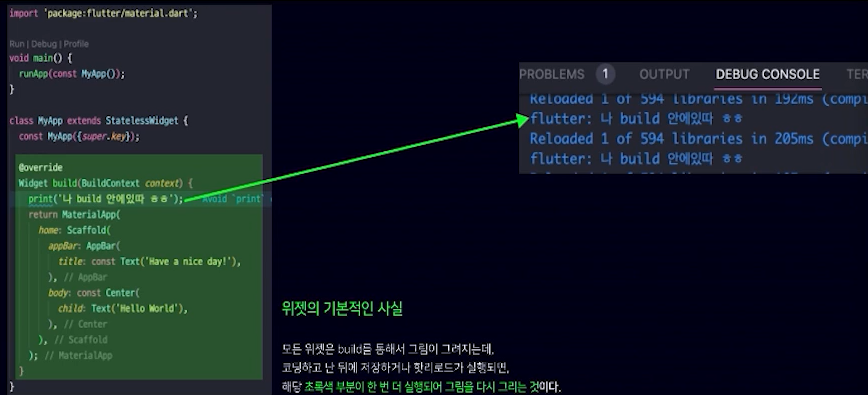
- 모든 위젯은 build를 통해서 그림이 그려진다.
Stateless, Stateful ⭐
- 플러터의 위젯은 두 가지로 나뉜다
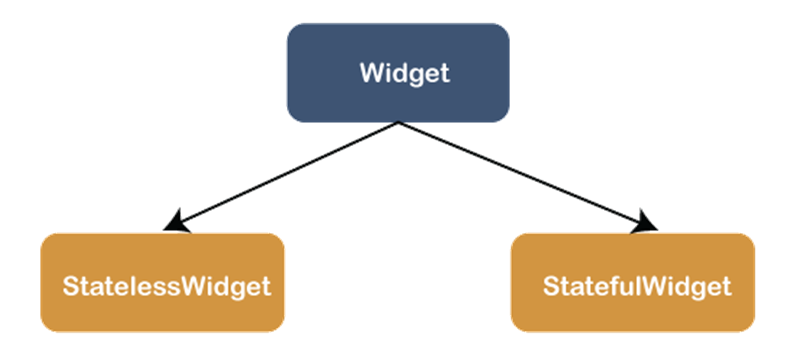
Stateless 위젯
- 스스로 상태가 없다
- 한번 빌드되면 본인 스스로가 자기를 다시 build 할 수 없다
- 한 번 UI를 그리면 수정할 수 없다
- 부모가 rebuild 되는 경우는 다시 build 된다
Stateful 위젯
- 스스로 상태가 있다
- 한번 빌드되어도 본인 스스로가 자기를 다시 build 할 수 있다
- UI를 다시 그릴 수 있다
- setState((){}) 함수가 실행이 되면 다시 build된다
언제 build를 다시 해야할까?
- 화면상의 정보가 바뀐 경우
- 화면에 나타나는 데이터는 변경되었을 때마다 화면을 새로 build해야 새로운 정보로 바뀐다.
- Stateless : Text, Container
- Stateful : Checkbox, TextField
→ 새로 화면을 그리는 것은 Stateful 위젯만 가능하다
// FAB 누르면 텍스트 안녕 -> 반갑습니다 변경
class MyApp extends StatefulWidget {
const MyApp({super.key});
State<MyApp> createState() => _MyAppState();
}
class _MyAppState extends State<MyApp> {
String message = '안녕';
Widget build(BuildContext context) {
return MaterialApp(
home: Scaffold(
floatingActionButton: FloatingActionButton(
onPressed: () {
message = '반갑습니다';
setState(() {});
},
child: Icon(Icons.change_circle),
),
body: Center(
child: Text(message),
),
)
);
}
}// text 클릭 시 level 1씩 증
class MyApp extends StatefulWidget {
const MyApp({super.key});
State<MyApp> createState() => _MyAppState();
}
class _MyAppState extends State<MyApp> {
int level = 1;
Widget build(BuildContext context) {
return MaterialApp(
home: Scaffold(
body: InkWell(
onTap: () {
level ++;
setState(() {});
},
child: Center(
child: Text('현재 $level레벨 입니다'),
),
),
)
);
}
}Stateful 위젯의 라이프 사이클
- Life cycle(생명 주기) : 위젯의 상태 변화에 따라 호출되는 함수
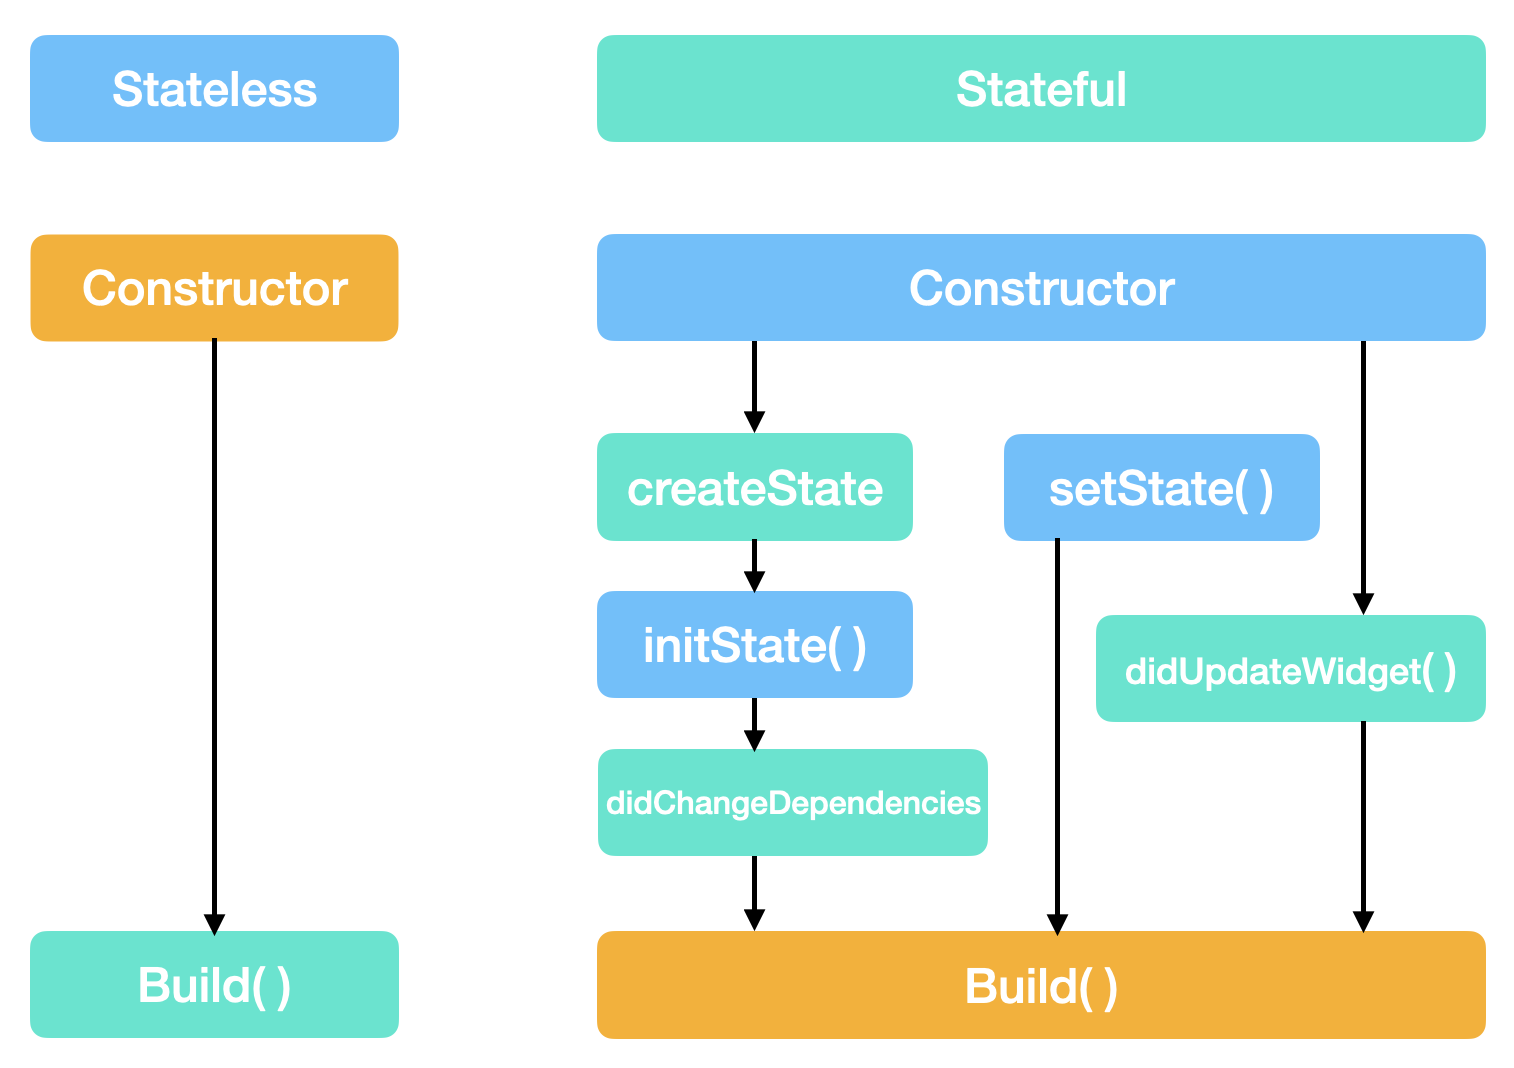
createState(): StatefulWidget 인스턴스가 만들어질 때 한 번만 호출되며, 해당 위젯에 상응하는 State 객체를 생성한다.initState(): State 객체가 생성된 후, Stateful 위젯의 초기화 작업을 수행한다. 이 메소드는 한 번만 호출되며, 다른 상태 변경 이벤트에 의해 다시 호출되지 않는다.didChangeDependencies(): 위젯이 의존하는 객체들의 상태가 변경될 때마다 호출된다. 이 메소드는 initState() 메소드 이후에 호출되며, 여러 번 호출될 수 있다.build(): 위젯을 빌드하고 화면에 표시하기 위한 위젯 트리를 생성한다. 이 메소드는 initState() 이후에 최초로 호출되며, 상태 변경이 발생할 때마다 호출된다.setState(): State 객체의 상태를 변경할 때 사용한다. 이 메소드를 호출하면 Flutter 프레임워크는 State 객체의 build() 메소드를 다시 호출하여 UI를 업데이트한다.didUpdateWidget(): 위젯이 새로운 속성값을 받게 되면 호출된다. 이 메소드는 위젯이 업데이트되면서 호출될 뿐, 초기 렌더링 시에는 호출되지 않는다.deactivate(): State 객체가 위젯 트리에서 제거되기 전에 호출된다. 이 때 해당 위젯은 화면에 보이지 않지만 여전히 메모리에 존재한다.dispose(): State 객체가 영구적으로 제거되기 전에 호출된다. 해당 위젯이 더 이상 필요하지 않을 때, 메모리에서 해제하기 위한 작업을 수행한다. 이 메소드는 initState() 이후에 최초로 한 번만 호출된다.
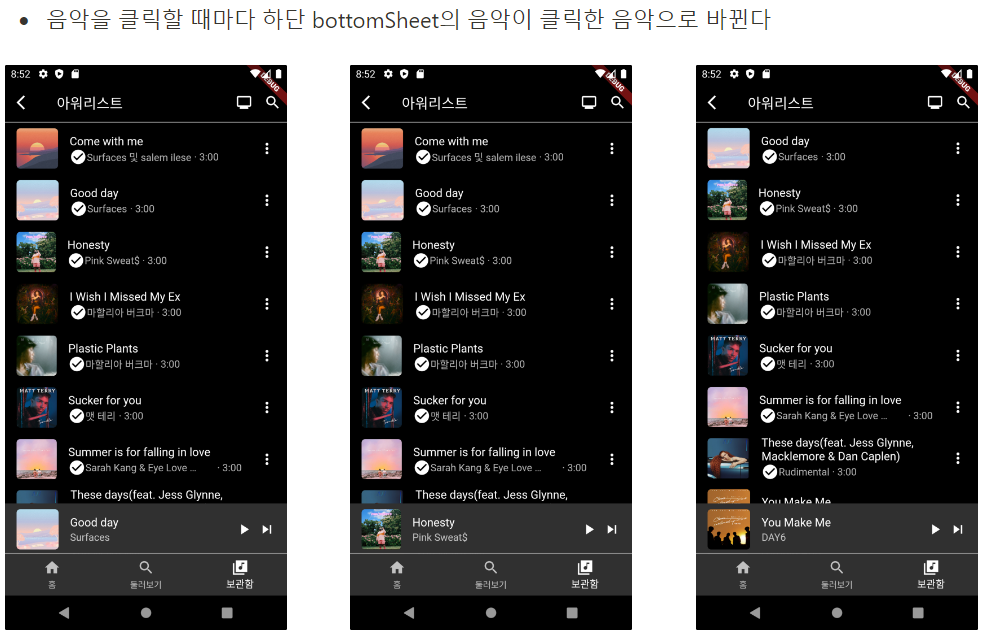
유튜브뮤직 과제 수정해보기
- 7일차 과제 유튜브 뮤직 앱 -> (7일차 과제)
- 리스트에서 클릭한 음악을 하단 bottomSheet에 보여주는 기능 추가해보기
class MyApp extends StatefulWidget { // StatefulWidget 상속받기
const MyApp({super.key});
State<MyApp> createState() => _MyAppState();
}
class _MyAppState extends State<MyApp> {
// ...음악 객체 담겨있는 리스트 변수 musicList 선언... //
int tapIdx = 0; // 클릭한 ListTile의 index 정보가 담겨있는 변수
Widget build(BuildContext context) {
return MaterialApp(
theme: ThemeData.dark(),
home: Scaffold(
backgroundColor: Colors.black,
appBar: AppBar(//...//),
body: ListView.builder(
shrinkWrap: true,
itemCount: musicList.length,
itemBuilder: (context, index) {
return GestureDetector(
onTap: () {
setState(() { // 클릭 시 tapIdx에 index 값 대입하고 rebuild
tapIdx = index;
});
},
child: MusicTile(
imgUrl: musicList[index].imgUrl,
title: musicList[index].title,
singer: musicList[index].singer,
time: musicList[index].time,
),
);
},
),
bottomNavigationBar: BottomNavigationBar(//...//),
bottomSheet: Container(
height: 70,
decoration: BoxDecoration(
border: Border(
bottom: BorderSide(
color: Colors.grey,
width: 1
)
)
),
child: ListTile(
// 보여줄 음악의 리스트 index를 tapIdx로 수정
leading: Container(
decoration: BoxDecoration(
borderRadius: BorderRadius.circular(5),
),
clipBehavior: Clip.antiAlias,
child: Image.asset(musicList[tapIdx].imgUrl),
),
title: Text(musicList[tapIdx].title, maxLines: 2, overflow: TextOverflow.ellipsis),
subtitle: Text(musicList[tapIdx].singer, overflow: TextOverflow.ellipsis),
trailing: Row(
mainAxisSize: MainAxisSize.min,
children: [
Padding(
padding: const EdgeInsets.all(8.0),
child: Icon(Icons.play_arrow),
),
Icon(Icons.skip_next),
],
),
),
),
)
);
}
}
8일차 끝
금요일은 역시 과제가 많네요

재밌겠다...


우와재밋다