테스트 코드 소개
- TDD: 테스트가 주도하는 개발 - 테스트 코드를 먼저 작성하는 것부터 시작
- 단위 테스트: TDD의 첫번째 단계인 기능 단위의 테스트 코드를 작성하는 것
테스트 코드를 작성함으로써 얻는 이점
- 개발 단계 초기에 문제를 발견하게 도와준다.
- 개발자가 나중에 코드를 리팩토링하거나 라이브러리 업그레이드 등에서 기존 기능이 올바르게 작동하는지 확인할 수 있다.
- 기능에 대한 불확실성을 감소시킬 수 있다.
- 시스템에 대한 실제 문서를 제공한다. 즉, 단위 테스트 자체가 문서로 사용될 수 있다.
HelloController 테스트 코드 작성하기
Applicaion.java
package com.geniushyeon.springboot;

import org.springframework.boot.SpringApplication;
import org.springframework.boot.autoconfigure.SpringBootApplication;

@SpringBootApplication
public class Application {

    public static void main(String[] args) {
        SpringApplication.run(Application.class, args); // 내장 WAS 실행
    }
}@SpringBootApplication으로 인해 스프링 부트의 자동 설정, 스프링 Bean 읽기와 생성이 모두 자동으로 설정된다. 특히,@SpringBootApplication이 있는 위치부터 설정을 읽어가기 때문에 이 클래스는 항상 프로젝트 최상단에 위치해야 한다.- 내장 WAS 사용 권장: 언제 어디서나 같은 환경에서 스프링 부트를 배포할 수 있기 때문
HelloController.java
package com.geniushyeon.springboot.web;

import org.springframework.web.bind.annotation.GetMapping;
import org.springframework.web.bind.annotation.RestController;

@RestController
public class HelloController {

    @GetMapping("/hello")
    public String hello() {
        return "hello";
    }
}
HelloControllerTest.java
package com.geniushyeon.springboot.web;
import org.junit.jupiter.api.Test;
import org.junit.jupiter.api.extension.ExtendWith;
import org.springframework.beans.factory.annotation.Autowired;
import org.springframework.boot.test.autoconfigure.web.servlet.WebMvcTest;
import org.springframework.test.context.junit.jupiter.SpringExtension;
import org.springframework.test.web.servlet.MockMvc;
import static org.springframework.test.web.servlet.request.MockMvcRequestBuilders.get;
import static org.springframework.test.web.servlet.result.MockMvcResultMatchers.content;
import static org.springframework.test.web.servlet.result.MockMvcResultMatchers.status;
@ExtendWith(SpringExtension.class)
@WebMvcTest(controllers = HelloController.class)
public class HelloControllerTest {
@Autowired
private MockMvc mockMvc;
@Test
public void hello가_리턴된다() throws Exception {
String hello = "hello";
mockMvc.perform(get("/hello"))
.andExpect(status().isOk())
.andExpect(content().string(hello));
}
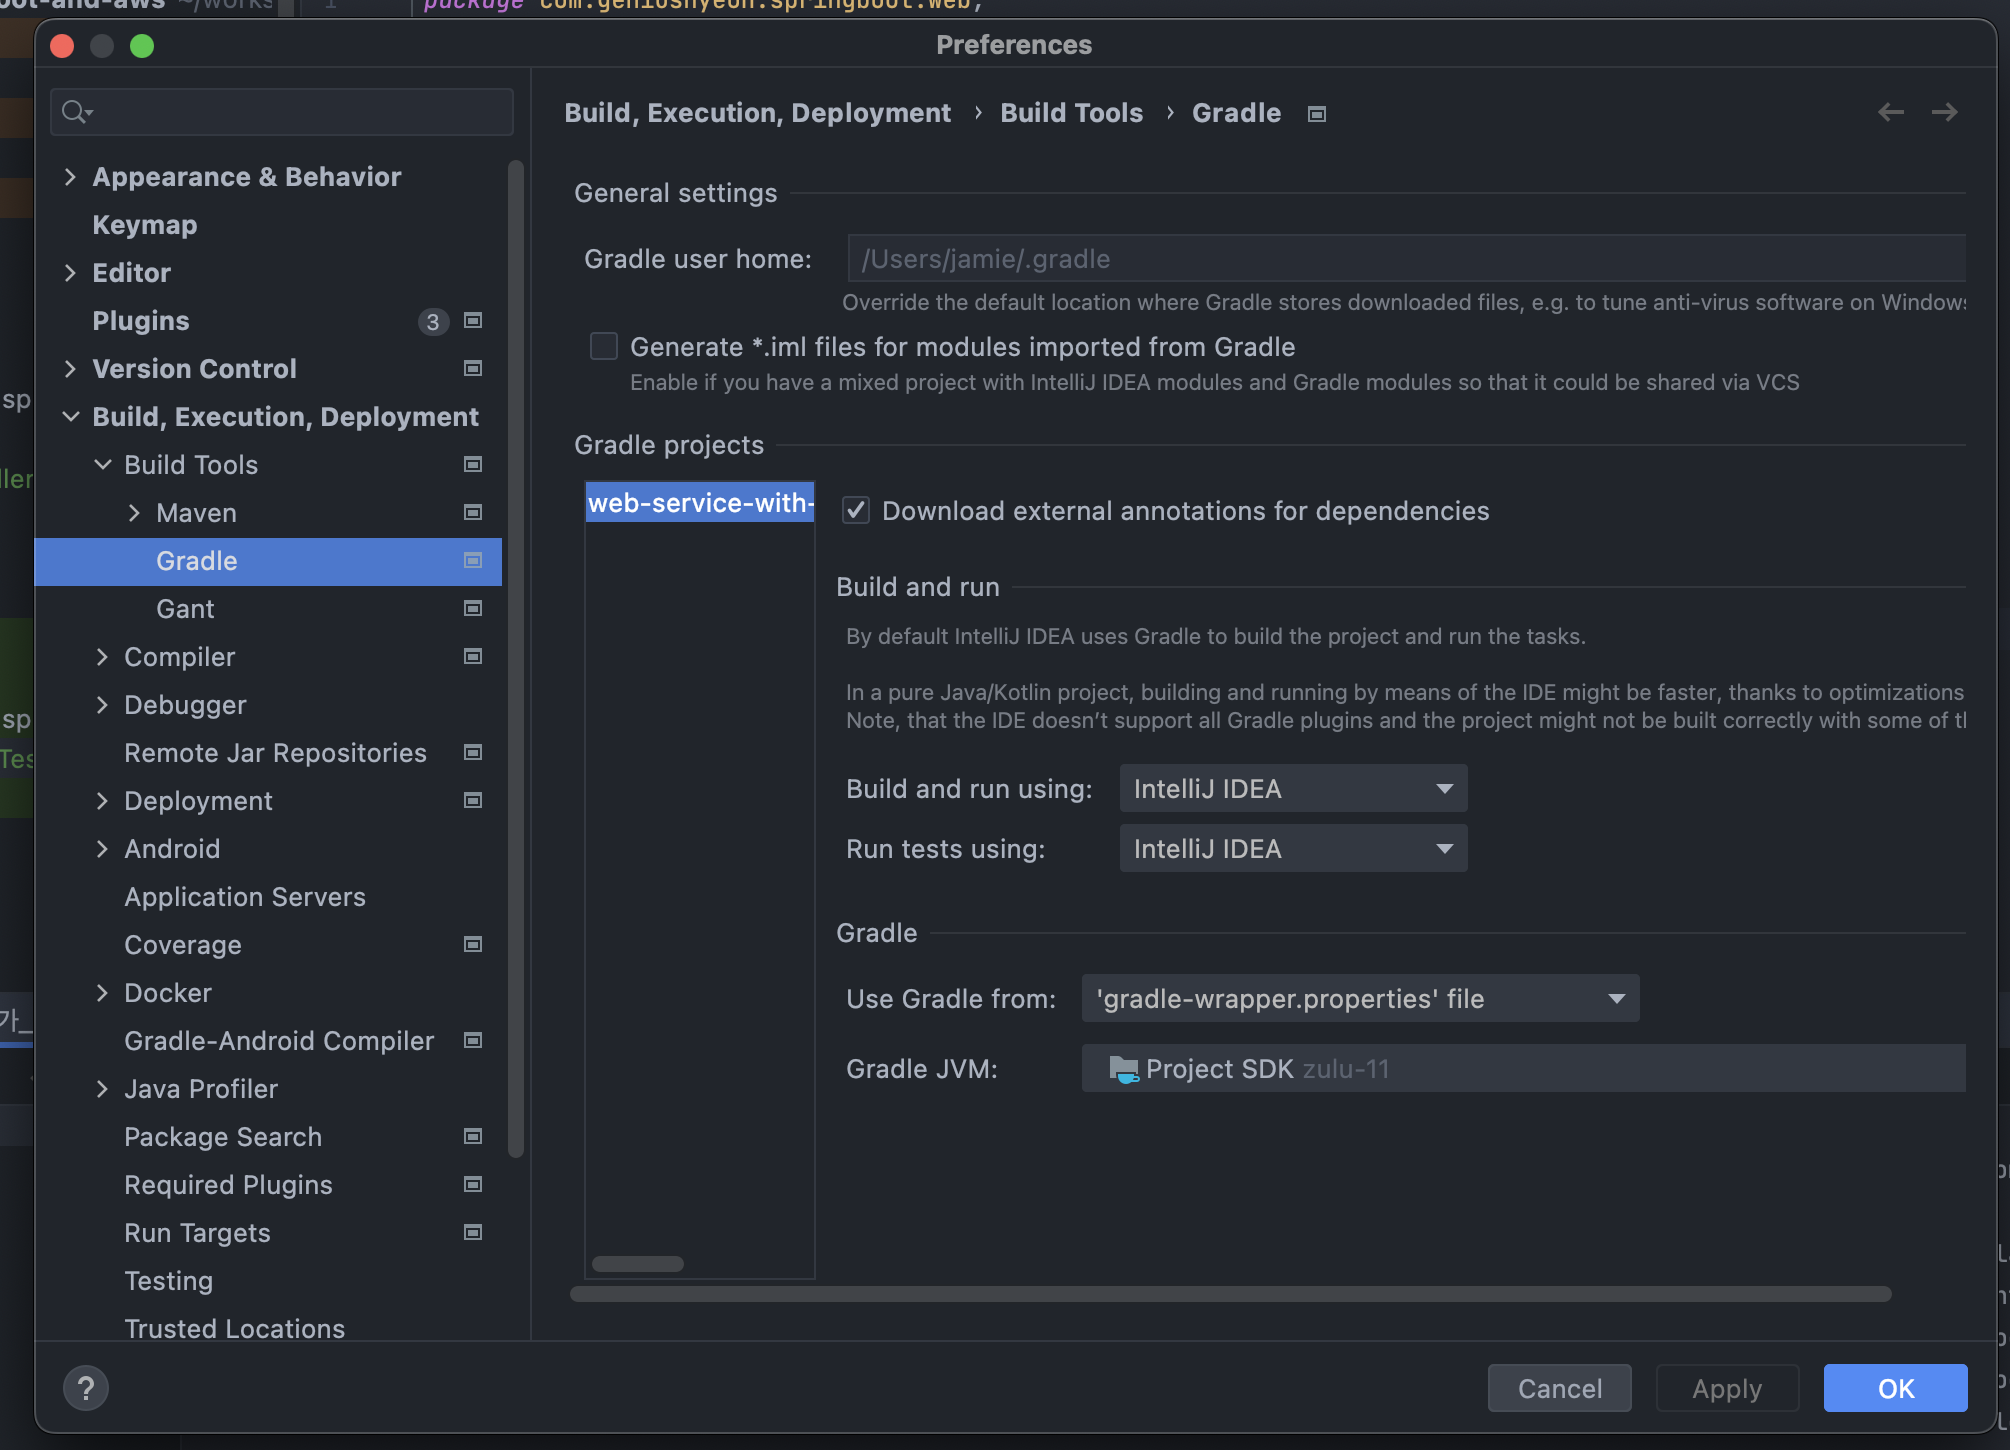
}Preferences에서 Build and run - Gradle -> IntelliJ로 바꿔주기

테스트 성공!
lombok
HelloResponseDto.java
package com.geniushyeon.springboot.web.dto;

import lombok.Getter;
import lombok.RequiredArgsConstructor;

@Getter // 선언된 모든 필드의 get method 생성
@RequiredArgsConstructor // 선언된 모든 final 필드가 포함된 생성자 생성
public class HelloResponseDto {

    private final String name;
    private final int amount;
}
HelloResponseDtoTest.java
package com.geniushyeon.springboot.web.dto;

import org.junit.jupiter.api.Test;
import static org.assertj.core.api.Assertions.assertThat;

public class HelloResponseDtoTest {

    @Test
    void 롬복_기능_테스트() {

        // given
        String name = "test";
        int amount = 1000;

        // when
        HelloResponseDto dto = new HelloResponseDto(name, amount);

        // then
        assertThat(dto.getName()).isEqualTo(name);
        assertThat(dto.getAmount()).isEqualTo(amount);
    }
}
assertj
- CoreMatchers와 달리 추가적으로 라이브러리가 필요하지 않다.
- 자동완성이 좀 더 확실히 지원된다.

넓은 바다에서 유영하는 범고래