React만하다가 다른언어에 대해서 모르는 상태로 모듈을 적용하려다보니
삽질을 많이했습니다.
관련 자료는 https://github.com/react-native-seoul/react-native-naver-login
ios 부터 셋팅시작.
- npm install @react-native-seoul/naver-login --save
- cd ios && npx pod-install
- Info.plist에 파일 추가
<key>LSApplicationQueriesSchemes</key>
<array>
 <string>naversearchapp</string>
 <string>naversearchthirdlogin</string>
</array>
만약 LSApplicationQueriesSchemes 를 info에서 검색해서 보고 있으면
반드시 array 안에넣으셔야해요!!
<array>
<string>kakao</string>
</array>
<array>
<string>naversearchapp</string>
<string>naversearchthirdlogin</string>
</array>
이렇게 array 두개나오면 무조건 빌드실패합니다!!!!!
1번째 삽질.
4. URL scheme 추가
ios 폴더에서 프로젝트.xcworkspace/
xcode 실행됨.
프로젝트 > tagets 의 자기프로젝트이름 > info > URL Types
indentifier랑 **URL Schemes** 랑 저는 이름일치시켯습니다. (편함)
URL Schemes는 네이버개발자 어플리케이션에 등록을해야해서 반드시기억!
info.plist에
<dict>
<key>CFBundleTypeRole</key>
<string>Editor</string>
<key>CFBundleURLName</key>
<string>aniwalk</string>
<key>CFBundleURLSchemes</key>
<array>
<string>{{ CUSTOM URL SCHEME }}</string>
</array>
</dict>
요런식으로 추가되는지 확인
5. AppDelegate.mm의 application:openURL:options 에서 URL 핸들링 로직 추가
2번째 삽질구간...
#import <NaverThirdPartyLogin/NaverThirdPartyLoginConnection.h>
...
// 다른 URL 핸들링 로직이 없는경우
- (BOOL)application:(UIApplication *)application
openURL:(NSURL *)url
options:(NSDictionary<UIApplicationOpenURLOptionsKey,id> *)options {
return [[NaverThirdPartyLoginConnection getSharedInstance] application:app openURL:url options:options];
}
// 다른 URL 핸들링 로직이 같이 있는 경우
- (BOOL)application:(UIApplication *)application
openURL:(NSURL *)url
options:(NSDictionary<UIApplicationOpenURLOptionsKey,id> *)options {
// naver
if ([url.scheme isEqualToString:@"{{ CUSTOM URL SCHEME }}"]) {
return [[NaverThirdPartyLoginConnection getSharedInstance] application:application openURL:url options:options];
}
// kakao
if([RNKakaoLogins isKakaoTalkLoginUrl:url]) {
return [RNKakaoLogins handleOpenUrl: url];
}
...
}
이런식으로 추가하라고하길래 BOOl저부분부터 복사해서 넣엇더니 빌드오류남..ㅋ
이것도 모르고 하루종일 시도함.
(BOOL)application:(UIApplication *)application 으로 찾으면 2개가 검색되는데
(BOOL)application:(UIApplication *)application didFinishLaunchingWithOptions:(NSDictionary *)launchOptions 제외
65번줄에 이렇게 추가해주면됨.
- (BOOL)application:(UIApplication *)application
openURL:(NSURL *)url
options:(NSDictionary<UIApplicationOpenURLOptionsKey,id> *)options {
return [[NaverThirdPartyLoginConnection getSharedInstance] application:application openURL:url options:options];
}
Java 셋팅
1.MainActivity.java 파일
@Override
protected void onCreate(Bundle savedInstanceState) {
super.onCreate(savedInstanceState);
RNNaverLoginModule.initialize(this);
}
추가하고 import com.dooboolab.naverlogin.RNNaverLoginModule;
여기서 또 안드로이드 스튜디오에서 빌드하는데 에러나길래 봤더니
import 구문이 빠져있었음..
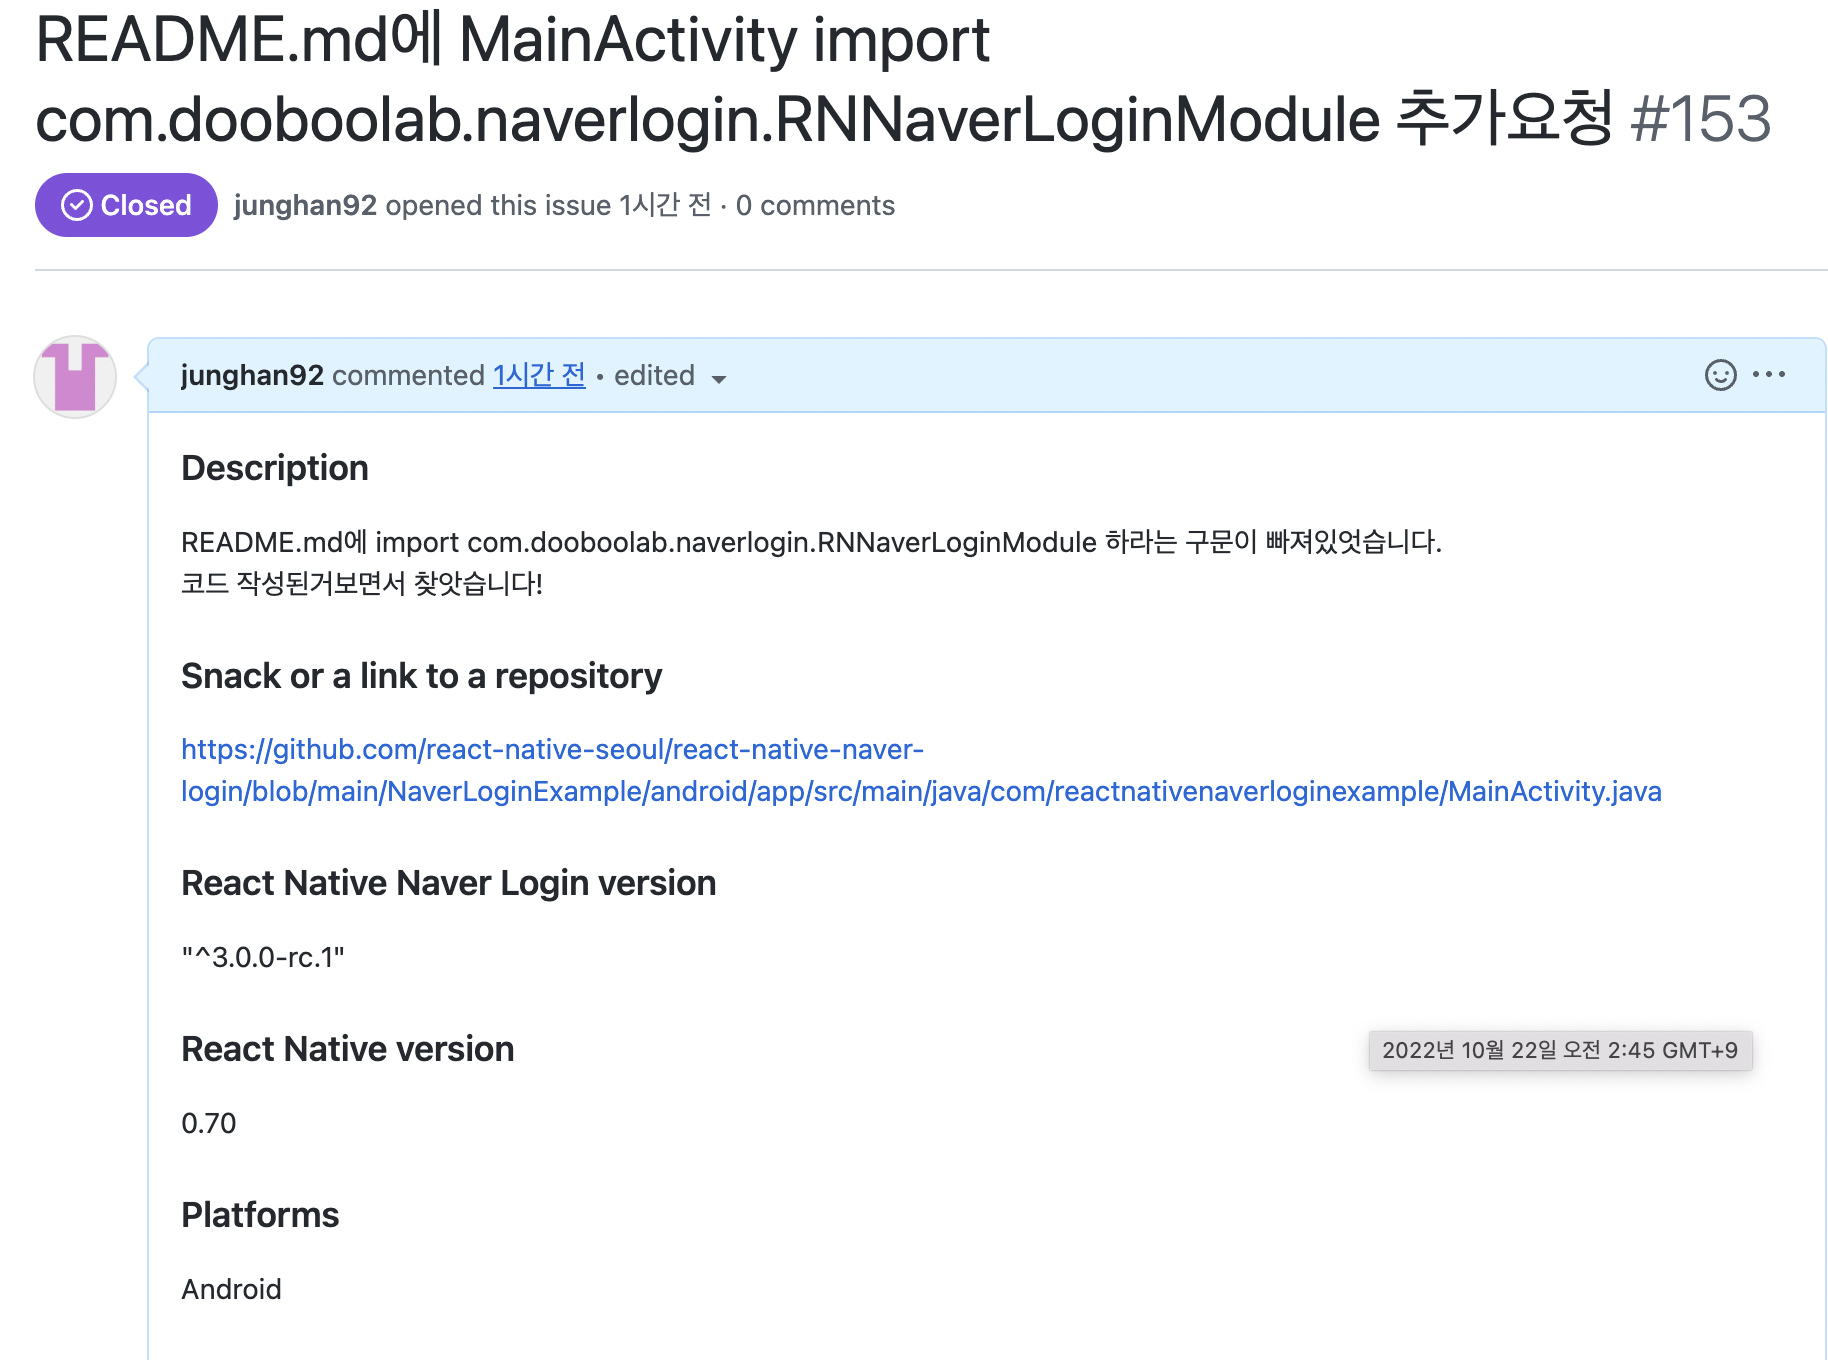
https://github.com/react-native-seoul/react-native-naver-login/issues/153
처음으로 오픈소스 기여함 .. 뿌듯!
그리고 사용할 컴포넌트에서 해당코드복사하여 사용하면됩니다.
import React, {useState} from 'react';
import {SafeAreaView, Button, View, Text, ScrollView} from 'react-native';
import NaverLogin, {
NaverLoginResponse,
GetProfileResponse,
} from '@react-native-seoul/naver-login';
const consumerKey = '';
const consumerSecret = '';
const appName = 'Hello';
const serviceUrlScheme = 'navertest';
const App = () => {
const [success, setSuccessResponse] =
useState<NaverLoginResponse['successResponse']>();
const [failure, setFailureResponse] =
useState<NaverLoginResponse['failureResponse']>();
const [getProfileRes, setGetProfileRes] = useState<GetProfileResponse>();
const login = async () => {
const {failureResponse, successResponse} = await NaverLogin.login({
appName,
consumerKey,
consumerSecret,
serviceUrlScheme,
});
setSuccessResponse(successResponse);
setFailureResponse(failureResponse);
};
const logout = async () => {
try {
await NaverLogin.logout();
setSuccessResponse(undefined);
setFailureResponse(undefined);
setGetProfileRes(undefined);
} catch (e) {
console.error(e);
}
};
const getProfile = async () => {
try {
const profileResult = await NaverLogin.getProfile(success!.accessToken);
setGetProfileRes(profileResult);
} catch (e) {
setGetProfileRes(undefined);
}
};
const deleteToken = async () => {
try {
await NaverLogin.deleteToken();
setSuccessResponse(undefined);
setFailureResponse(undefined);
setGetProfileRes(undefined);
} catch (e) {
console.error(e);
}
};
return (
<SafeAreaView
style={{alignItems: 'center', justifyContent: 'center', flex: 1}}>
<ScrollView
style={{flex: 1}}
contentContainerStyle={{flexGrow: 1, padding: 24}}>
<Button title={'Login'} onPress={login} />
<Gap />
<Button title={'Logout'} onPress={logout} />
<Gap />
{success ? (
<>
<Button title="Get Profile" onPress={getProfile} />
<Gap />
</>
) : null}
{success ? (
<View>
<Button title="Delete Token" onPress={deleteToken} />
<Gap />
<ResponseJsonText name={'Success'} json={success} />
</View>
) : null}
<Gap />
{failure ? <ResponseJsonText name={'Failure'} json={failure} /> : null}
<Gap />
{getProfileRes ? (
<ResponseJsonText name={'GetProfile'} json={getProfileRes} />
) : null}
</ScrollView>
</SafeAreaView>
);
};
const Gap = () => <View style={{marginTop: 24}} />;
const ResponseJsonText = ({json = {}, name}: {json?: object; name: string}) => (
<View
style={{
padding: 12,
borderRadius: 16,
borderWidth: 1,
backgroundColor: '#242c3d',
}}>
<Text style={{fontSize: 20, fontWeight: 'bold', color: 'white'}}>
{name}
</Text>
<Text style={{color: 'white', fontSize: 13, lineHeight: 20}}>
{JSON.stringify(json, null, 4)}
</Text>
</View>
);
export default App;
여기까지하셧으면 거의다하셧는데 api 사용하기위해서 네이버 개발자 플랫폼에서 api 신청하셔야 사용가능
const consumerKey = '';
const consumerSecret = '';
const appName = 'Hello';
const serviceUrlScheme = 'navertest';
여기 채워줘야합니다
https://developers.naver.com/main/
네이버 로그인 > 어플리케이션 등록신청(api신청) ->
1. 어플이름 설정
2. 사용 api 옵션 설정
3. react-native기때문에 안드로이드 ios 각각 환경추가
안드 : 안드선택 -> 다운로드 url: https://localhost ,패키지이름:
AndroidManifest.xml 파일에 package 검색하면 옆에 나오는 이름넣어주면됨.
아무것도 안바꿧으면 보통 com.프로젝트이름 으로 설정
ios:
다운로드 url : https://localhost
URL Scheme : 아까 설정한 값 넣어주기!
후 등록하기 하면 내 어플리케이션에 등록됩니다.
consumerKey : 클라이언트 키
consumerSecret : 스크릿 키
appName : android bundle id com.prject
serviceUrlScheme : ios URL scheme
네이버 로그인 진행
끄읕

Frontend Junior