
mongoDB에 data 생성 및 읽기

https://mongoosejs.com/docs/queries.html <- mongoose query for CRUD docs
1. 저장 (Create)
변수를 저장하기 => var.save()
아래 사진의 front 단에서
extends base.pug

block content
    h4 Title
    form(method="POST")
        //- action = 데이터를 전송할 위치 (목적지)
        input(name="title", placeholder="Title", type="text", required)
        input(name="description", placeholder="Description", type="text", required)
        input(name="hashtags", placeholder="Hashtags, separated by comma.", type="text", required)
        input(type="submit", value="upload video")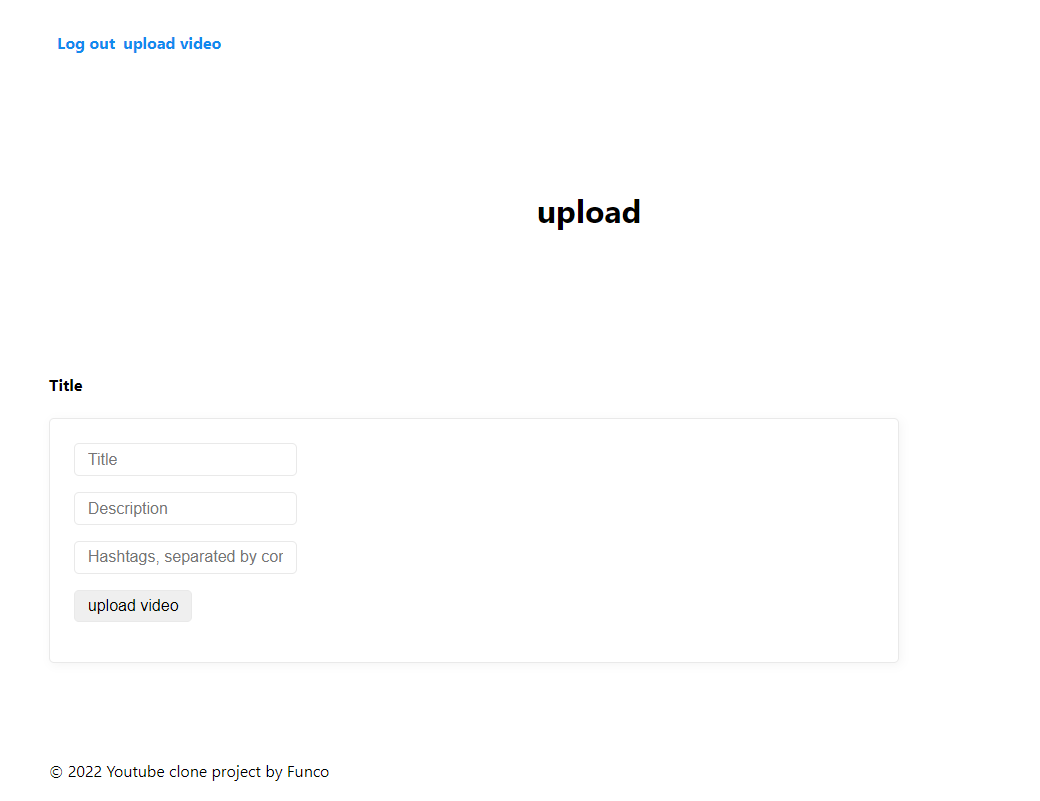
정보를 입력하고 submit! 하면 input data가 라우터를 따라서 아래 서버 postUpload로 전송된다.
videoRouter.route("/upload").get(getUpload).post(postUpload);
//videoController.js

import express from "express";
import Video from "../models/Video"; // data model import

export const postUpload = async (req, res) => {
  /*
  const { title } = req.body;
  const { description } = req.body;
  const { hastags } = req.body;
  아래 한 줄로 병합
  */
  const { title, description, hashtags } = req.body;
  const video = new Video({
    title,
    description,
    createdAt: Date.now(),
    hashtags: hashtags.split(",").map((word) => `#${word}`),
    meta: {
      views: 0,
      rating: 0,
    },
  });
  await video.save();
  return res.redirect("/");
};
변수를 만들고 save로 저장하거나 아래와 같이 바로 create()로 저장할 수도 있다.
export const postUpload = async(req, res) => {
const { title, description, hashtags } = req.body;
await Video.create({
title,
description,
createdAt: Date.now(),
hashtags: hashtags.split(",").map((word) => `#${word}`),
meta: {
views: 0,
rating: 0,
},
})
}
> 저장된 data 확인하기 (cmd : mongo -> show dbs)
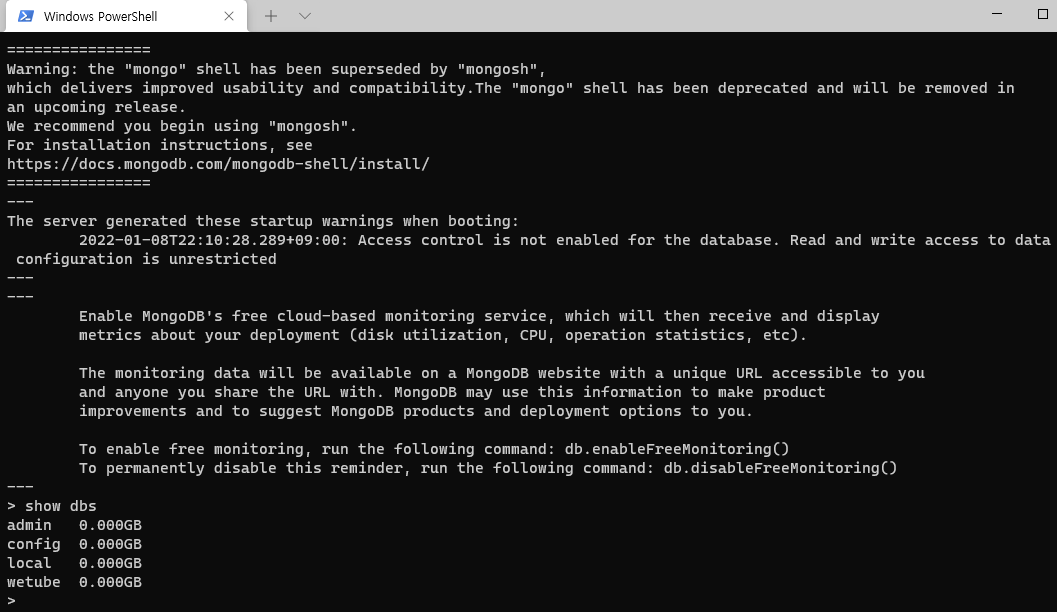
wetube db가 새로 생성되었음....!!!!
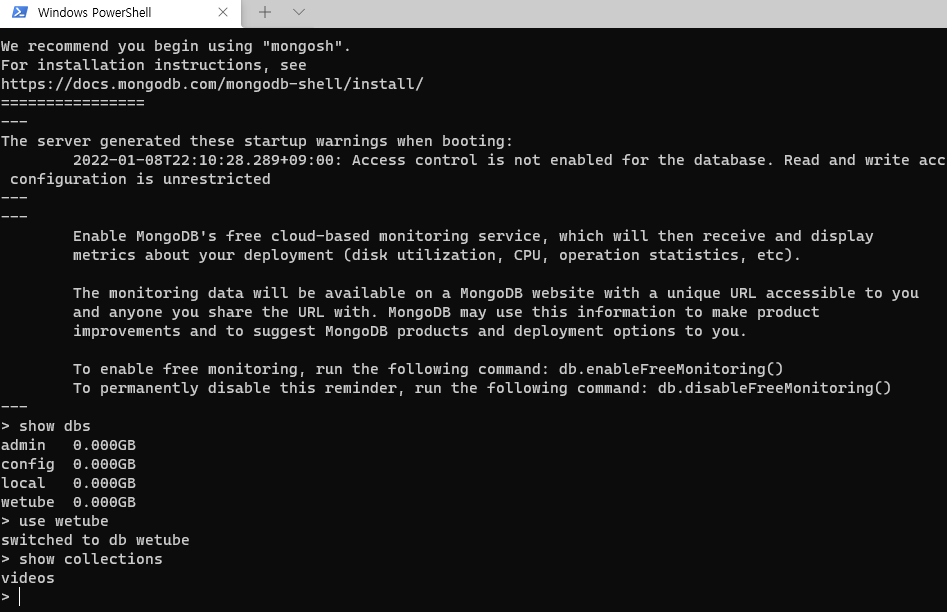
저장한 변수 명으로 DB에 자동 생성!!!
## 2. 불러오기 (Read)
> model.find()
```javascript
// videoController.js
import express from "express";
import Video from "../models/Video";
export const home = async (req, res) => {
const videos = await Video.find({}); //// DB에서 받을때까지 대기!
return res.render("home", {
pageTitle: "home",
fakeUser,
videosInfo: videos,
});
};DB에서 꺼낸 data를 videos 변수에 담아 home.pug로 videosInfo라는 이름으로 보낸다.
//home.pug

extends base.pug
include mixins/video


block content
    if fakeUser.loginCheck
        h1 Welcome to Wetube #{fakeUser.ID} - trending video
    else
        h1 Please join us!
            input(placeholder="what is your name")
            button send
    each video in videosInfo
        +video(video)
        //- mixin을 호출
    else
        li Sorry nothing found
videosInfo를 받아서 video라는 변수로 video("mixins")로 보내고 결과를 호출받는다.
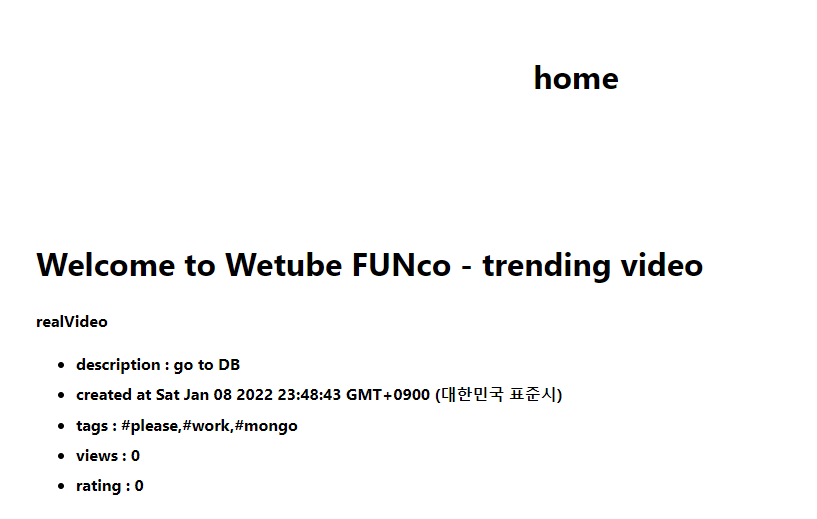
//video.pug  (mixin)

mixin video(info)
   div
       h4 #{info.title}
           ul
               li description : #{info.description}
               li created at #{info.createdAt}
               li tags : #{info.hashtags}
               li views : #{info.meta.views}
               li rating : #{info.meta.rating}
전달받은 변수로 위 HTML를 만들어 home.pug로 반환한다.
결과 front단은 아래와 같다.

T.T