시작하기에 앞서
해당 포스팅의 내용은 기존에 작성하고 있는 중인 포스팅인 "TypeORM의 QueryBuilder vs FindOperator with Pagination | Searching | Sorting"에 포함되어 있었지만 일련의 이유로 인해 따로 분리해서 기록으로 남기자고 한다.
nest에서 간단한 기능 구현 테스팅을 할때 유용한 방법이 아닐까 생각한다.
NestJS에서 더미데이터 생성 (with seeder)
Nest에서 Searching(검색), Sorting(정렬) 및 Pagination을 구현하는데 있어 직접 생성해 본 유저 데이터로는 원하는 테스트를 해보는 것이 부족하다고 판단하였다. 그렇다고 직접 어떤 데이터를 생성하는 것은 비효율(? ... 사실은 귀찮...)적이라 판단이 들어 테스팅을 위한 더미 데이터를 생성해보기로 하였다.
모든 코드는 npm nest-js 설명 글을 통해 진행한다.
💨 nestjs-seeder
단계별 진행
✔ 프로덕트 엔티티 생성
import { randomInt } from "crypto";
import { Factory } from "nestjs-seeder";
import { Column, Entity, PrimaryGeneratedColumn } from "typeorm";

@Entity('products')
export class Product {

  @PrimaryGeneratedColumn()
  id: number;

  @Column()
  title: string;

  @Column()
  description: string;

  @Column()
  image: string;

  @Column()
  price: number;
}
✔ 엔티티 및 레포지터리 모듈에 등록
app 모듈에서 Product 엔티티를 등록해주고, Product 모듈에선 TypeORM을 통해 받아온 엔티티와 커스텀 레포지터리를 등록해준다.
// Product Module

imports: [
	TypeOrmModule.forFeature([Product]),
    TypeOrmExModule.forCustomRepository([ProductRepository]),
],
해당 내용은 따로 설명없이 넘어가도록 하겠다.
✔ 서비스단 생성 -- 보편적 구현
import { Injectable } from '@nestjs/common';
import { Product } from './model/product.entity';
import { ProductRepository } from './repositories/product.repository';

@Injectable()
export class ProductService {
  constructor(private readonly productRepository: ProductRepository) {}

  async all(): Promise<Product[]> {
    return await this.productRepository.find();
  }
}
✔ 컨트롤러단 생성 -- 보편적 구현
@Controller('products')
export class ProductController {
  constructor(private productService: ProductService) {}

  @Get('frontend')
  async frontend() {
    return this.productService.all();
  }
}
✔ 설치
더미데이터를 생성하는데 있어 nestjs-seeder 라이브러리를 사용하기로 하였다.
해당 라이브러리는 데이터베이스 유형에 의존하지 않고, ES2015 Class 스펙을 준수하면 되므로 선택하게 되었다.
npm install nestjs-seeder --save-dev✔ Define Seeder
import { Injectable } from "@nestjs/common";
import { DataFactory, Seeder } from "nestjs-seeder";
import { Product } from "./model/product.entity";
import { ProductRepository } from "./repositories/product.repository";

@Injectable()
export class ProductSeeder implements Seeder {
  constructor(private readonly productRepository: ProductRepository) {}

  seed(): Promise<any> {
    const products = DataFactory.createForClass(Product).generate(50);

    return this.productRepository.insert(products);
  }
  drop(): Promise<any> {
    return this.productRepository.delete({});
  }
}
생성한 ProductSeeder와 같은 seeder 클래스는 Seeder 인터페이스를 구현체로 가진다. 또한, 위와 같이 seed()와 drop() 이란 두 메서드를 필수적으로 요하게 된다.
seed 메서드를 통해서 db에 데이터를 insert 시킬 수 있고, drop 메서드를 통해서 db(테이블)의 데이터를 clear 시킬 수 있다.
db에 데이터를 insert 시키기 위해선, 제공하는 메서드인 DataFactory.createForClass를 사용하면 된다.
추가로 .generate(data num)를 통해서 원하는 양의 데이터를 생성할 수 있다.
✔ Advance Usage with faker || Entity에 @Factory 데코레이터 생성
엔티티에 정의한 컬럼들에게 (가짜 데이터들) 조금 더 특정한 조건하에 데이터를 입히고자 자바스크립트의 faker 를 사용하기로 하였다.
faker의 사용은 faker-js의 github 설명을 토대로 진행하였다.
💨 faker-js/generate massive fake data
라이브러리 설치
npm i -D @types/fakerfaker를 통한 fake 데이터 구체화 --엔티티 수정
// product.entity.ts

import { randomInt } from "crypto";
import { Factory } from "nestjs-seeder";
import { Column, Entity, PrimaryGeneratedColumn } from "typeorm";

@Entity('products')
export class Product {

  @PrimaryGeneratedColumn()
  id: number;

  @Factory(faker => faker.lorem.words(2))
  @Column()
  title: string;

  @Factory(faker => faker.lorem.words(10))
  @Column()
  description: string;

  @Factory(faker => faker.image.imageUrl())
  @Column()
  image: string;

  @Factory(() => randomInt(10, 100))
  @Column()
  price: number;
}
faker를 사용해주기 전 미리 언급해야할 부분이 있다. 바로 @Factory 데코레이터이다. 해당 데코레이터는 seeder를 구현하는데있어 필수적이다.
@Factory 데코레이터를 사용하여 프로퍼티의 값을 지정할 수 있다. 해당 값은 시드 프로세스 과중에 사용된다.
데코레이터의 파라미터로써 콜백함수를 사용할 수 있고, faker를 이 부분에 구현케 하였다.
✔ Register the seeder
실행중인 nest의 src 폴더 아래 seeder.ts라는 이름으로 생성할 수 있다.
seeder() 함수는 nestJS의 @Module()과 같이 imports와 providers와 같은 메타데이터를 제공한다.
우린 imports를 통해 db를 불러올 것이고, run() 메서드를 통하여 ProductSeeder를 실행할 것이다. (이 역시 seeder 가 제시하는 방법이다.)
import { TypeOrmModule } from "@nestjs/typeorm";
import { seeder } from "nestjs-seeder";
import { Product } from "./model/product.entity";
import { ProductSeeder } from "./product.seeder";
import { ProductRepository } from "./repositories/product.repository";
import { TypeOrmExModule } from "./repositories/typeorm-ex.module";

seeder({
  imports: [
    TypeOrmModule.forRoot({
      type: 'mysql',
      host: 'localhost',
      port: 3306,
      username: 'root',
      password: 'Janelevy0318@',
      database: 'admin',
      autoLoadEntities: true,
      synchronize: true,
      entities: [Product],
    }),
    TypeOrmModule.forFeature([Product]),
    TypeOrmExModule.forCustomRepository([ProductRepository]),
  ]
}).run([ProductSeeder]);
✔ Integrate your seeder into command line
// package.json
"scripts": {
"seed": "ts-node src/product/seeder.ts"
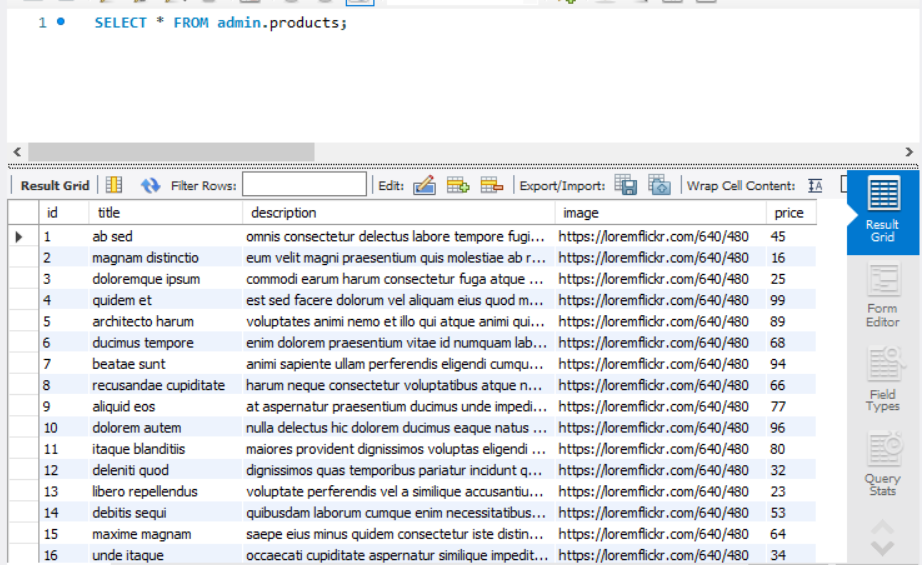
}실행하기 npm run seed이렇게 더미(or 가짜)데이터의 생성이 전부 끝났다. 컨트롤러의 요청 라우터에 정의한것에 따라 모든 데이터를 조회해보자.
✔ 포스트맨에서 데이터 확인
http://localhost:5000/api/products/frontend{
"id": 1,
"title": "ab sed",
"description": "omnis consectetur delectus labore tempore fugit illum tempora enim dolorem",
"image": "https://loremflickr.com/640/480",
"price": 45
},
{
"id": 2,
"title": "magnam distinctio",
"description": "eum velit magni praesentium quis molestiae ab reprehenderit exercitationem ab",
"image": "https://loremflickr.com/640/480",
"price": 16
},
{
"id": 3,
"title": "doloremque ipsum",
"description": "commodi earum harum consectetur fuga atque consectetur ducimus tenetur adipisci",
"image": "https://loremflickr.com/640/480",
"price": 25
},
// ........
{
"id": 49,
"title": "omnis ad",
"description": "ipsum tempore reprehenderit iusto consectetur numquam maiores iusto nemo explicabo",
"image": "https://loremflickr.com/640/480",
"price": 58
},
{
"id": 50,
"title": "sapiente eos",
"description": "necessitatibus voluptate temporibus quo dicta reiciendis debitis quod accusantium distinctio",
"image": "https://loremflickr.com/640/480",
"price": 78
}
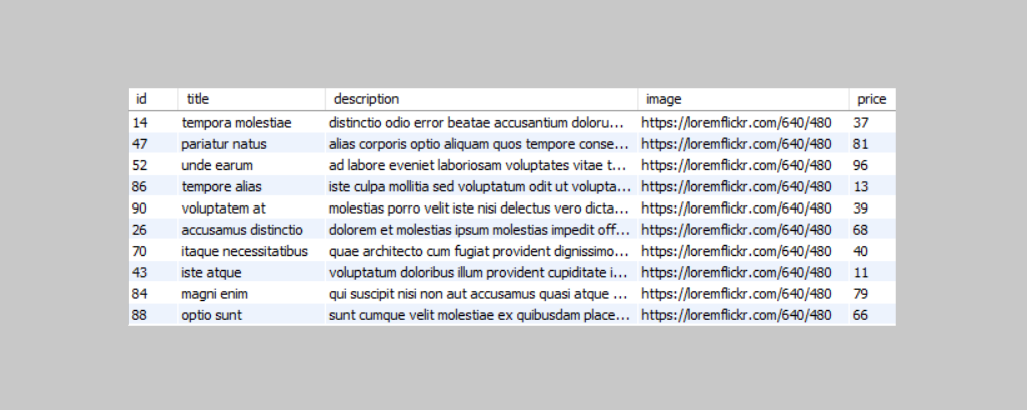
]우리가 seeder를 통한, 더하여 faker를 통해 구체화한 더미 데이터들이 잘 조회된 것을 확인할 수 있다.
이제 해당 더미 데이터를 이용해 우린 searching, sorting, pagination 등의 다양한 기능 구현 테스트를 해볼 수 있다.