📖예제
useReducer를 사용하여 일기데이터 상태변화로직을 App.js컴포넌트로부터 분리한다
App.js컴포넌트에서 기존 작성했었던 useState를 주석처리하고 useReducer로 관리
(useReducer를 사용하는 이유는 복잡한 상태변화로직을 컴포넌트 밖으로 분리하기위해서 사용)
App.js코드
import { useReducer } from "react";

const reducer = (state, action) => {
  switch (action.type) {
    case "INIT": { return action.data; }

    case "CREATE": {
      const created_date = new Date().getTime();
      const newItem = { ...action.data, created_date };
      return [newItem, ...state];
    }

    case "REMOVE": {
      return state.filter((it) => it.id !== action.targetId);
    }

    case "EDIT": {
      return state.map((it) =>
        it.id === action.targetId ? { ...it, content: action.newContent } : it
      );
    }
    default:
      return state;
  }
};

const App = () => {
  const [data, dispatch] = useReducer(reducer, []);

  const dataId = useRef(0);

  const getData = async () => {
    const res = await fetch(
      "https://jsonplaceholder.typicode.com/comments"
    ).then((res) => res.json());

    const initData = res.slice(0, 20).map((it) => {
      return {
        author: it.email,
        content: it.body,
        emotion: Math.floor(Math.random() * 5) + 1,
        created_date: new Date().getTime(),
        id: dataId.current++,
      };
    });
    dispatch({ type: "INIT", data: initData });
  };

  const onCreate = useCallback((author, content, emotion) => {
    dispatch({
      type: "CREATE",
      data: { author, content, emotion, id: dataId.current },
    });
    dataId.current += 1;
  }, []);

  const onRemove = useCallback((targetId) => {
    dispatch({ type: "REMOVE", targetId });
  }, []);

  const onEdit = useCallback((targetId, newContent) => {
    dispatch({ type: "EDIT", targetId, newContent });
  }, []);

export default App;
<코드 설명>
1) useReducer는 React의 Hook기능이기에 상단에 import가 되었는지 확인한다
import { useReducer } from "react";
2) App컴포넌트에 const [data, setData] = useState([]); 대신에 useReducer를 넣어준다.
[data, dispatch]
배열의 비구조화할당에 0번째인자는 항상 state이다. 그래서 기존state이름인 data를 넣고
두번째는 반드시 dispatch로 넣어줘야한다.
useReducer(reducer, []) 두개의 인자를 꼭 전달해야하는데,
첫번째인자는 reducer(상태변화처리함수) / 두번째인자는 state의 초기값
(상태변화처리함수인 reducer는 컴포넌트 밖으로 분리하여 직접 만들어줘야한다.)
const App = () => {
const [data, dispatch] = useReducer(reducer, []);
3) reducer는 두개의 파라미터를 가짐
첫번째 파라미터는 상태변화가 일어나기직전의 현재상태,
두번째 파라미터는 상태변화에 대한 정보가 들어있는 action객체
기존에 setData가 했었던 역할을 dispatch와 reducer가 나눠서 수행하도록 만들어준다
const reducer = (state, action) => {
switch (action.type) {
4) [initData함수]
기존 setData(initData);를 dispatch와 reducer가 나눠서 수행하도록해야함.
➡️dispatch로 type은 "INIT", action객체로 보내줄 data는 initData를 전달해준다.
const initData = res.slice(0, 20).map((it) => {
return { author: it.email, content: it.body, emotion: Math.floor(Math.random() * 5) + 1, created_date: new Date().getTime(), id: dataId.current++ };
});
dispatch({ type: "INIT", data: initData });
};
➡️ INIT에 해당하는 reducer
action객체로 data를 받았으니까 action.data를 return해준다.
case "INIT": { return action.data; }
5) [onCreate함수]
기존setData((data) => [newItem, ...data])를 dispatch와 reducer가 나눠서 수행하도록해야함.
➡️onCreate함수에 dispatch로 type은 CREATE, data는 기존에 newItem에 있던 객체들을 써주고 created_date은 위에 reducer에 작성해준다.
const onCreate = useCallback((author, content, emotion) => {
dispatch({ type: "CREATE", data: { author, content, emotion, id: dataId.current } });
dataId.current += 1;
}, []);
➡️created_date를 별도로 만들어주고
newItem을 새로 생성하여 아래에서 가져왔던 action.data를 스프레드 연산자로 펼쳐 추가로 created_date를 넣어준다
newItem을 원본배열에 추가해서 그 newItem을 새로운 state의 값으로 활용
case "CREATE": {
const created_date = new Date().getTime();
const newItem = { ...action.data, created_date };
return [newItem, ...state];
}
6) [onRemove함수]
기존setData((data) => data.filter((it) => it.id !== targetId));를 dispatch와 reducer가 나눠서 수행하도록해야함.
➡️ data를 넣어야하는데, 이거는 reducer한테 어떤아이디를 가진 일기를 지우라고 전달할것이기에 targetId를 넣음
const onRemove = useCallback((targetId) => {
dispatch({ type: "REMOVE", targetId });
}, []);
➡️reducer에서는 기존코드였던data.filter((it) => it.id !== targetId)에서 data대신 state를, targetId는 action객체로 받았으니까 점 표기법으로 작성해준다.
case "REMOVE": {
return state.filter((it) => it.id !== action.targetId);
}
7) [onEdit함수]
기존 setData((data) => data.map((it) => it.id === targetId ? { ...it, content: newContent } : it );를 dispatch와 reducer가 나눠서 수행하도록해야함.
➡️onEdit함수에 dispatch로 type은 EDIT, data대신에 수정하는대상을 알려주는 targetId와 수정할 newContent를 action으로 전달해준다.
const onEdit = useCallback((targetId, newContent) => {
dispatch({ type: "EDIT", targetId, newContent });
}, []);
➡️ action으로 targetId, newContent가 전달되었다.
map함수를 이용하여 기존아이디와 타겟아이디가 일치한지 확인후에 그 요소의 값은 content만 newContent로 수정을 해주고 나머지요소는 그대로 돌려줌.
요소들을 합쳐 새로운 배열을 만들어 새로운 state로 보내줌
case "EDIT": {
return state.map((it) => it.id === action.targetId ? { ...it, content: action.newContent } : it
);
}
useState와 달리 useReducer의 dispatch는
함수형업데이트가 없어도 호출을하면 현재의 state를 reducer함수가 참조를하여 자동으로 업데이트해줘서 useCallback을 사용하면서 deps를 걱정하지않아도 된다!
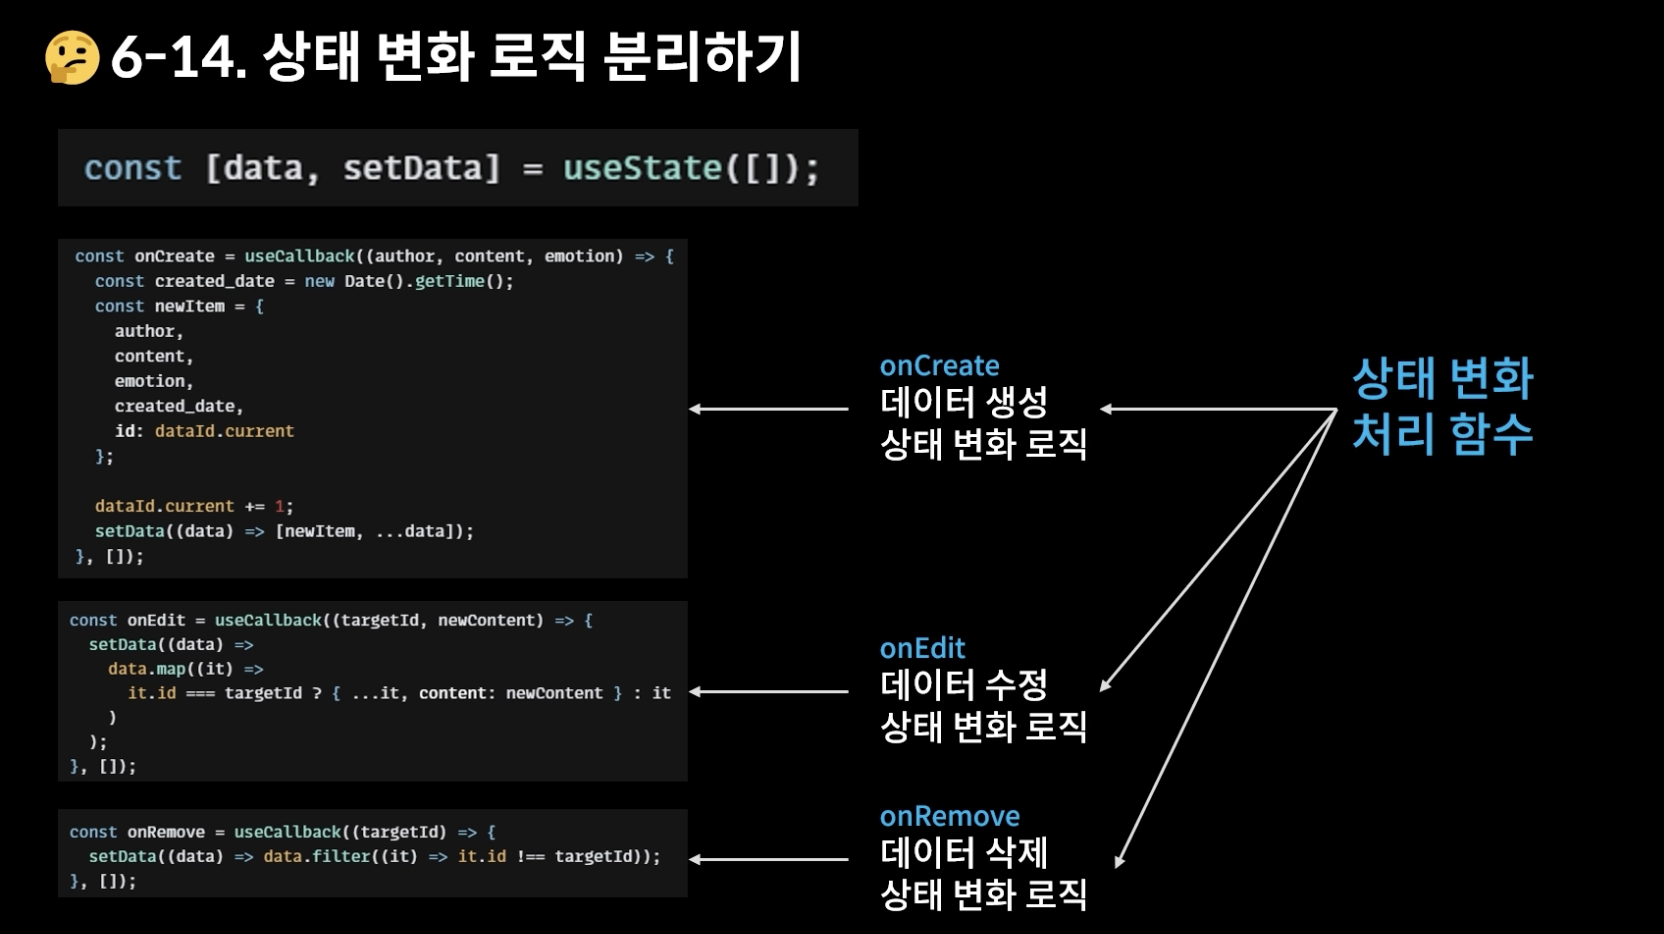
🖥결과화면
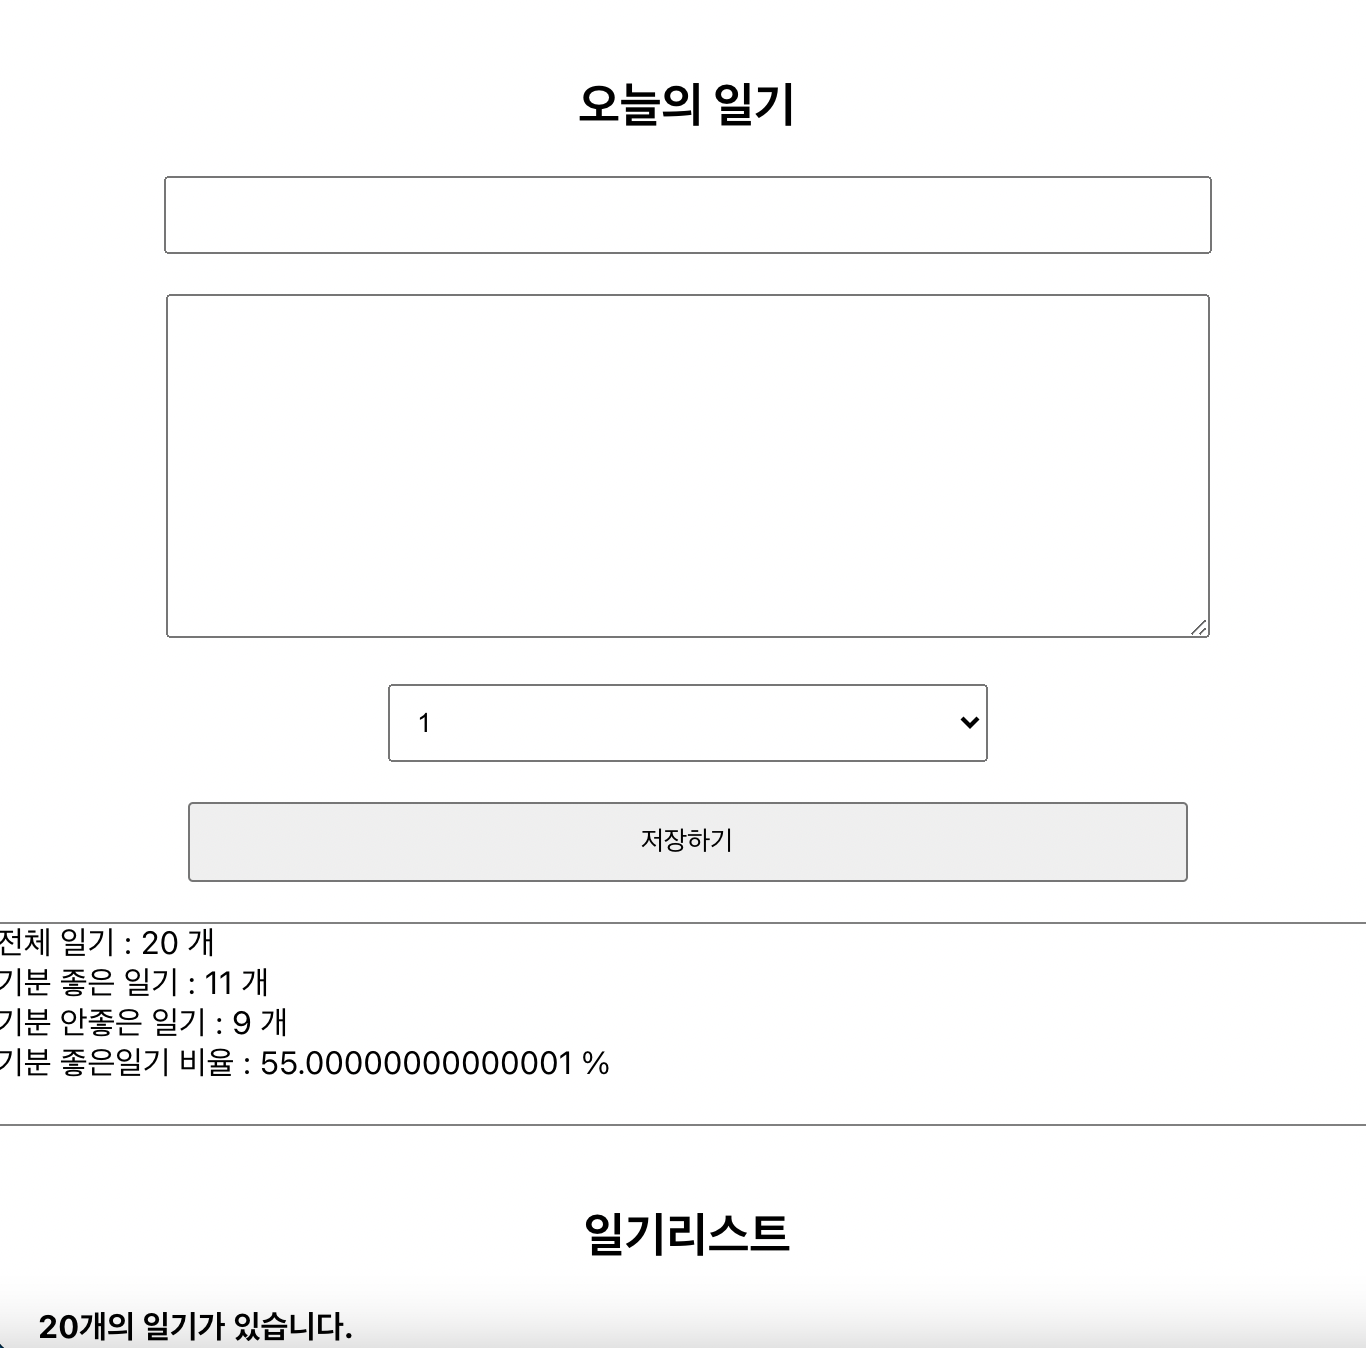
화면에 잘 렌더링이되고
새로운 일기 저장도 잘 작동하고
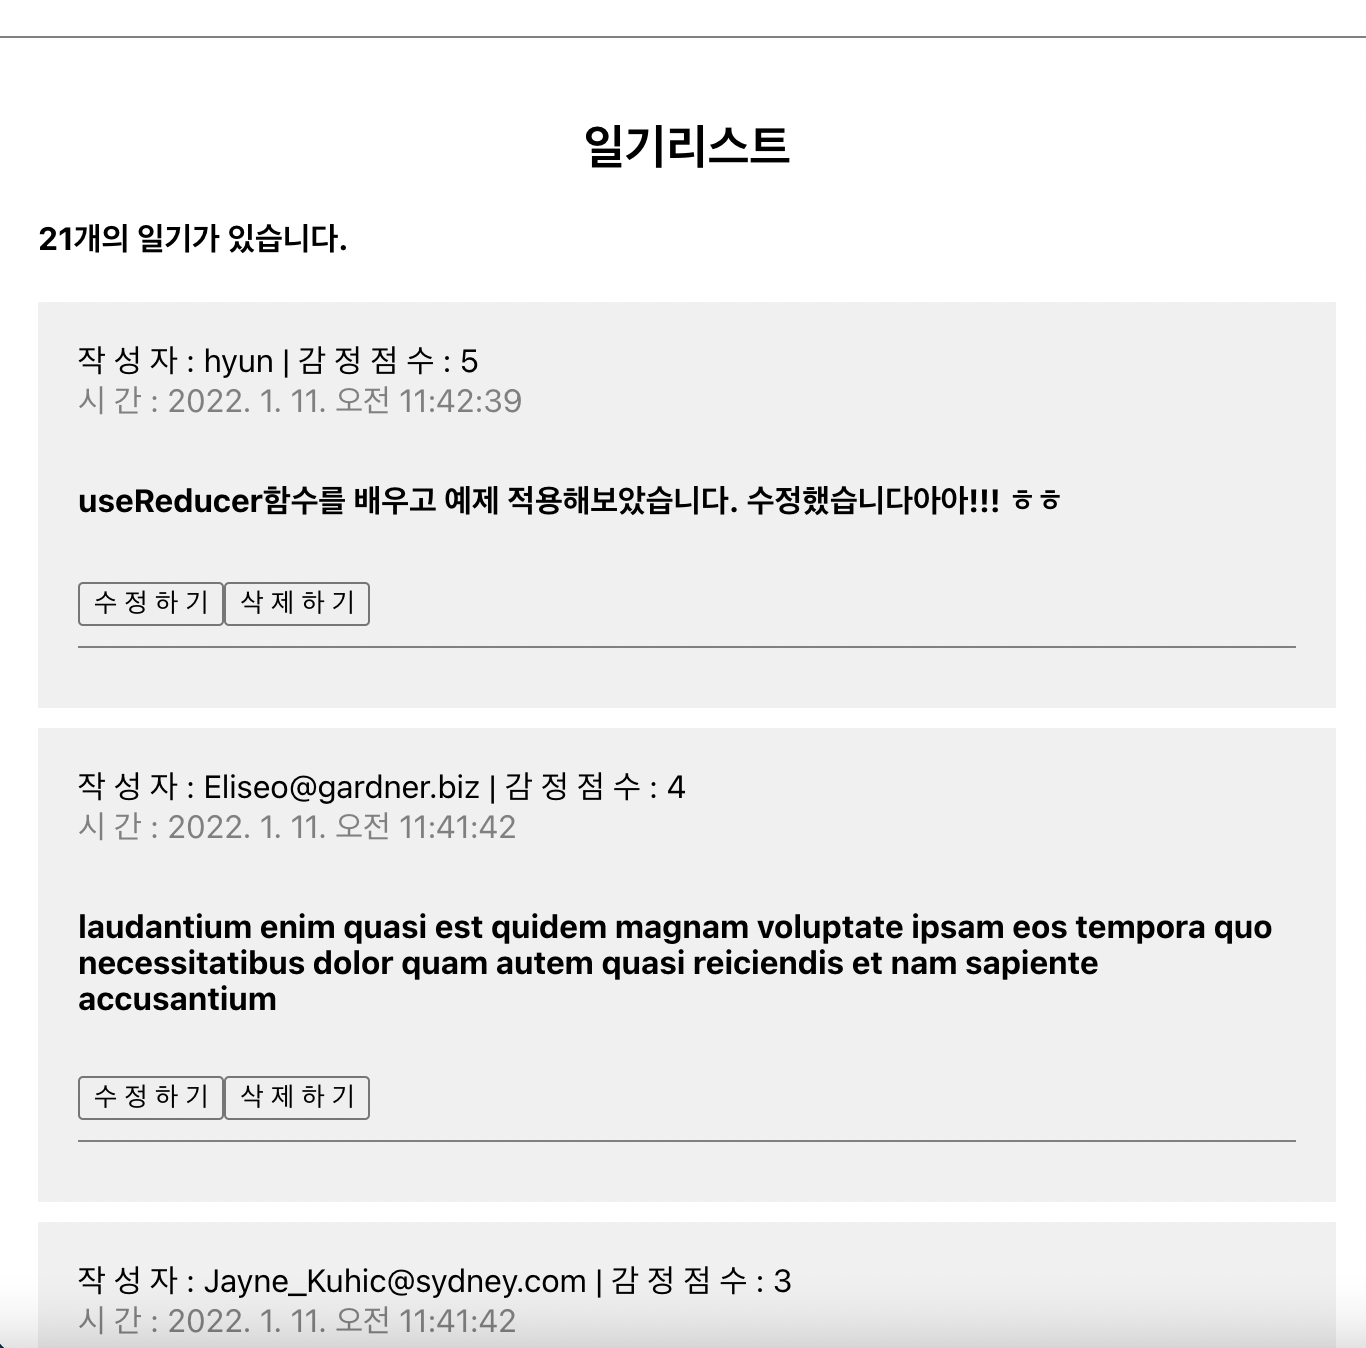
수정도 잘 작동하고
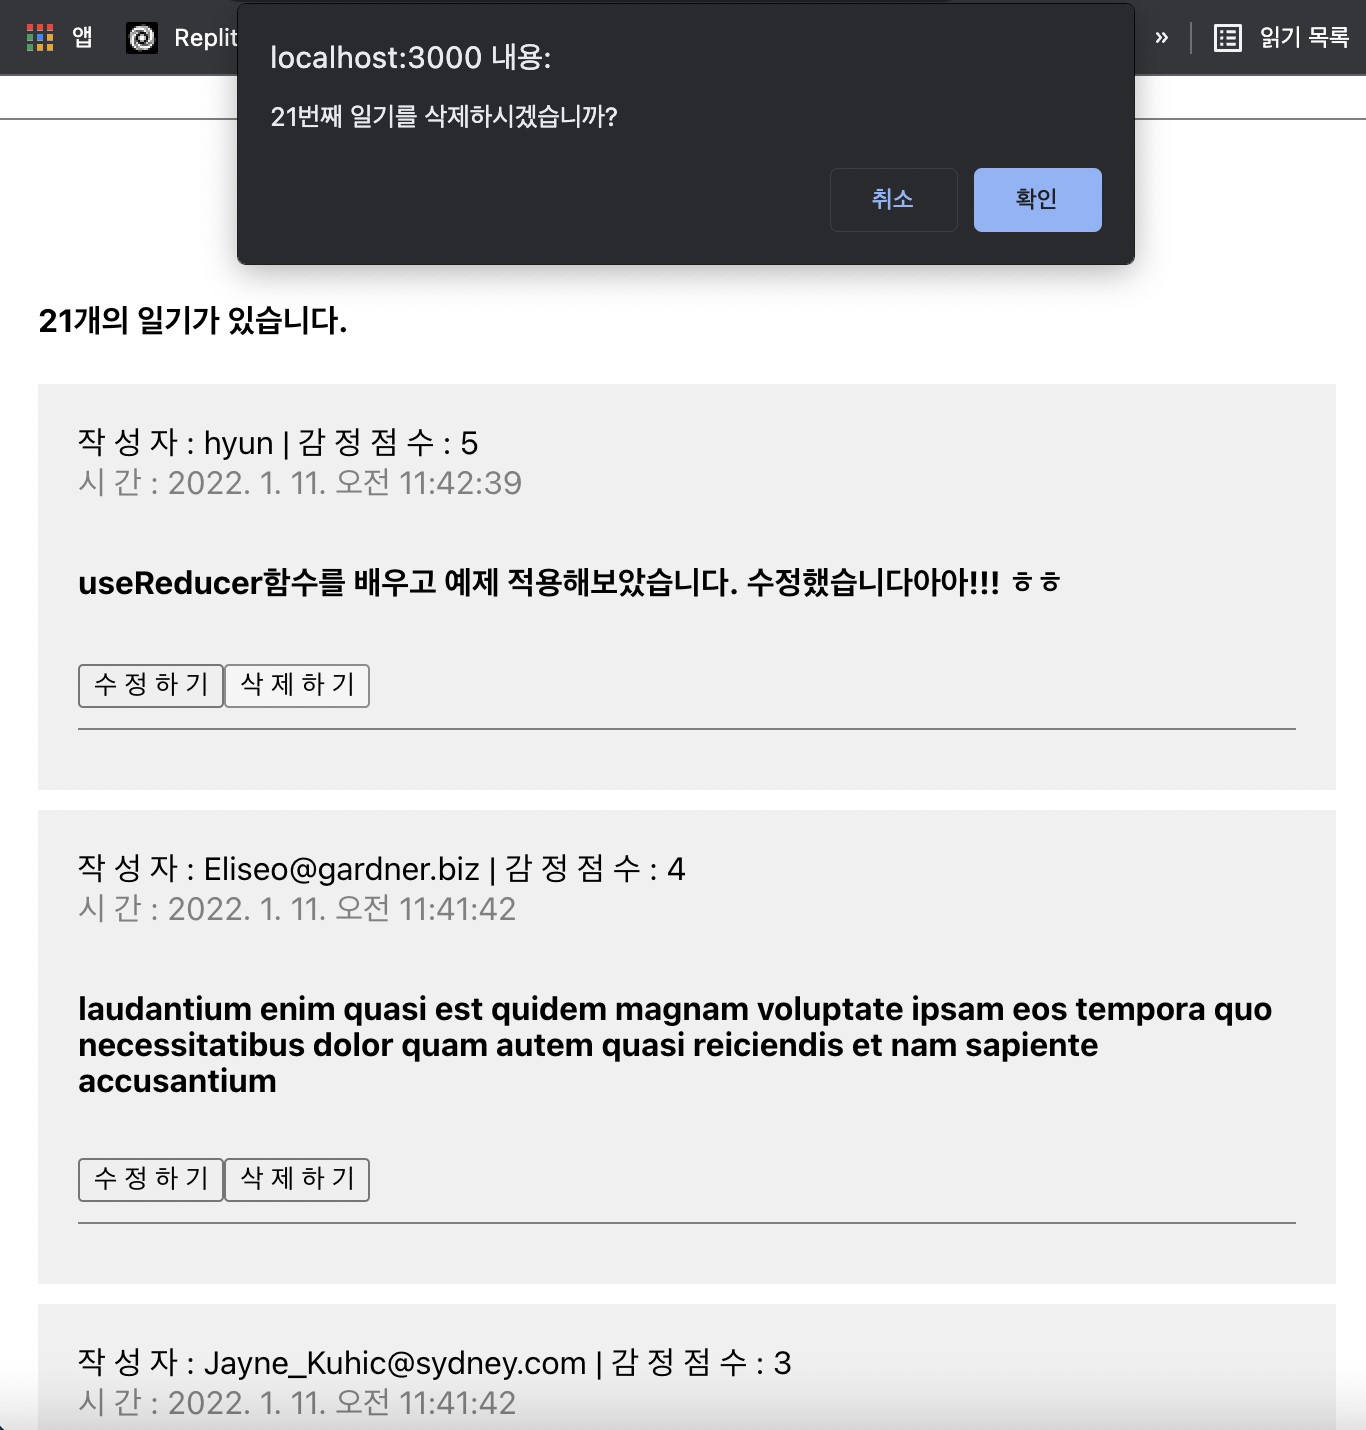
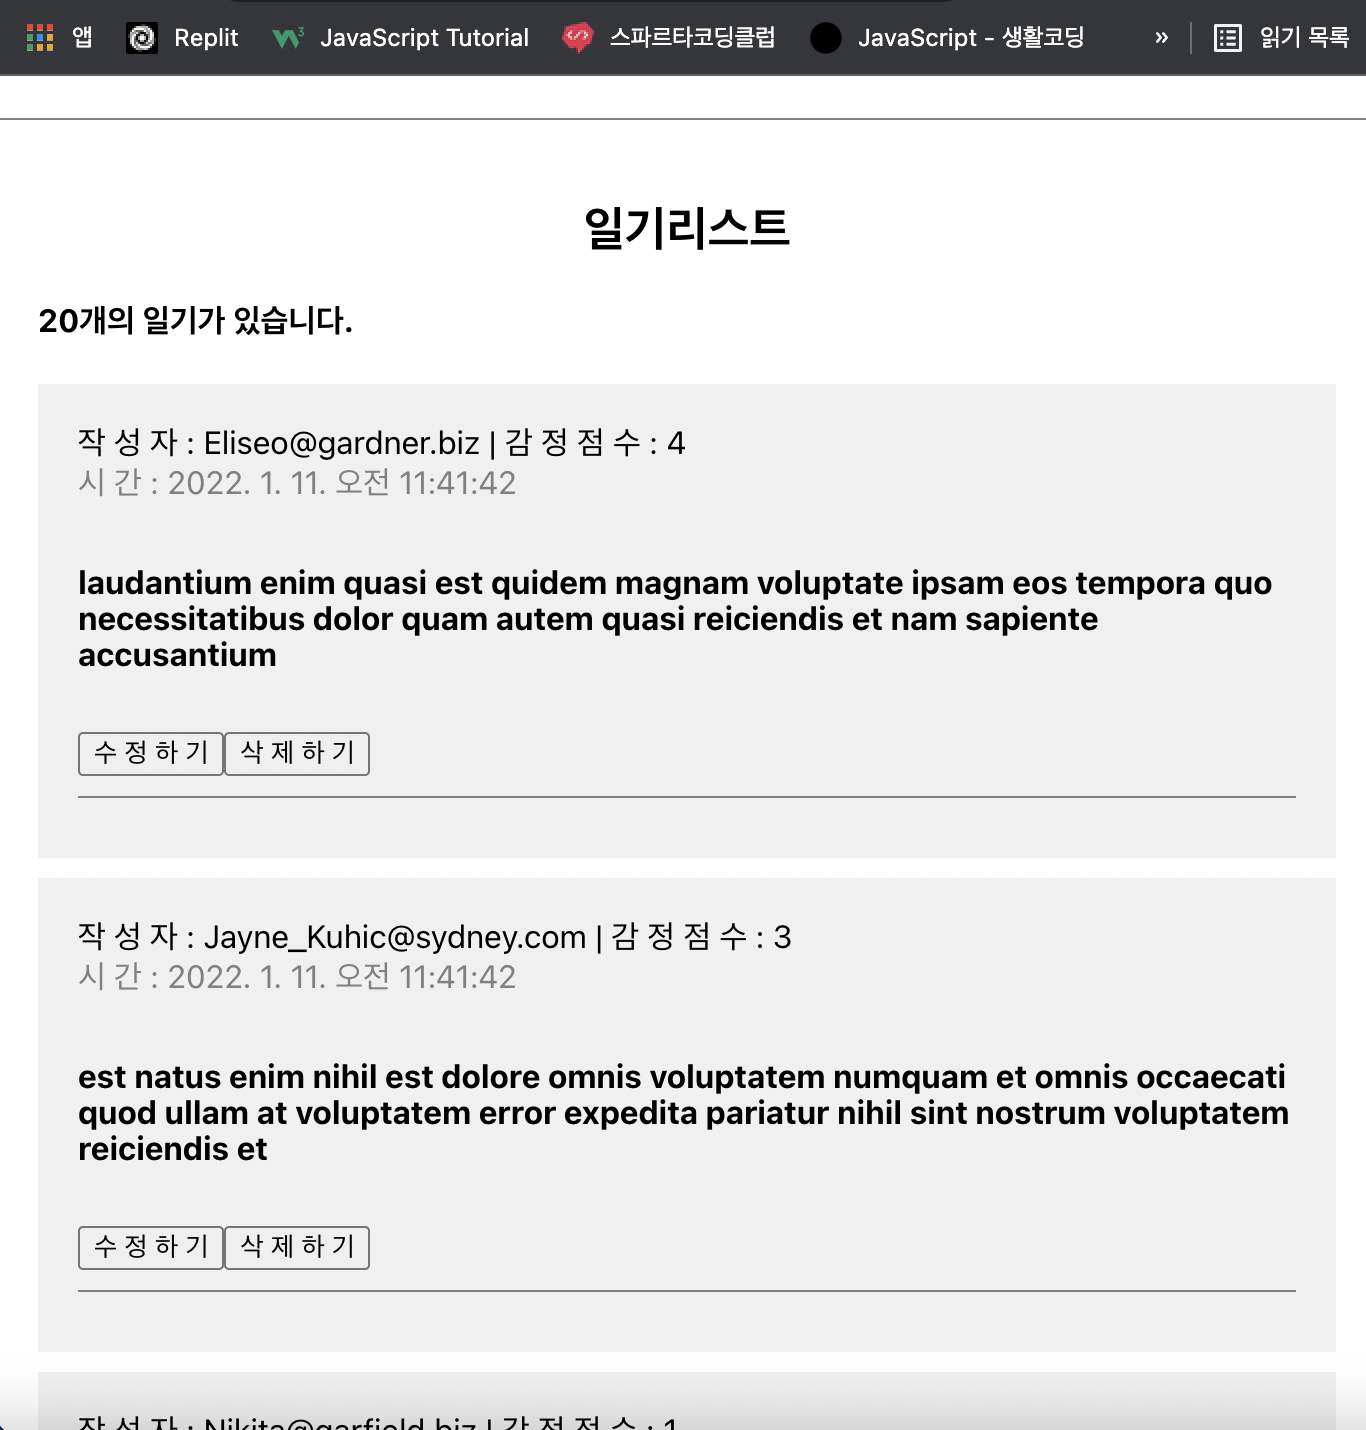
삭제도 잘 되는것을 확인할 수 있습니다.
🚀참고자료
