백엔드 게시판 만들기
스프링 부트를 이용해서 백엔드 게시판을 만들어 보겠다.
🌷게시판 페이지 만들기

아까는 작성을 눌러도 아무 반응이 없었는데 이제는 작성을 누르면 writedo페이지로 넘어가서 404에러가 뜬다.
🌷게시판 꼴 만들기
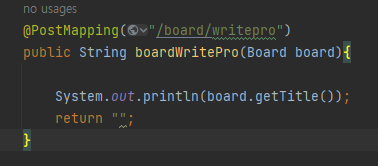
controller에
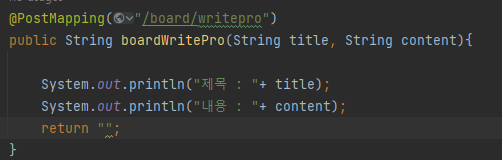
이렇게 적어주고 postmapping 옆에는 아까 그 주소를 적어준다.
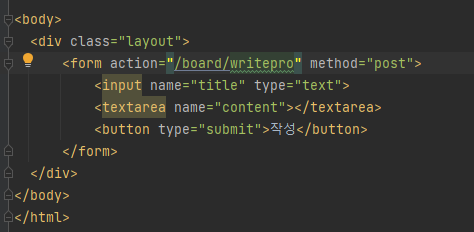
이건 html에 적어준다. writepro로 고쳐줬고 이는 아까 postmapping옆에 적은거랑 같아야함
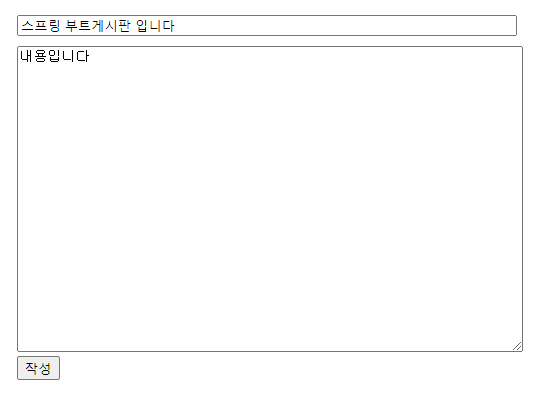
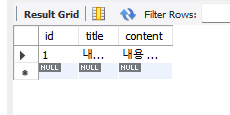
이렇게 적고 돌리고 나면 내가 게시판에 적은 대로
인텔리제이에 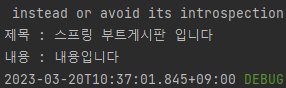
이렇게 저장이 되는 것을 볼 수 있다.
🌷entity 만들기
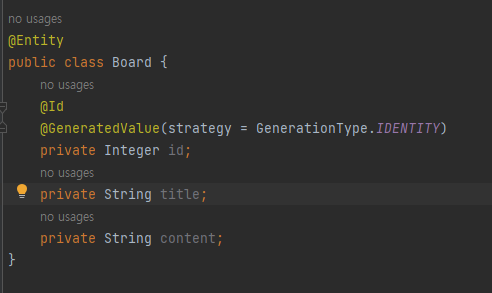
entity class를 만들어준다. 이는 db에서 만든 테이블 객체랑 같게 만들어준다고 생각하면 된다. id,title, content 이렇게 만들어준다.
🌷entity로 제목 불러오기
Data annotation을 만들어주면 gettitle을 해줄수 있음
entity 자체로 그냥 받아오는것
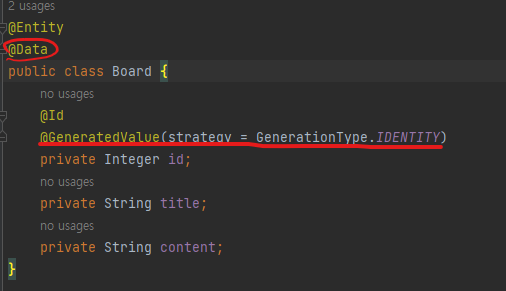
이렇게 추가해주면

이렇게 제목을 받아오는것을 볼수 있음
🌷글 제목/내용 디비에 저장하기
service package를 만들어줘서 저장하는 서비스를 만든다.
autowired하면 new어쩌고 안써도 그냥 알아서 자동 주입된다.
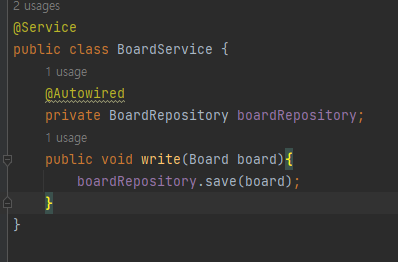
그러고 나서 다시 controller에 가서
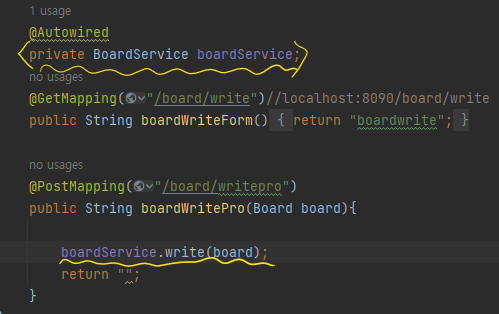
이렇게 디비에 저장이 되는 것을 볼수 있음
🌷디비에 목록 저장하기
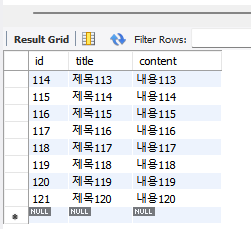
디비에 적고 실행을 시켜주면
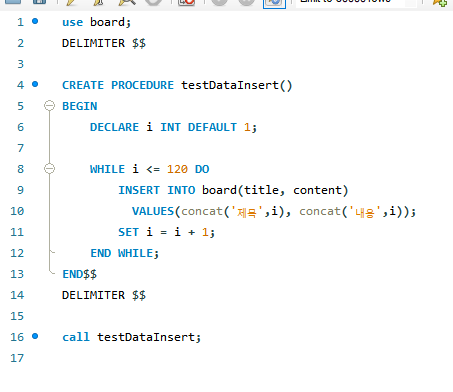
디비에 저장이 된다.
🌷게시판 리스트 페이지 만들기
controller에 게시판 리스트 만들 페이지를 추가해준다.
그리고 boardlist.html을 만들어준 다음에 실행을 해주면 이렇게 뜨게 된다.
(localhost:8090/board/list로 들어가주면 됨)

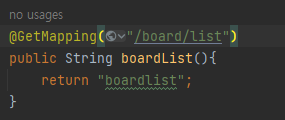
이제는 controller에 boardService.boardList()를 "list"라는 이름으로 받아서 넘기겠다는 말이다. 여기서 오류를 잡느라 힘들었다. 자꾸 addAttribute에 오류가 떠서 살펴보니깐 model에는 여러 import함수가 있는데 난 다른 import함수로 넘겨준것이다. 앞으로 맞게 했는데 오류가 뜨면 살펴봐야겠다...
@GetMapping("/board/list")
    public String boardList(Model model){
        model.addAttribute("list",boardService.boardList());
        return "boardlist";
    }
이걸 해주고 html에 each를 입혀주니
<!DOCTYPE html>
<html lang="en" xmlns:th="http://www.thymeleaf.org">
<head>
<meta charset="UTF-8">
<title>게시물 리스트 페이지</title>
</head>
<style>
.layout{
width : 500px;
margin : 0 auto;
margin-top : 40px;
}
</style>
<body>
<div class="layout">
<table>
<thead>
<tr>
<th>글번호</th>
<th>제목</th>
</tr>
</thead>
<tbody>
<tr th:each="board : ${list}">
<td th:text="${board.id}">1</td>
<td th:text="${board.title}">제목입니다.</td>
</tr>
</tbody>
</table>
</div>
</body>
</html>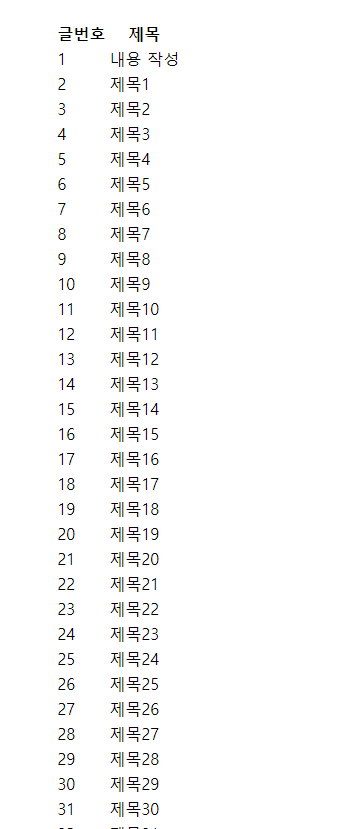 이렇게 완전 여러개 list page가 나왔다. 하지만 이 제목을 눌러도 다른 페이지로 이동을 안한다. 다음 단계로 넘어가게 해보장.
🌷제목 눌렀을 때 다른 페이지로 넘어가게 하기
service에 추가해주었다.id는 그 게시글 번호가 되고 이를 get방식으로 들고오게 된다.
//특정 게시글 불러오기
    public Board boardView(Integer id){
        return boardRepository.findById(id).get();
    }
controller에 추가해주었다.
@GetMapping("/board/view")//localhost:8090/board/view?id=1
public String boardview(Model model, Integer id){
model.addAttribute("board", boardService.boardView(id));
return "boardview";
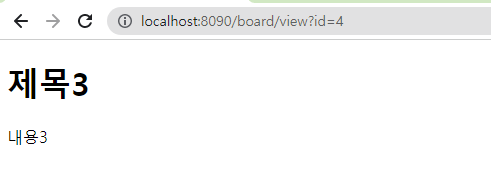
}다른 페이지로 넘어가게 만들어주었다.
4번째 게시글을 눌렀을때 나오는 페이지이다. 완성~!~!╰(°▽°)╯
🌷제목에 태그해주기
boardlist html을 중간에 a 태그를 넣어서 제목을 눌렀을때 들어갈수 있게끔 만들어주었다.
<!DOCTYPE html>
<html lang="en" xmlns:th="http://www.thymeleaf.org">
<head>
    <meta charset="UTF-8">
    <title>게시물 리스트 페이지</title>
</head>

<style>
  .layout{
    width : 500px;
    margin : 0 auto;
    margin-top : 40px;
  }
</style>

<body>

  <div class="layout">
    <table>
      <thead>
        <tr>
          <th>글번호</th>
          <th>제목</th>
        </tr>
      </thead>
      <tbody>
        <tr th:each="board : ${list}">
          <td th:text="${board.id}">1</td>
          <td>
            <a th:text="${board.title}" th:href="@{/board/view(id=${board.id})}"></a>
          </td>
        </tr>
      </tbody>
    </table>
  </div>

</body>
</html>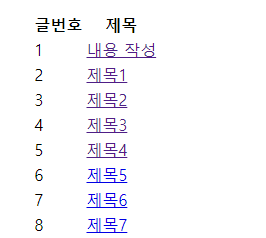
🌷게시판 글 삭제하기
글 삭제 버튼 만들기
boardview html에 이 코드 추가해주니깐
<a href="#">글삭제</a>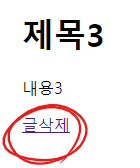
이렇게 글삭제 버튼이 생기게 된다.
글 삭제하기
Boardservice에는
이렇게 id를 받아서 삭제하는것을 받아온다.
 //특정 게시글 삭제
    public void boardDelete(Integer id){

        boardRepository.deleteById(id);
    }
BoardController에서는
@GetMapping("/board/delete")
    public String boardDelete(Integer id){
        boardService.boardDelete(id);

        return "redirect:/board/list";
    }
이렇게 controller에서는 id값을 받아서 다시 boardService에 보내준다음에 삭제가 처리된다.

이렇게 적어서 실행하면
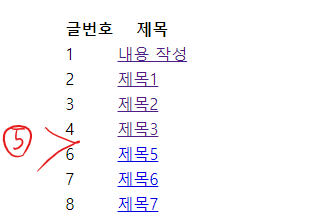
이렇게 5번 글이 삭제 된 것을 볼 수 있다.
삭제 버튼 눌러서 삭제하기
boardview html에 이 코드를 추가해주면 저 태그를 눌러서 삭제를 누르면 없어지고 다시 리스트에 돌아오는 것을 볼수 있다. 아까는 이 태그를 눌러서 삭제한것이 아니라 그냥 바로 localhost delete어쩌고 적어서 삭제한거였고 이번에는 태그 눌러서 바로 삭제한것이다.
<a th:href="@{/board/delete(id=${board.id})}">글삭제</a>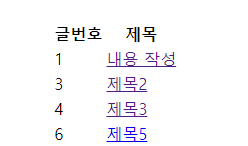
2번 글도 삭제됐다.
🌷글 수정하기
글 수정 게시판 만들기
controller에 추가해준다.
 @GetMapping("/board/modify/{id}")
    public String boardModify(@PathVariable ("id") Integer id){
        return "boardmodify";
    }
이 코드를 설명하자면 "/board/modify/{id}" 의 /뒤에 있는 {id}부분이 @PathVariable ("id")에 인식이 돼서 Integer id에 id에 들어간다는 말이다.

이렇게 수정 버튼이 생겼고
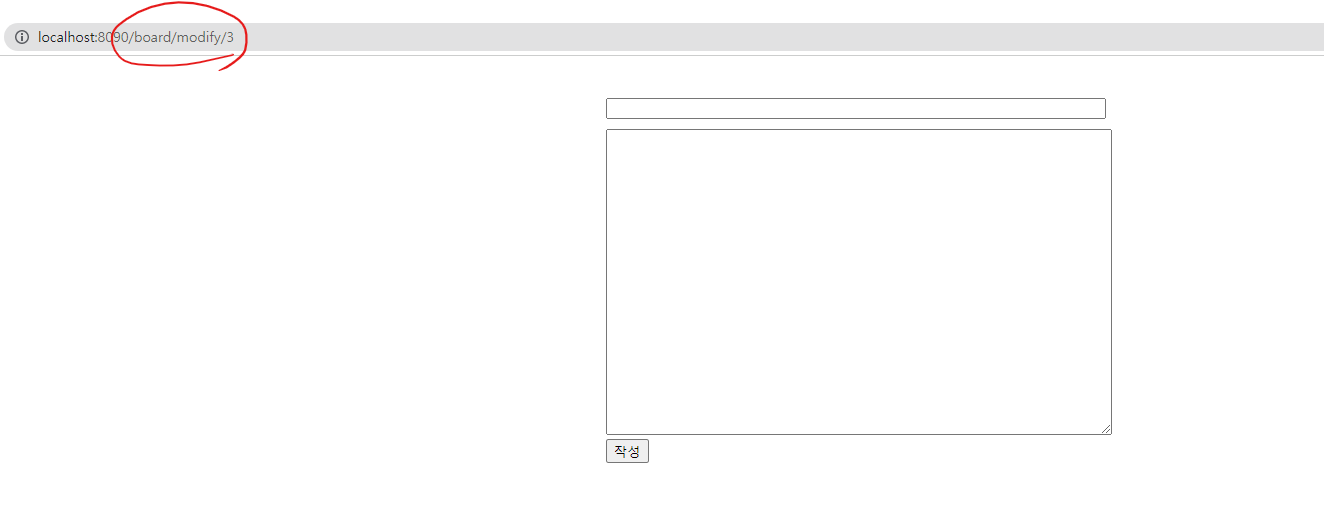
요 링크가 만들어지고 이렇게 칸이 나오게 된다. 그치만 여기서 전에 있던 그 링크를 받아와야한다. 다음 단계로~~!
😮😮잠시!!😮😮
원래
<a th:text="${board.title}" th:href="@{/board/view(id=${board.id})}"></a>이렇게 쓸 때는 view?id=~~이런식으로 써지는데 (쿼리스트링)
방금처럼 pathvariable을 쓰게 되면 깔끔하게 숫자가 modify/3이런식으로 적히는 것을 볼수 있다!! 대박쓰!!!
글 수정 데이터 가져오기
controller에 삭제와 비슷하게 짜준다. addAttribute 추가해주기
@GetMapping("/board/modify/{id}")
    public String boardModify(@PathVariable ("id") Integer id,Model model){

        model.addAttribute("board", boardService.boardView(id));
        return "boardmodify";
    }
html을 수정해준다. 이렇게 게시판 제목과 내용을 들고온다.
<div class="layout">
  <form action="/board/writepro" method="post">
    <input name="title" type="text" th:value="${board.title}">
    <textarea name="content" th:text="${board.content}"></textarea>
    <button type="submit">수정</button>
  </form>
</div>
결과로는 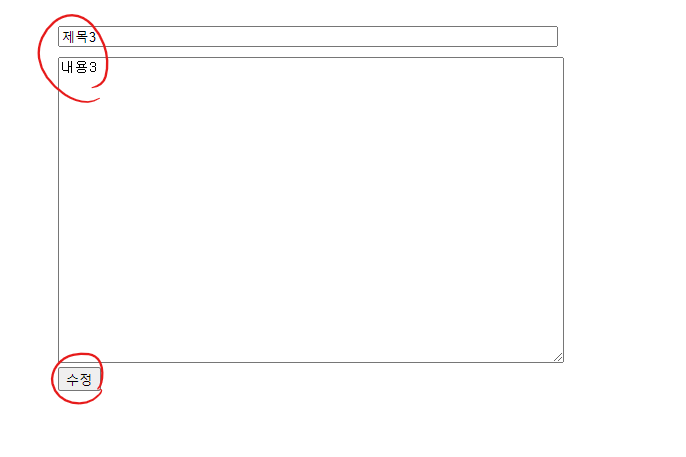
작성-> 수정으로 변했고 그 데이터인 제목3, 내용3을 들고오는 것을 볼 수 있다.
controller에
    @PostMapping("/board/update/{id}")
    public String boardUpdate(@PathVariable("id") Integer id, Board board){
        Board boardTemp =boardService.boardView(id);
        boardTemp.setTitle(board.getTitle());
        boardTemp.setContent(board.getContent());

        return "redirect:/board/list";
    }
=>이렇게 적어주면 기존에 있던 내용,제목을 일단 가져오고 새로 적은 내용을 그 위에 덮어쓰는 것이다.

수정 완성~!🐻
🌷처리 메세지 출력
messagehtml을 만들어준다.
<!DOCTYPE html>
<html lang="en" xmlns:th="http://www.thymeleaf.org">
<head>
    <meta charset="UTF-8">
    <title>Title</title>
</head>
<script th:inline="javascript">

  /*<![CDATA[*/

  var message= [[${message}]];
  alert(message);

  location.replace([[${searchUrl}]]);

  /*]]>*/
</script>
<body>

</body>
</html>
location.replace([[${searchUrl}]]);페이지 이동경로 적어준거다.
controller에 writepro를 고쳐준다.
    @PostMapping("/board/writepro")
    public String boardWritePro(Board board,Model model){

        boardService.write(board);
        model.addAttribute("message","글 작성이 완료되었습니다.");
        model.addAttribute("searchUrl","/board/list");
        return "message";
    }
이렇게 하고 나면 searchurl에 담겨서 아까적은 html파일에 searchurl이 넘어가게 된다.
boardwrite에 새롭게 적고나면
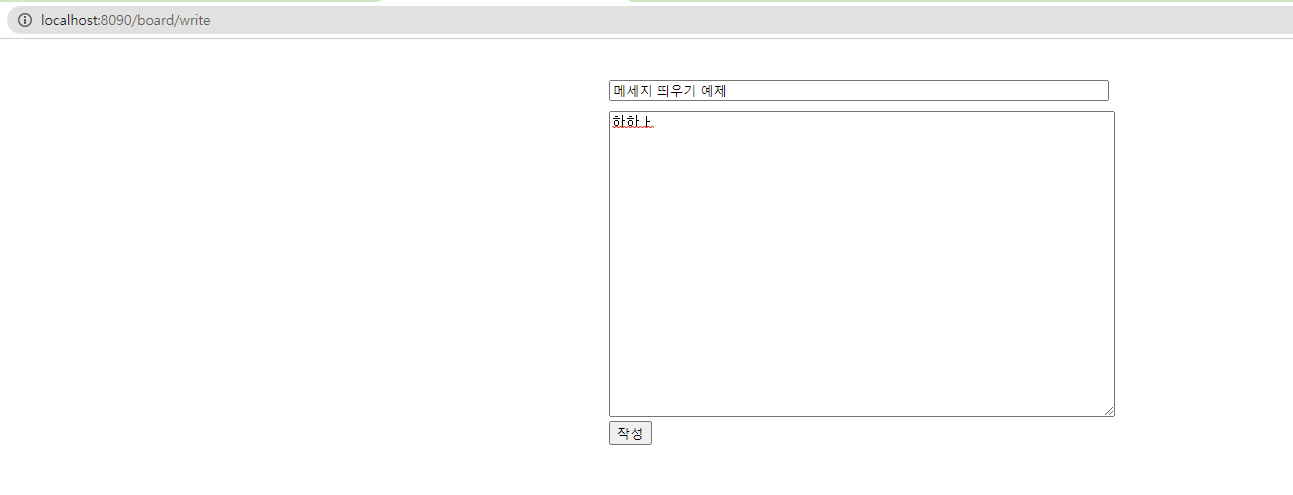
이렇게 메세지를 띄워준다.

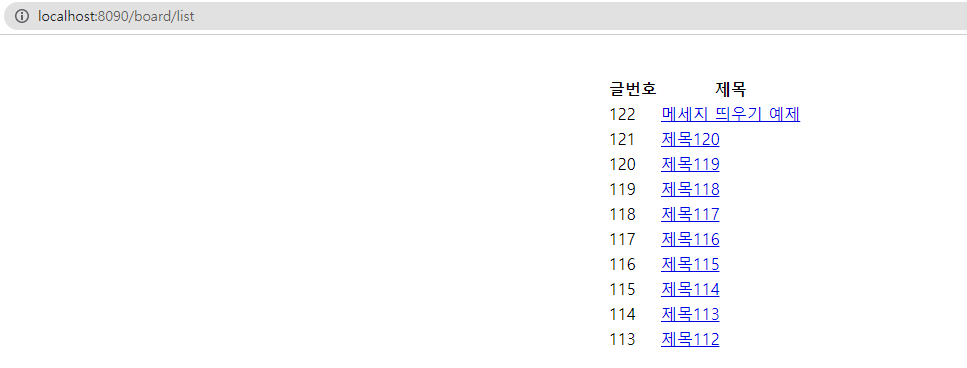
그리고 리스트에 추가되어있는 것을 볼 수 있다.
이거를 수정, 삭제에도 추가해주면 된다. 끝!!
🌷페이징 처리
jpa 이용해서 페이징 처리 백엔드
페이지는 0부터 시작한다. size는 리스트에서 보여줄 게시글 개수
+게시글 정렬 순서도 수정해주기
controller에 있는 board list를 수정해주기
    @GetMapping("/board/list")
    public String boardList(Model model, @PageableDefault(page = 0, size = 10, sort="id", direction = Sort.Direction.DESC) Pageable pageable){
        model.addAttribute("list",boardService.boardList(pageable));
        return "boardlist";
    }
service에도
        public Page<Board> boardList(Pageable pageable){
        return boardRepository.findAll(pageable);
    }
pageable 을 받을수 있게 한다.
결과 창은
이렇게 게시글이 역순으로 정렬되어 나와서 제일 첫번째 페이지가 나온것을 볼수 있다.
여기서 http://localhost:8090/board/list?page=1 를 해주면 2번째 페이지가 나오는 것을 볼 수 있다.
페이징 블럭 만들기 프론트엔드
nowPage= 현재 페이지
startPage= 시작 페이지
endPage= 마지막 페이지
로 변수를 설정했다
th:text==태그안에 데이터 출력
th:each==반복문
controller에
    @GetMapping("/board/list")
    public String boardList(Model model, @PageableDefault(page = 0, size = 10, sort="id", direction = Sort.Direction.DESC) Pageable pageable){
        Page<Board> list= boardService.boardList(pageable);

        int nowPage=list.getPageable().getPageNumber() +1;
        int startPage=Math.max(nowPage-4, 1);
        int endPage=Math.min(nowPage+5,list.getTotalPages());

        model.addAttribute("list",list);
        model.addAttribute("nowPage",nowPage);
        model.addAttribute("startPage",startPage);
        model.addAttribute("endPage",endPage);
        return "boardlist";
    }
로 페이징 처리해준다.
list html을 수정해준다.
    <th:block th:each="page : ${#numbers.sequence(startPage,endPage)}">
      <a th:if="${page!=nowPage}" th:href="@{/board/list(page=${page-1})}" th:text="${page}"></a>
      <strong th:if="${page==nowPage}" th:text="${page}" style="color : red"></strong>
    </th:block>
  </div>
끝!!!!!!!!!!!!!!(❁´◡`❁)