
NEW
일단 헤더에서는 왼쪽 버튼으로 뒤로가기 하나,
오늘 날짜를 적는 섹션, 감정을 선택하는 섹션, 글을 적는 섹션
그리고 전송하는 버튼들로 나누어 본다
New.js
Header
      <MyHeader
        headtext={"새로운 일기 쓰기"}
        leftchild={
          <MyButton text={"< 뒤로 가기"} onClick={() => navigate(-1)} />
        }
      />
import 해오는 거나 navigate 지정하는 건 생략하도록 한다.ㅎㅎ 내맘대로~

근데 여기서, 날짜 부분, 감정 부분, 글 부분이 edit 페이지랑 똑같이 만들예정이라
이부분을 컴포넌트로 따로 분리시켜서
새로 만들 필요없이 둘다 갖다 써보기로 한다.
(사실 나중에 깨닫고 옮김ㅎ 처음부터 결정했던 척)
components/DiaryEditor.js
날짜 입력
칸 만들기
const [date, setDate] = useState();

...

	<div>
        <section>
          <h4>오늘은 언제인가요?</h4>
          <div className="input-box">
            <input
              type="date"
              value={date}
              onChange={(e) => setDate(e.target.value)}
            />
          </div>
        </section>
     </div>
까지하면, 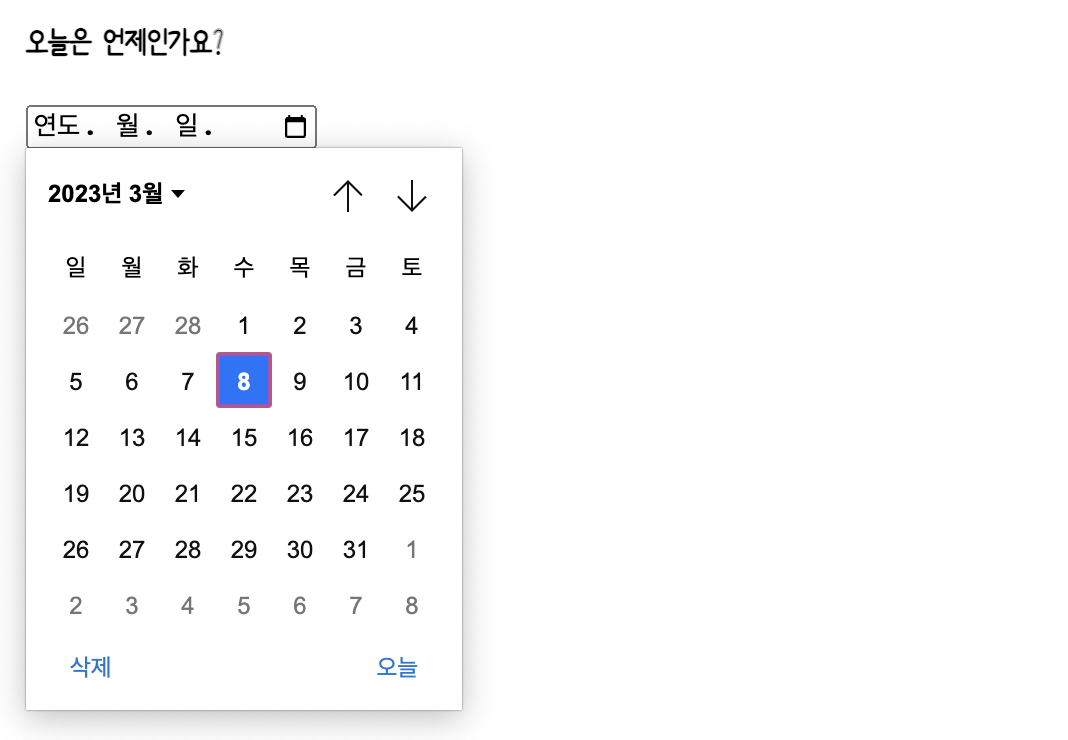
이렇게 나오고, 또 components탭에서 확인해보면 날짜를 눌렀을 때 setDate로 값이 잘 들어가는 걸 확인할 수 있다.
오늘 날짜를 기본값으로
// 날짜 값을 받는다
const getStringDate = (date) => {
  return date.toISOString().slice(0, 10);
};console.log(getStringDate(new Date()));
toISOString
를 이용하면 YYYY-MM-DDTHH:mm:ss.sssZ 라고 나오기 때문에 slice로 짤라 준 것임.
const [date, setDate] = useState(getStringDate(new Date()));이것을 input의 초깃값으로 넣어주면 완성

감정 선택
const emotionList = [
  {
    emotion_id: 1,
    emotion_img: process.env.PUBLIC_URL + `/assets/emotion1.png`,
    emotion_descript: "매우 좋음",
  },
  {
    emotion_id: 2,
    emotion_img: process.env.PUBLIC_URL + `/assets/emotion2.png`,
    emotion_descript: "좋음",
  },
  {
    emotion_id: 3,
    emotion_img: process.env.PUBLIC_URL + `/assets/emotion3.png`,
    emotion_descript: "보통",
  },
  {
    emotion_id: 4,
    emotion_img: process.env.PUBLIC_URL + `/assets/emotion4.png`,
    emotion_descript: "나쁨",
  },
  {
    emotion_id: 5,
    emotion_img: process.env.PUBLIC_URL + `/assets/emotion5.png`,
    emotion_descript: "끔찍함",
  },
]; <section>
<h4>오늘의 기분은 어떤가요?</h4>
<div className="input_box emotion_list_wrap">
{emotionList.map((it) => (
<div key={it.emotion_id}>{it.emotion_descript}</div>
))}
</div>
</section>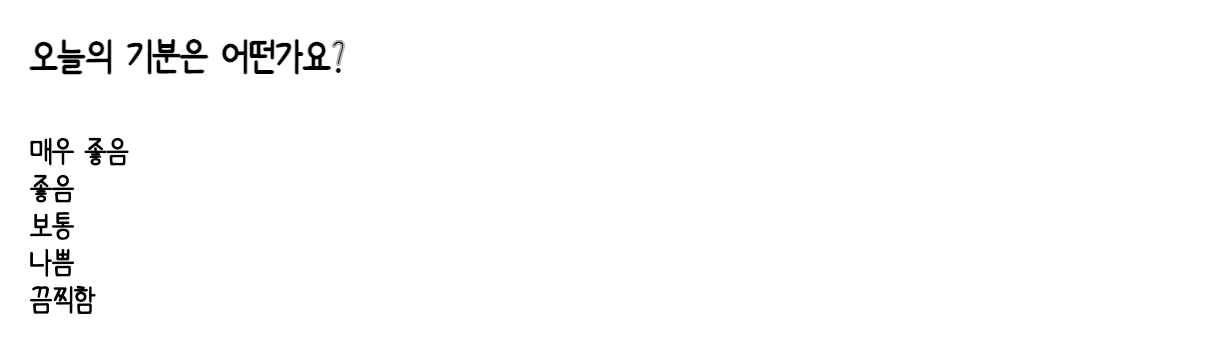
감정을 누르면 또 선택되게 해야되고 하기 때문에 따로 컴포넌트를 분리해줌.
다이어리 에디터에는 객체 배열로 정리해놨기때문에
걔네들을 프롭으로 받도록 만들어주면 됨
EmotionItem.js
const EmotionItem = ({ emotion_id, emotion_img, emotion_descript }) => {
return (
<div className="EmotionItem">
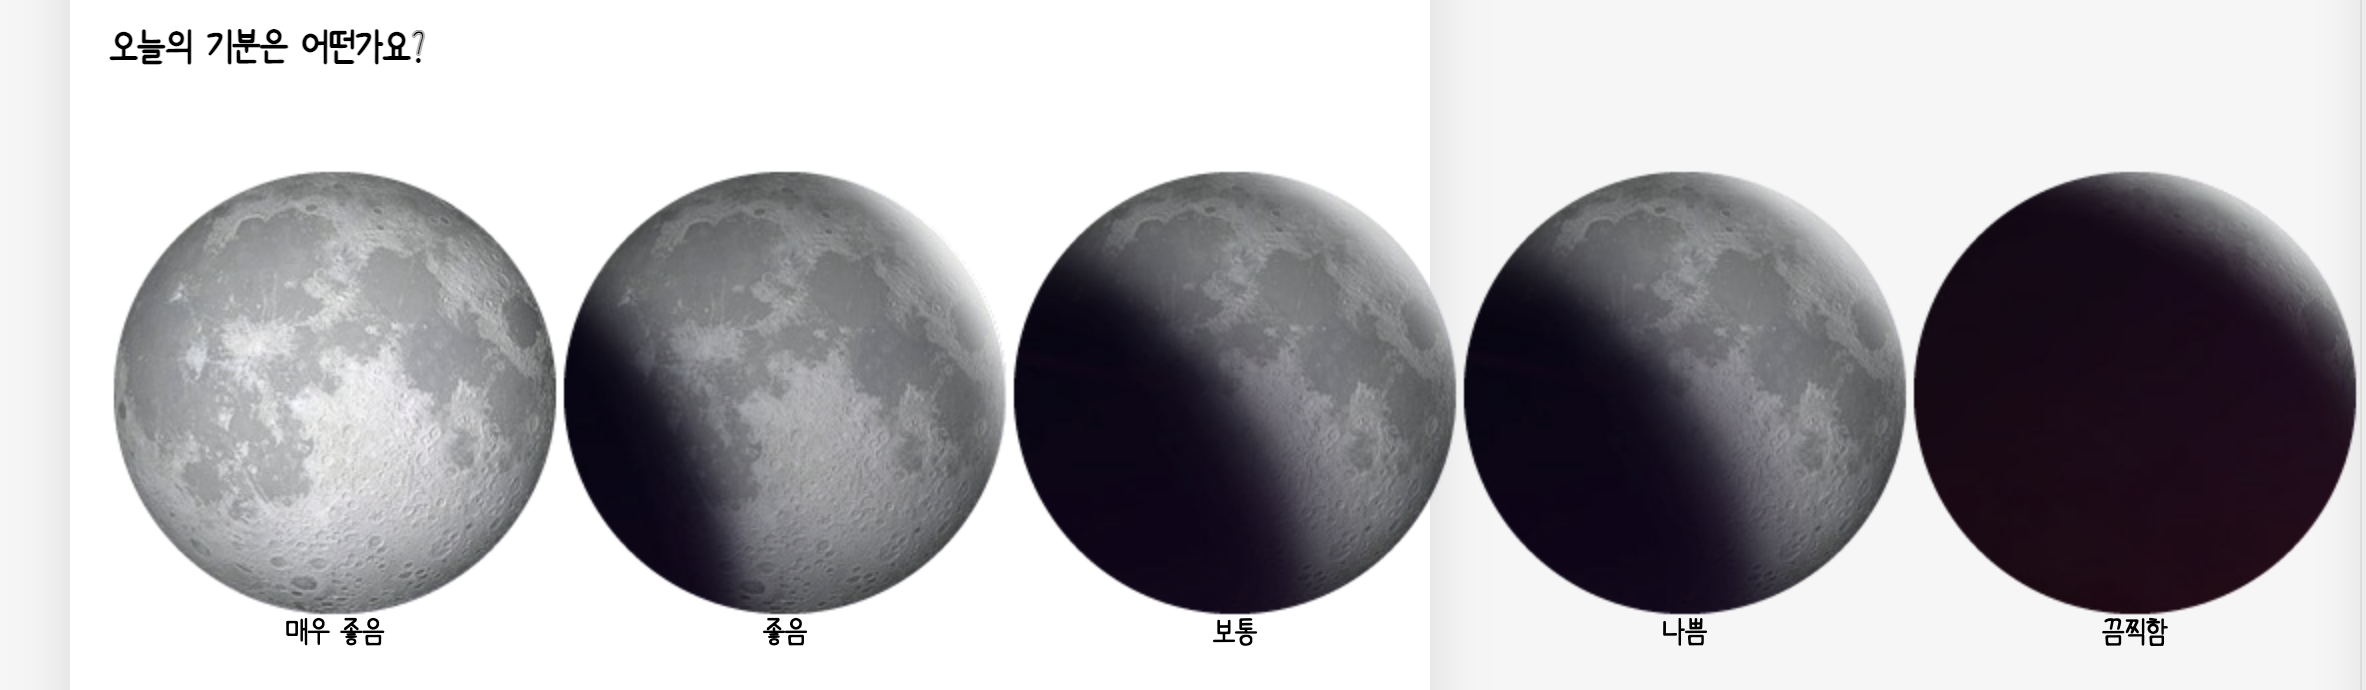
<img src={emotion_img} />
<span>{emotion_descript}</span>
</div>
);
};DiaryEditor.js
          <div className="input_box emotion_list_wrap">
            {emotionList.map((it) => (
              <EmotionItem key={it.emotion_id} {...it} />
            ))}
          </div>
App.css
처음으로 적는 css 정보
.DiaryEditor .emotion_list_wrap {
  display: grid;
  grid-template-columns: repeat(5, auto);
}

.EmotionItem {
  cursor: pointer;
  border-radius: 5px;
  padding: 20px 0 20px 0;

  display: flex;
  flex-direction: column;
  justify-content: center;
  align-items: center;
}
display : grid는 그리드를 만드는 속성이다
grid-template-columns: repeat(5, auto) 는,
5개를 나열을 할거고 사이즈는 auto로 설정한다는 말이다.
그러니 여기선 이미지 크기로 사이즈가 됨.
여기에 gap: x%를 추가해주면 간격이 벌어진다
나는 2퍼센트로 함!
이제 선택된 감정을 받아보자
일단 DiaryEditor에서 함수를 만들고 state도 만든다.
그래서 EmotionItem에서 받아오면 됨
DiaryEditor.js
const DiaryEditor = () => {
  const [emotion, setEmotion] = useState(3);

  const handleClickEmote = (emotion) => {
    setEmotion(emotion);
  };

  ...

   <section>
          <h4>오늘의 기분은 어떤가요?</h4>
          <div className="input_box emotion_list_wrap">
            {emotionList.map((it) => (
              <EmotionItem
                key={it.emotion_id}
                {...it}
                onClick={handleClickEmote}
              />
            ))}
          </div>
    </section>
일단 기본 상태는 3으로 두고,
emotion을 받아서 누르면 상태가 바뀌게 만들어준다.
그리고 onClick이벤트를 각 이모션아이템에 달아줌.
EmotionItem.js
	<div className="EmotionItem" onClick={() => onClick(emotion_id)}>
      <img src={emotion_img} />
      <span>{emotion_descript}</span>
    </div>
그리고 EmotionItem에서 props로 onClick도 받아서,
각 div를 눌렀을 때 emotion_id를 받아오도록 해준다.
그래서 그 받아온 id에 handleClickEmote함수가 실행되면서 감정상태를 바꾸어 줌.
 3이 기본값이고 누를때마다 바뀌는 거 볼 수 있다 좀 느리지만,,
그리고 DiaryEditor에서 map 부분에 isSelected={it.emotion_id === emotion}를 추가해주면, 선택된 id가 현재 상태의 감정과 같을 경우 true를 출력해주게 된다
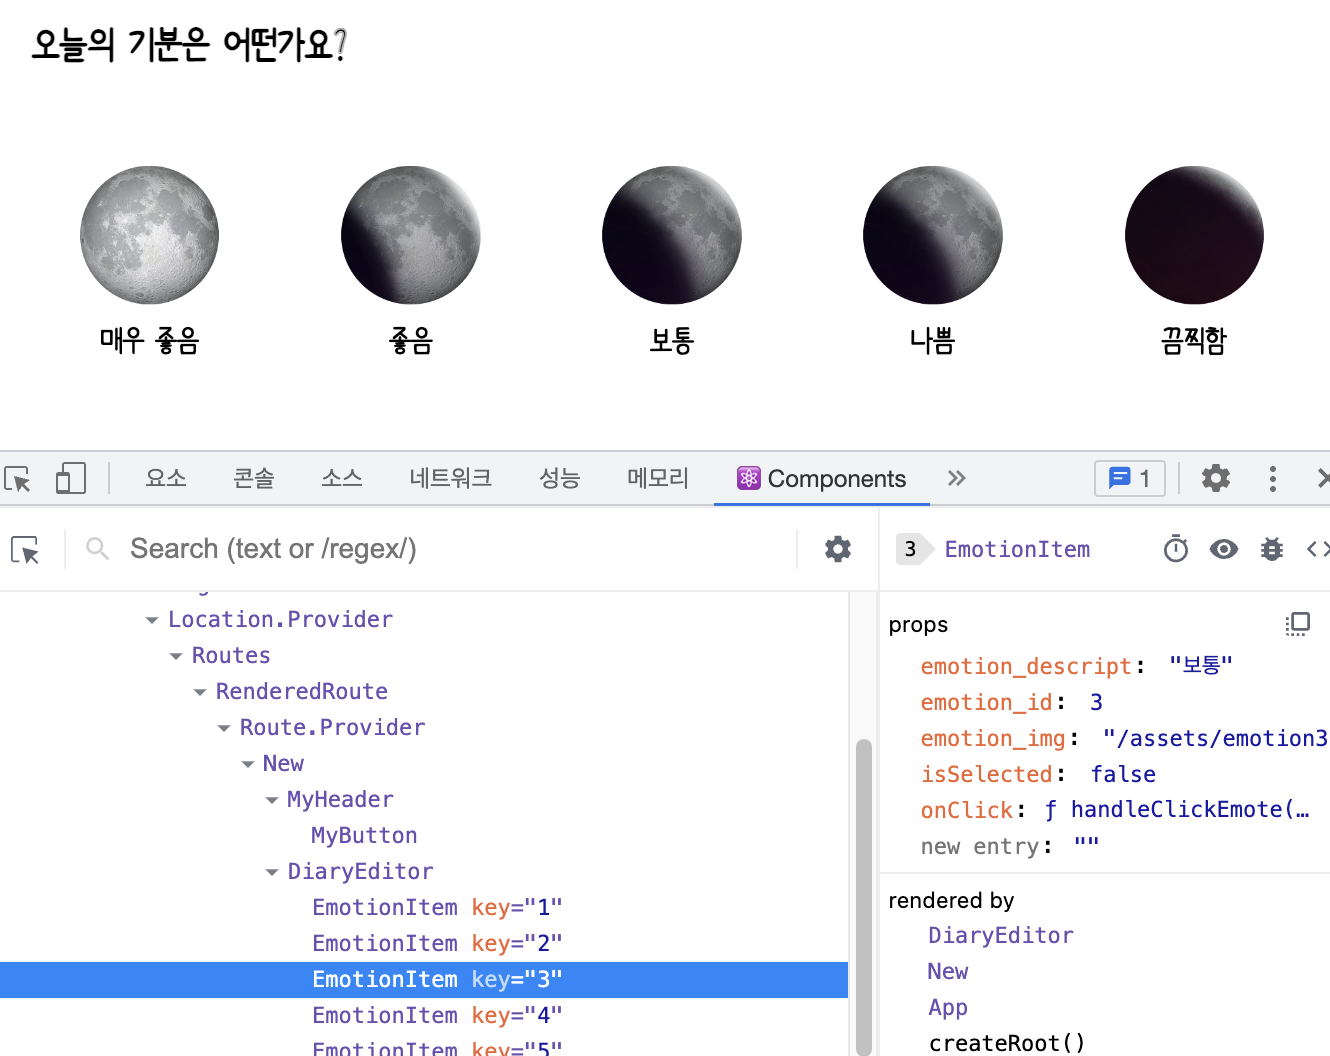
이 상태에서 3번 그림을 누르면 isSelected가 true로 바뀜
그래서 자신이 선택되었는지 선택되지 않았는지 알 수가 있게 된다.
그리고 EmotionItem.js 로 돌아와서, 선택된 그림만 따로 모양을 주기 위해
className을 배열로 바꿔준다.
const EmotionItem = ({
  emotion_id,
  emotion_img,
  emotion_descript,
  onClick,
  isSelected,
}) => {
  return (
    <div
      className={[
        "EmotionItem",
        isSelected ? `EmotionItem_on_${emotion_id}` : `EmotionItem_off`,
      ].join(" ")}
      onClick={() => onClick(emotion_id)}
    >
	...
일단 이름은 EmotionItem 인데, 만약에 선택되었다면 ~on과 id 숫자가 붙고 아니라면 off를 붙인다
그리고 저번에 했던 것처럼 배열이기 때문에 join(' ')을 해주어야 함.
그렇게 되면 요소에서 이렇게 되는 걸 확인할 수 있다.

2번을 누르면 2번만 _on_2가 붙고 나머지는 off가 된 걸 볼 수 있음.
그걸 바탕으로 css 설정을 해주어서 색상을 바꾸어 보았다.
일기 작성
DiaryEditor.js
const DiaryEditor = () => {
//비어있을 시 자동으로 포커스하는 기능을 위한
const contentRef = useRef(0);
const [content, setContent] = useState("");
...
<section>
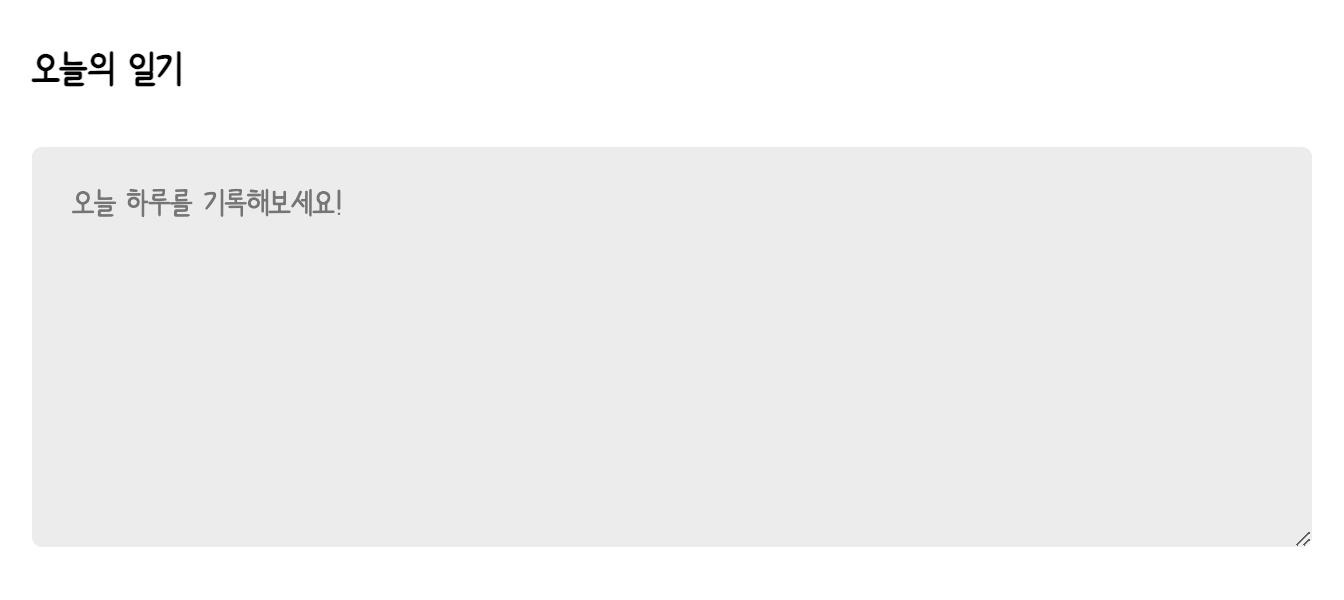
<h4>오늘의 일기</h4>
<div className="input_box text_wrap">
<textarea
placeholder="오늘 하루를 기록해보세요!"
ref={contentRef}
value={content}
onChange={(e) => setContent(e.target.value)}
/>
</div>
</section>App.css
.DiaryEditor textarea {
  font-family: "Humanbumsuk";
  font-size: 16px;

  box-sizing: border-box;
  width: 100%;
  min-height: 200px;
  resize: vertical;
  /* 가로로 사이즈 조정을 할 수 없게 함 */

  border: none;
  border-radius: 5px;
  background-color: #ececec;
  padding: 20px;
}
여기서 resize: vertical은 가로로 사이즈 조정을 할 수 없게 한다.
textarea 특성상 크기를 자유자재로 설정할 수 있는데, 가로로 움직이는 건 아무래도 별로라
아주 좋은 정보였던 것 같음!
전송 버튼
DiaryEditor.js
const contentRef = useRef(0);

const { onCreate } = useContext(DiaryDispatchContext);

const handleSubmit = () => {
    //
    if (content.length < 1) {
      contentRef.current.focus();
      return;
    }
    onCreate(date, content, emotion);
    navigate("/", { replace: true });
    // 일기 작성하는 페이지를 뒤로가기로 못 오게 만드는 작업
  };

	...

        <section className="control_box">
          <MyButton text={"취소하기"} onClick={() => navigate(-1)} />
          <MyButton
            text={"작성완료"}
            type={"positive"}
            onClick={handleSubmit}
          />
        </section>
내용이 하나도 없을 경우 다시 textarea로 focus해주는 작업을 위해
useRef를 이용했다.
그리고 contentRef.current.focus() 넣어주면 됨.
또 엊그제 App.js 에서 저장해놓았던 onCreate를 불러온 뒤,
handleSubmit에 그 때 필요로했던 props와 함께 넣어준다.
그리고 마지막으로 이벤트 핸들러에 추가해줌.
import { DiaryDispatchContext } from "../App";

const { onCreate } = useContext(DiaryDispatchContext);
또!
작성 후 navigate를 이용해서 홈으로 다시 오는데,
그냥 오지 않고 일기 작성하는 페이지를 뒤로가기로 못 오게 만드는 작업까지 추가해준다.
navigate("/", { replace: true })
그러면 이제 작성하는 건 완료!
✚
아! 그리고 어제 하려다가 시간 없어서 못했던
길이가 넘 길면 짜르고 '...' 까지 추가해주는 작업을 했다
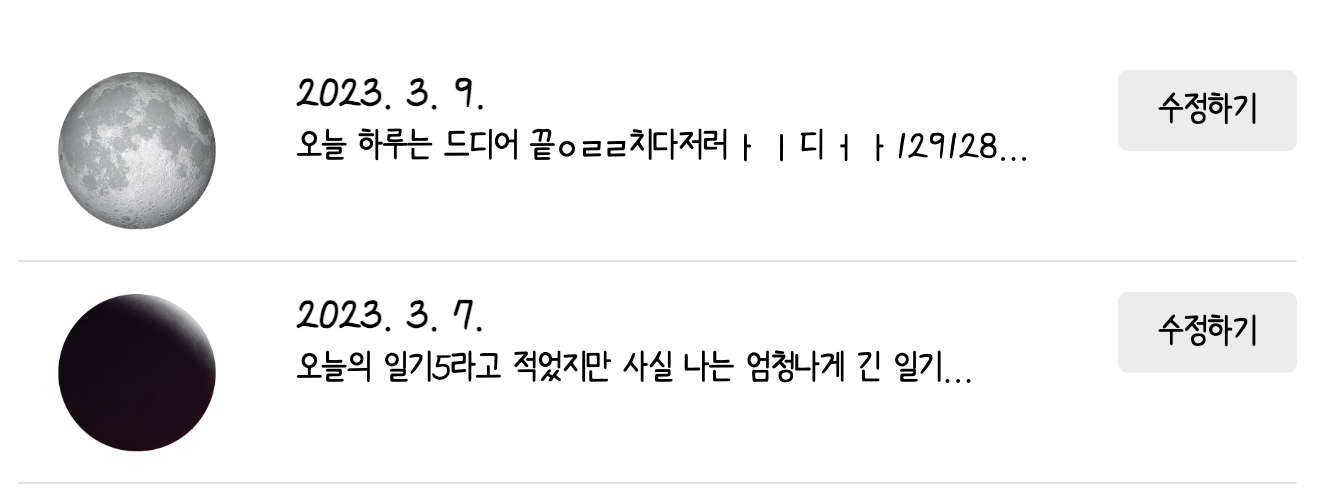
<div className="diary_content_prev">
     {content.length <= 30 ? content : `${content.slice(0, 30)}...`}
</div>