소셜 로그인
소셜 로그인을 공부해보자
많이 쓰이는 구글, 네이버, 카카오로 구현을 해보겠다.
일단 구글을 살펴보자
구글 로그인
구글 개발자에 가입을 먼저 한다.
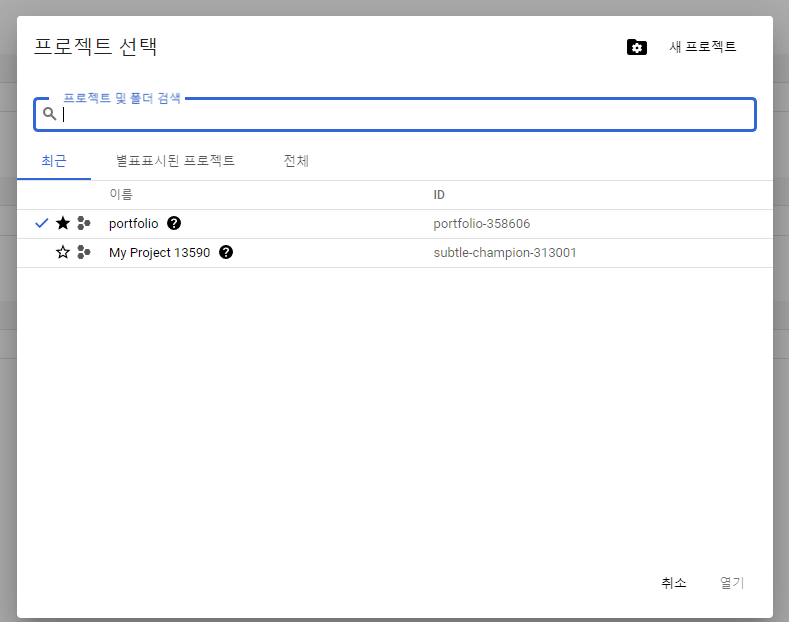
- 프로젝트를 만든다.
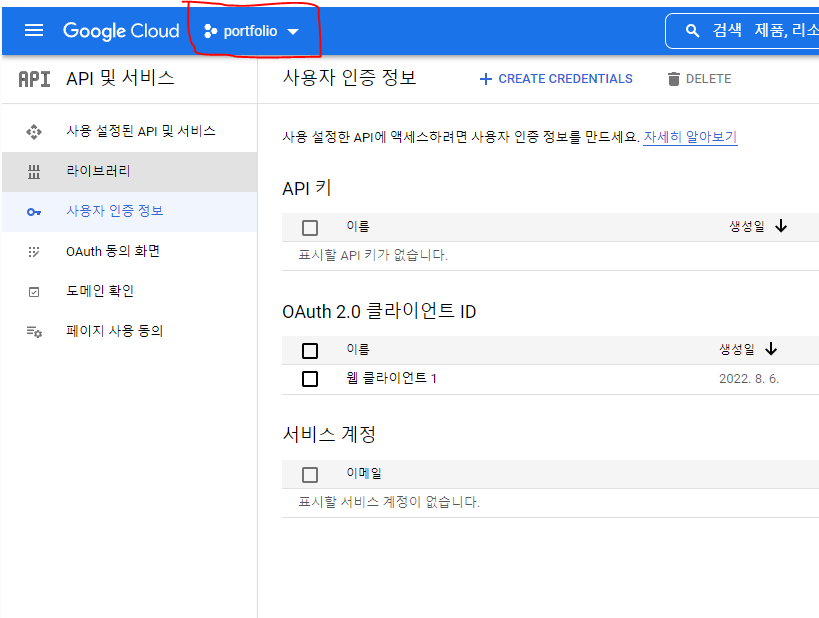
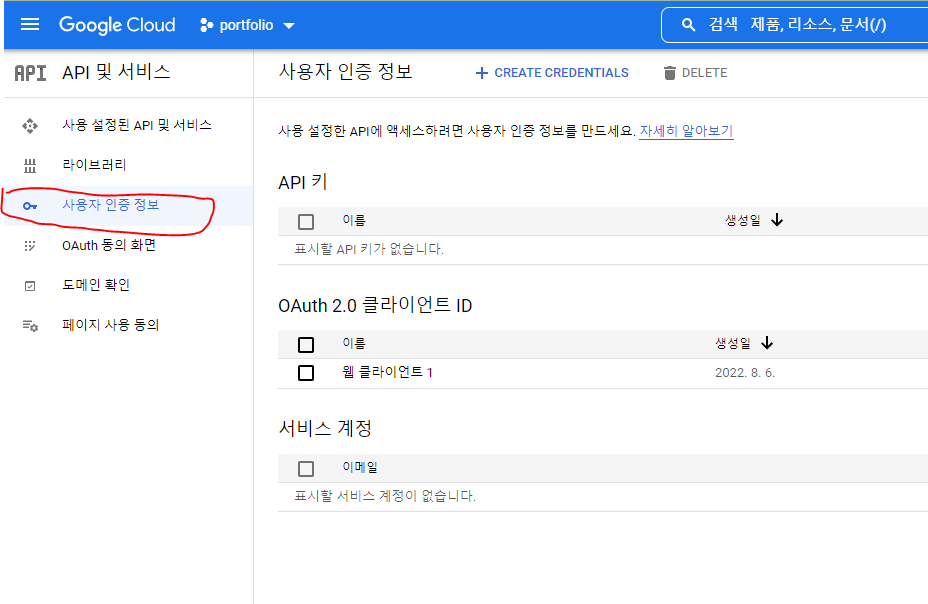
- 프로젝트를 선택한다.
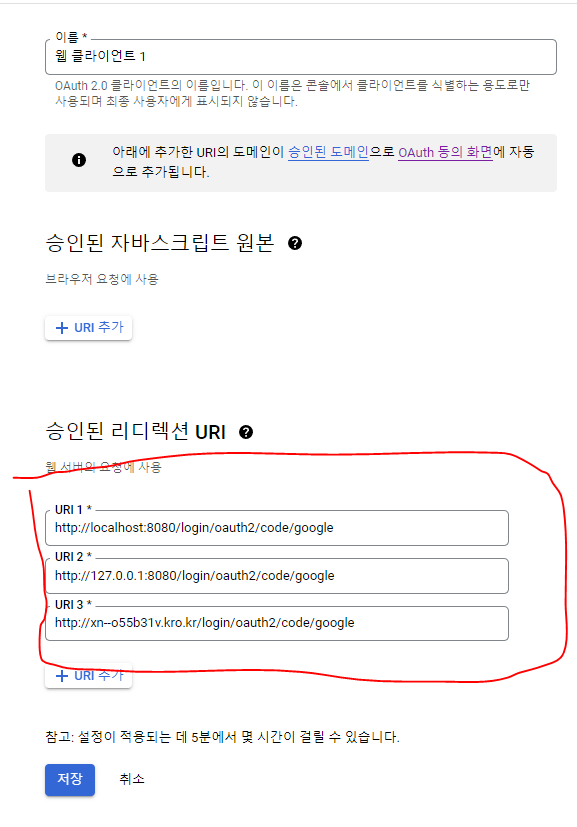
- 사용자 인증정보의 웹 클라이언트를 선택한다.
- 리디렉션 uri를 추가한다.
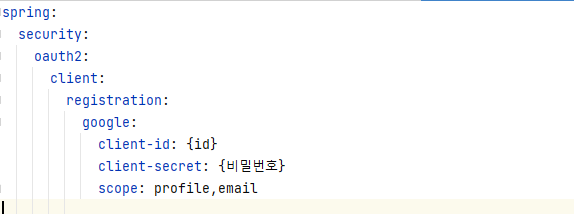
- 처음에 프로젝트 생성할 때 받은 id와 secret을 yml 파일에 입력한다.
- html을 만든다.
   <div class="col-xs-4 col-sm-2">
     <a href="/oauth2/authorization/google" class="btn btn-lg btn-block omb_btn-google">
       <i class="fa fa-google-plus visible-xs"></i>
       <span class="hidden-xs">Google</span>
     </a>
</div>- securiyConfig를 만든다.
@EnableWebSecurity
@Configuration
@RequiredArgsConstructor
public class SecurityConfig {
    private final CustomOauth2UserService customOauth2UserService;
    @Bean
    public WebSecurityCustomizer configure() throws Exception {
        return (web) -> web.ignoring().antMatchers("/assets/**","/images/**","/error","favicon.ico","/i18n/**");
    }
    @Bean
    public SecurityFilterChain filterChain(HttpSecurity http) throws Exception {

        http
                .csrf().disable()
                // enable h2-console
                .headers()
                .frameOptions()
                .disable()
                .and()
                .authorizeRequests()
                .antMatchers("/").permitAll()
                .antMatchers("/login").permitAll()
                .antMatchers("/items/**").hasRole(Role.USER.name())
                .anyRequest().authenticated()
                .and()
                .logout()
                .logoutSuccessUrl("/")
                .and()
                .oauth2Login()
                .loginPage("/login")
                .userInfoEndpoint()
                .userService(customOauth2UserService);
        return http.build();
    }
}
- role을 생성한다.
@Getter
@RequiredArgsConstructor
public enum Role {
    GUEST("ROLE_GUEST","손님"),
    USER("ROLE_USER","일반 사용자");
    private final String key;
    private final String title;
}
9-1. user를 생성한다.
@Getter
@Setter
@ToString
@NoArgsConstructor
@Entity
public class User extends BaseTimeEntity{
    @Id
    @GeneratedValue(strategy = GenerationType.IDENTITY)
    private Long id;

    @Column(nullable = false)
    private String name;

    @Column(nullable = false)
    private String email;

    @Column
    private String picture;

    @Enumerated(EnumType.STRING)
    @Column(nullable = false)
    private Role role;

    @Builder
    public User(Long id, String name, String email, String picture, Role role) {

        this.id = id;
        this.name = name;
        this.email = email;
        this.picture = picture;
        this.role = role;
    }

    public User update(String name, String picture) {
        this.name = name;
        this.picture = picture;
        return this;
    }
    public String getRoleKey() {
        return this.role.getKey();
    }


}
9-2. BaseTimeEntity를 생성한다.
@Getter
@MappedSuperclass
@EntityListeners(AuditingEntityListener.class)
public class BaseTimeEntity {
    @CreatedDate
    private LocalDateTime createdDate;
    @LastModifiedDate
    private LocalDateTime modifiedDate;
}- OAuthAttributes 를 생성한다.
@NoArgsConstructor
@Getter @Setter
@ToString
public class OAuthAttributes {
    private Map<String, Object> attributes;
    private String nameAttributeKey;
    private String name;
    private String email;
    private String picture;

    @Builder
    public OAuthAttributes(Map<String, Object> attributes, String nameAttributeKey, String name, String email, String picture) {
        this.attributes = attributes;
        this.nameAttributeKey = nameAttributeKey;
        this.name = name;
        this.email = email;
        this.picture = picture;
    }
    public static OAuthAttributes of(String registrationId, String userNameAttributeName, Map<String, Object> attributes) {

        return ofGoogle(userNameAttributeName, attributes);
    }

    private static OAuthAttributes ofGoogle(String userNameAttributeName, Map<String,Object>attributes){
        return OAuthAttributes.builder()
            .name((String)attributes.get("name"))
            .email((String)attributes.get("email"))
            .picture((String)attributes.get("picture"))
            .attributes(attributes)
            .nameAttributeKey(userNameAttributeName)
            .build();
    }
    public User toEntity(){
        return User.builder()
            .name(name)
            .email(email)
            .picture(picture)
            .role(Role.GUEST)
            .build();
    }
}
- service를 생성한다.
@RequiredArgsConstructor
@Service
public class CustomOauth2UserService implements OAuth2UserService<OAuth2UserRequest, OAuth2User> {
    private final UserRepository userRepository;
    private final HttpSession httpSession;

    @Override
    public OAuth2User loadUser(OAuth2UserRequest userRequest) throws OAuth2AuthenticationException {
        OAuth2UserService<OAuth2UserRequest, OAuth2User> delegate = new DefaultOAuth2UserService();
        OAuth2User oAuth2User = delegate.loadUser(userRequest);
        String registrationId = userRequest.getClientRegistration().getRegistrationId();
        String userNameAttributeName = userRequest.getClientRegistration().getProviderDetails().getUserInfoEndpoint().getUserNameAttributeName();

        OAuthAttributes attributes = OAuthAttributes.of(registrationId, userNameAttributeName, oAuth2User.getAttributes());

        User user = saveOrUpdate(attributes);
        httpSession.setAttribute("user", new SessionUser(user));
        return new DefaultOAuth2User(Collections.singleton(new SimpleGrantedAuthority(user.getRoleKey())),attributes.getAttributes(),attributes.getNameAttributeKey());
    }

    private User saveOrUpdate(OAuthAttributes attributes){
        User user = userRepository.findByEmail(attributes.getEmail())
                .map(entity -> entity.update(attributes.getName(), attributes.getPicture())).orElse(attributes.toEntity());
        return userRepository.save(user);
    }
}- nginx의 설정을 한다.
  location = /oauth2/auth {
    proxy_pass       http://127.0.0.1:8080;
    proxy_set_header Host             $host;
    proxy_set_header X-Real-IP        $remote_addr;
    proxy_set_header X-Scheme         $scheme;
    proxy_set_header Content-Length   "";
    proxy_pass_request_body           off;
  }
    location / {
        #root   /usr/share/nginx/html;
        #index  index.html index.htm;
        auth_request_set $user   $upstream_http_x_auth_request_user;
        auth_request_set $email  $upstream_http_x_auth_request_email;
        proxy_set_header X-User  $user;
        proxy_set_header X-Email $email;
        proxy_set_header   X-Forwarded-For $remote_addr;
        proxy_set_header   Host $http_host;
        proxy_pass http://127.0.0.1:8080;
    }
아래의 참고를 보고 설정했다.
참고
네이버 로그인
네이버 개발자에 가입한다.
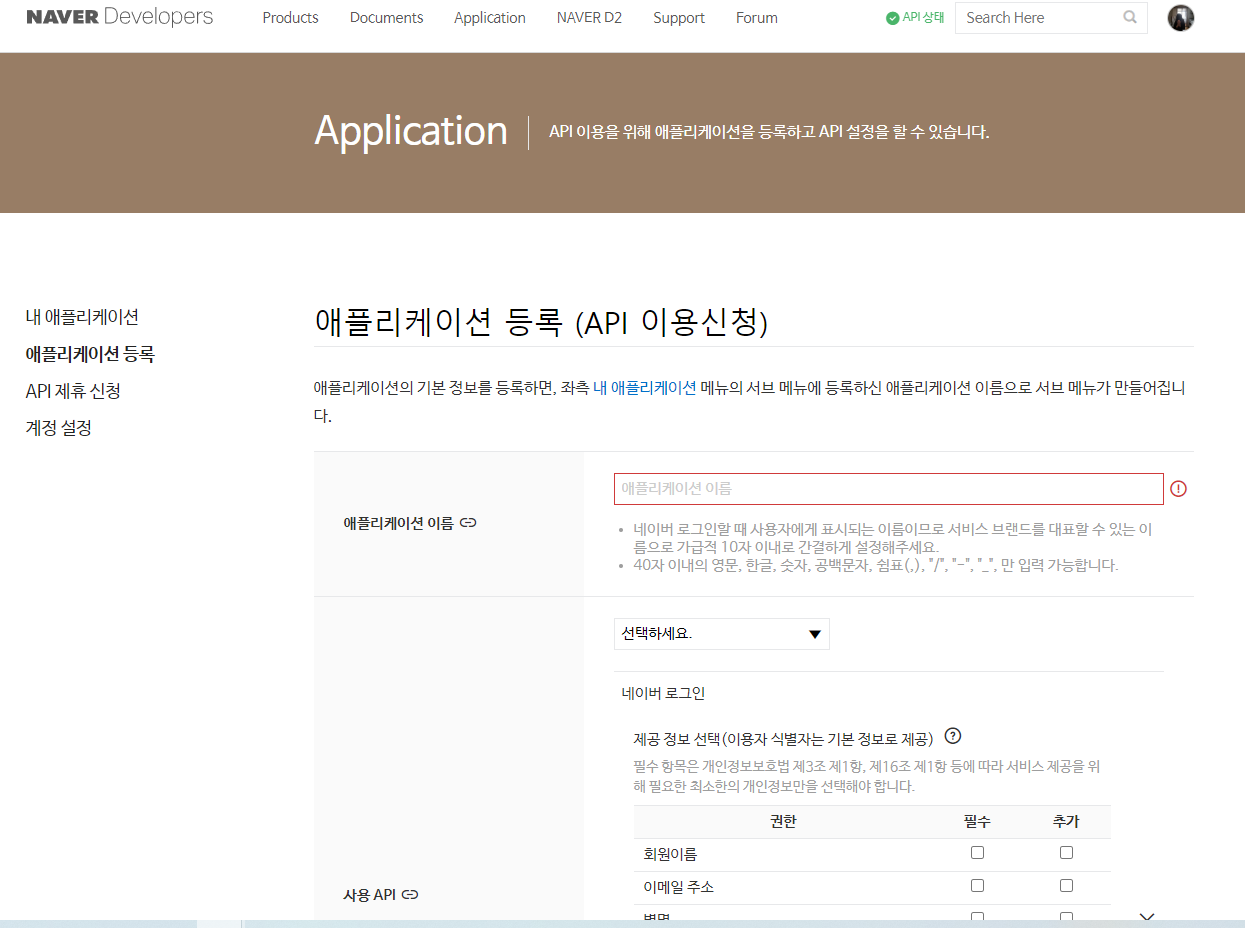
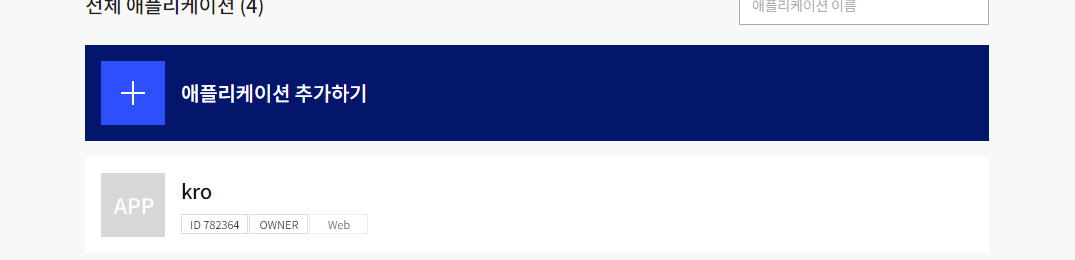
- 애플리케이션을 만든다.
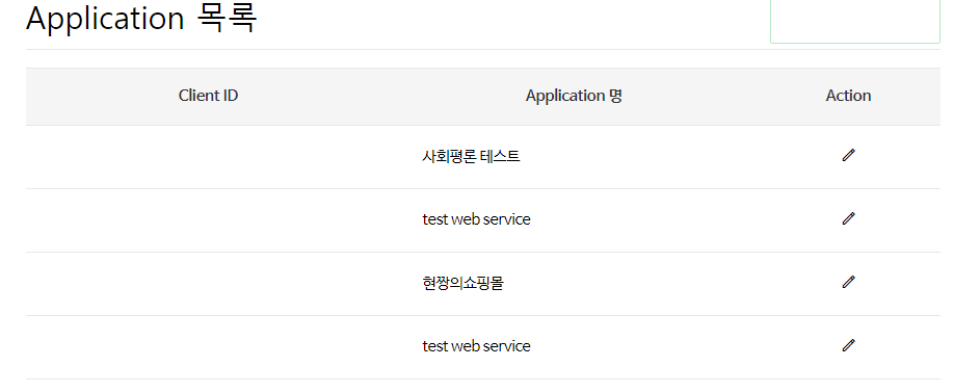
- 애플리케이션을 선택한다.
3.api설정에 들어간다.

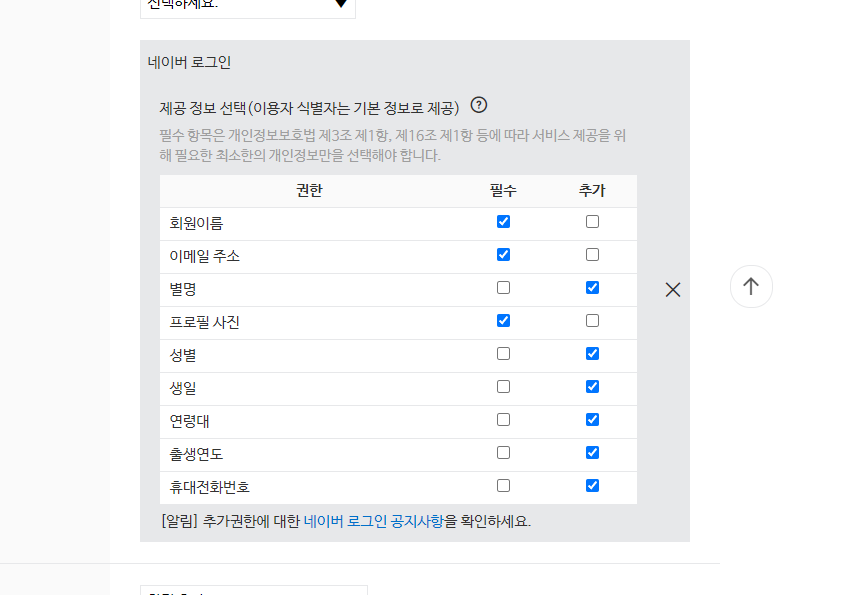
4.필요한 항목을 결정한다.
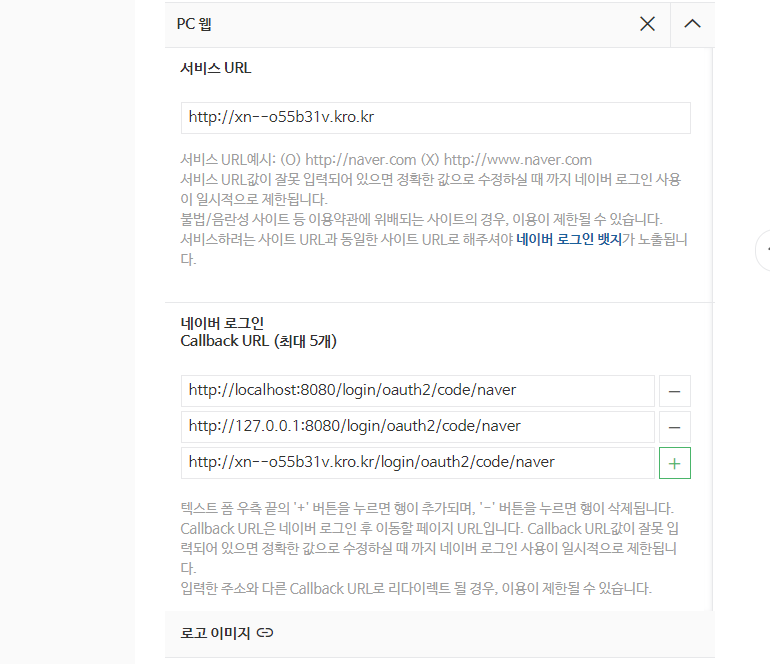
5. 리디렉션 uri를 설정한다.
6. 애플리케이션 정보를 복사한다.
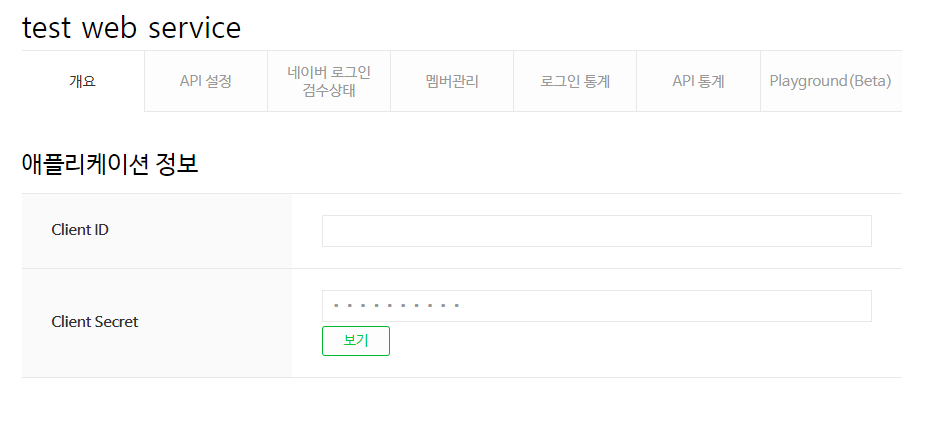
7. yml 파일에 붙여 넣는다.
spring:
  security:
    oauth2:
      client:
        registration:
          naver:
            redirect-uri: '{baseUrl}/{action}/oauth2/code/{registrationId}'
            authorization-grant-type: authorization_code
            client-secret: {비밀번호}
            scope: name,email,profile_image
            client-id: {아이디}
            client-name: Naver


        provider:
          naver:
            user-name-attribute: response
            authorization-uri: https://nid.naver.com/oauth2.0/authorize
            user-info-uri: https://openapi.naver.com/v1/nid/me
            token-uri: https://nid.naver.com/oauth2.0/token
- html에 버튼을 추가한다.
       <div class="col-xs-4 col-sm-2">
         <a href="/oauth2/authorization/naver" class="btn btn-lg btn-block omb_btn-twitter">
            <i class="fa fa-twitter visible-xs"></i>
            <span class="hidden-xs">Naver</span>
         </a>
</div>- OAuthAttributes에 추가한다.
 public static OAuthAttributes of(String registrationId, String userNameAttributeName, Map<String, Object> attributes) {
        if ("naver".equals(registrationId)) {
            return ofNaver(userNameAttributeName, attributes);
        }

        return ofGoogle(userNameAttributeName, attributes);
    }
 private static OAuthAttributes ofNaver(String userNameAttributeName, Map<String, Object> origin) {
        Map<String, Object> response = (Map<String, Object>) origin.get("response");
        System.out.println("response = " + response);
        return OAuthAttributes.builder()
            .name((String)response.get("name"))
            .email((String)response.get("email"))
            .picture((String)response.get("profile_image"))
            .attributes(origin)
            .nameAttributeKey(userNameAttributeName)
            .build();
    }
카카오 로그인
카카오 개발자에 가입한다.
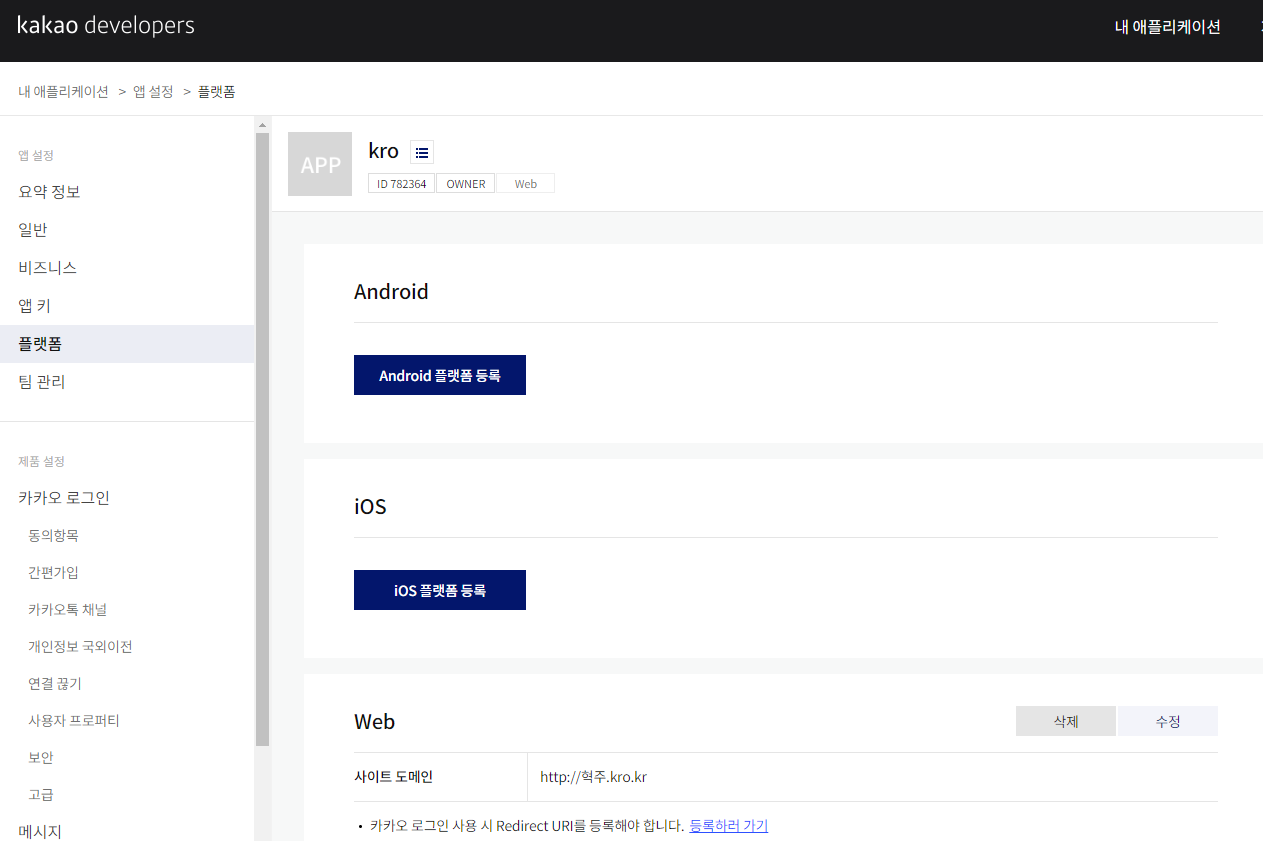
1.내 애플리케이션을 추가한다.
-
플랫폼에서 내 도메인을 등록한다.
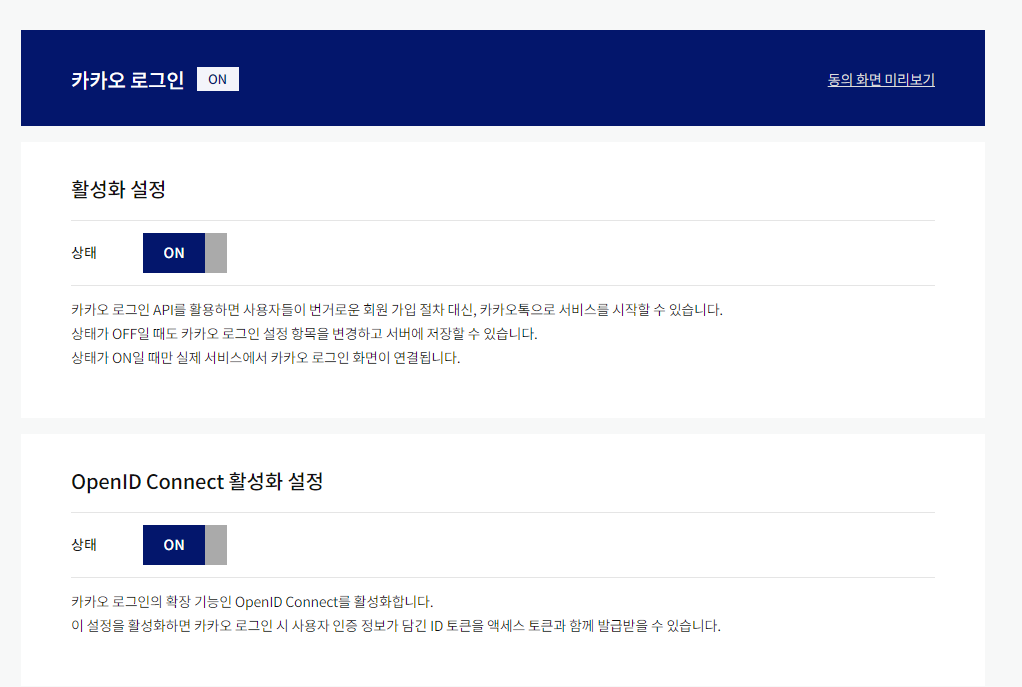
-
카카오 로그인을 활성화 한다.
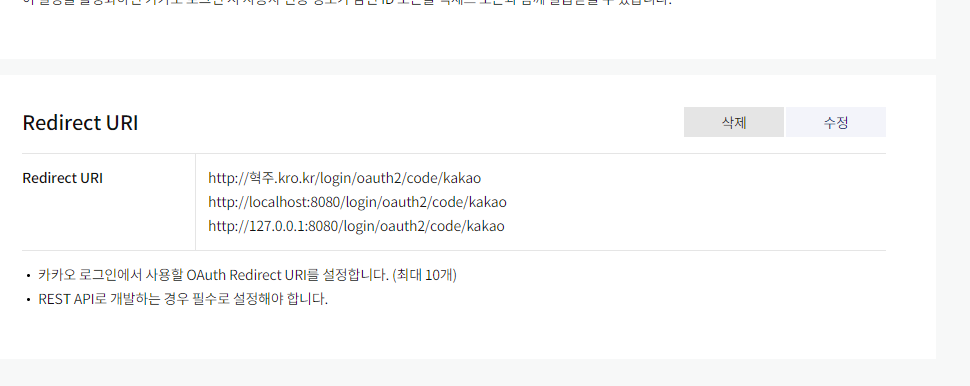
-
리디렉션 uri를 추가한다.
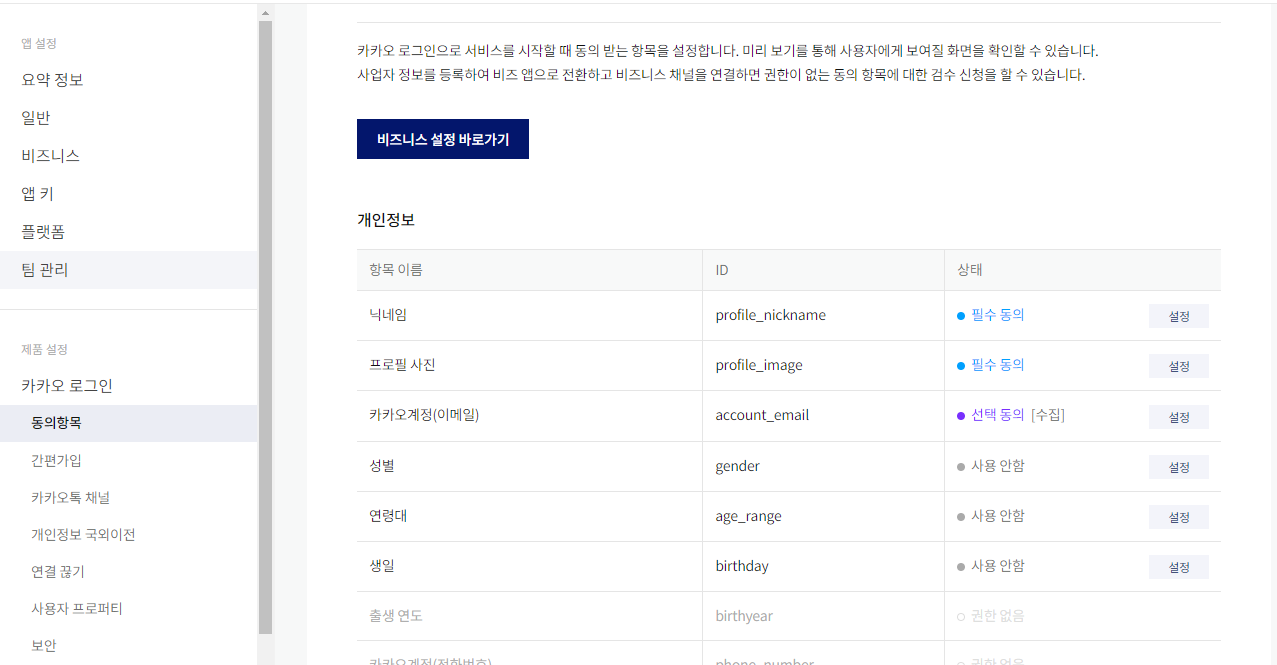
-
동의항목을 추가한다.
-
앱키를 yml파일에 붙여 넣는다.
spring:
  security:
    oauth2:
      client:
        registration:
          kakao:
            client-id: {아이디}
            redirect-uri: '{baseUrl}/{action}/oauth2/code/{registrationId}' # http://localhost:8080/login/oauth2/code/kakao
            client-authentication-method: POST
            authorization-grant-type: authorization_code
            scope: profile_nickname, profile_image, account_email
            client-name: Kakao

        provider:

          kakao:
            authorization_uri: https://kauth.kakao.com/oauth/authorize
            token_uri: https://kauth.kakao.com/oauth/token
            user-info-uri: https://kapi.kakao.com/v2/user/me
user_name_attribute: id- html에 버튼을 넣는다.
   <div class="col-xs-4 col-sm-2">
     <a href="/oauth2/authorization/kakao" class="btn btn-lg btn-block omb_btn-facebook">
       <i class="fa fa-facebook visible-xs"></i>
       <span class="hidden-xs">Kakao</span>
     </a>
</div>- OAuthAttributes에 카카오도 추가한다.
 public static OAuthAttributes of(String registrationId, String userNameAttributeName, Map<String, Object> attributes) {
        if ("naver".equals(registrationId)) {
            return ofNaver(userNameAttributeName, attributes);
        }
        if("kakao".equals(registrationId)){
            return ofKakao(userNameAttributeName, attributes);
        }
        return ofGoogle(userNameAttributeName, attributes);
    }

    private static OAuthAttributes ofKakao(String userNameAttributeName, Map<String, Object> attributes) {
        // kakao는 kakao_account에 유저정보가 있다. (email)
        Map<String, Object> kakaoAccount = (Map<String, Object>)attributes.get("kakao_account");
        // kakao_account안에 또 profile이라는 JSON객체가 있다. (nickname, profile_image)
        Map<String, Object> kakaoProfile = (Map<String, Object>)kakaoAccount.get("profile");
        return OAuthAttributes.builder()
                .name((String) kakaoProfile.get("nickname"))
                .email((String) kakaoAccount.get("email"))
                .picture((String) kakaoProfile.get("profile_image_url"))
                .attributes(attributes)
                .nameAttributeKey(userNameAttributeName)
                .build();
    }

쉬엄쉬엄하는 개발자