
갈수록 더해지는 백엔드 시스템 선택
주변에 선택지가 너무나도 많다. spring boot, golang의 gin framework 등의 api서버를 구축할 수 있는 프레임워크는 정말 선택만 하면 되는 것이었다.
React와 콜라보 하기에 적당한 것을 찾다보니
Nodejs 쪽으로 눈이 기울게 되었다. 이걸 포스팅 하기 전에 golang을 찍먹하는 글을 올렸었는데 golang의 패키지 관리 문제와 적은 양의 커뮤니티, 오류가 발생했을 때의 대응 등을 고려하여 결국 Nestjs를 선택하게 되었다. 사실 성능만 놓고 보면 golang의 완승...
설치는 매우 간단
Nodejs가 설치되었다는 가정 하에 nest cli를 설치한다.
npm install -g @nestjs/cli
설치 완료
Nestjs 프로젝트 생성
이 또한 매우 간단하다.
nest new nestTest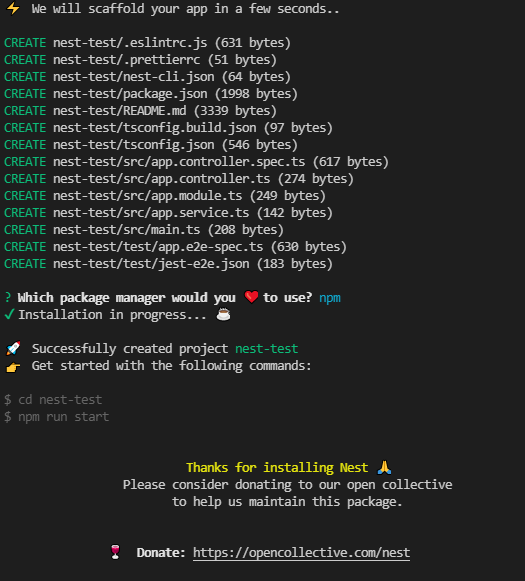
땡큐~ 프로젝트 생성 끝
생성된 프로젝트 구조
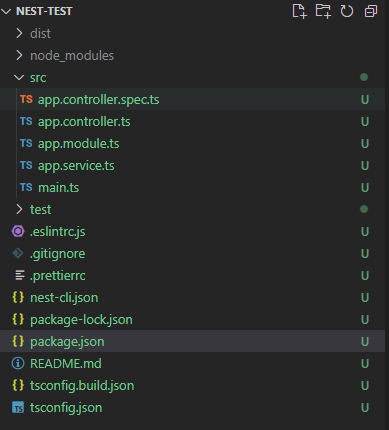

어디선가 많이 본 구조다... 나만 그런건 아닐 것이야...
실행해보자
npm run start:dev

[오후 3:22:50] Starting compilation in watch mode...

[오후 3:22:53] Found 0 errors. Watching for file changes.

[Nest] 10484  - 2021. 11. 26. 오후 3:22:55     LOG [NestFactory] Starting Nest application...
[Nest] 10484  - 2021. 11. 26. 오후 3:22:55     LOG [InstanceLoader] AppModule dependencies initialized +35ms
[Nest] 10484  - 2021. 11. 26. 오후 3:22:55     LOG [RoutesResolver] AppController {/}: +7ms
[Nest] 10484  - 2021. 11. 26. 오후 3:22:55     LOG [RouterExplorer] Mapped {/, GET} route +4ms
[Nest] 10484  - 2021. 11. 26. 오후 3:22:55     LOG [NestApplication] Nest application successfully started +4ms
실행 성공!
왜 start:dev 인가?
"-- watch" 옵션으로 소스가 변경될 때에 HotReload 를 해주기 위함이다.
start:prod 는 빌드 및 번들 생성을 해준다.
"scripts": {
"prebuild": "rimraf dist",
"build": "nest build",
"format": "prettier --write \"src/**/*.ts\" \"test/**/*.ts\"",
"start": "nest start",
"start:dev": "nest start --watch",
"start:debug": "nest start --debug --watch",
"start:prod": "node dist/main",
"lint": "eslint \"{src,apps,libs,test}/**/*.ts\" --fix",
"test": "jest",
"test:watch": "jest --watch",
"test:cov": "jest --coverage",
"test:debug": "node --inspect-brk -r tsconfig-paths/register -r ts-node/register node_modules/.bin/jest --runInBand",
"test:e2e": "jest --config ./test/jest-e2e.json"
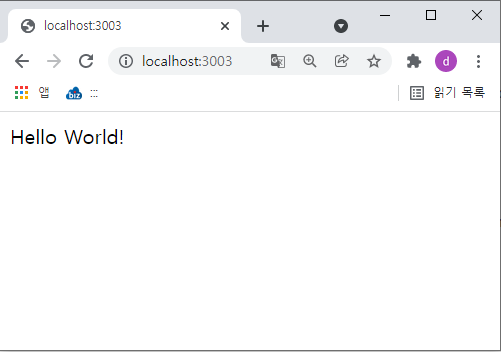
},실행 했으면 들어가보자.
기본 포트는 3000번이나 main.ts 파일에서 수정 가능하다.

인공지능이라는 옷을 입었습니다. 뭔가 멋지면서도 잘 맞습니다.