
React Native로 앱을 만드는 과정에서 React Navigation을 사용하는데 많은 어려움이 있었습니다. 일주일 정도를 삽질한 것 같아서 글로 남기기 위해 작성했습니다.
React Native App 만들기
React Navigation을 사용하기 전에 React Native APP 만드는 방법을 간단히 설명하겠습니다.
리액트 네이티브 앱을 만들어줍니다. 저는 프로젝트 명을 Navigation으로 했습니다.
// 프로젝트 생성
$ create-react-native-app Navigation

// 커맨드 라인 도구 설치
$ npm install -g react-native-cli

// 생성된 프로젝트 폴더로 이동
$ cd Navigation

// 시뮬레이터로 react native 실행
$ react-native run-ios
위 코드를 실행한 터미널 캡쳐 이미지 입니다.
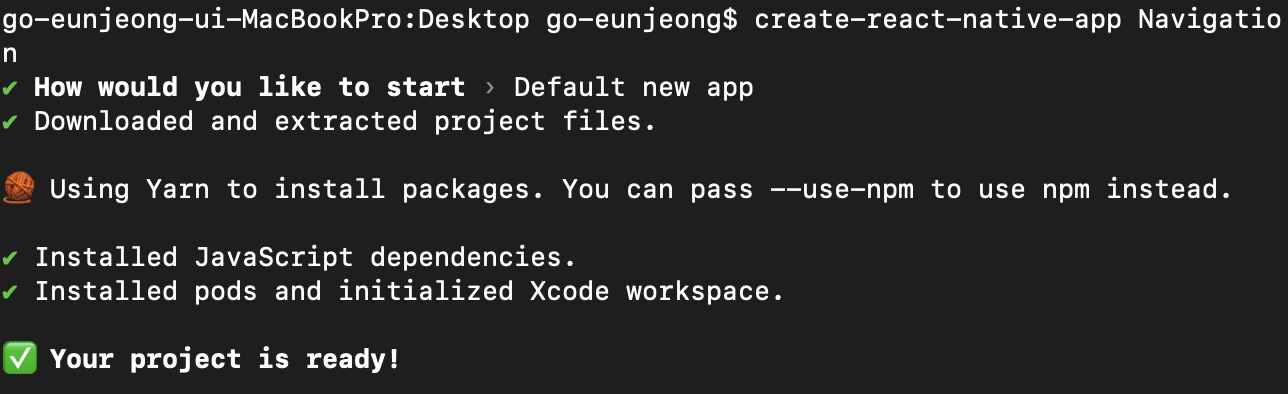


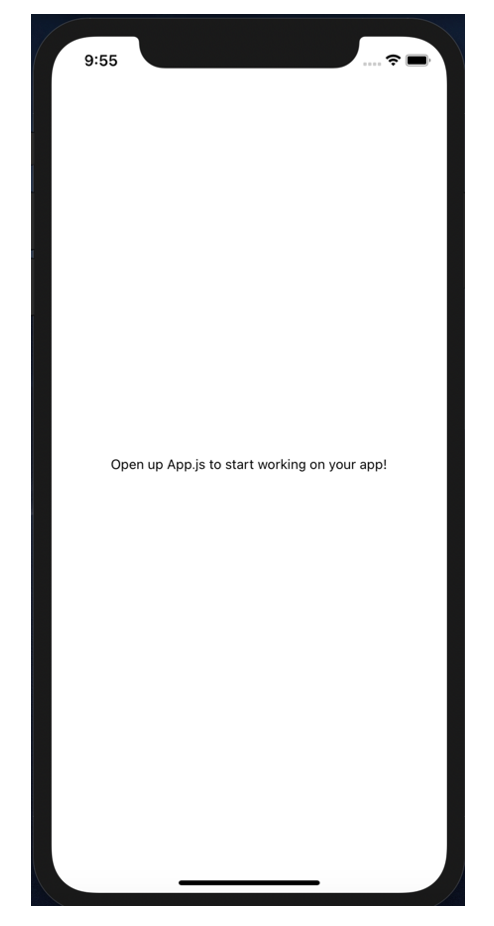
React Native 프로젝트가 정상적으로 실행되면 아래 이미지와 같은 화면을 시뮬레이터로 확인할 수 있습니다.
Navigation 이동 페이지 만들기
Navigation으로 이동하기 위한 페이지들이 필요합니다.
App.js 와 동일한 위치에 HomeScreen.js, CalendarScreen.js, SettingScreen.js를 만들었습니다. 세개의 파일은 아래 코드로 작성되어 있고, .title의 글자만 Home, Calendar, Setting로 다르게 작성했습니다.
import React, {Component} from 'react';
import {
  StyleSheet,
  View,
  Text,
} from 'react-native';

class SettingScreen extends Component {
  render() {
    return (
      <View style={styles.wrap}>
        <Text style={styles.title}>Home</Text>
      </View>
    );
  }
}

const styles = StyleSheet.create({
  wrap: {
    flex: 1,
    justifyContent: 'center',
    alignItems: 'center',
  },
  title:{
    fontSize:30,
  }

});

export default SettingScreen;
라이브러리 설치하기
이제 라이브러리를 설치합니다.
$ npm install react-navigation
$ npm install react-native-gesture-handler react-native-reanimated
$ npm install react-navigation-tabs --save
위 코드를 실행한 터미널 캡쳐 이미지 입니다.


그 후에 아래 코드를 실행합니다.** (저는 현재 ios로 개발중이라서 아래 코드로 간단하게 작업했습니다.)
$ cd ios
$ pod install
$ cd ..

// react native 다시 실행
$ react-native run-ios
Tab Navigation 사용하기
설치한 라이브러리를 사용해서 App.js에서 페이지들을 연결합니다. 아래 코드는 App.js의 코드입니다.
상단에 라이브러리를 import 합니다.
import {createAppContainer} from 'react-navigation';
import {createBottomTabNavigator} from 'react-navigation-tabs';
작성한 페이지들을 import 합니다.
import HomeScreen from './HomeScreen';
import CalendarScreen from './CalendarScreen';
import SettingScreen from './SettingScreen';
아래 코드를 참고해서 페이지 연결 부분도 코드도 작성합니다.
import {createAppContainer} from 'react-navigation';
import { StatusBar } from 'expo-status-bar';
import React from 'react';
import HomeScreen from './HomeScreen';
import CalendarScreen from './CalendarScreen';
import SettingScreen from './SettingScreen';
import { StyleSheet, Text, View } from 'react-native';
import {createBottomTabNavigator} from 'react-navigation-tabs';
const TabNavigator = createBottomTabNavigator(
{
Home: {
screen: HomeScreen,
navigationOptions: {
tabBarLabel: 'Home'
}
},
Calendar: {
screen: CalendarScreen,
navigationOptions: {
tabBarLabel: 'Calendar'
}
},
Setting: {
screen: SettingScreen,
navigationOptions: {
tabBarLabel: 'Setting'
}
},
},
{
tabBarOptions: {
inactiveTintColor: 'grey'
}
}
);
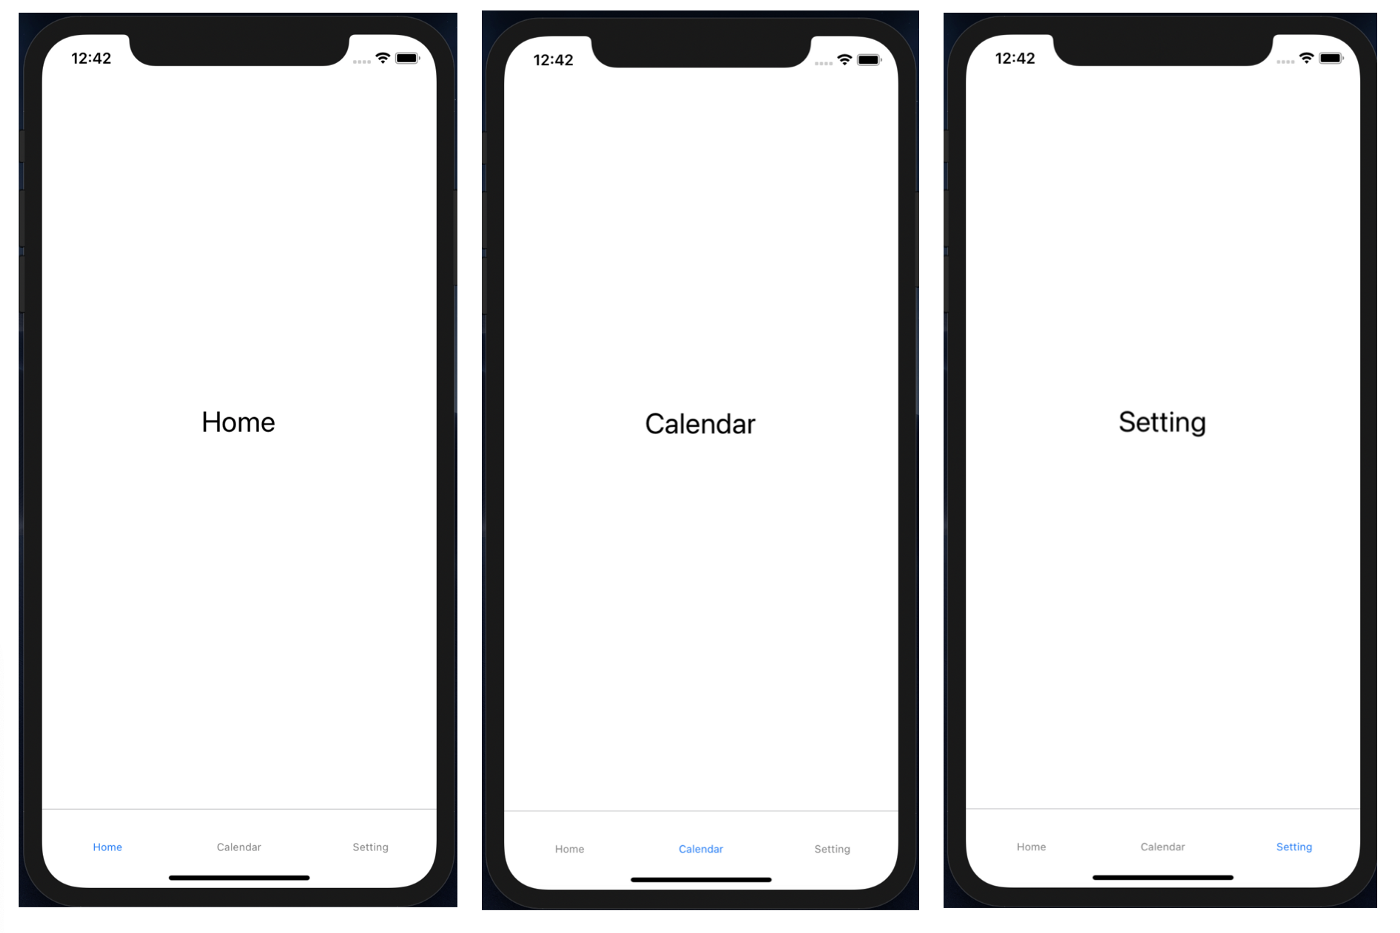
export default createAppContainer(TabNavigator);아래 이미지와 같이 Navigation이 정상동작 하는 것을 확인할 수 있습니다.
참고