
1. 실습
CentOS 를 base 이미지로 하여 httpd를 설치 후 간단한 index.html 파일을 배포하는 Dockerfile 을 작성하여 이미지 빌드 후 컨테이너를 생성해보자!
- Trouble Shooting
root@ubuntu:/docker# ip add
IP 존재하는지 확인할 것

root@ubuntu:/docker# systemctl restart docker

restart docker - IP 다시확인해보면 잘 받아와있을 것임 하지만, docker ps 명령어를 적용해보면 컨테이너가
all OFF 상태임을 확인 할 수 있다.

<실습 하기 전에 실행되는지 확인>

root@ubuntu:/docker# docker run -it --name cent centos:7
컨테이너 내에서 작업

[root@93a2468b736f /]# yum -y install httpd
설치 오류 없음

[root@93a2468b736f /]# ls /var/www/html
디렉토리 존재

[root@93a2468b736f /]# cd /var/www/html/
디렉토리 이동

[root@93a2468b736f html]# ls
[root@93a2468b736f html]# touch index.html
[root@93a2468b736f html]# echo hello > index.html
테스트 용도로 echo
[root@93a2468b736f html]# curl localhost
curl: (7) Failed to connect to ::1: Cannot assign requested address

<문제 잡힘>

[root@93a2468b736f html]# /usr/sbin/httpd -DFOREGROUND
명령어 적용 후 다른 xShell 열어서 확인 해보기

root@ubuntu:~# docker exec -it cent /bin/bash
[root@93a2468b736f /]# curl localhost
hello

Ctrl p + q
- Dockerfile 작성
root@ubuntu:~# cd /docker/
root@ubuntu:/docker# vi Dockerfile
<추가> <CMD or ENTRYPOINT>
**************************************************************************************************
FROM centos:7
RUN yum -y update && yum -y install httpd
WORKDIR /var/www/html/
COPY index.html .
#CMD ["/usr/sbin/httpd","-D","FOREGROUND"] # 가능
ENTRYPOINT ["/usr/sbin/httpd","-D","FOREGROUND"]
**************************************************************************************************
root@ubuntu:/docker# docker build -t cent:1.0 .
빌드 진행
root@ubuntu:/docker# docker run -dp 1313:80 --name newcent cent:1.0
컨테이너 생성
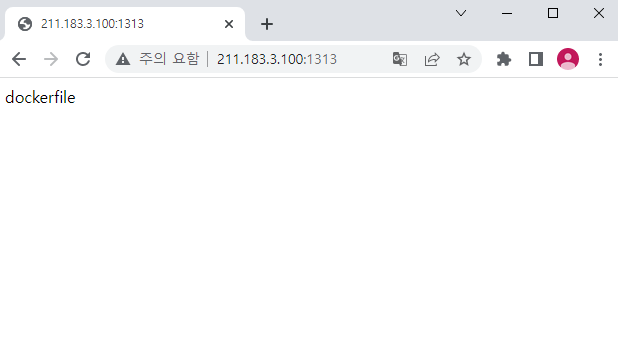
root@ubuntu:/docker# curl localhost:1313
dockerfile- 결과
2. DB & Wordpress 연동 확인 (2개의 테스트 케이스)
- wp-config.php 파일 확인
root@ubuntu:/docker# docker run -d --name wp -e WORDPRESS_DB_NAME=wordpress wordpress

root@ubuntu:/docker# docker exec -it wp /bin/bash

root@fd394d4d88f3:/var/www/html# ls

... wp-config.php	...

<wp-config.php형식>
**************************************************************************************************
// ** Database settings - You can get this info from your web host ** //
/** The name of the database for WordPress */
define( 'DB_NAME', getenv_docker('WORDPRESS_DB_NAME', 'wordpress') );

/** Database username */
define( 'DB_USER', getenv_docker('WORDPRESS_DB_USER', 'example username') );

/** Database password */
define( 'DB_PASSWORD', getenv_docker('WORDPRESS_DB_PASSWORD', 'example password') );
**************************************************************************************************

root@ubuntu:/docker# docker rm -f wp- DB 와 연동하기 위해 db 컨테이너 만들고 wp(wordpress)에서 ip로 DB 연결하기
root@ubuntu:/docker# docker run -d --name db -e MYSQL_ROOT_PASSWORD=1234 -e MYSQL_DATABASE=wordpress -e MYSQL_USER=wpuwer -e MYSQL_PASSWORD=1234 mariadb
545f12796d8afb877a317c8081ed584da3082121a4f0cbcf1b7ee6a21954462f

root@ubuntu:/docker# docker inspect db | grep IPAddr
            "SecondaryIPAddresses": null,
            "IPAddress": "172.17.0.4",
                    "IPAddress": "172.17.0.4",

root@ubuntu:/docker# apt-get -y install mariadb-client

root@ubuntu:/docker# apt-get -y install mariadb-client
Reading package lists... Done
Building dependency tree
Reading state information... Done
mariadb-client is already the newest version (1:10.3.37-0ubuntu0.20.04.1).
0 upgraded, 0 newly installed, 0 to remove and 19 not upgraded.


root@ubuntu:/docker# mysql -u wpuwer -p1234 -h 172.17.0.4
Welcome to the MariaDB monitor.  Commands end with ; or \g.
Your MariaDB connection id is 3
Server version: 10.10.2-MariaDB-1:10.10.2+maria~ubu2204 mariadb.org binary distribution

Copyright (c) 2000, 2018, Oracle, MariaDB Corporation Ab and others.

Type 'help;' or '\h' for help. Type '\c' to clear the current input statement.

MariaDB [(none)]> show databases;
+--------------------+
| Database           |
+--------------------+
| information_schema |
| wordpress          |
+--------------------+
2 rows in set (0.001 sec)

MariaDB [(none)]>

<IP로 DB연결>

root@ubuntu:/docker# docker run --name wp -dp 3232:80 -e WORDPRESS_DB_HOST=172.17.0.4 -e WORDPRESS_DB_USER=wpuwer -e WORDPRESS_DB_PASSWORD=1234 -e WORDPRESS_DB_NAME=wordpress wordpress
c36035105e6599f6ddae409717e8f1471cb883829c538443ca69c4751de06f5e
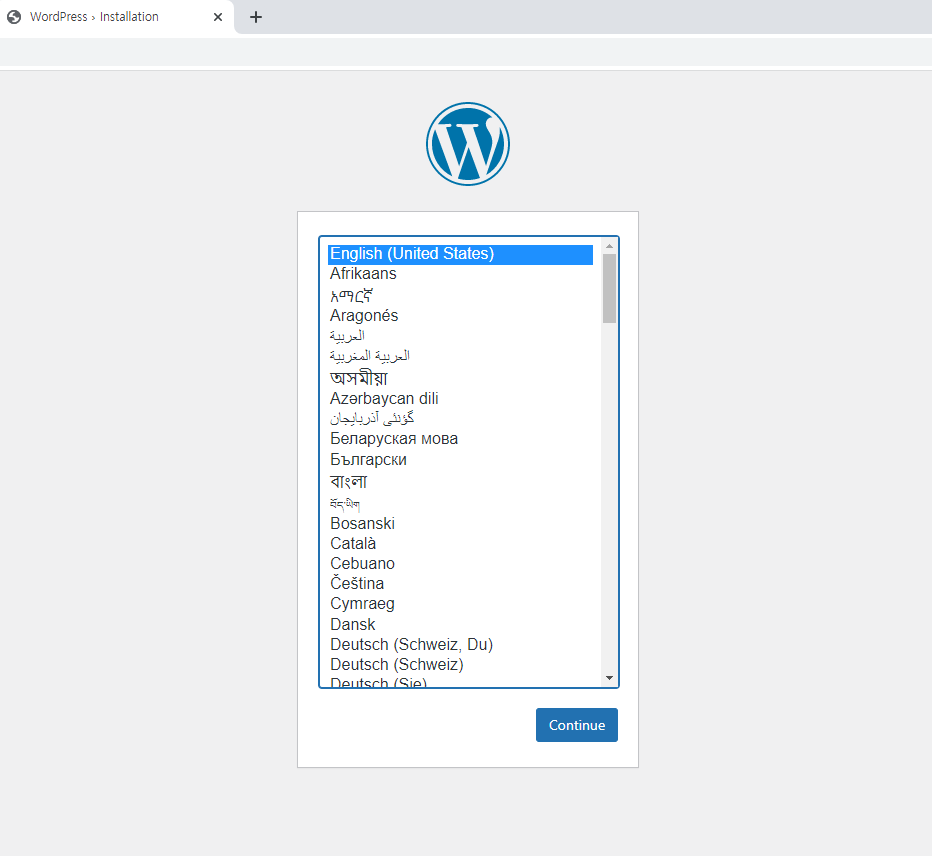
- 결과
- db 컨테이너와 wp 컨테이너 연결
root@ubuntu:/docker# docker rm -f wp
wp
먼저 생성했던 wp 컨테이너 지우고 다시 test
root@ubuntu:/docker# docker run --name wp -dp 3232:80 --link db:db -e WORDPRESS_DB_HOST=db -e WORDPRESS_DB_USER=wpuwer -e WORDPRESS_DB_PASSWORD=1234 -e WORDPRESS_DB_NAME=wordpress wordpress
bcdea2c352ca38ab4109f83a312600475aa18a6ec6a2367e7034e4e54ea9b2ad
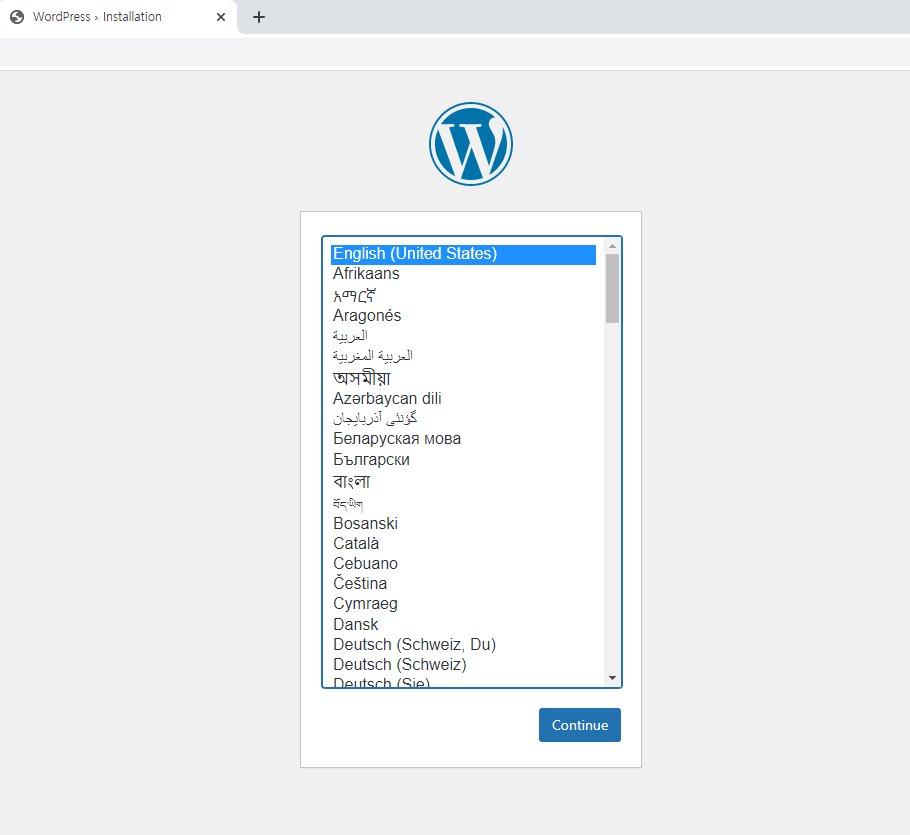
<웹브라우저 테스트>
211.183.3.100:3232
- 결과
3. 실습
wordpress 및 mariadb 이미지를 베이스로 하여 환경변수를 포함한 Dockerfile 을 작성 후 이미지를 생성하여 컨테이너를 동작 시켜 보세요!
단, mariadb 의 DB가 호스트의 /mairadb에 영구저장되어야 한다
- 바로 -v 옵션(영구저장)을 떠올려야 함
무럭무럭 자라볼까