
1. Kvmnet, VM (GUI) 생성
- Go to srv1
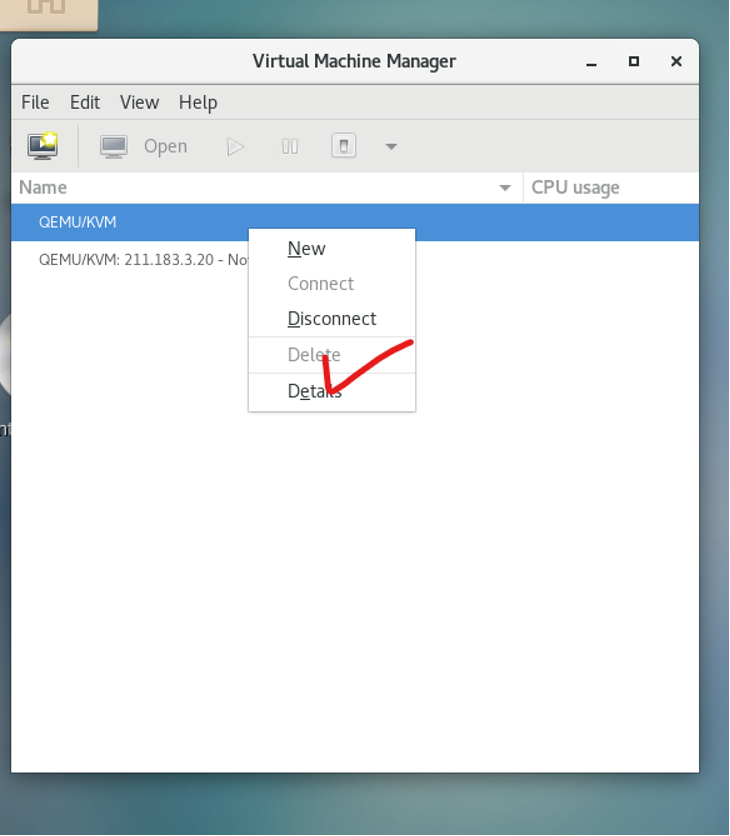
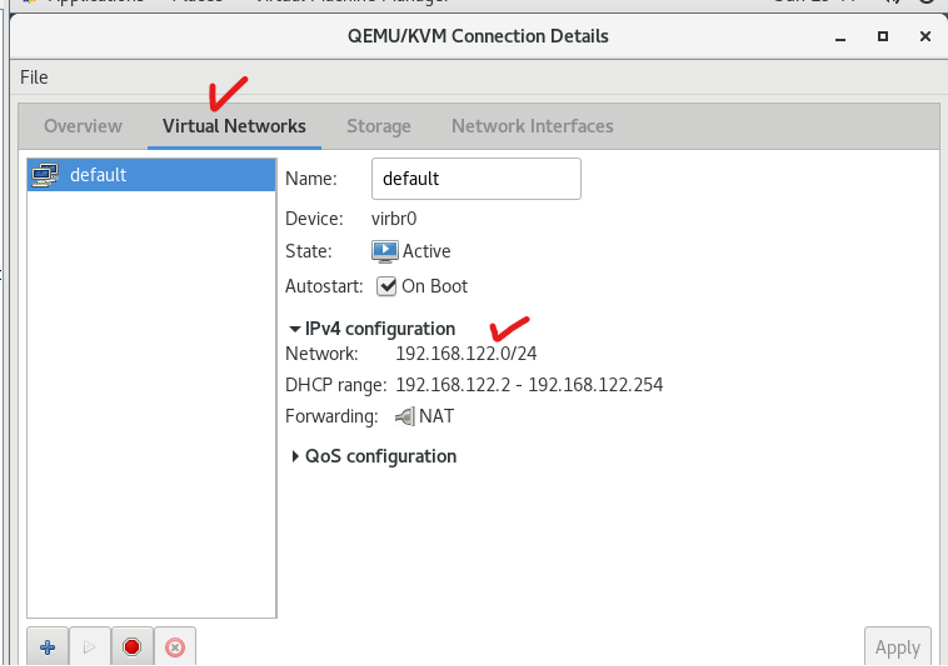
- View Details

-
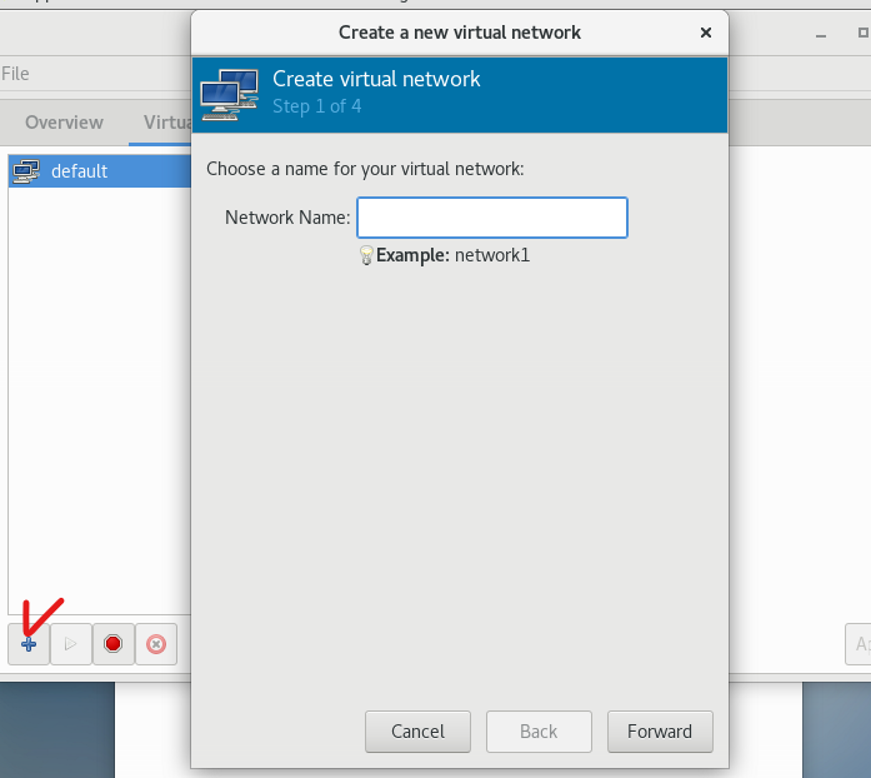
Add Button
-
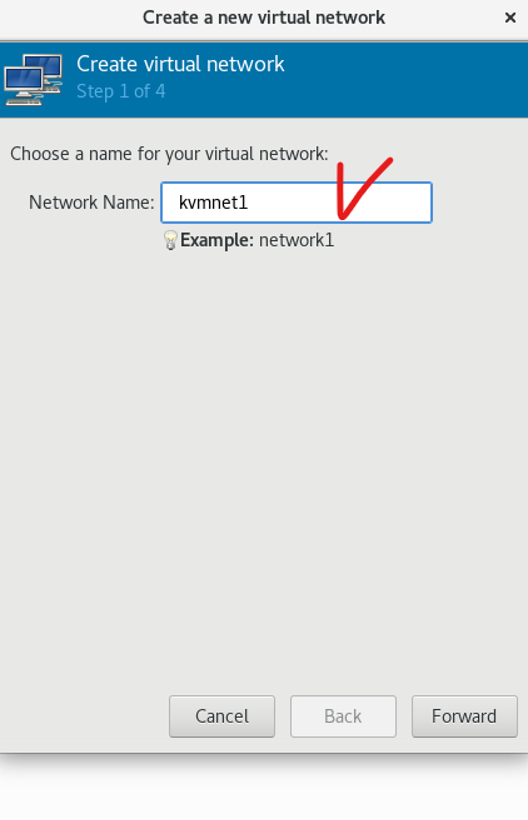
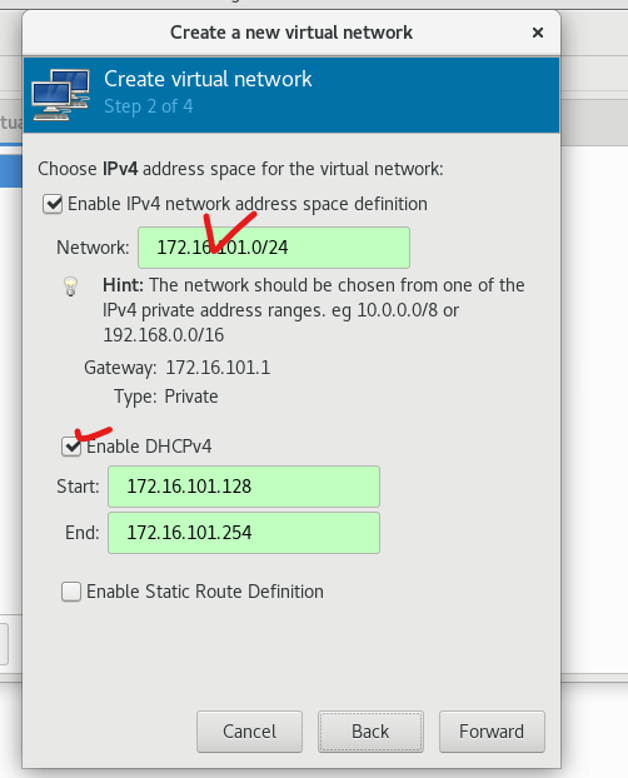
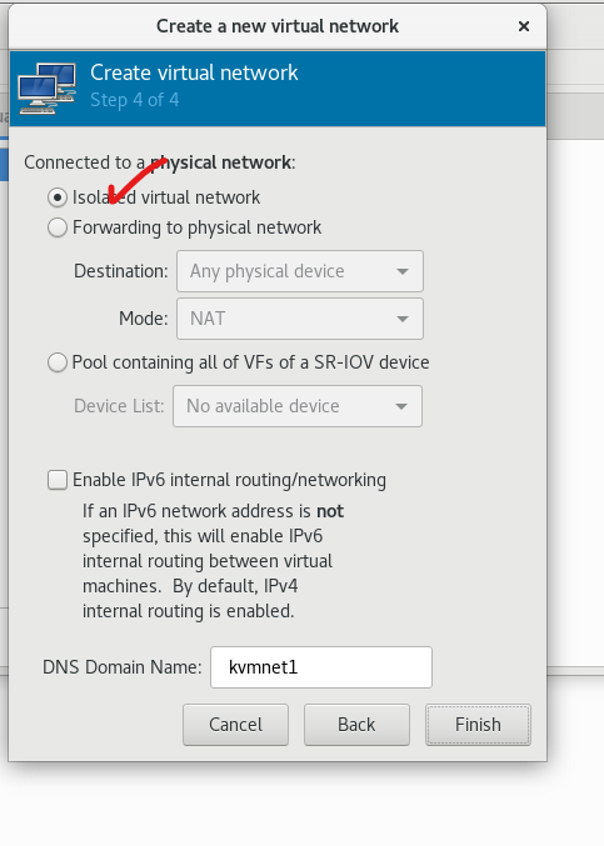
Network Name : Kvmnet1
-
Foward
-
가상 대역 생성(172.XX 대역)
-
Foward * 2
-
간단하게 생성된다 하지만, 우리는 CLI 즉 커맨드로 KVMnet을 생성해 볼 필요가 있지만 조금 있다가!
-
Go to srv 3 로 가기전에 Cirros disk image를 웹사이트에서 다운받을 것이다.
- Cirros : 운영체제가 이미 포함되어 있는 사설클라우드 구축에 필요하다
우리는 이것을 테스트 용도로 쓸 것임
srv3에서 디렉토리를 /shared 로 이동하고 wget 명령어를 이용해 링크로 파일을 Cirros 파일을 다운 받을 것이다.

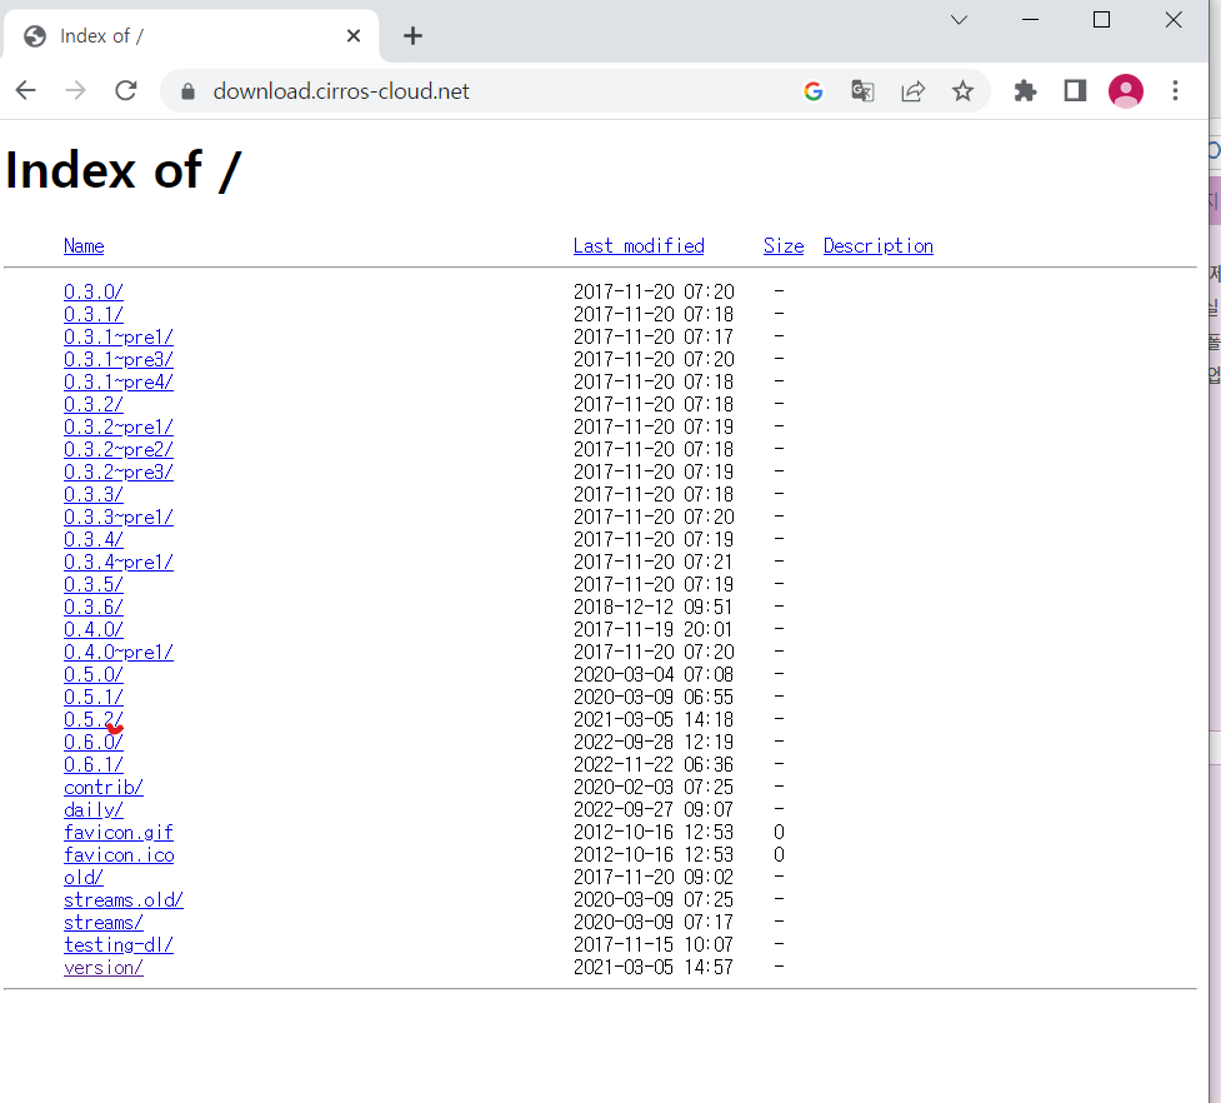
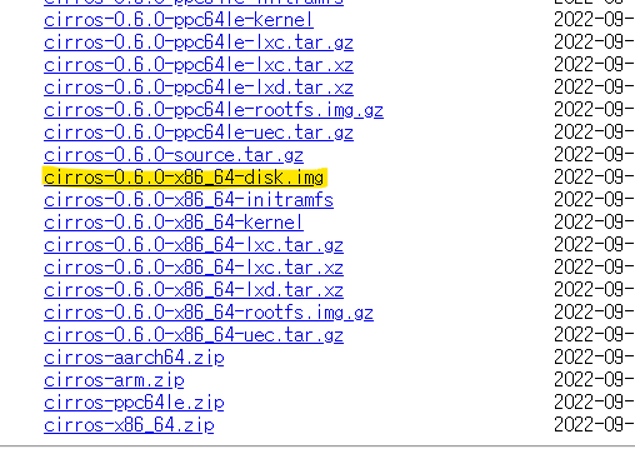
> cd /shared
> wget <link>
웹사이트 경로로 File Download
> mv cirros-0.6.0-x86_64-disk.img cirros.img
다운받은 파일을 cirros.img 파일의 이름으로 변경
> cp cirros.img cirros1.img
> cp cirros.img cirros2.img
> cp cirros.img cirros3.img
1,2,3 3개의 파일로 복사
> chmod -R 777 /shared
/shared 폴더 권한 설정
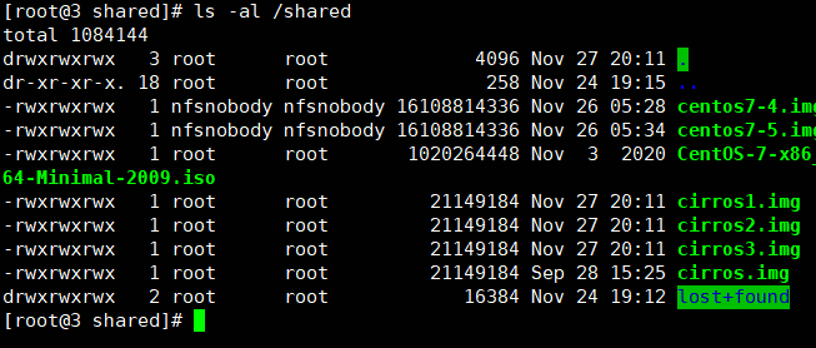
> ls -al /shared
복사한 파일과 다운로드 받았던 파일 확인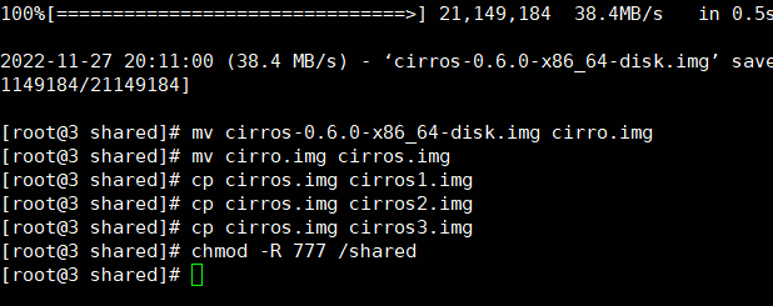
- Go to srv1 - 새로운 VM 생성
- Volume cirros1.img 로 지정
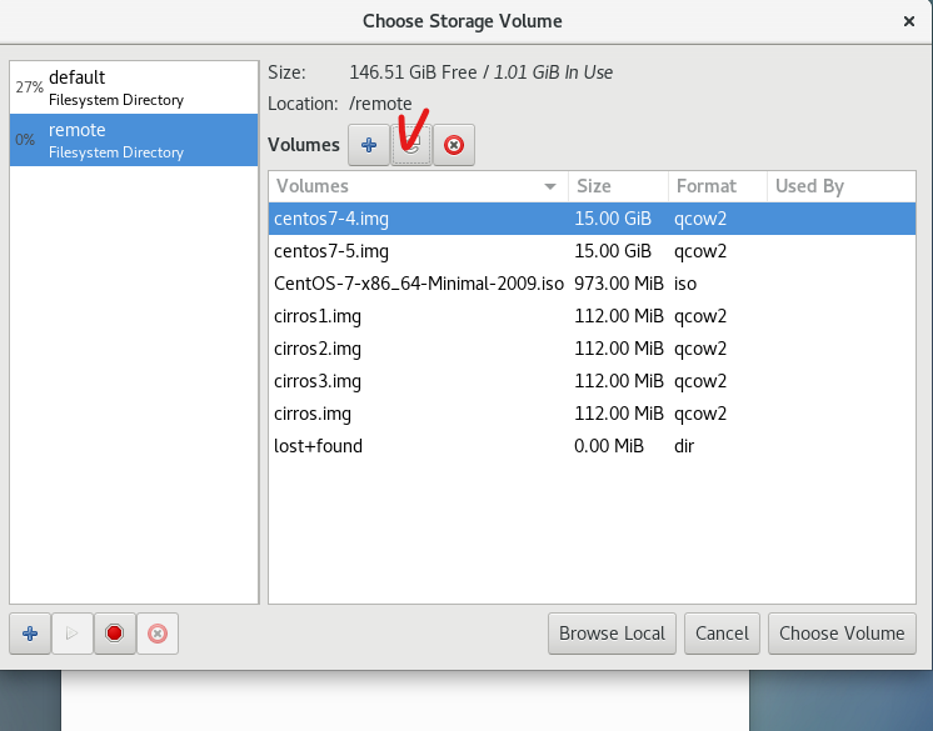
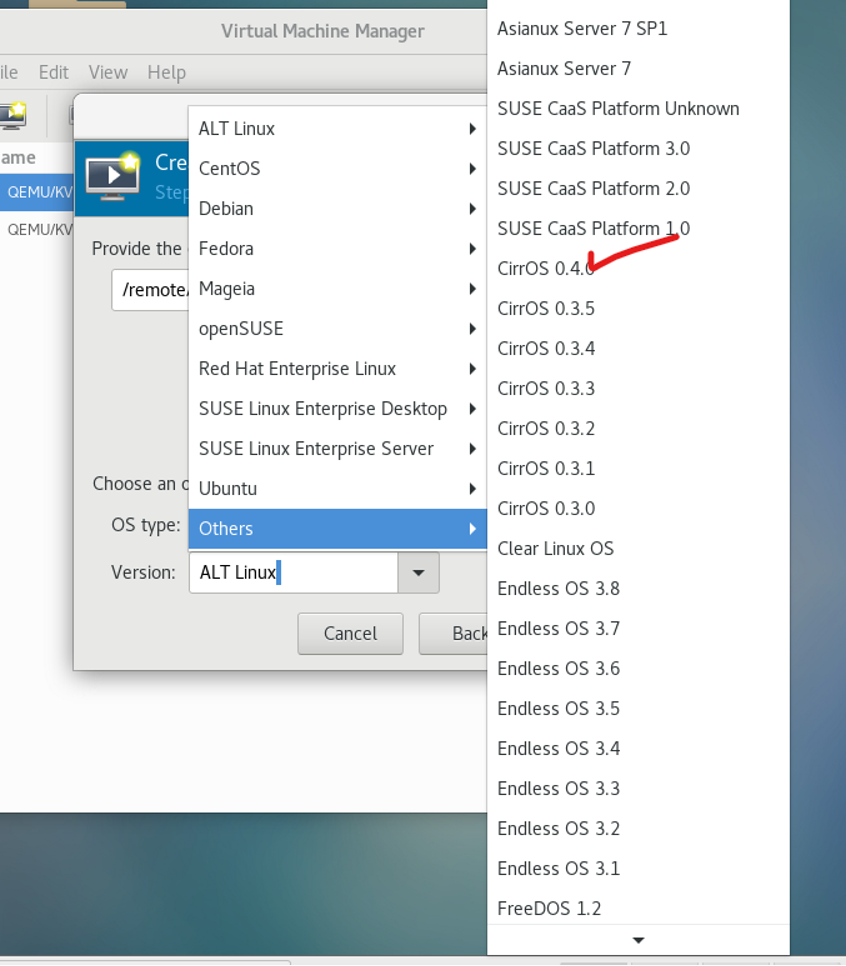


- Network selection kvmnet1 으로 선택
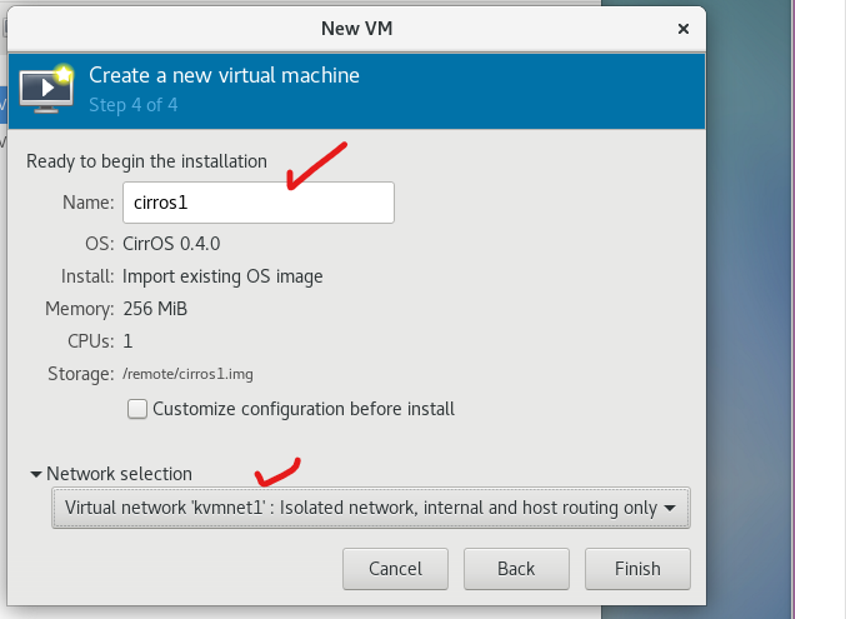
- 생성 완료

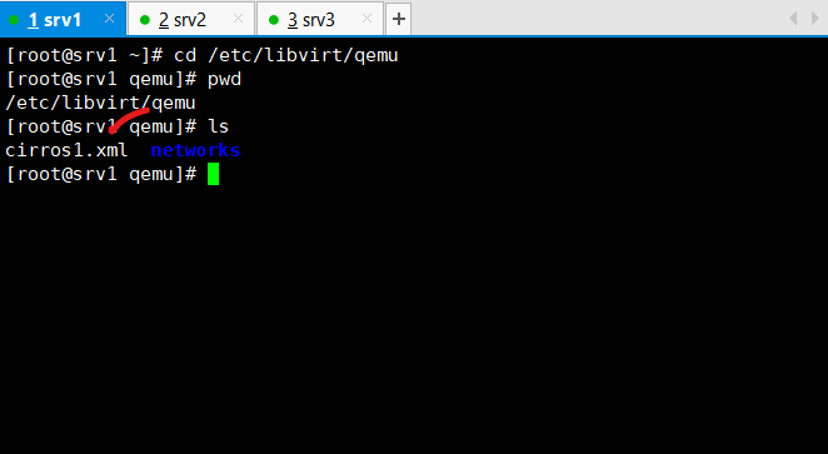
<srv1 - xshell>
> cd /etc/libvirt/qemu
> ls
file 목록 : cirros1.xml, networks
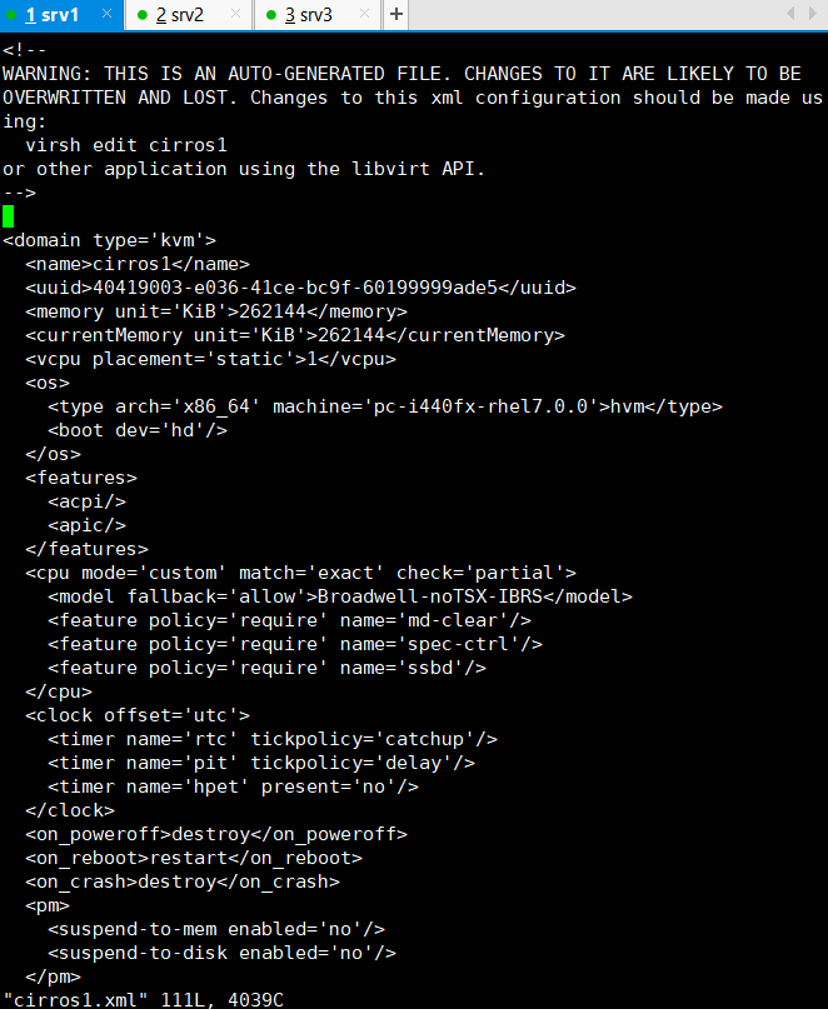
> vi cirros1.xml <건드리지 말것>
파일을 들여다 보면 많은 스크립트들이 있는 것을 볼 수 있고,
이것은 GUI 환경으로 생성한 VM이다.
설정한 파일 메모리는 어떤 것으로 했는지. uuid 등을 볼 수 있다.
이 파일을 들여다 본 이유는 우리는 xml 파일을 직접 작성해서 VM을 만들 수 있다는 것이다.
수정도 가능하고 정의도 가능하다 또한, 인터페이스 타입도 작성해 볼 수 있다.
2. KVM NET (CLI) 생성
> cd networks/

> ls
autostart , default.xml , kvmnet1.xml 파일이 존재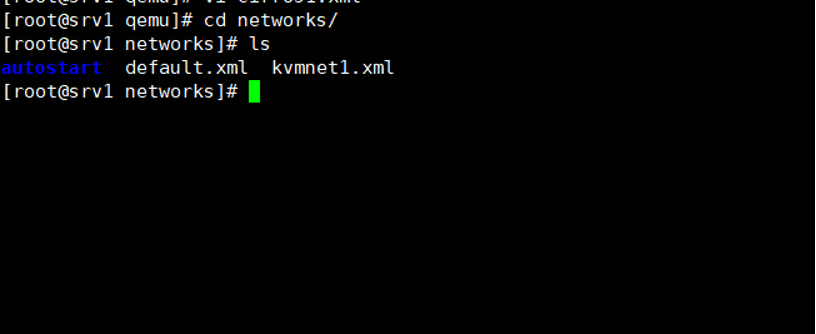
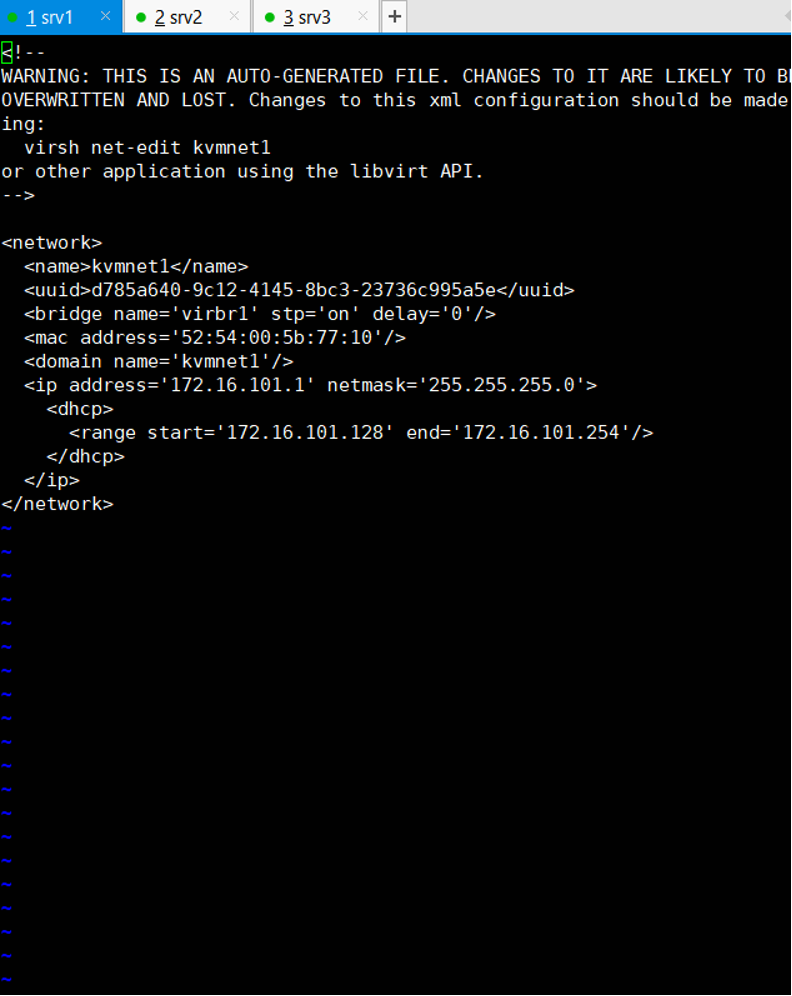
- xml 파일의 형식을 가져와서 srv2 의 kvmnet을 생성해 볼 예정이다.
<xml file>
	<network>
	  <name>kvmnet1</name>
	  <domain name='kvmnet1'/>
	  <ip address='172.16.101.1' netmask='255.255.255.0'>
	    <dhcp>
	      <range start='172.16.101.128' end='172.16.101.254'/>
	    </dhcp>
	  </ip>
	</network>
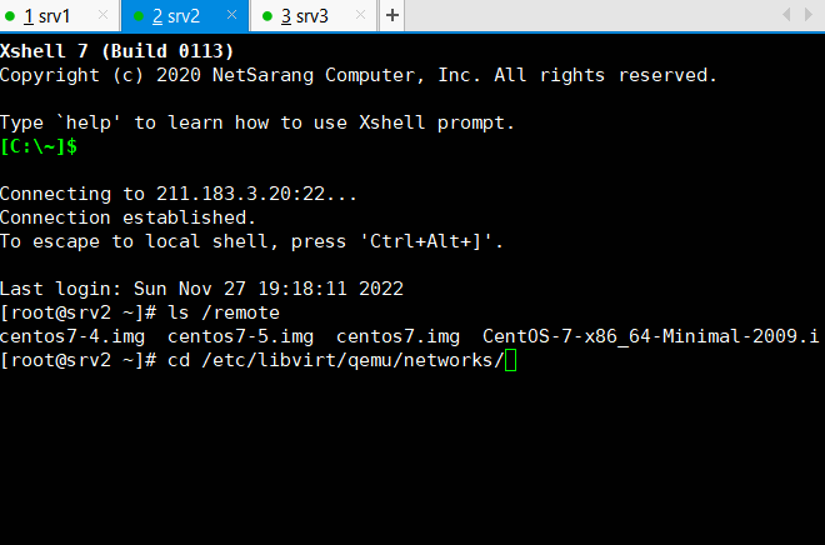
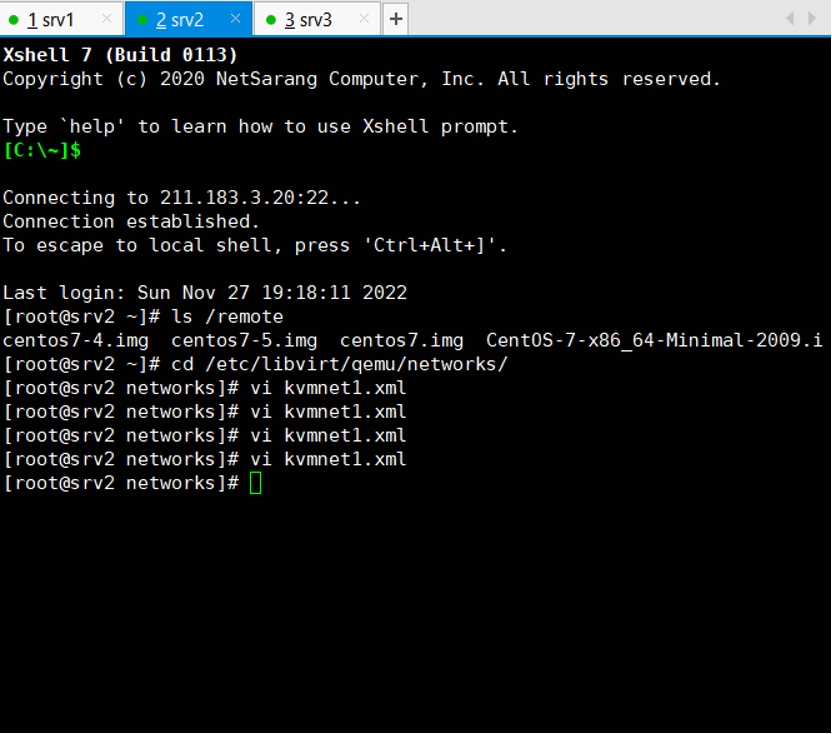
- Go to srv2
> cd /etc/libvirt/qemu/networks/
networks 디렉토리로 이동하여 xml 파일을 추가해 본다
* 나중에 migration을 해볼 예정이고 migration 은 같은 공간(네트워크)에 있어야 한다
따라서 같은 네트워크로 작성할 것이다.
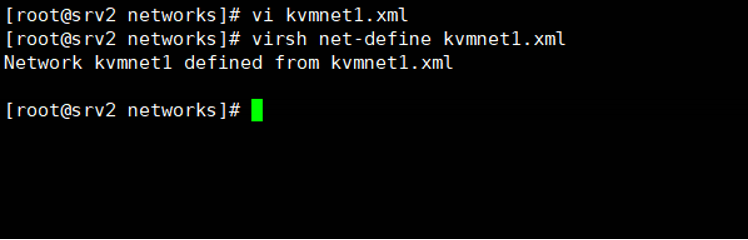
> vi kvmnet1.xml
<내용 추가>
***************************************************************************
<network>
<name>kvmnet1</name>
<domain name='kvmnet1'/>
<ip address='172.16.101.1' netmask='255.255.255.0'>
<dhcp>
<range start='172.16.101.128' end='172.16.101.254'/>
</dhcp>
</ip>
</network>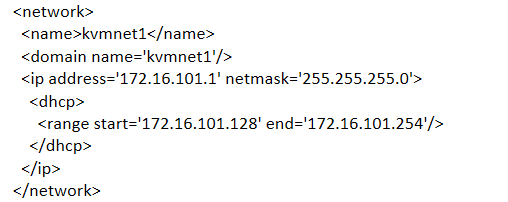
***************************************************************************
> virsh net-define kvmnet1.xml
네트워크를 정의 하는 명령어
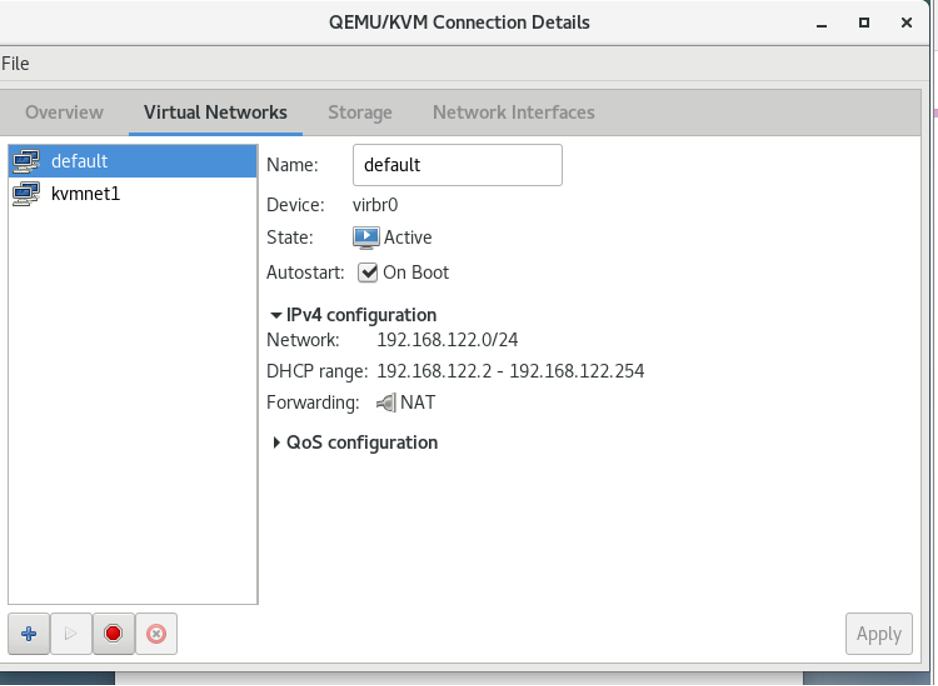
- 활성화 되어 있는 네트워크
> virsh net-list
- 모든 네트워크
> virsh net-list --all
- kvmnet1 이 비활성화 되어 있는 상태이기 때문에 네트워크를 활성화 시켜준다.
> virsh net-start kvmnet1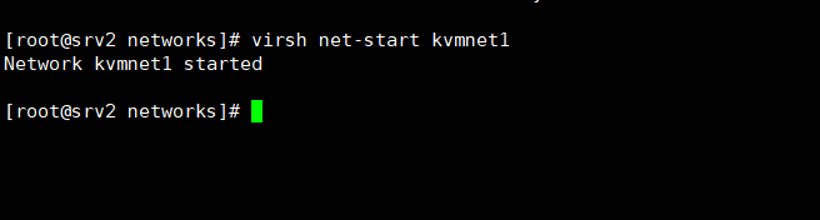
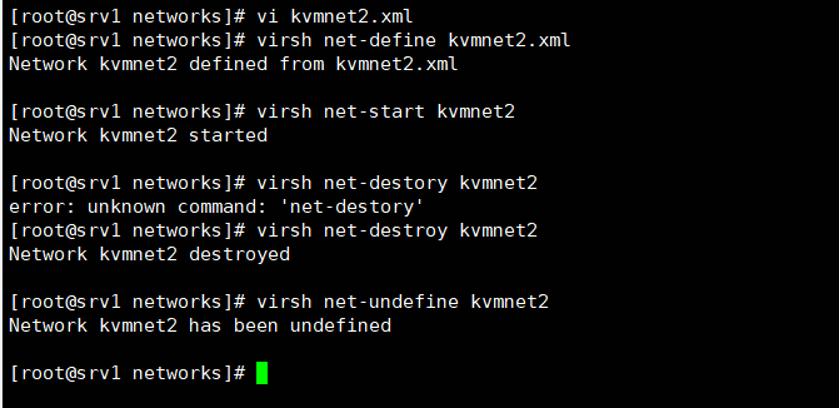
- 만약, 네트워크를 삭제해야할 상황에는 virsh net-destory <네트워크 name> 을 쳐주면 됨!
- VM 생성하기
server3에서 cent7.iso 로 바꾸고 /shared 디렉토리에 권한을 부여한 상태이다.
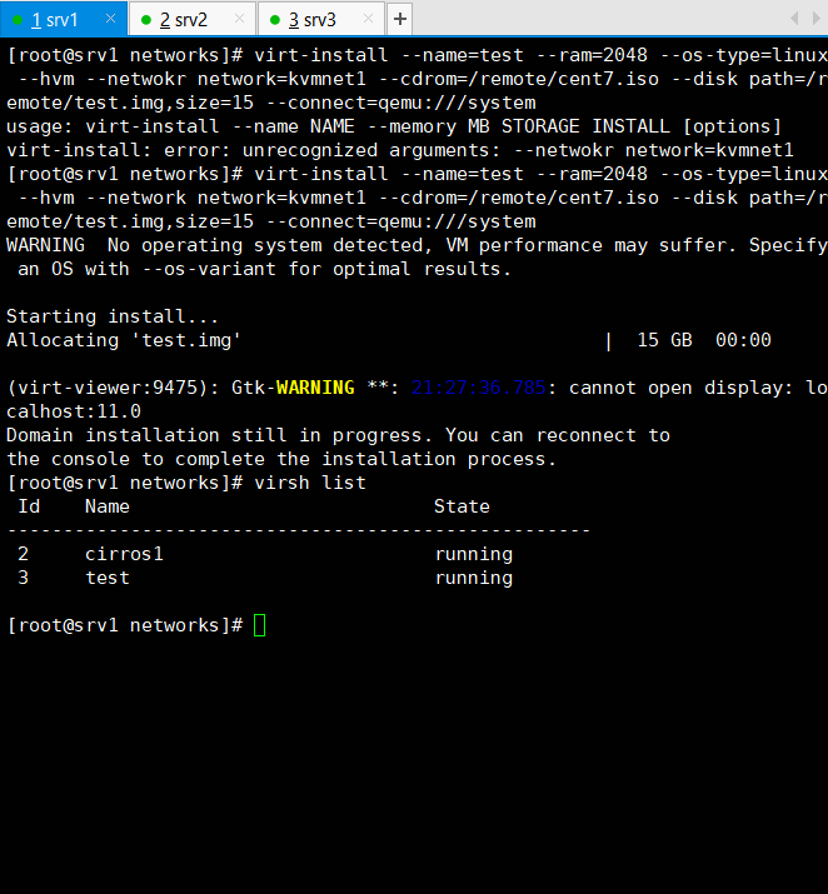
3. VM 생성 (CLI)
- Go to srv 1
> virt-install --name=test --ram=2048 --os-type=linux
--hvm --network network=kvmnet1
--cdrom=/remote/cent7.iso --disk path=/remote/test.img,size=15
--connect=qemu:///system

1. VM name : test
2. ram : 2GB
3. os-type : linux
4. hvm
5. network : kvmnet1
6. cdrom : cent7.iso
7. disk : /remote/test.img
8. disk size : 15
9. connect : qemu:///system
- "아니오" 두번 > virsh list 로 확인
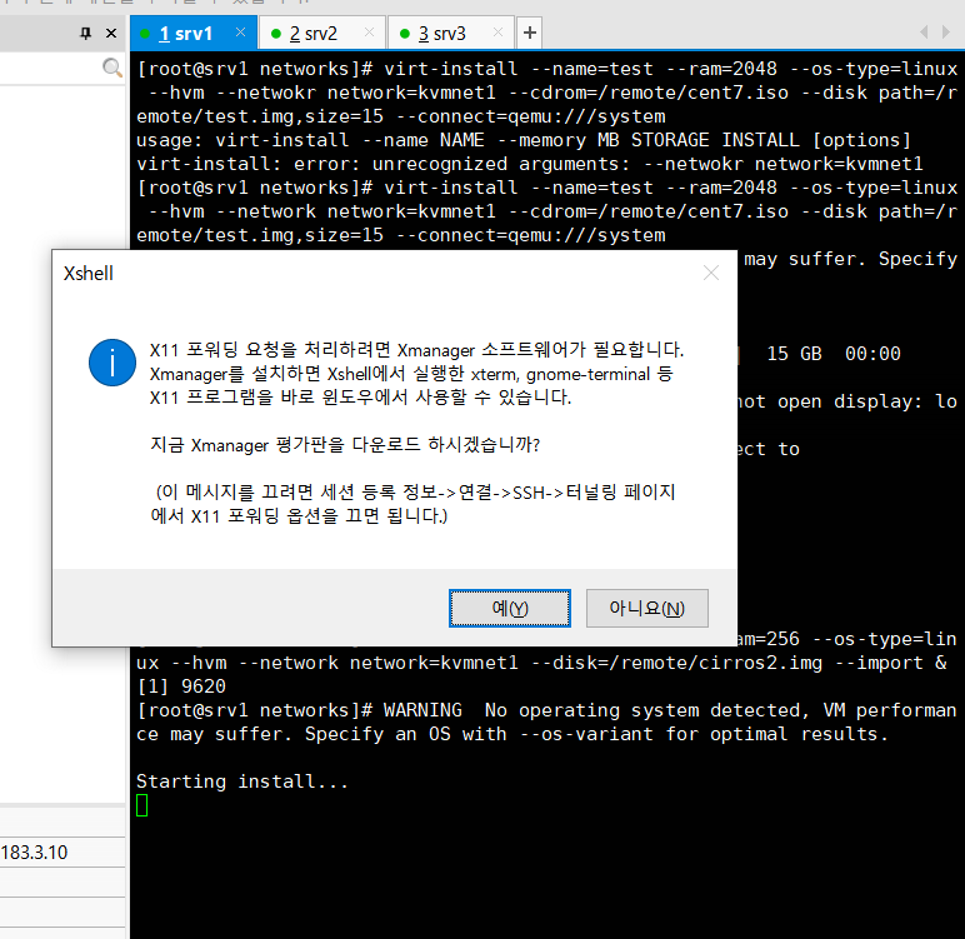
- cirros2 라는 이름의 vm 생성
> virt-install --name=cirros2 --ram=256 --os-type=linux--hvm
--network network=kvmnet1 --disk=/remote/cirros2.img --import &

1. VM name : cirros2
2. ram : 256MB
3. os-type : linux
4. hvm
5. network : kvmnet1
6. disk : /remote/cirros2.img- 메시지 제거
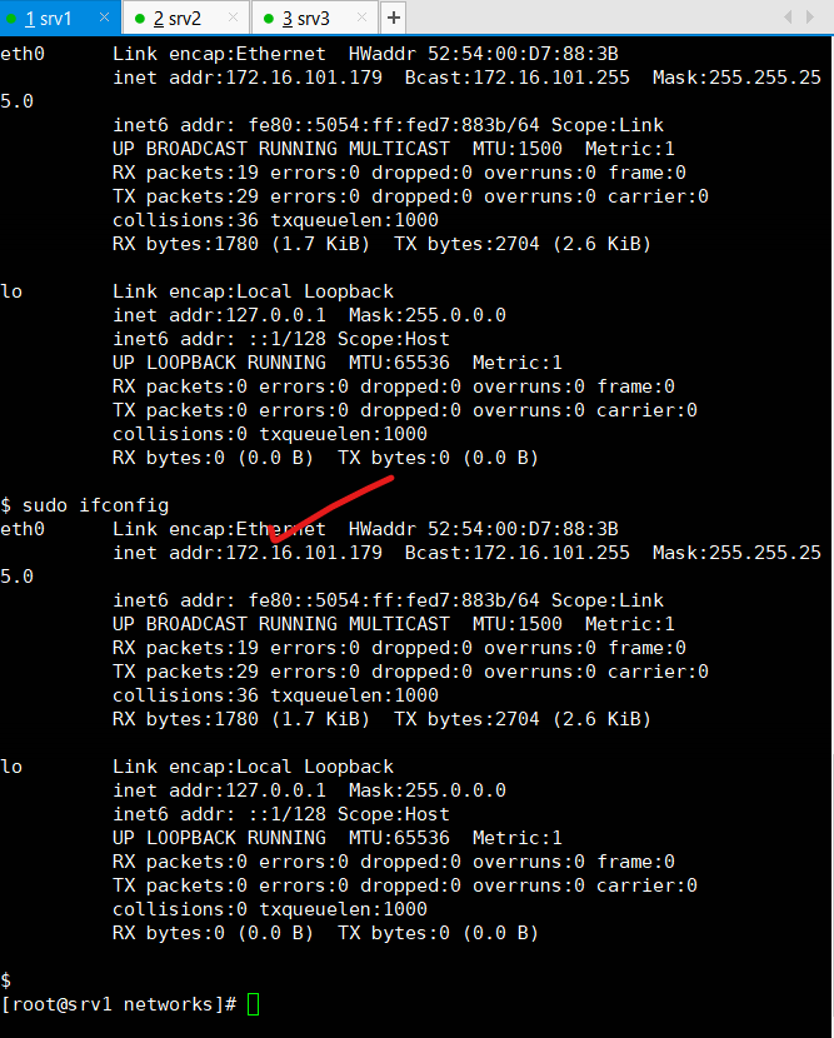
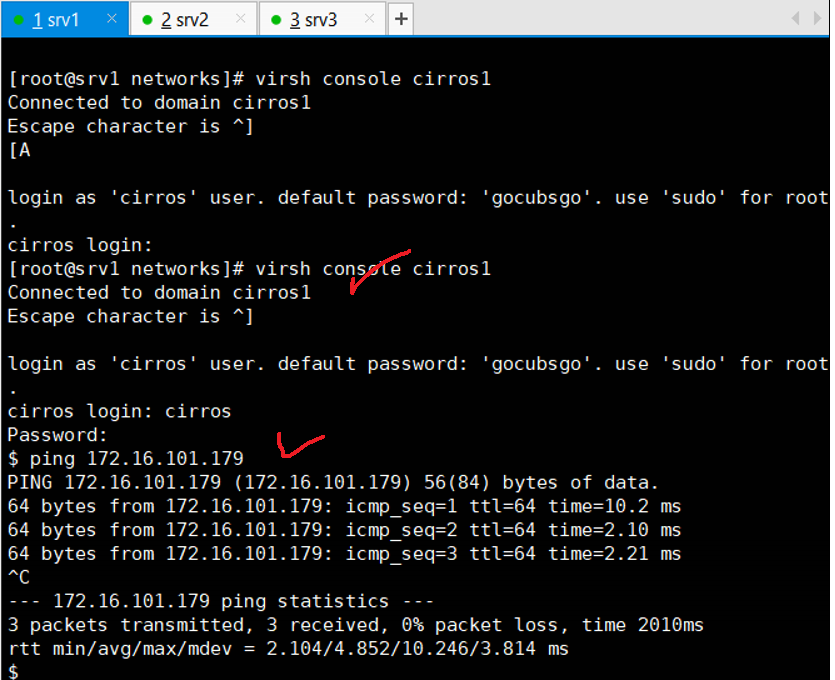
- cirros 콘솔 접속
> virsh console cirros2
ID : cirros
PW : gocubsgo
> sudo ifconfig
IP 기억 172.16.101.179
<빠져나오기 : ctrl + ]>
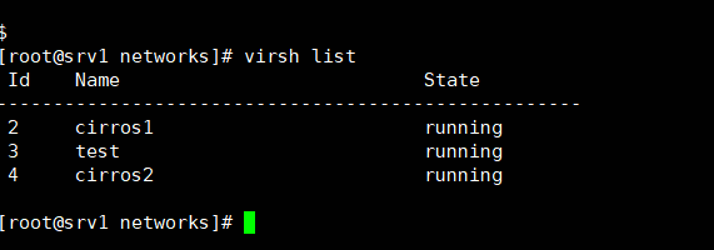
> virsh list
- cirros1 으로 접속하여 cirros 2 핑쳐보기 - ping 172.16.101.179
4. Migration
- srv1 의 vm cirros1 을 srv2로 migration 해볼 것이다.
> virsh migrate --live cirros1 --unsafe qemu+ssh://211.183.3.20/system- 하지만, 오류를 뿜는다.
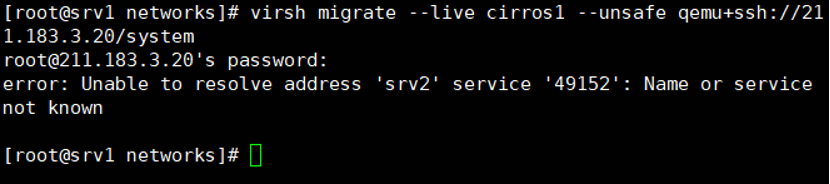
- '49152' : 내가 사용하고 있는 포트 srv2의 주소로 못찾아가고 있다
해결방안 : 우리는 별명을 지어주어 매칭을 해주면 된다!
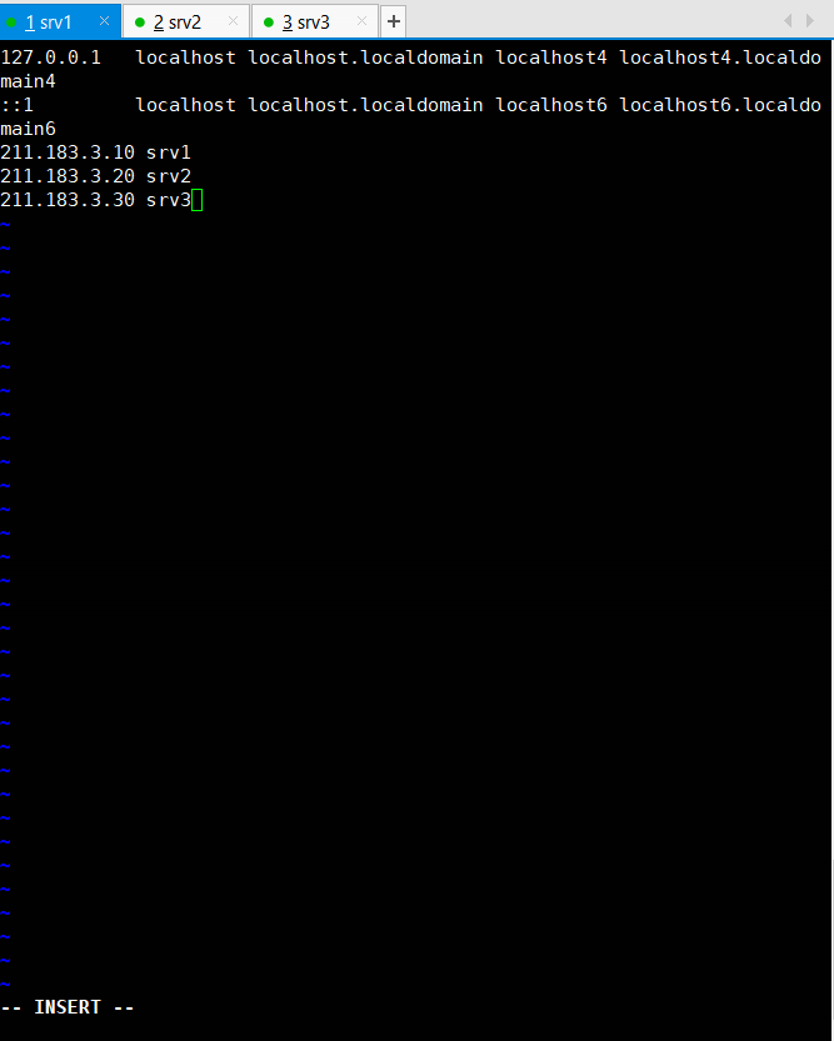
<오류 해결>
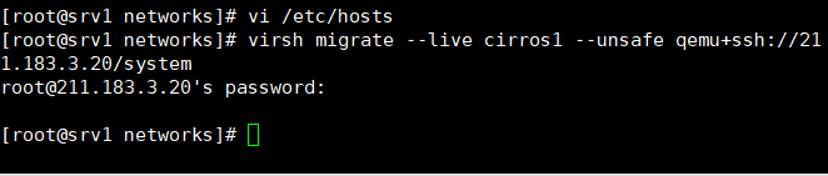
> vi /etc/hosts
***************************************************************************
<추가>
211.183.3.10 srv1
211.183.3.20 srv2
211.183.3.30 srv3
***************************************************************************
> virsh migrate --live cirros1 --unsafe qemu+ssh://211.183.3.20/system
오류를 뿜지 않고 성공적으로 migration 된다.
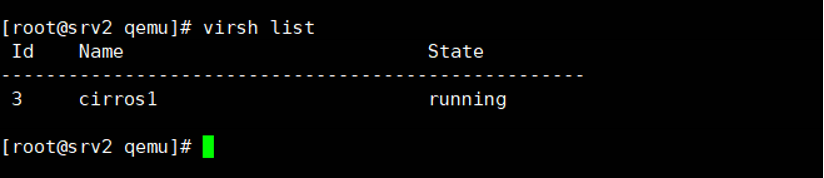
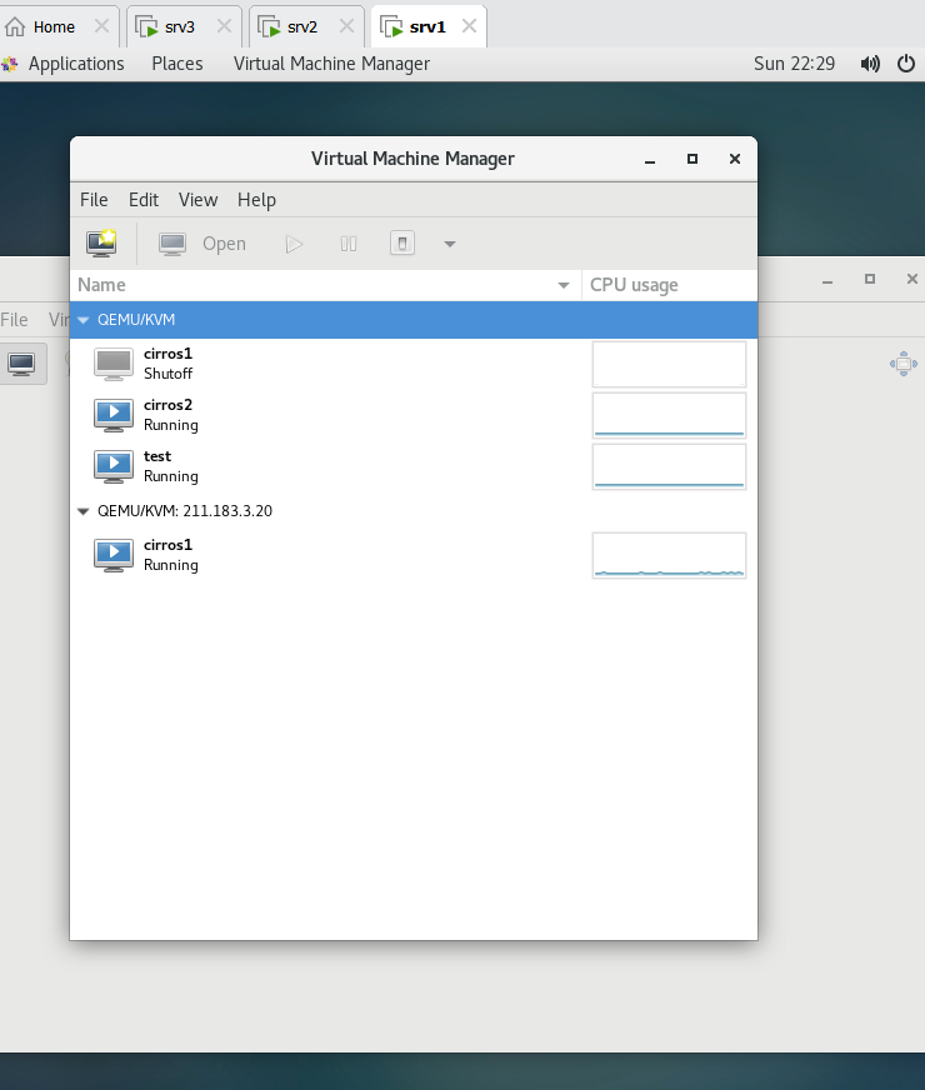
- Go to srv2
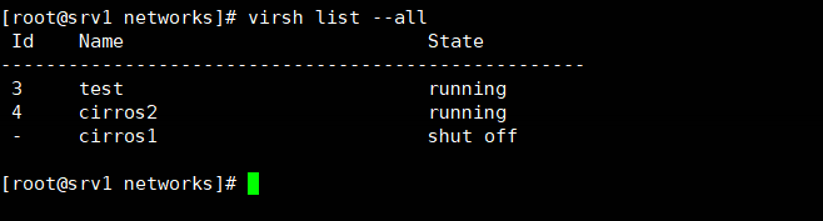
- Go to srv1
5. VyOS
방화벽 기능이 있는 라우터 (Vyatta 오픈 소스 버전) 간단히 생각하면 어쨋든 라우터이다!

5-1 VyOS 실습
- 혼동하지 말아야 할것
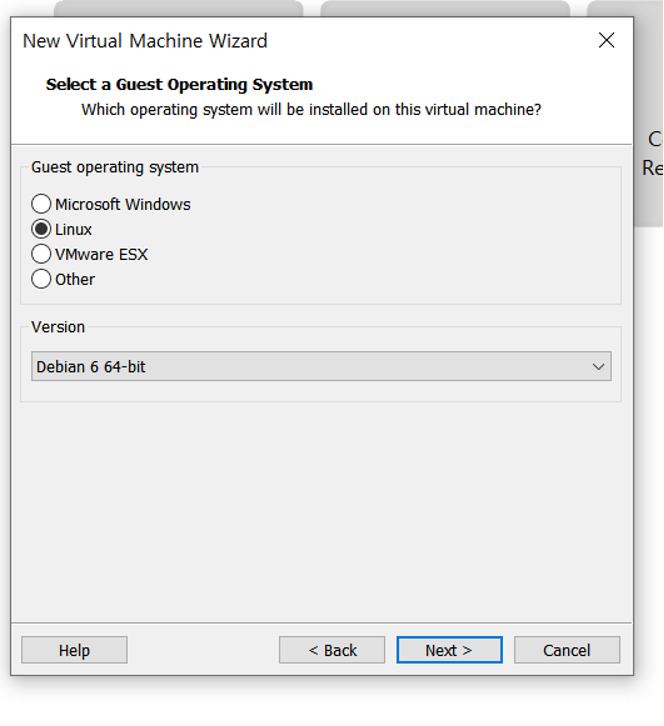
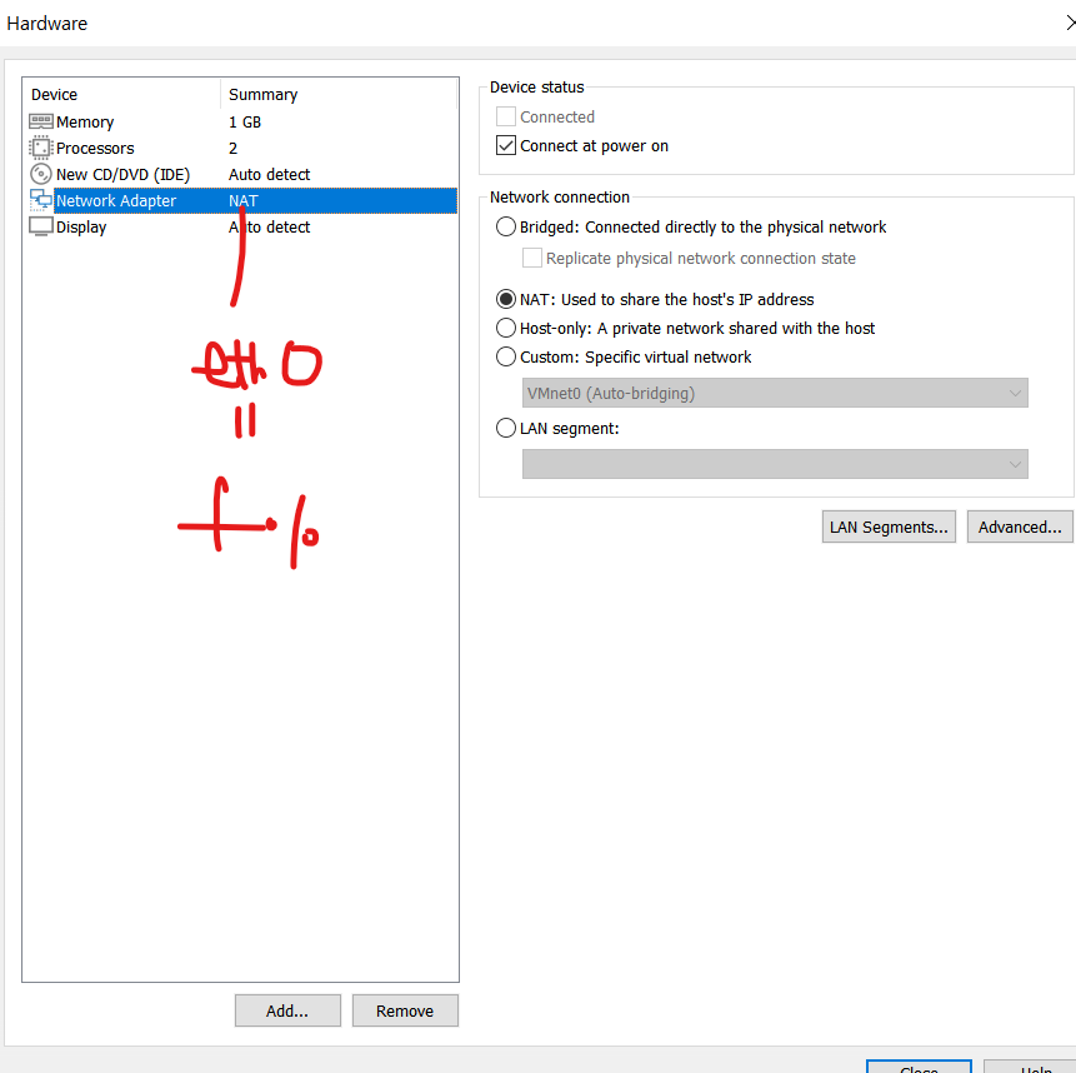
- 새로운 VM 생성 - Version : Debian 6 64-bit
- VM 설정
- Name = VyOS
- Processors = 2
- RAM = 1GB
- NAT 대역
- Disk Size = 10GB
- ISO FIle : iso VyOS
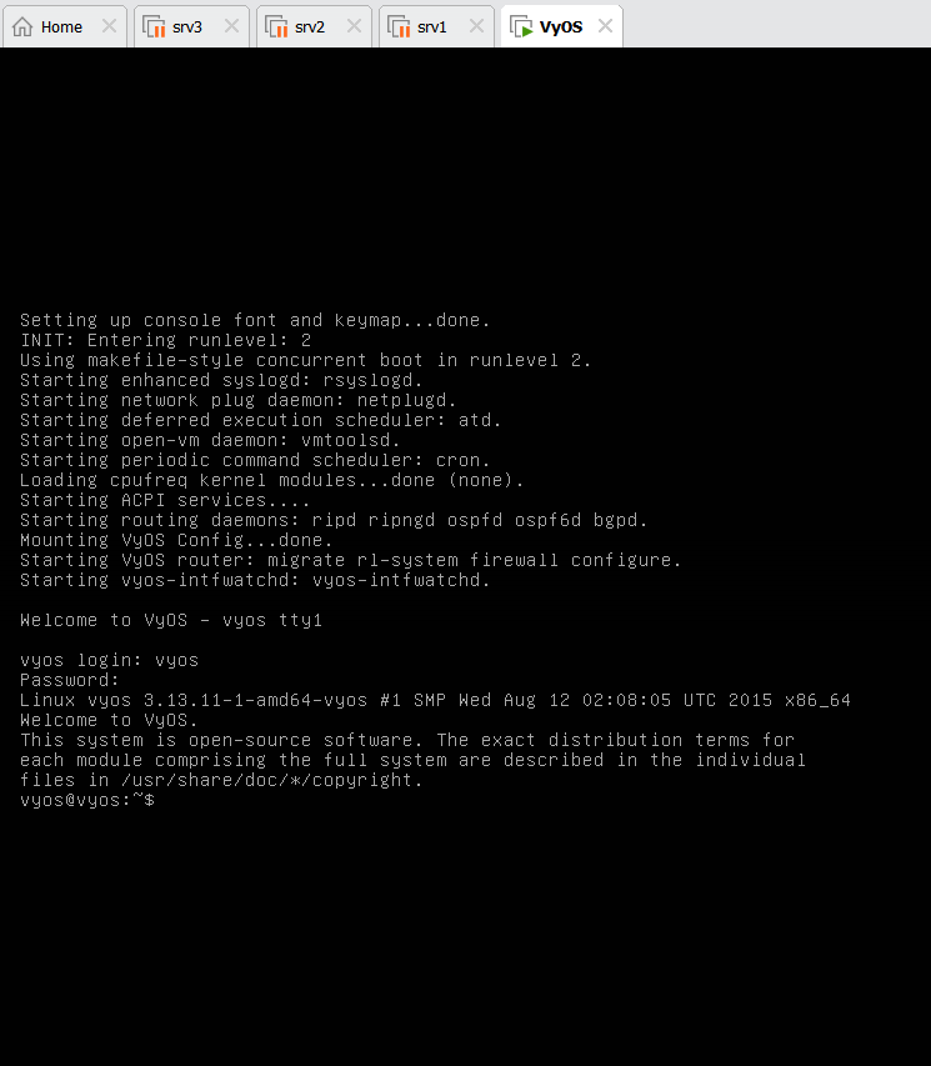
vyos login (default)
1. login : vyos
2. PW : vyos
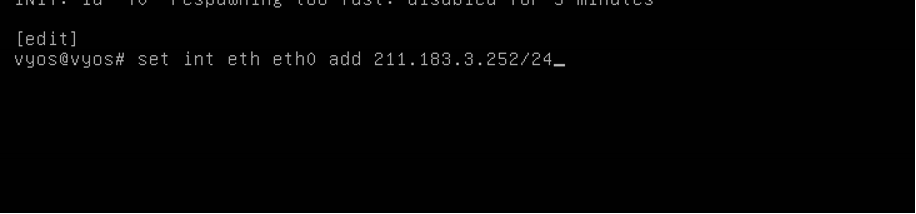
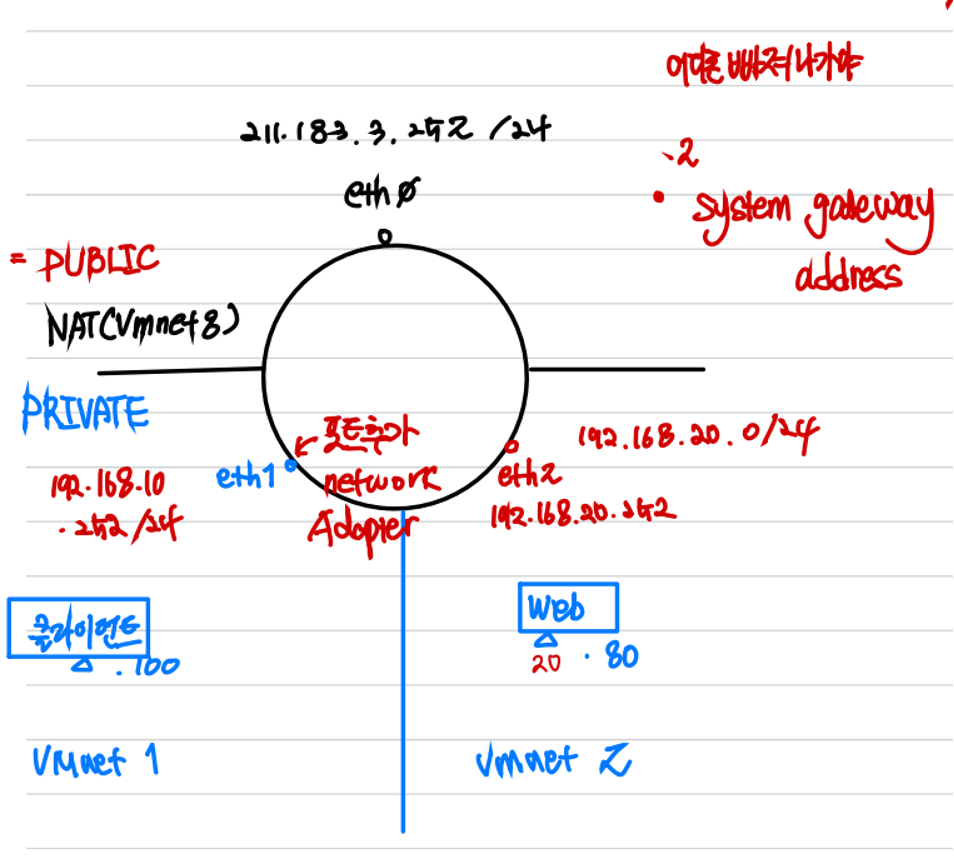
- 우리는 vyos를 하나의 라우터라고 생각하고 각각의 인터페이스를 넣어준다
> conf
프리빌리지 모드 진입
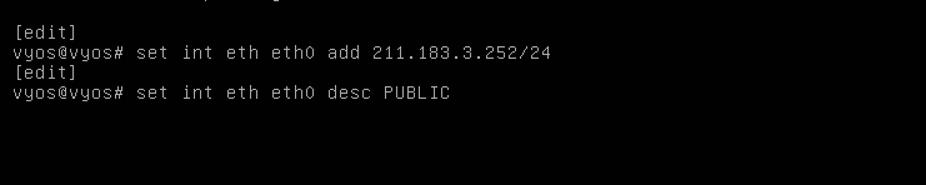
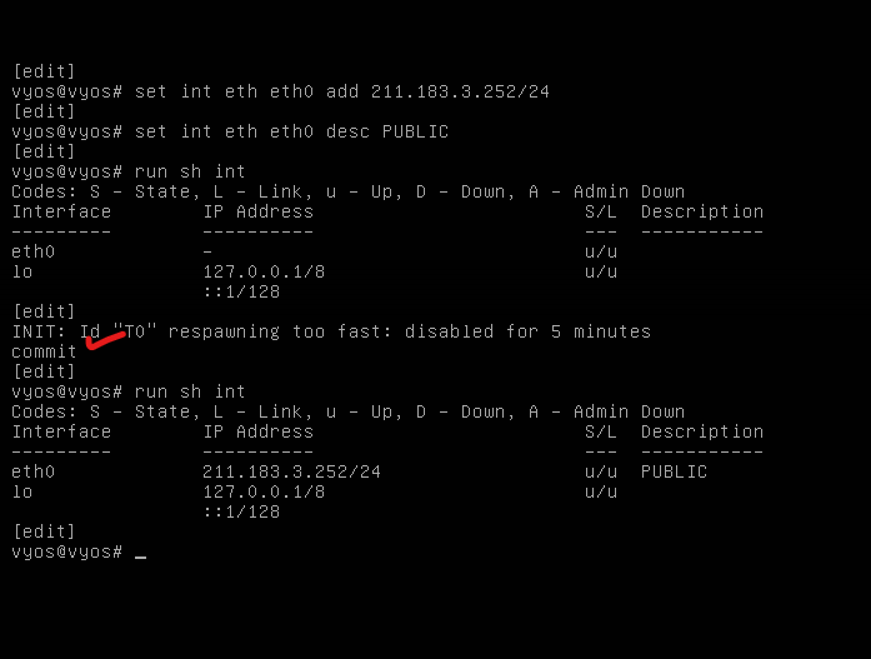
> set int eth eth0 add 211.183.3.252/24
인터페이스 eth0에 ip add
> set int eth eth0 desc PUBLIC
> commit
정보를 반영시키기 위한 명령어
<cisco 라우터의 'do'='run'이라고 생각하면 됨>
> run sh int
인터페이스 정보 보기 - cisco 에서 do sh ip int b 와 같다.
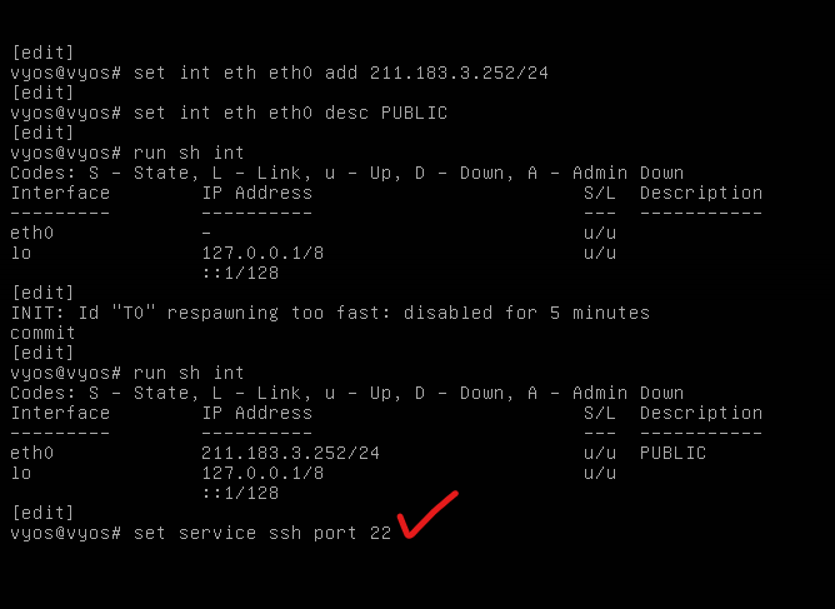
> set service ssh port 22
22번 포트를 열어줘야 Xshell에 접속할 수 있음
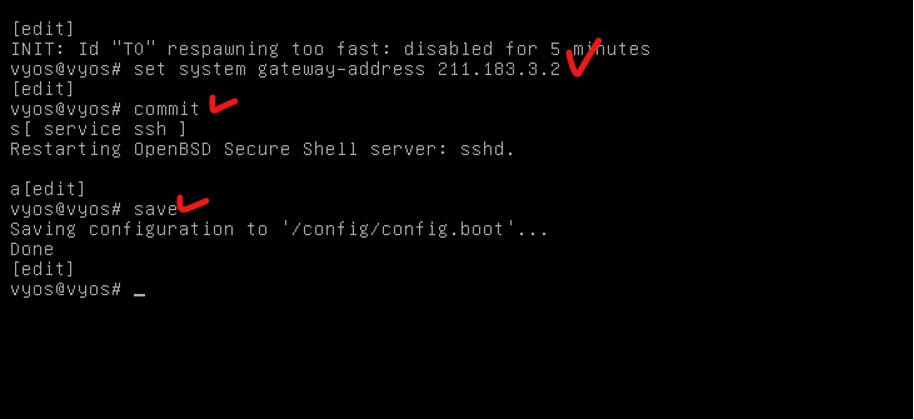
> set system gateway-address 211.183.3.2
라우터 gateway 설정을 해줘야한다
> commit
> save
> exit
> install image
yes 빼고 모두 다 enter
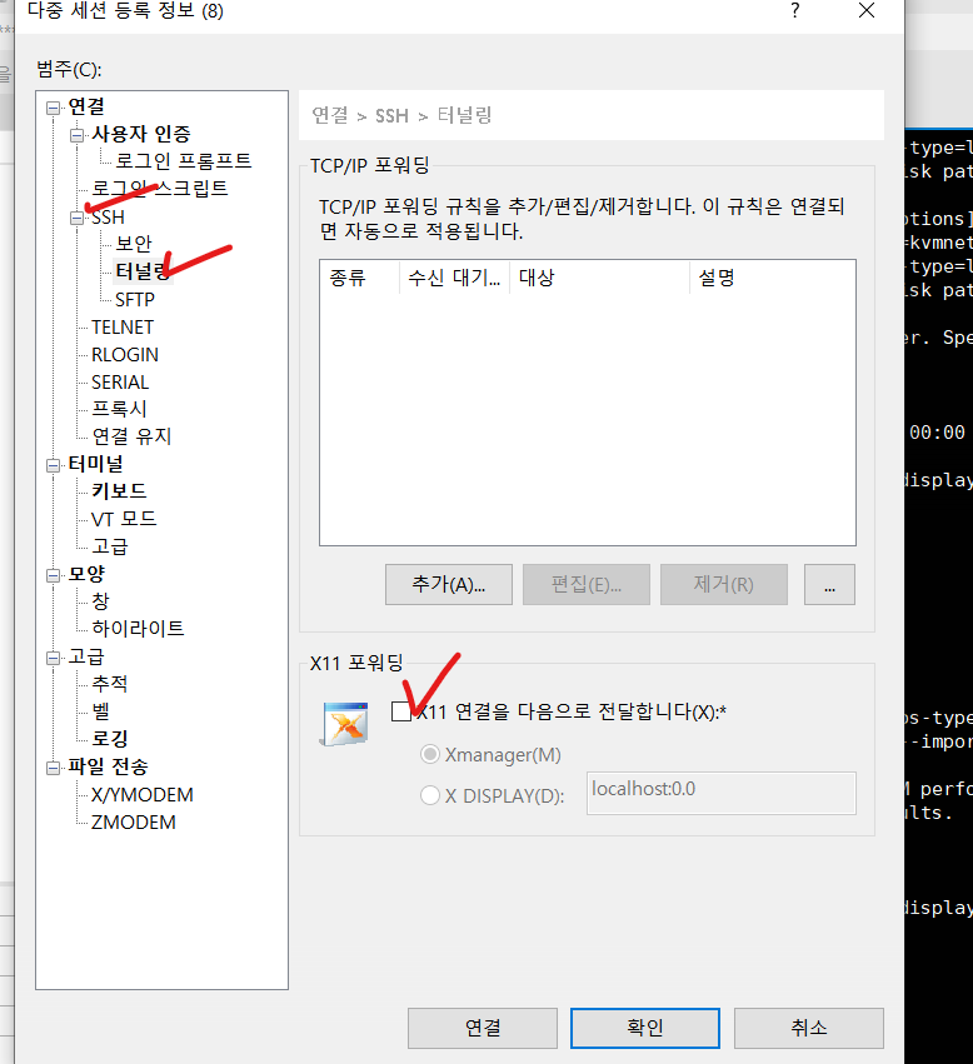
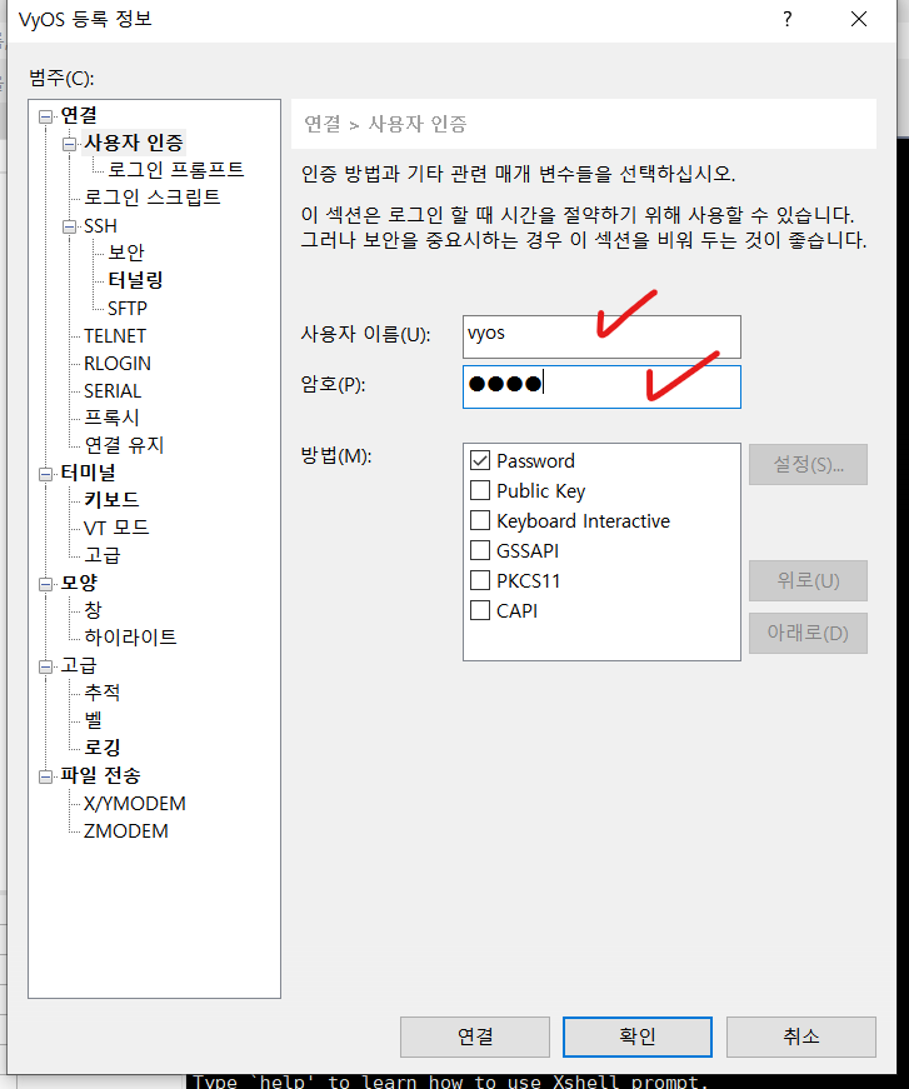
- Xshell 접속
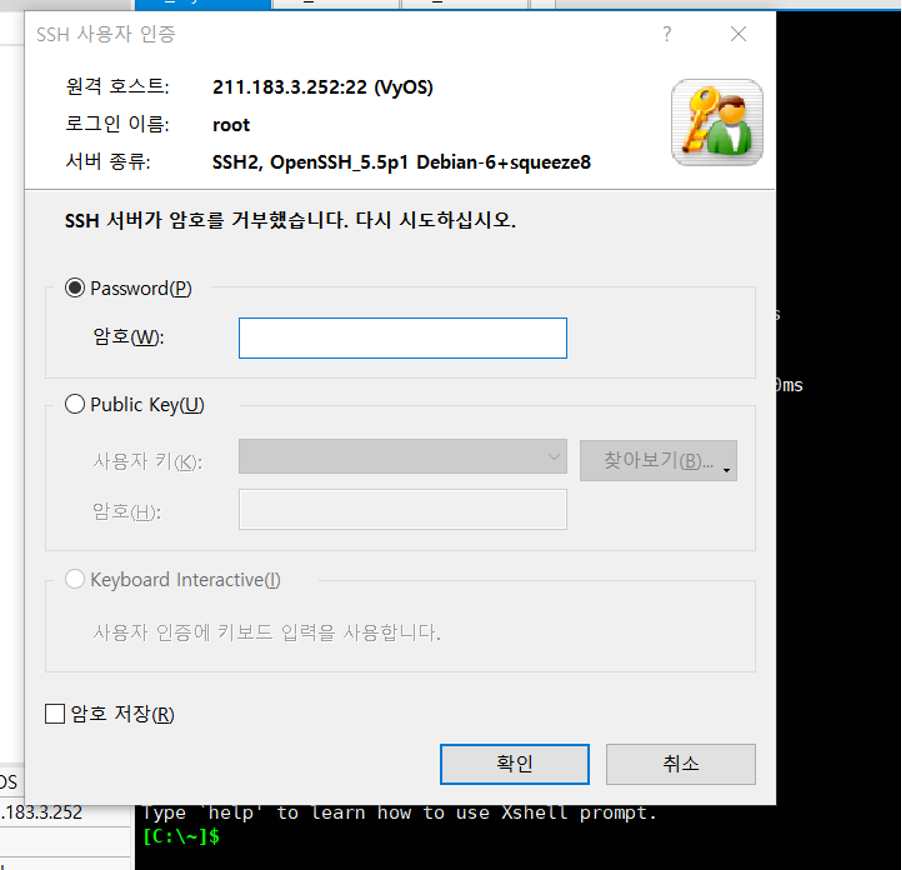
Xshell 등록정보의 사용자 인증을 vyos로 설정해주면된다.
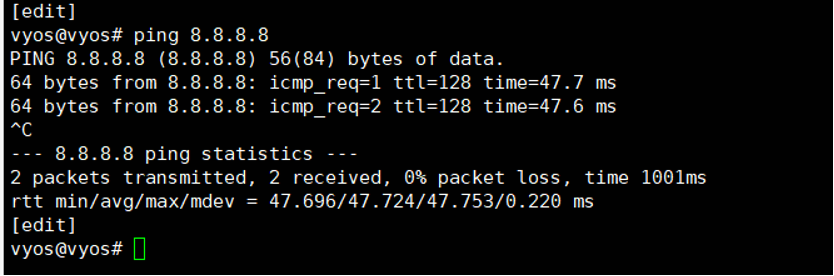
- 외부(8.8.8.8)로 핑치기
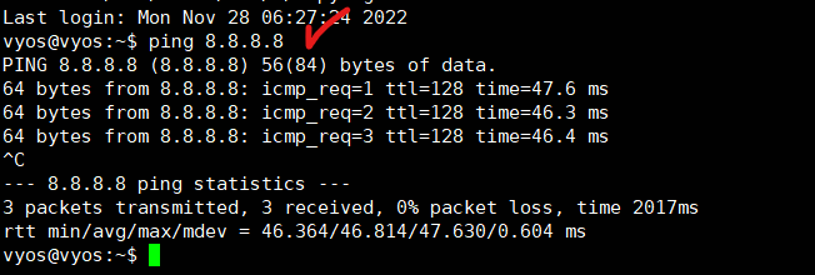
- "내가 네트워크에 속해있다"
-
해당 네트워크 스위치에 연결되어 있다 - 내가 갖고 있는 포트(NIC같은)가 스위치에 연결이 되어 있어야한다.
-
해당 네트워크의 IP를 가져야 한다.
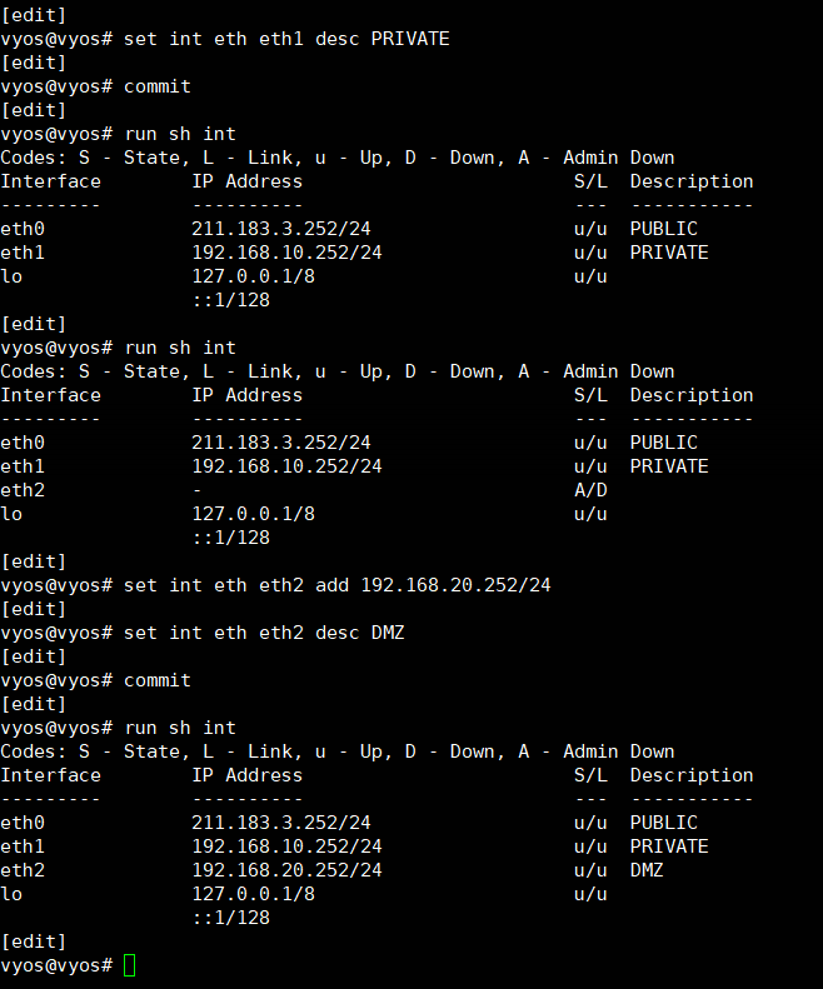
- 차례대로 Network Adapter를 추가하여 인터페이스를 생성하고 IP 할당
> conf

> set int eth eht1 add 192.168.10.252/24

> set int eth eth1 desc PRIVATE

> commit

< 다시 Nework Adapter 추가하고 eth2 생성>

> conf

> set int eth eth2 add 192.168.20.252/24

> set int eth eth2 desc DMZ

> commit
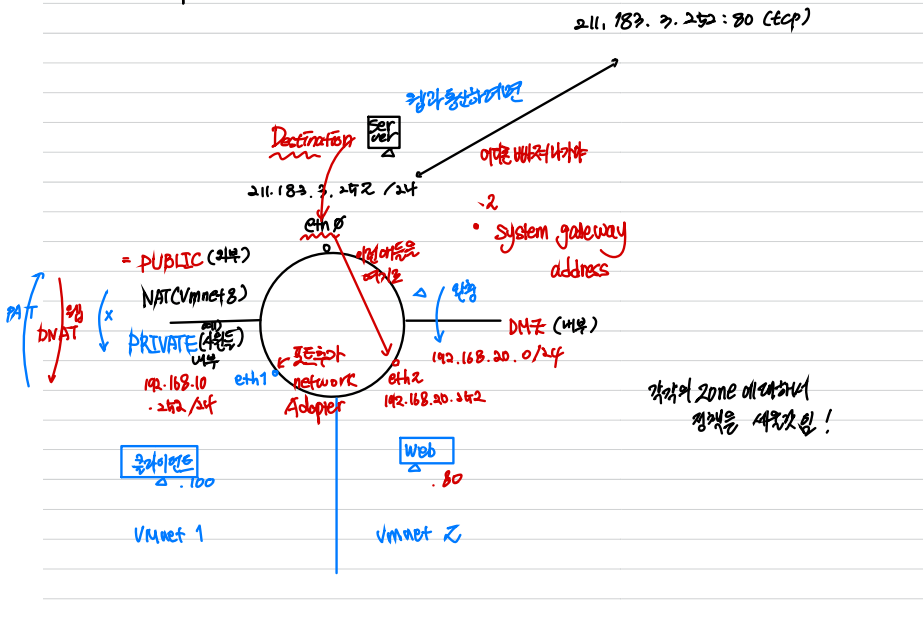
Client, Web Server 생성 - GateWay 는 각각의 인터페이스 IP(인터페이스들은 게이트 역할을 한다)
-
이제, 각각의 ZONE (PRIVATE, DMZ, PUBLIC)에 대하여 정책을 세울 것이다.
-
run sh int 명령어로 라우터에 각각의 인터페이스가 적용됐는지 확인
-
Default Routing 이 되어 있는 상태이기 때문에 외부로 통신이 가능함
-
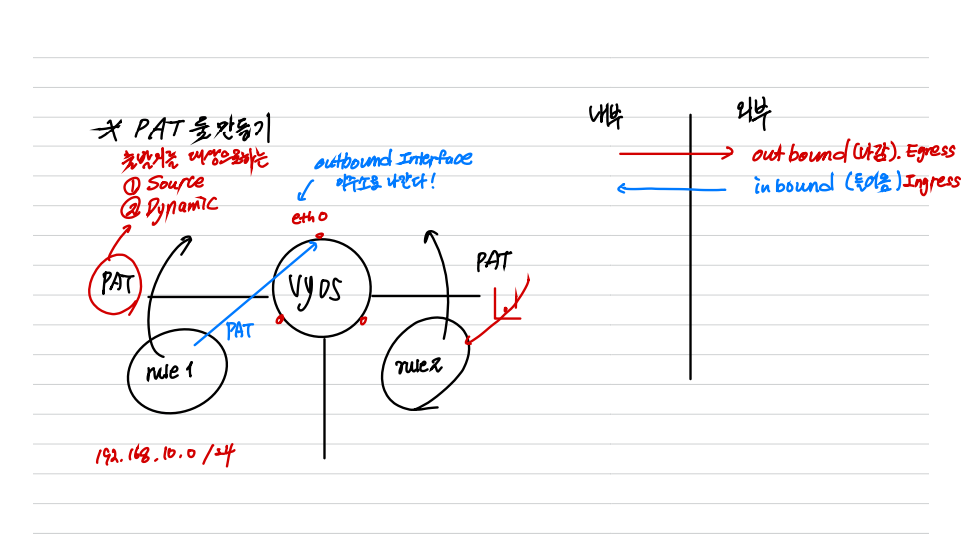
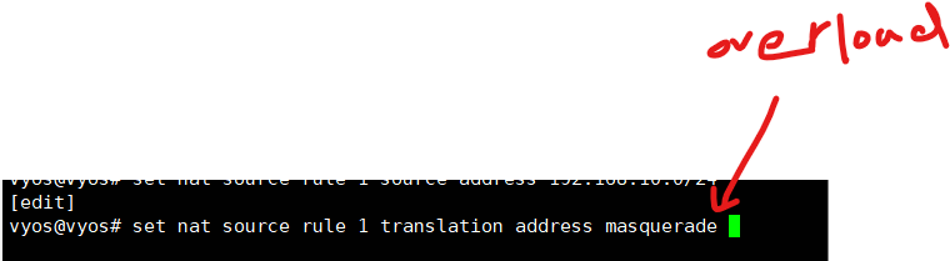
PAT (외부와 통신하기 위함)
-
rule 1 설정
> set nat source rule 1 source address 192.168.10.0/24

> set nat source rule 1 translation address masquerade

> set nat source rule 1 outbound-interface eth0

> commit

-
Client 서버로 이동해서 외부로 핑쳐보기

-
rule 2 설정
> set nat source rule 2 source address 192.168.20.0/24

> set nat source rule 2 translation address masquerade

> set nat source rule 2 outbound-interface eth0

> commit
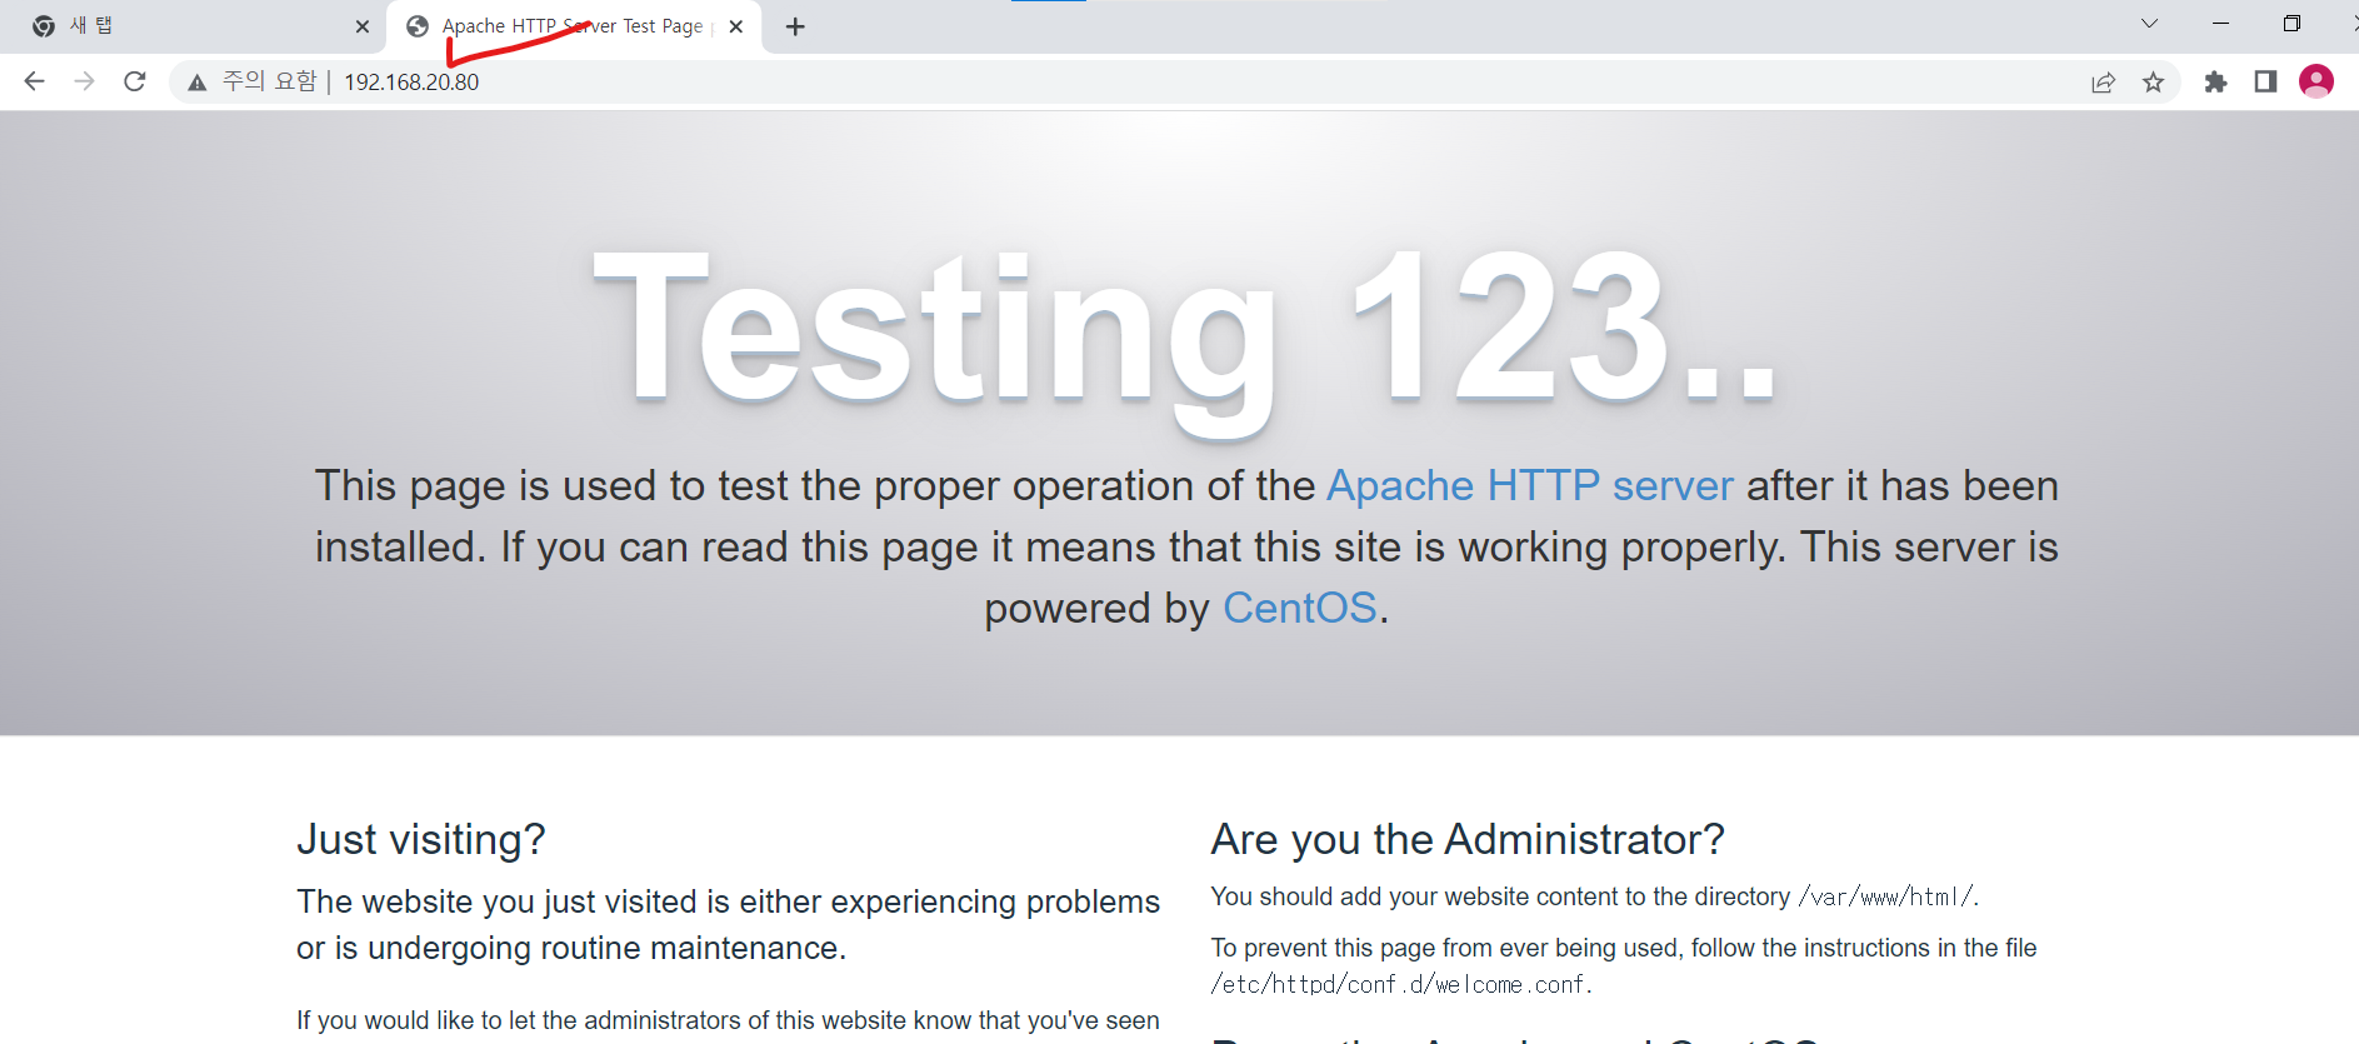
- Web 서버로 이동해서 httpd 패키지 설치
> systemctl stop firewalld
> systemctl disable firewalld
> 셀리눅스 off

> systemctl restart httpd
> systemctl enable httpd-
확인
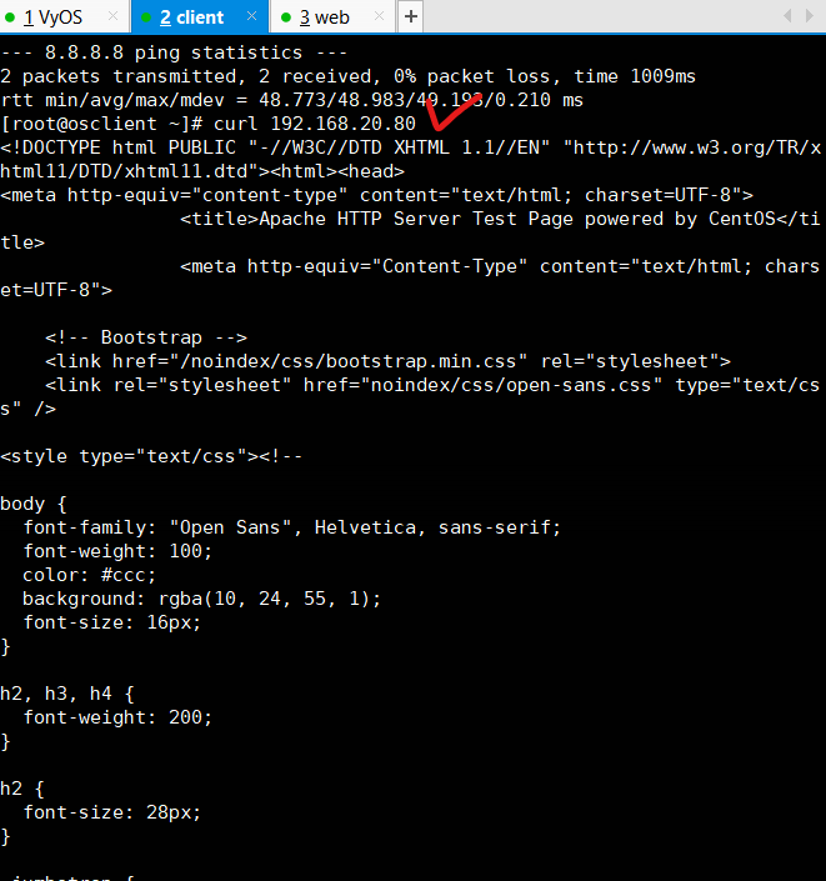
-
Client 도 연결이 될까? - curl 192.168.20.80 로 확인!
- 우리가 바라는 것은 외부 대역에 있는 서버에서 Web과 통신이 되게 하려면 eth0을 목적지 (Destination NAT)를 해주면 된다.
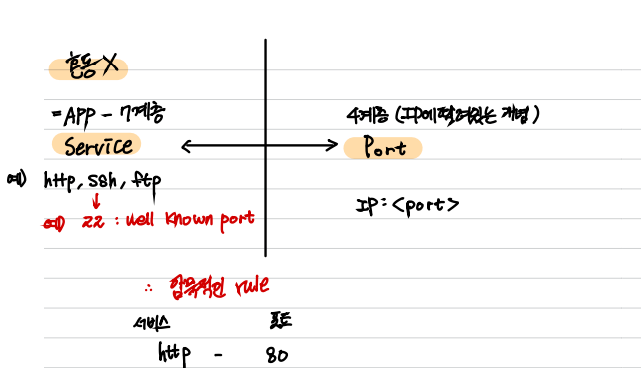
- NAT는 포트까지 설정이 가능하다는 것에 유의
- http는 신뢰성있는 프로토콜이며 tcp이다
- eth0 중 tcp 중에서도 port를 80번으로 하는 아이들을 NAT할 것이다.
> set nat destination rule 3 inbound-interface eth0
> set nat destination rule 3 protocol tcp
> set nat destination rule 3 destination port 80
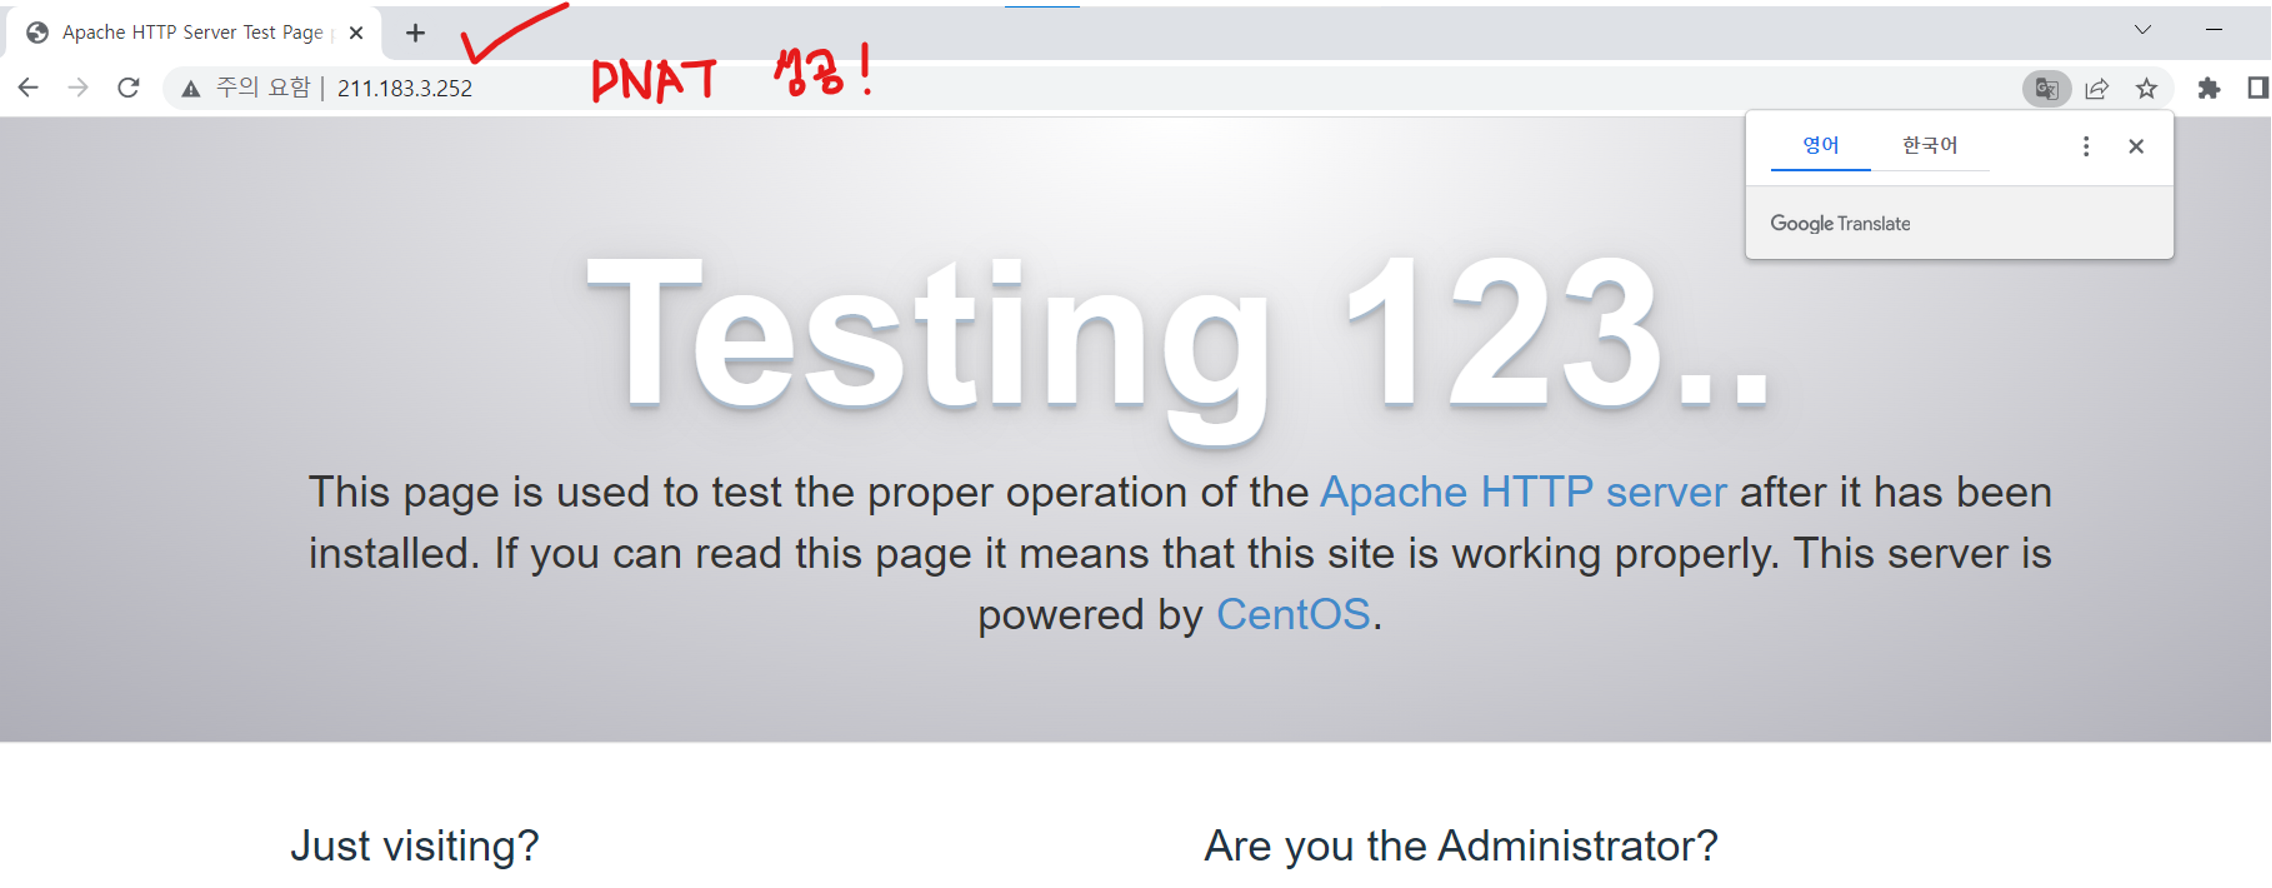
> set nat destination rule 3 translation address 192.168.20.80
> commit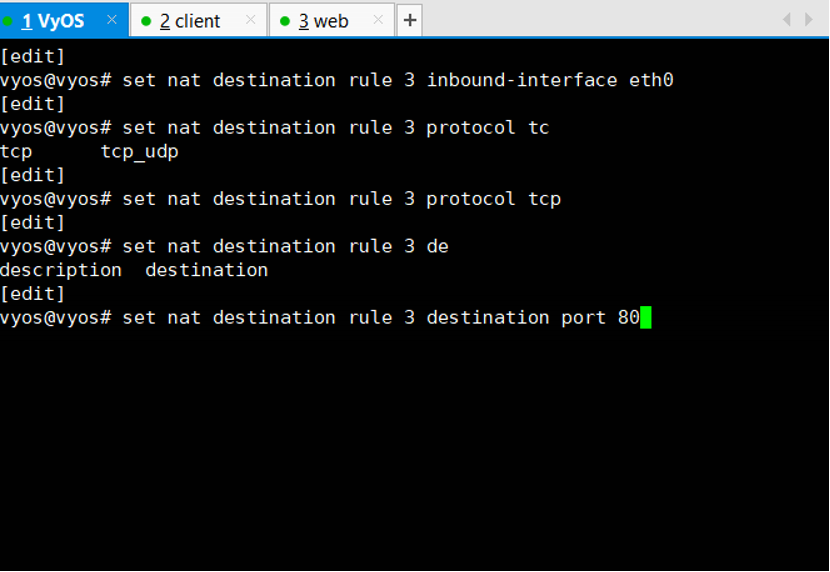
-
이런 아이들을 여기로 보내주자! (Web Server로)
-
테스트
퀴즈
• DNAT를 통해 Web서버로 ssh 접속이 되기를 희망한다
• 어떻게 하면 좋을까?