mongoDB

데이터베이스 - 컬렉션 - 도큐먼트
컬렉션: RDB의 테이블과 비슷한 개념
도큐먼트: RDB의 rows와 비슷한 개념
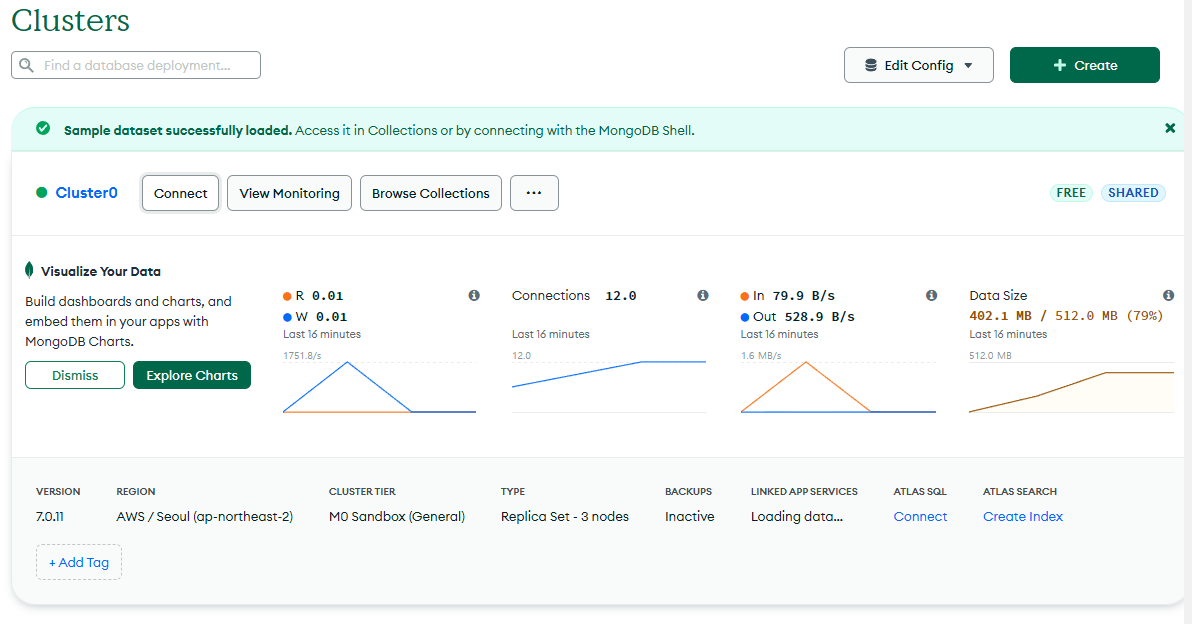
mongoDB 웹 사용
생성
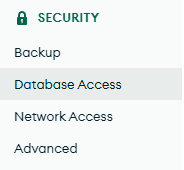
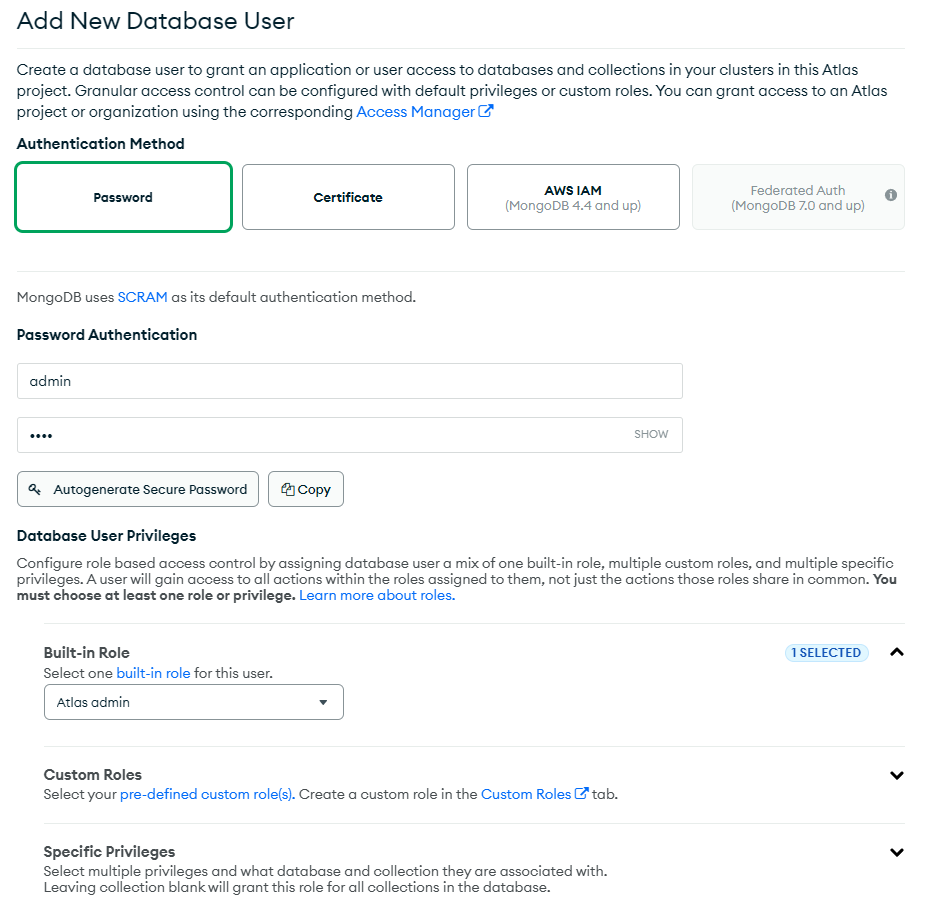
Databas Access - Add New Database User
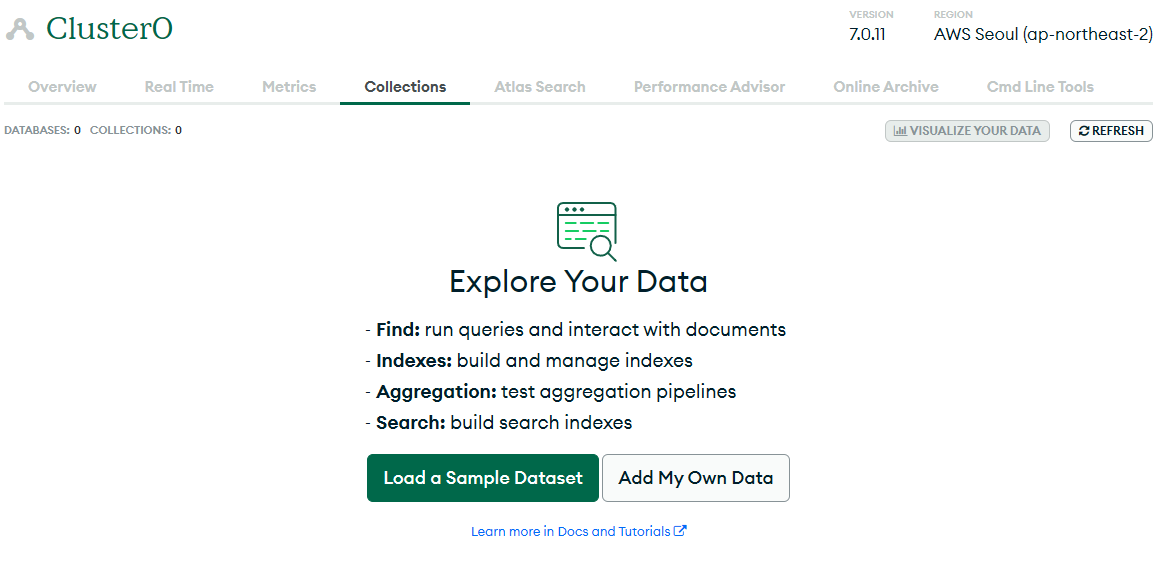
DEPLOYMENT/Database - build a cluster
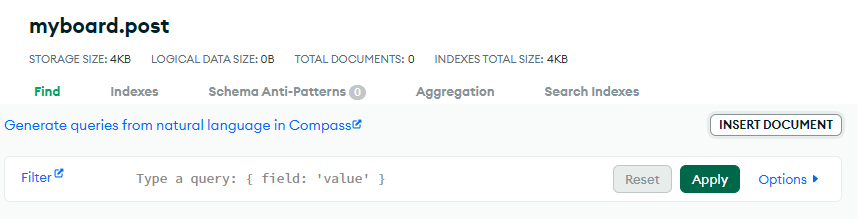
생성 후 DEPLOYMENT/Database - Browse Colletions
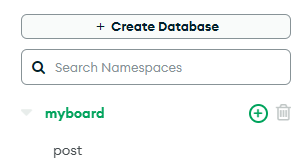
데이터베이스 추가
컬렉션 추가
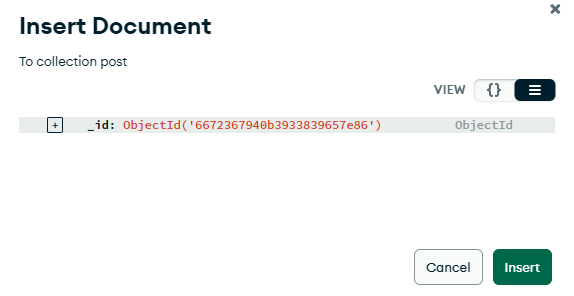
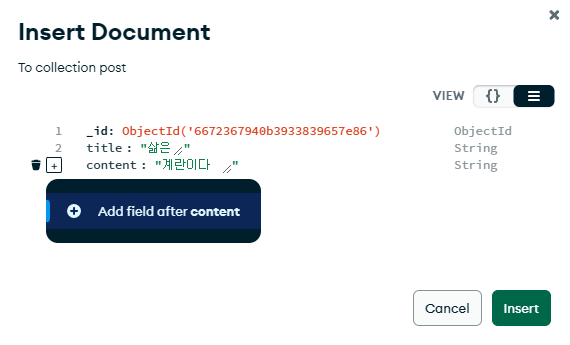
Insert Documnet
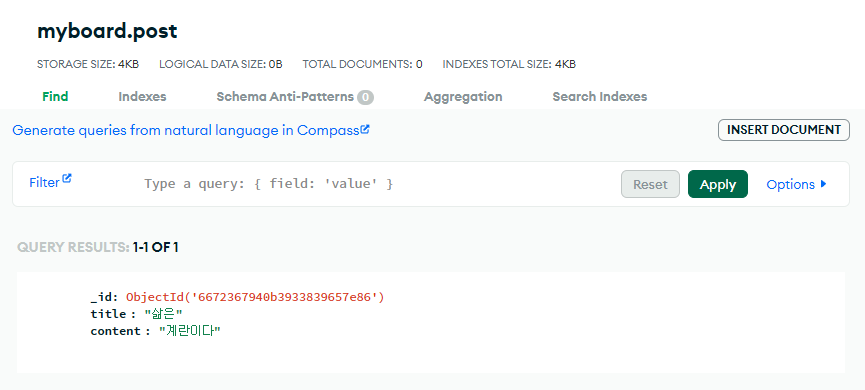
여기에서 UPDATE, DELETE도 가능
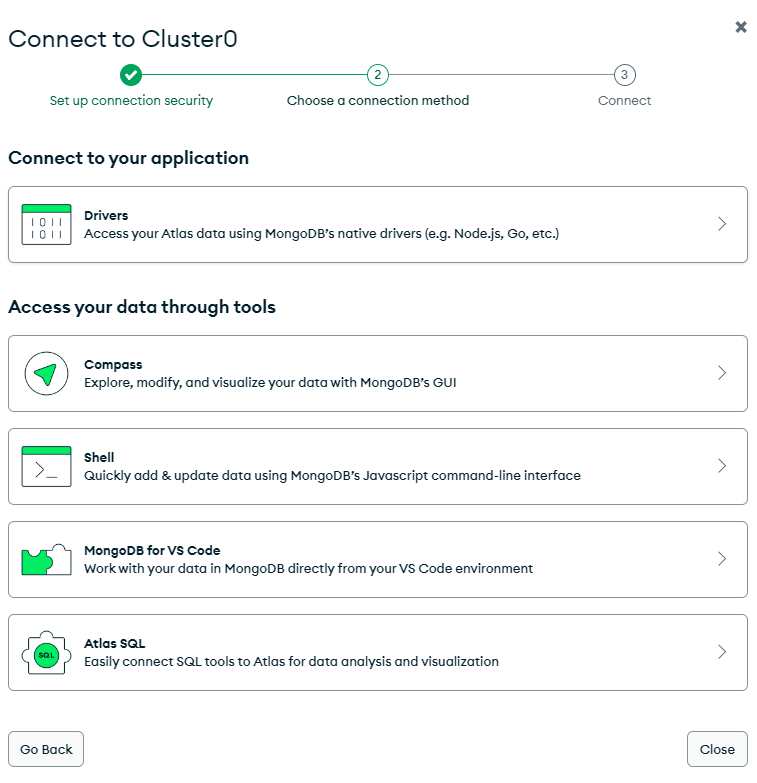
연결
Connect에서 Drivers 선택
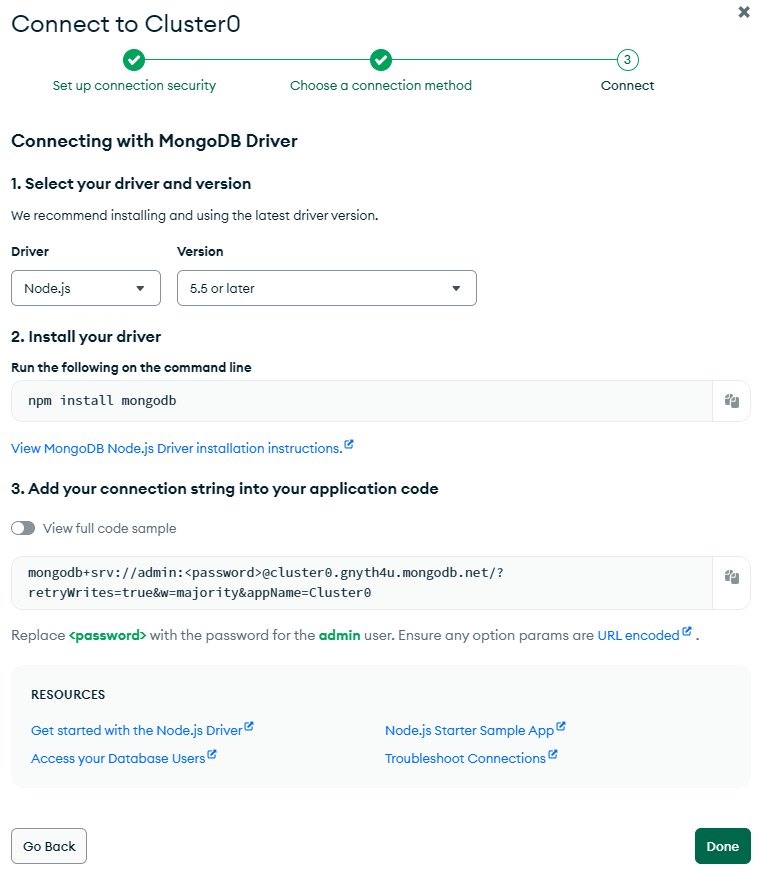
npm install mongodb

mongodb+srv://admin:1234@cluster0.gnyth4u.mongodb.net/?retryWrites=true&w=majority&appName=Cluster0
vscode에서 폴더 생성 후
npm init
npm install mongodb
mongodb 드라이버에서 mongodb 객체 생성 하여 전달받은 url로 클라우드의 mongodb와 내 장치를 연결함
-> mongodb 상의 web은 이제 필요 없음
const mongoclient = require('mongodb').MongoClient;
const url = `mongodb+srv://admin:1234@cluster0.gnyth4u.mongodb.net/?retryWrites=true&w=majority&appName=Cluster0`; // 연결 url
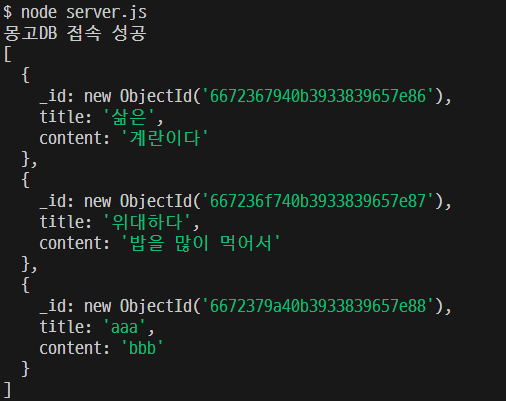
mongoclient.connect(url)
.then(client => {
console.log('몽고DB 접속 성공');
});
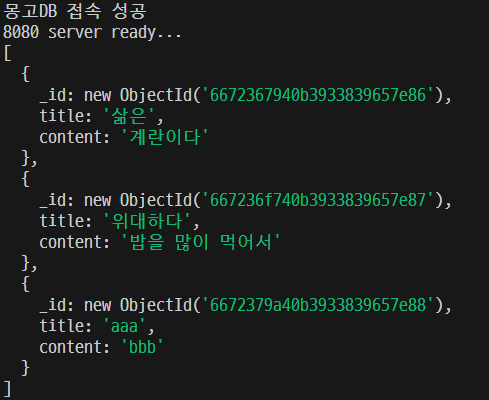
데이터 읽어오기
const mongoclient = require('mongodb').MongoClient;
const url = `mongodb+srv://admin:1234@cluster0.gnyth4u.mongodb.net/?retryWrites=true&w=majority&appName=Cluster0`; // 연결 url

let mydb;

mongoclient.connect(url)
    .then(client => {
        console.log('몽고DB 접속 성공');
        mydb = client.db('myboard');
        mydb.collection('post').find().toArray().then(result =>{
            console.log(result);
        })
    });
mydb.collection('post').find().toArray()
collection이 된 객체에서 find로 값을 가져와 배열로 받아옴 -> Promise로 받아와짐
서버에서 접근하기
const mongoclient = require('mongodb').MongoClient;
const url = `mongodb+srv://admin:1234@cluster0.gnyth4u.mongodb.net/?retryWrites=true&w=majority&appName=Cluster0`; // 연결 url

let mydb;

mongoclient.connect(url)
    .then(client => {
        console.log('몽고DB 접속 성공');
        mydb = client.db('myboard');
        mydb.collection('post').find().toArray()
            .then(result =>{
                console.log(result);
            });
    });

const express = require('express');
const app = express();

app.listen(8080, function(){
    console.log('8080 server ready...');
})
위처럼 작성 시 mongo에 접근하는 것과 서버 부분이 다른 구간으로 작성되어 있어서 db에 접근하지 않은 상태로 서버로 넘어가거나 할 수 있음
-> .then 안에서 db로 사용할 내용을 작성해주어야 함
const mongoclient = require('mongodb').MongoClient;
const url = `mongodb+srv://admin:1234@cluster0.gnyth4u.mongodb.net/?retryWrites=true&w=majority&appName=Cluster0`; // 연결 url

let mydb;
const express = require('express');
const app = express();

mongoclient.connect(url)
    .then(client => {
        console.log('몽고DB 접속 성공');
        mydb = client.db('myboard');
        mydb.collection('post')
            .find()
            .toArray()
            .then(result =>{
                console.log(result);
            });
        app.listen(8080, function(){
            console.log('8080 server ready...');
        });
    });
입력 페이지 생성
const mongoclient = require('mongodb').MongoClient;
const url = `mongodb+srv://admin:1234@cluster0.gnyth4u.mongodb.net/?retryWrites=true&w=majority&appName=Cluster0`; // 연결 url

let mydb;
const express = require('express');
const app = express();

mongoclient.connect(url)
    .then(client => {
        console.log('몽고DB 접속 성공');
        mydb = client.db('myboard');

        app.listen(8080, function(){
            console.log('8080 server ready...');
        });
    })
    .catch((err) => {
        console.log(err);
    });

app.get('/list', function(req, res){
    mydb.collection('post')
        .find()
        .toArray()
        .then(result =>{
            console.log(result);
            res.send(result);
    });
})app.get('/enter', function(req, res){
res.sendFile(__dirname + '/enter.html');
});<!DOCTYPE html>
<html lang="en">
<head>
<meta charset="utf-8" />
<meta http-equiv="X-UA-Compatible" content="IE=edge" />
<meta name="viewport" content="width=device-width, initial-scale=1, shrink-to-fit=no" />
<meta name="description" content="" />
<meta name="author" content="" />
<title>404 Error - SB Admin</title>
<link href="https://cdn.jsdelivr.net/npm/bootstrap@5.3.3/dist/css/bootstrap.min.css" rel="stylesheet" integrity="sha384-QWTKZyjpPEjISv5WaRU9OFeRpok6YctnYmDr5pNlyT2bRjXh0JMhjY6hW+ALEwIH" crossorigin="anonymous">
<link rel="stylesheet" href="/css/styles.css"/>
<script src="https://use.fontawesome.com/releases/v6.3.0/js/all.js" crossorigin="anonymous"></script>
<style>
body {
background-color: #f8f9fa;
font-family: 'Segoe UI', Tahoma, Geneva, Verdana, sans-serif;
}
.form-container {
max-width: 500px;
margin: 50px auto;
padding: 30px;
background-color: #ffffff;
box-shadow: 0 4px 8px rgba(0, 0, 0, 0.1);
border-radius: 10px;
}
.form-label {
font-weight: bold;
color: #333;
}
.form-control {
border-radius: 5px;
}
.btn-custom {
background-color: #007bff;
color: white;
border: none;
border-radius: 5px;
padding: 10px 20px;
cursor: pointer;
transition: background-color 0.3s ease;
}
.btn-custom:hover {
background-color: #0056b3;
}
</style>
</head>
<body>
<form action="/save" method="post">
<div class="form-container">
<div class="mb-3">
<label for="exampleFormControlInput1" class="form-label">제목</label>
<input name="title" type="text" class="form-control" id="exampleFormControlInput1" >
</div>
<div class="mb-3">
<label for="exampleFormControlTextarea1" class="form-label">내용</label>
<textarea name="content" class="form-control" id="exampleFormControlTextarea1" rows="3"></textarea>
</div>
<button class="btn btn-custom" type="submit">저장</button>
</div>
</form>
<script src="https://cdn.jsdelivr.net/npm/bootstrap@5.3.3/dist/js/bootstrap.bundle.min.js" integrity="sha384-YvpcrYf0tY3lHB60NNkmXc5s9fDVZLESaAA55NDzOxhy9GkcIdslK1eN7N6jIeHz" crossorigin="anonymous"></script>
</body>
</html>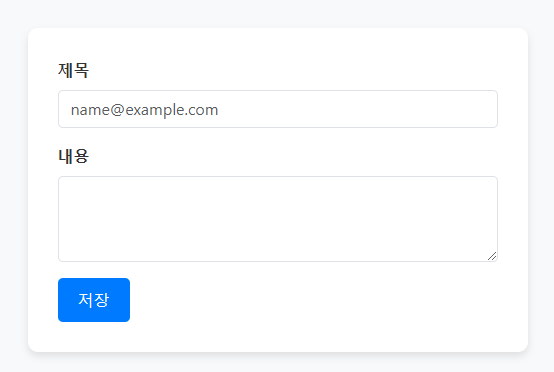
입력한 데이터 서버로 보내기
get 방식
<form action="/save" method="get">
  <div class="form-container">
    <div class="mb-3">
      <label for="exampleFormControlInput1" class="form-label">제목</label>
      <input type="email" class="form-control" id="exampleFormControlInput1" placeholder="name@example.com">
    </div>
    <div class="mb-3">
      <label for="exampleFormControlTextarea1" class="form-label">내용</label>
      <textarea class="form-control" id="exampleFormControlTextarea1" rows="3"></textarea>
    </div>
    <button class="btn btn-custom" type="submit">저장</button>
  </div>
</form>
post 방식
<form action="/save" method="post">
  <div class="form-container">
    <div class="mb-3">
      <label for="exampleFormControlInput1" class="form-label">제목</label>
      <input name="title" class="form-control" id="exampleFormControlInput1">
    </div>
    <div class="mb-3">
      <label for="exampleFormControlTextarea1" class="form-label">내용</label>
      <textarea name="content" class="form-control" id="exampleFormControlTextarea1" rows="3"></textarea>
    </div>
    <button class="btn btn-custom" type="submit">저장</button>
  </div>
</form>app.post('/save', function(req, res){
console.log('저장완료');
})서버에서 데이터 읽어오기
실행 시 브라우저는 계속 로딩 중
-> 값을 가져오지 못하고 있음
콜백 함수의 req에 데이터가 포함되어 있음
post 방식의 데이터는 body-parser 통해서 읽어 와야 함
npm install body-parser
const bodyParser = require('body-parser');
app.use(bodyParser.urlencoded({extended:true}));

app.post('/save', function(req, res){
  console.log('저장완료');
  console.log(req);
})
입력 값 DB에 저장
app.post('/save', function(req, res){
  //console.log('저장완료');
  //console.log(req);

  // 몽고DB에 저장
  mydb.collection('post').insertOne(
    {title : req.body.title,
     content : req.body.content})
  	.then(result => {
    	console.log(result);
    	console.log('데이터 추가 성공');
  });
  res.send('데이터 추가 성공');
});
단일 도큐먼트 또는 다수의 도큐먼트 모두 삽입
collection('컬렉션 이름').insert()
단일 도큐먼트 삽입
collection('컬렉션 이름').insertOne()
다수의 도큐먼트 삽입
collection('컬렉션 이름').insertMany()
하나의 단위는 { }
다수의 경우는 { } 여러 개를 [ ]로 묶어서목록창 생성
list.html
<!doctype html>
<html lang="en">
  <head>
    <meta charset="utf-8">
    <meta name="viewport" content="width=device-width, initial-scale=1">
    <title>Home</title>
    <link href="https://cdn.jsdelivr.net/npm/bootstrap@5.2.3/dist/css/bootstrap.min.css" rel="stylesheet" integrity="sha384-rbsA2VBKQhggwzxH7pPCaAqO46MgnOM80zW1RWuH61DGLwZJEdK2Kadq2F9CUG65" crossorigin="anonymous">
  </head>

  <body>
    <nav class="navbar navbar-expand-lg bg-light">
      <div class="container-fluid">
        <a class="navbar-brand" href="#">Navbar</a>
        <button class="navbar-toggler" type="button" data-bs-toggle="collapse" data-bs-target="#navbarNav" aria-controls="navbarNav" aria-expanded="false" aria-label="Toggle navigation">
          <span class="navbar-toggler-icon"></span>
        </button>
        <div class="collapse navbar-collapse" id="navbarNav">
          <ul class="navbar-nav">
            <li class="nav-item">
              <a class="nav-link active" aria-current="page" href="#">Home</a>
            </li>
            <li class="nav-item">
              <a class="nav-link" href="#">Features</a>
            </li>
            <li class="nav-item">
              <a class="nav-link" href="#">Pricing</a>
            </li>
            <li class="nav-item">
              <a class="nav-link disabled">Disabled</a>
            </li>
          </ul>
        </div>
      </div>
    </nav>

    <table class = "table table-hover table-striped text-center container mt-4" style = "border: 1px solid;">
      <thead>
        <tr>
          <th>제목</th>
          <th>작성일</th>
          <th>삭제</th>
        </tr>
      </thead>

      <tbody>
        <tr>
          <td>...</td>
          <td>...</td>
          <td><button class = 'delete btn btn-outline-danger' >삭제</button></td>
        </tr>
      </tbody>
    </table>

    <script src="https://cdn.jsdelivr.net/npm/bootstrap@5.2.3/dist/js/bootstrap.bundle.min.js" integrity="sha384-kenU1KFdBIe4zVF0s0G1M5b4hcpxyD9F7jL+jjXkk+Q2h455rYXK/7HAuoJl+0I4" crossorigin="anonymous"></script>
  </body>
</html>app.get('/list', function(req, res){
mydb.collection('post')
.find()
.toArray()
.then(result=>{
console.log(result);
res.sendFile(__dirname + '/list.html');
});
});템플릿 엔진
동적인 결과를 정적인 파일에 담음
res.sendFile(__dirname + '/list.html');로는 동적인 페이지가 나올 수 없음
npm i ejs
app.set('view engin', 'ejs');	// 템플릿 엔진 설정

...

// res.sendFile(__dirname + '/list.html');
res.render('list.ejs');
views 폴더가 기본 작업 환경
views 폴더 안에 .ejs 파일 생성
render()함수로
반복되는 부분을 ejs 문법으로 for문으로 작성하고 이것을 html로 변환시켜줌
렌더링할 데이터 전달
render(렌더링할 파일, 파일에 전달할 데이터)
// res.sendFile(__dirname + '/list.html');
res.render('list.ejs', {data : result});
ejs 문법
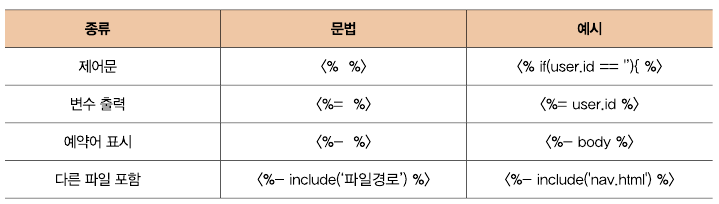
<% %> 스크립트릿
<%= %> 익스프레션
<table class = "table table-hover table-striped text-center container mt-4" style = "border: 1px solid;">
        <thead>
            <tr>
                <th>제목</th>
                <th>내용</th>
                <th>삭제</th>
            </tr>
        </thead>
        <tbody>
            <% for(let i=0; i < data.length; i++){ %>
            <tr>
                <td><%= data[i].title %></td>
                <td><%= data[i].content %></td>
                <td><button class = 'delete btn btn-outline-danger' >삭제</button></td>
            </tr>
            <% } %>
        </tbody>
    </table>
ejs엔진 (png, jsp, asp, php)
server side render
html
client side render
뚫려있는 부분 뒤쪽에 있는것 앞으로 밀면서 채움
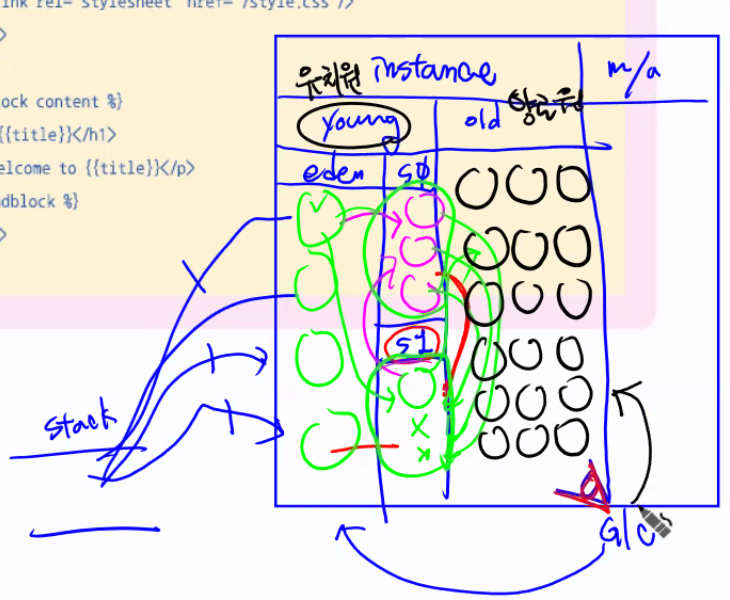
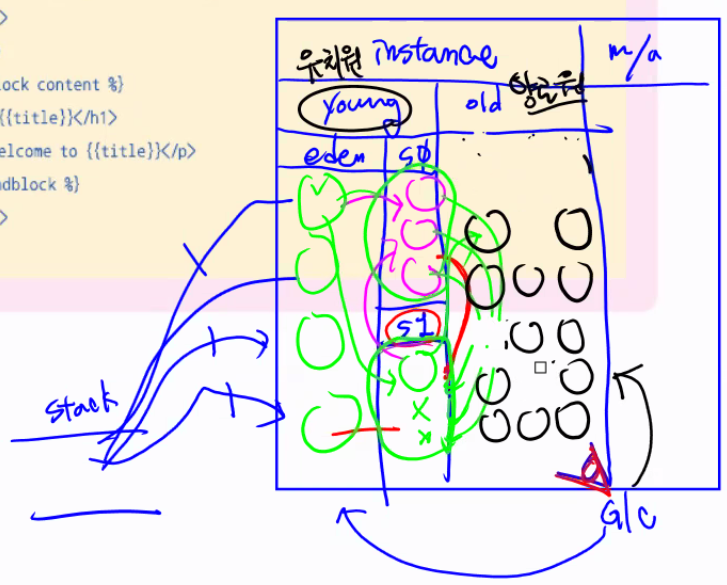
major G/C 자주 일어나면 퍼포먼스 ↓
minor G/C
eden에서 서바이브로 넘어가는 객체가 적게 만들어야함
-> 분석, 설계가 잘 된 후에 코드 작성하는 것이 중요!
